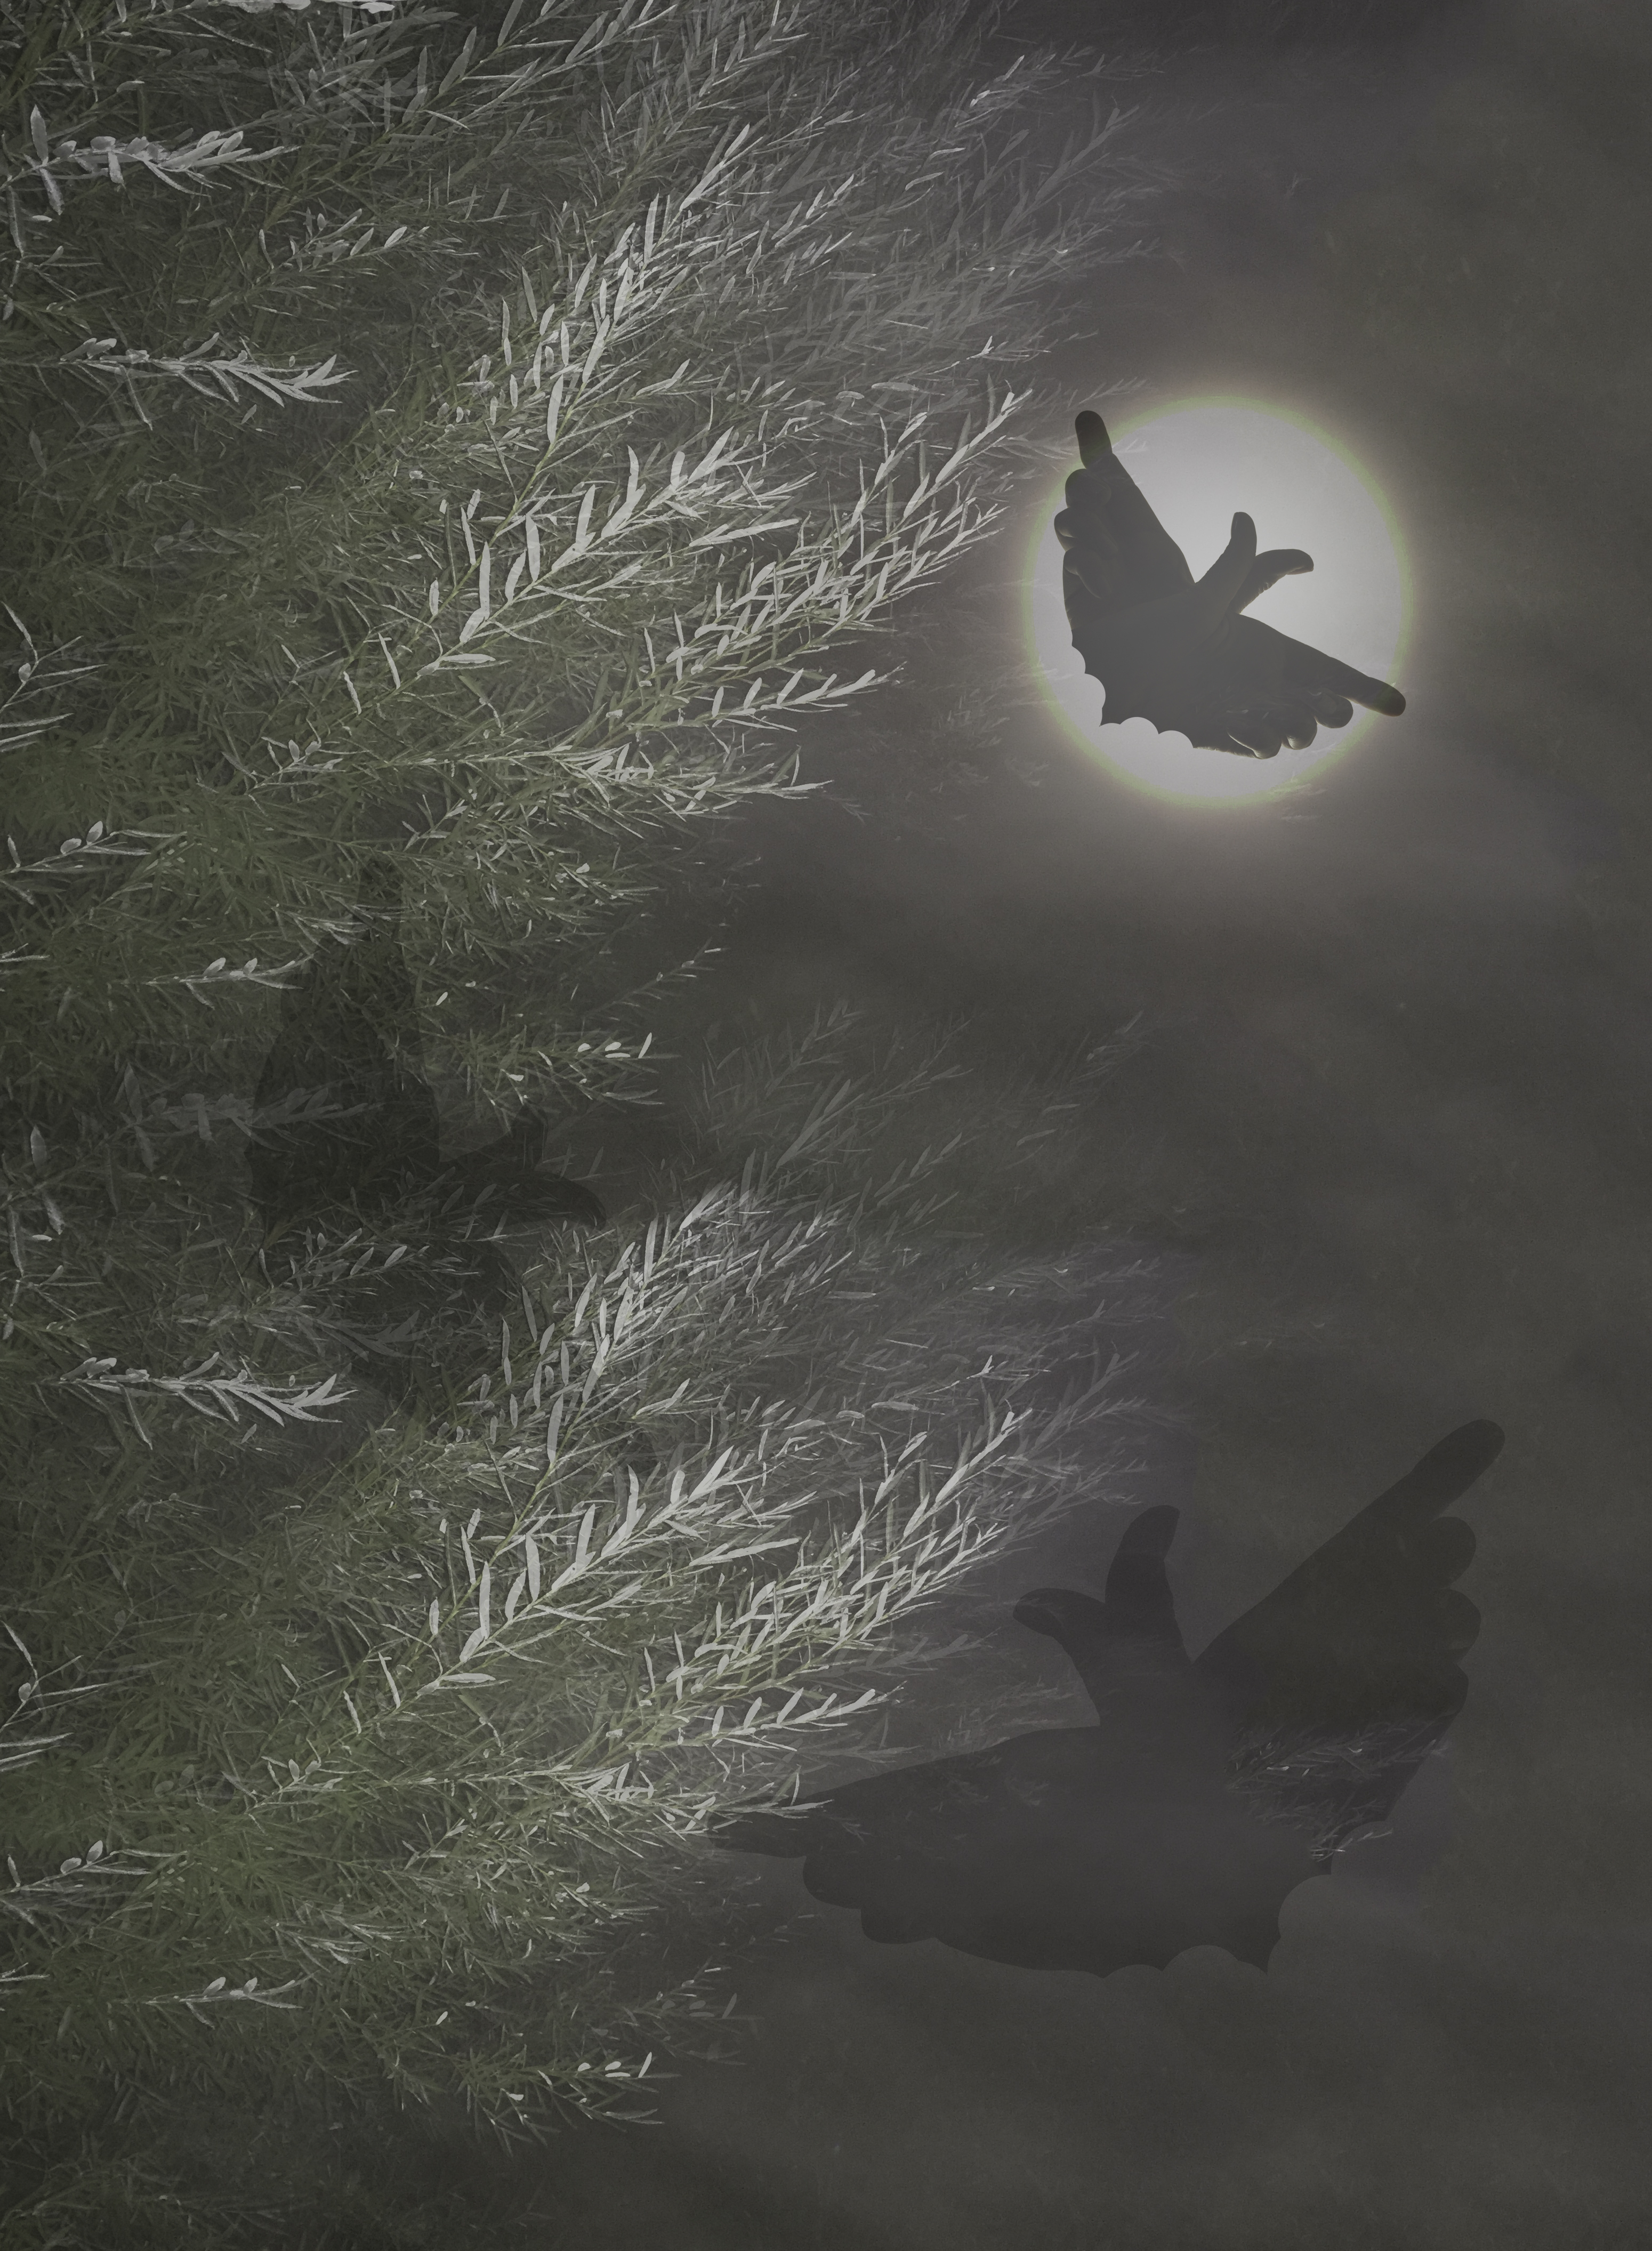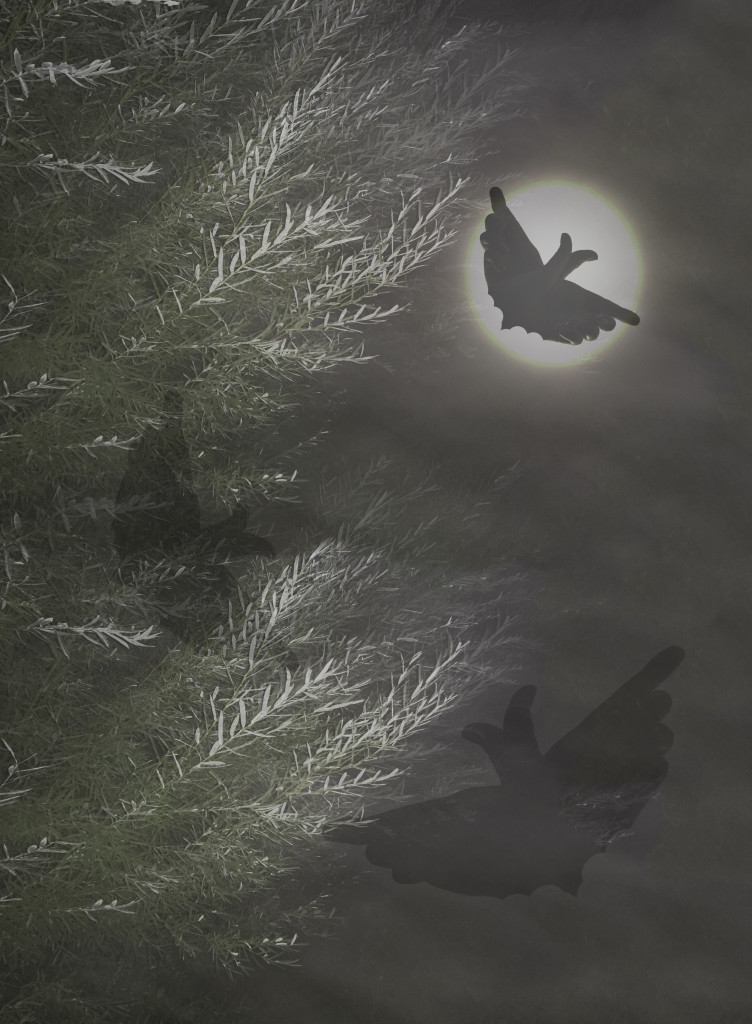
The image of a thousand edits! I combined four images: a photo of the moon, two different photos on my iPhone of the willows shot on a misty dog-walkies and the flash fired, and the bats are from a silhouette of my hands, seriously edited. I’ll post more info below including a link to the orignal images in my Flickr November album.
Normally it doesn’t matter if I post my photo a week late, but since the theme was Halloween, and since I’ve actually done this at not-the-last-day, I’m doing week 43 today and I’ll fill in with week 42 next week! And oh…if you haven’t been around, this is part of the year-long 52-Week Photography Challenge class I’m taking online with Ricky Tims. This composite image was something that I would NEVER have been able to do at the start of this class! I used four photos (two of the widows, one of my hands, one of the moon).For anyone interested in how I did it, here you go (Long!)
This week’s theme was Halloween. Apparently Ricky had planned on Hands, then changed it to Halloween. But the “use hands” didn’t get edited out (until someone asked about it and he said typo!). By that time I had this hare-brained idea for my weekly submission. Our challenge was to do something creepy for Halloween (or otherwise Halloween-y) using what we’ve learned. This may be one of those instances that Ricky refers to as “Just because you can, doesn’t mean you should.” Oh well! It was a fun flight of bat-ful fancy!
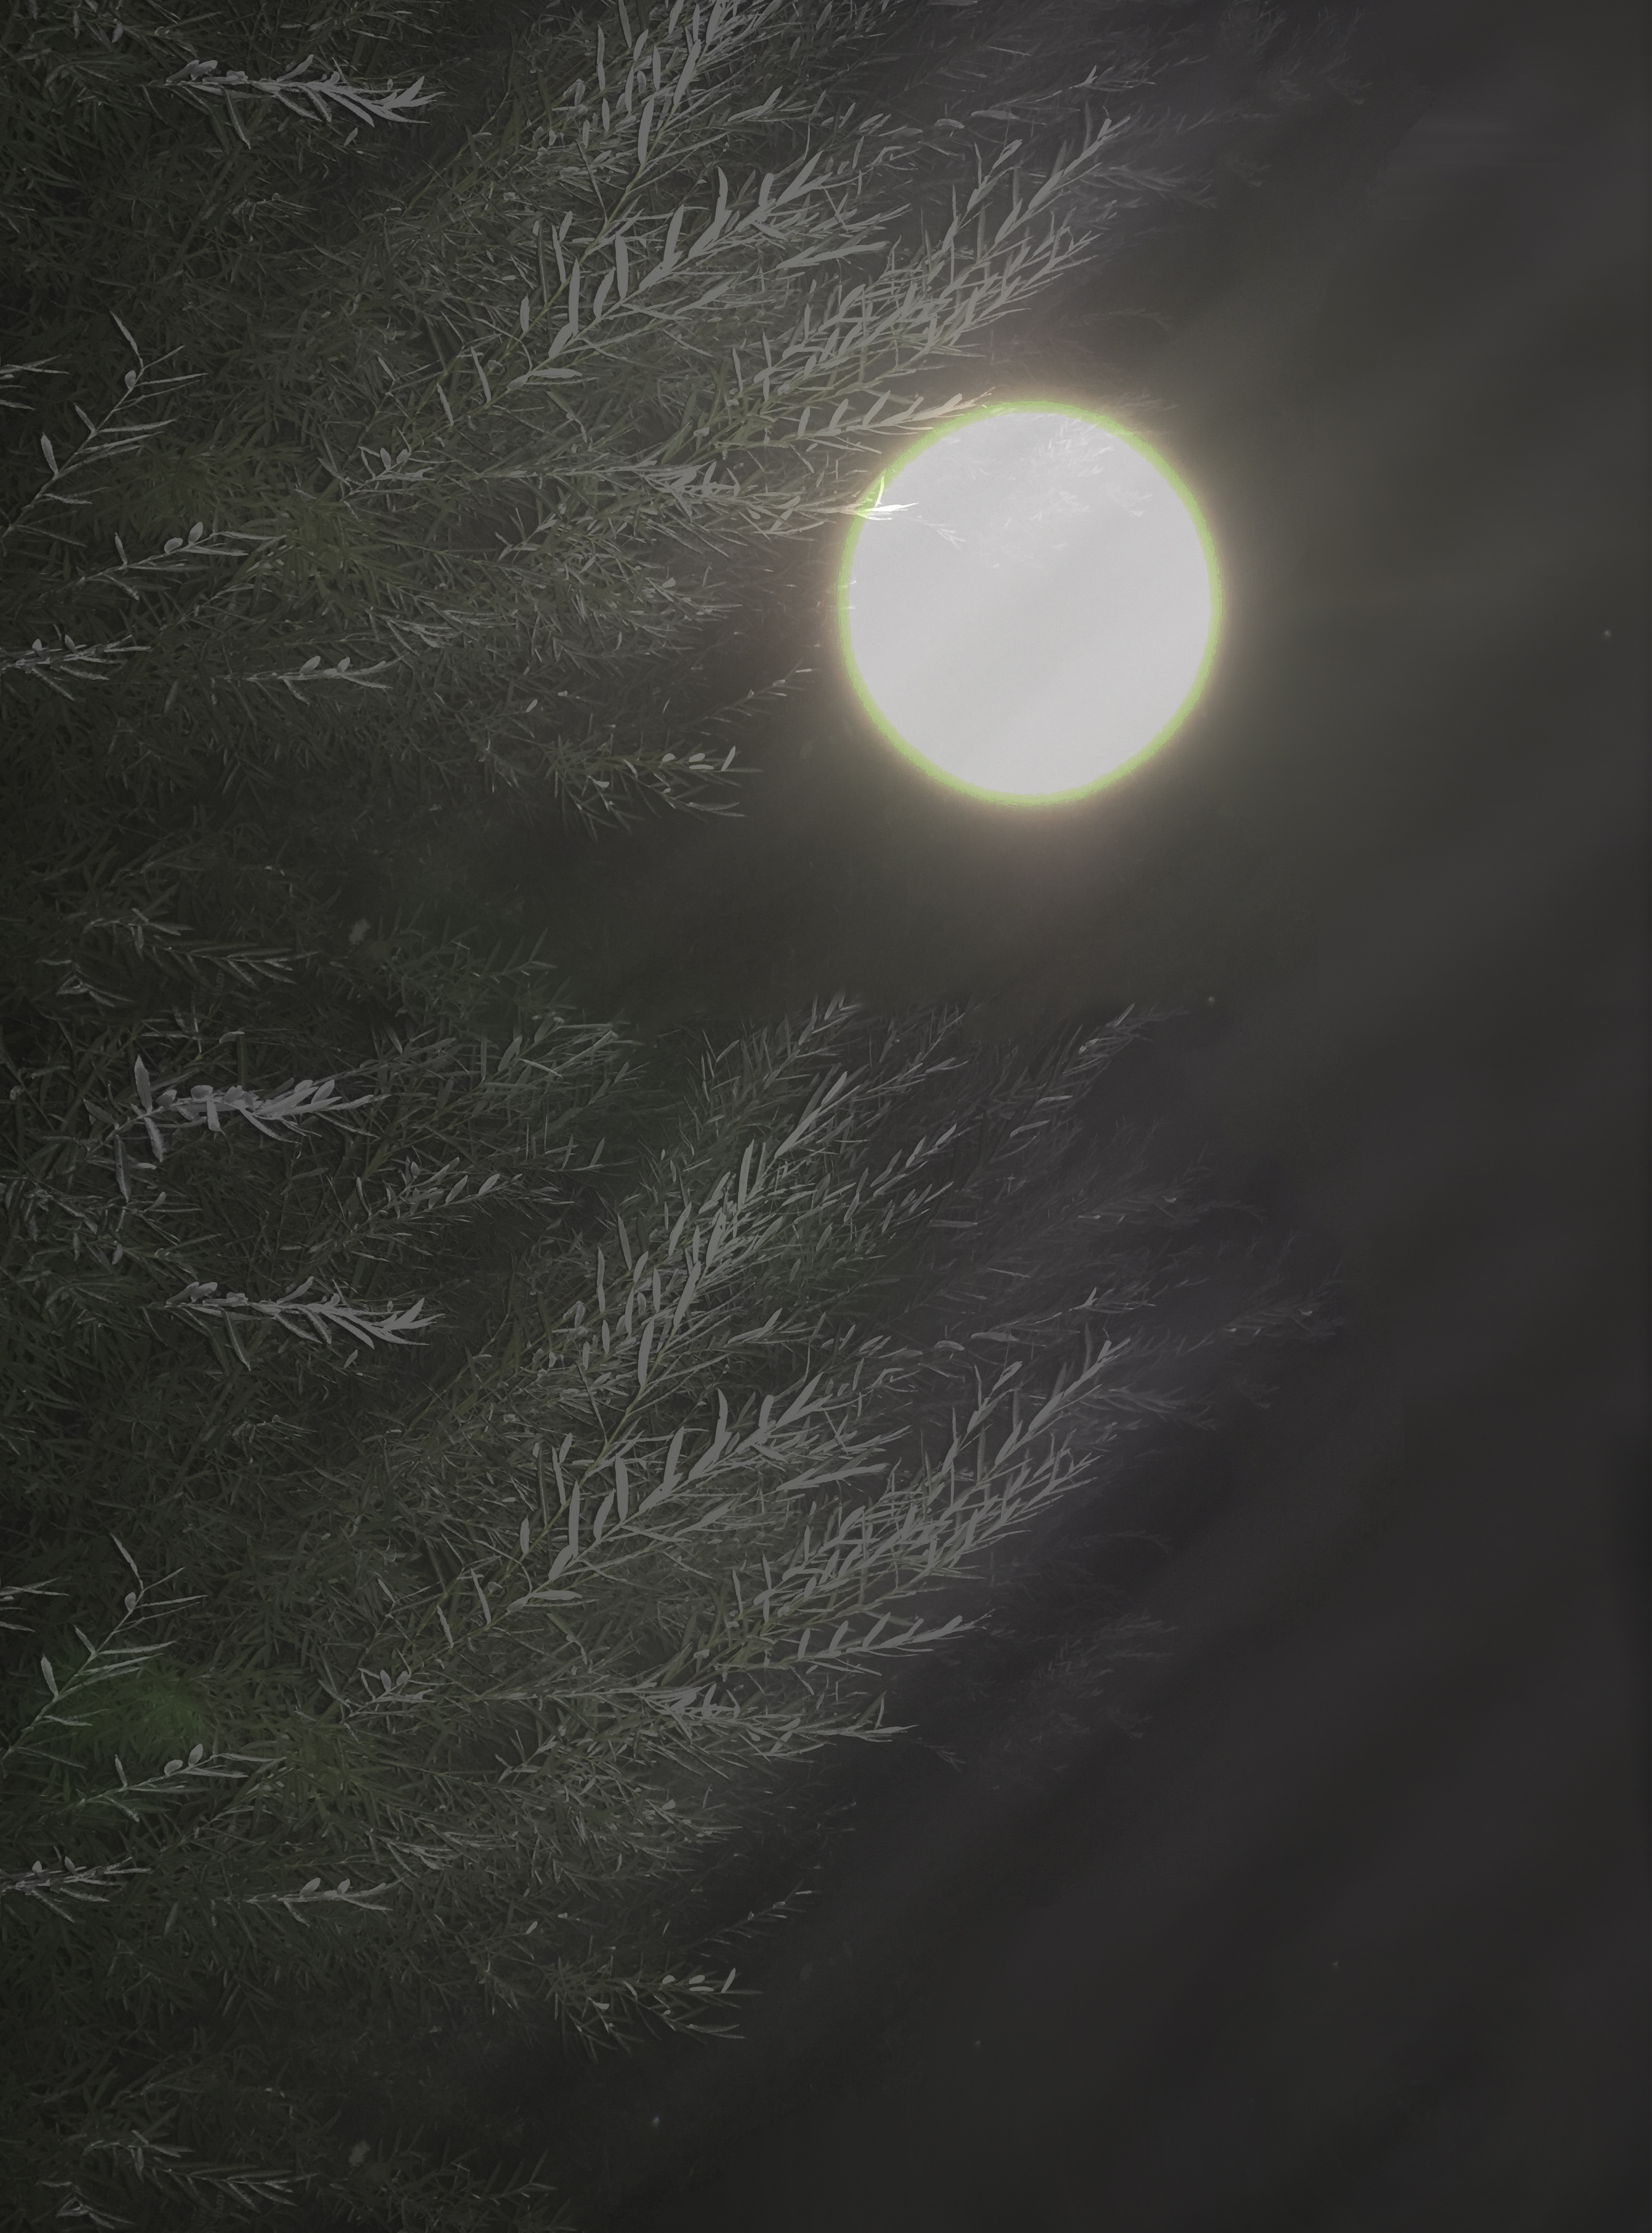
1. Darken photo of moon. Select to the right of the moon extending area quite a bit to the right. Use content aware fill to “reposition” the moon.

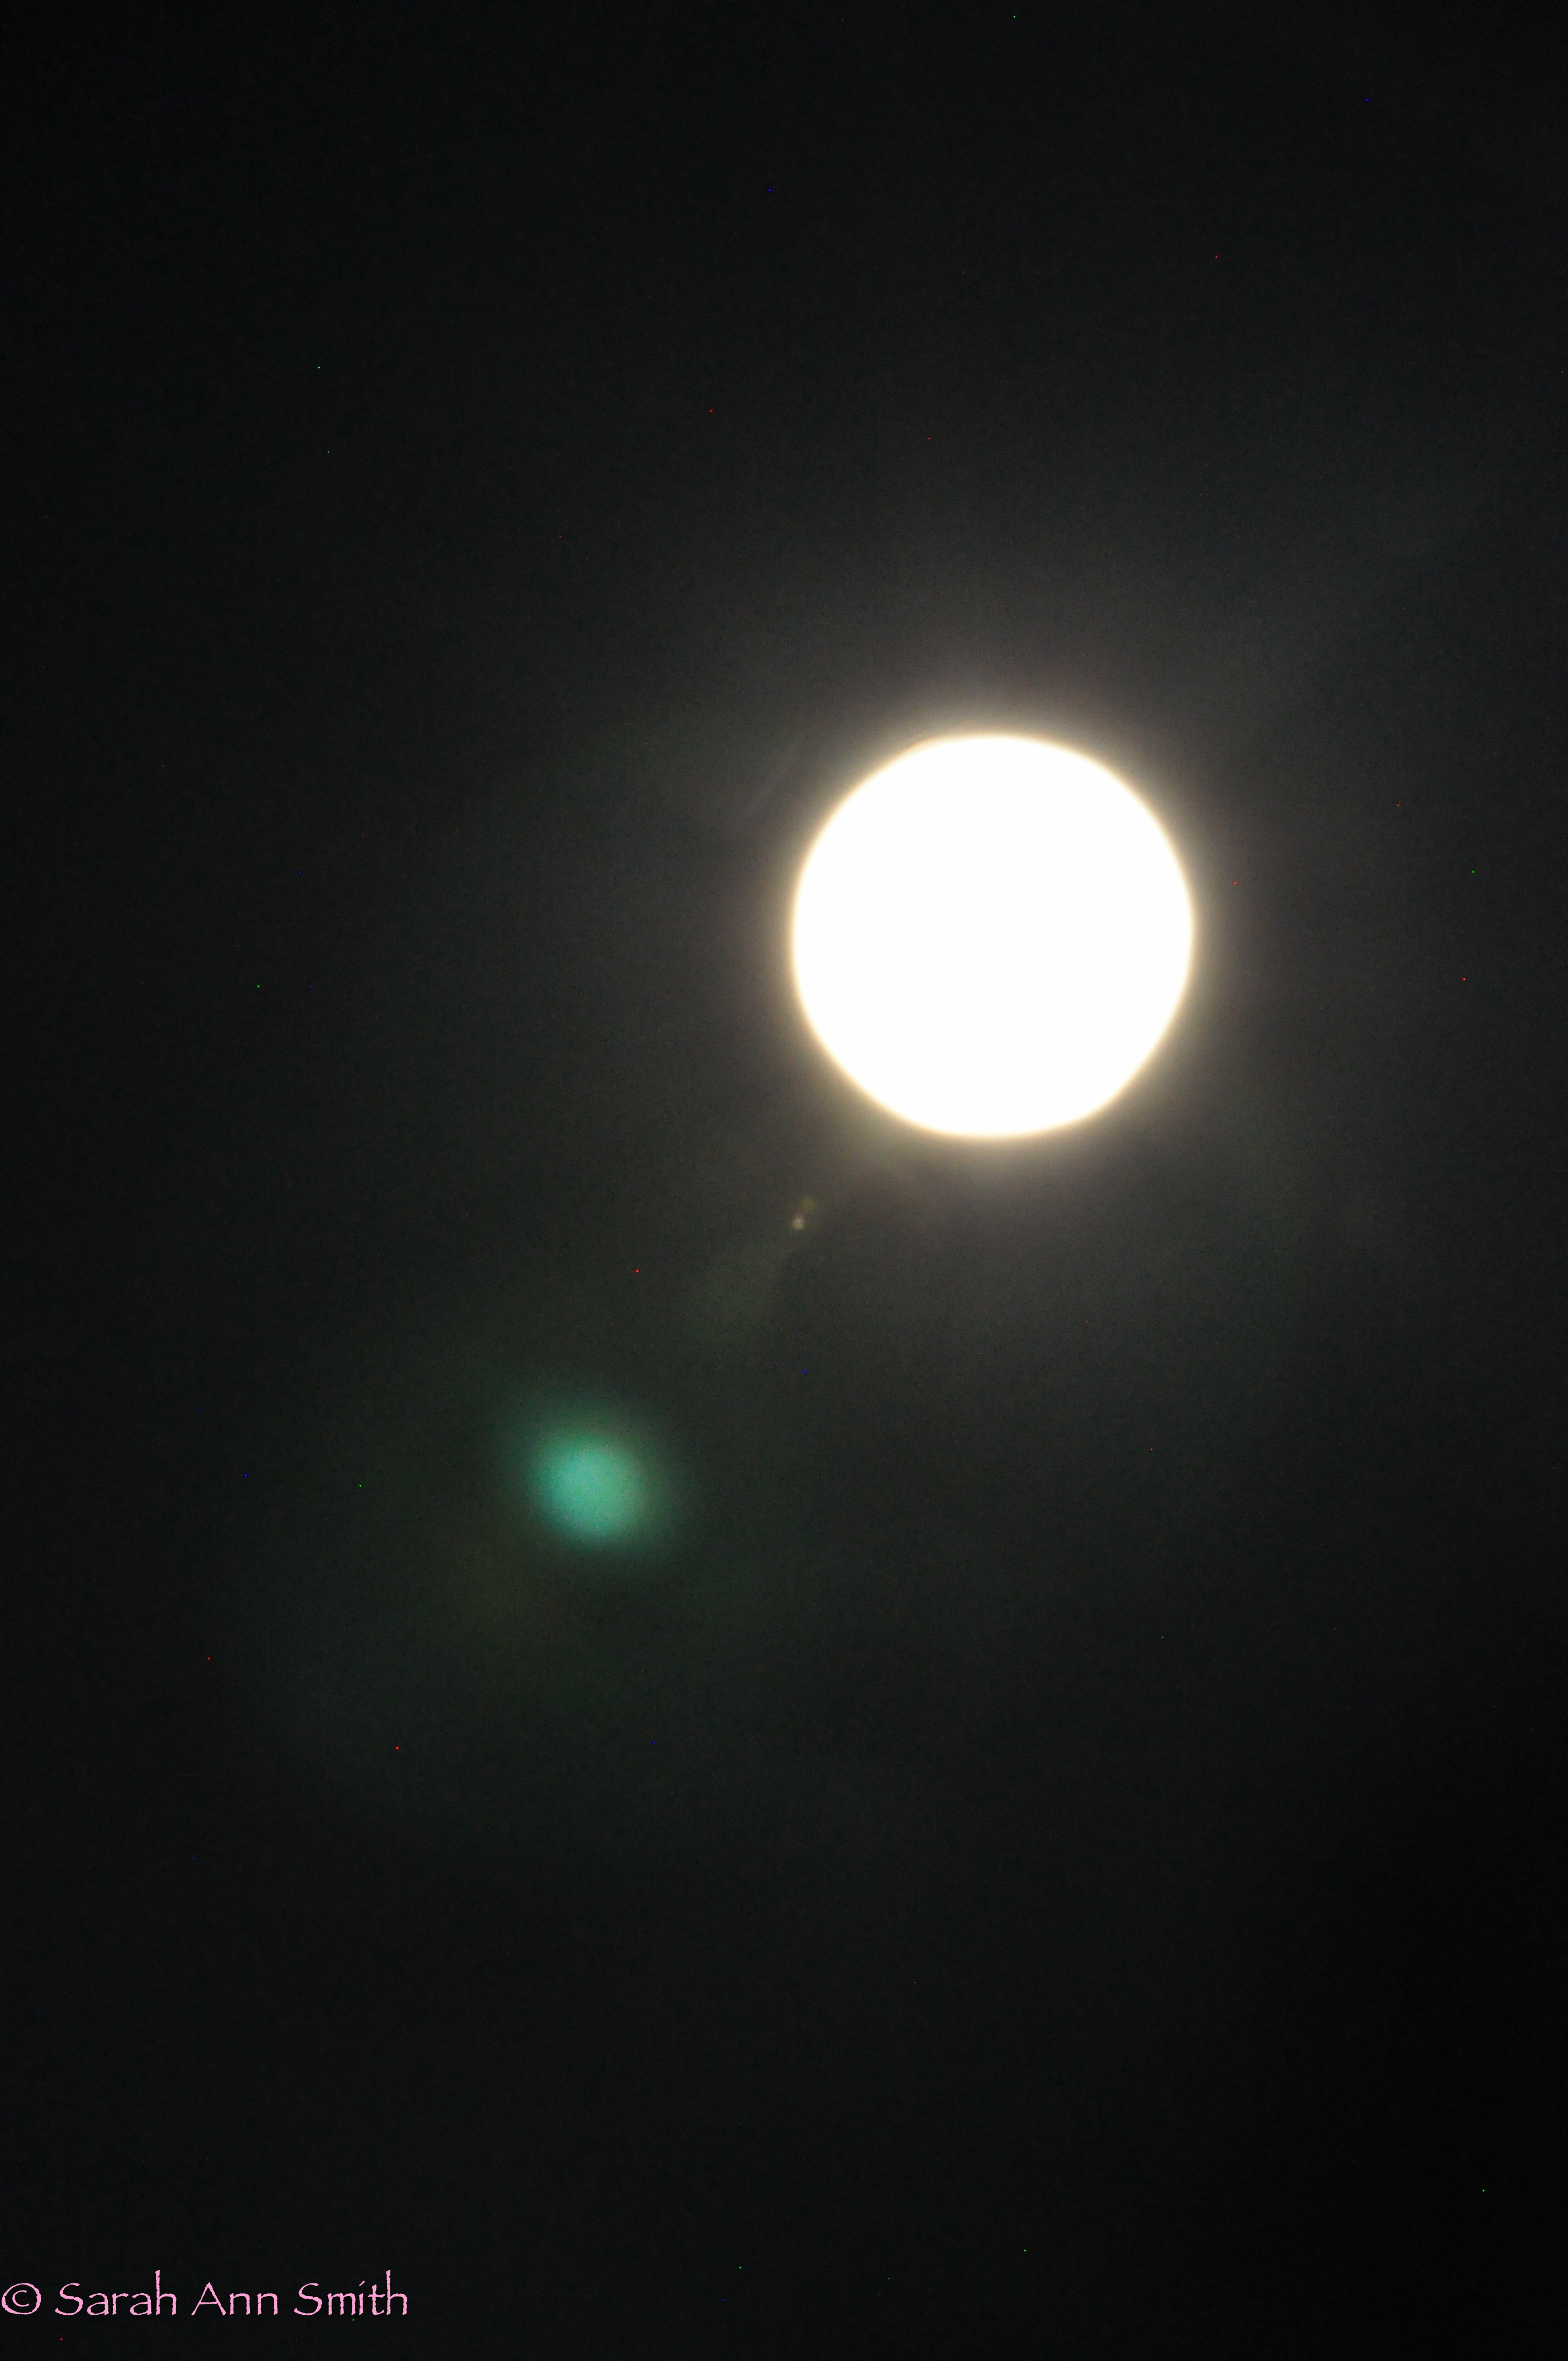
Bottom layer. Photo of moon. NO idea why I’ve got those odd spots–the moon equivalent of a sun flare?
2. Take first of the two willows in the night mist photos (shot on iPhone, which used last and showed those cool streaks in the mist). Since the photo was square, add a layer and paste. Add another layer and paste again, so that the two images overlap. Use soft-edge eraser brush to blend the two photos. Some Dodge and Burn to even out the overlap. Flip horizontally.
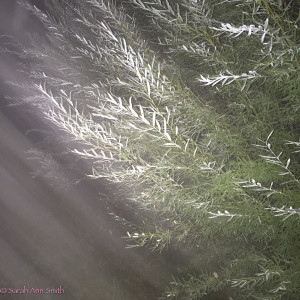
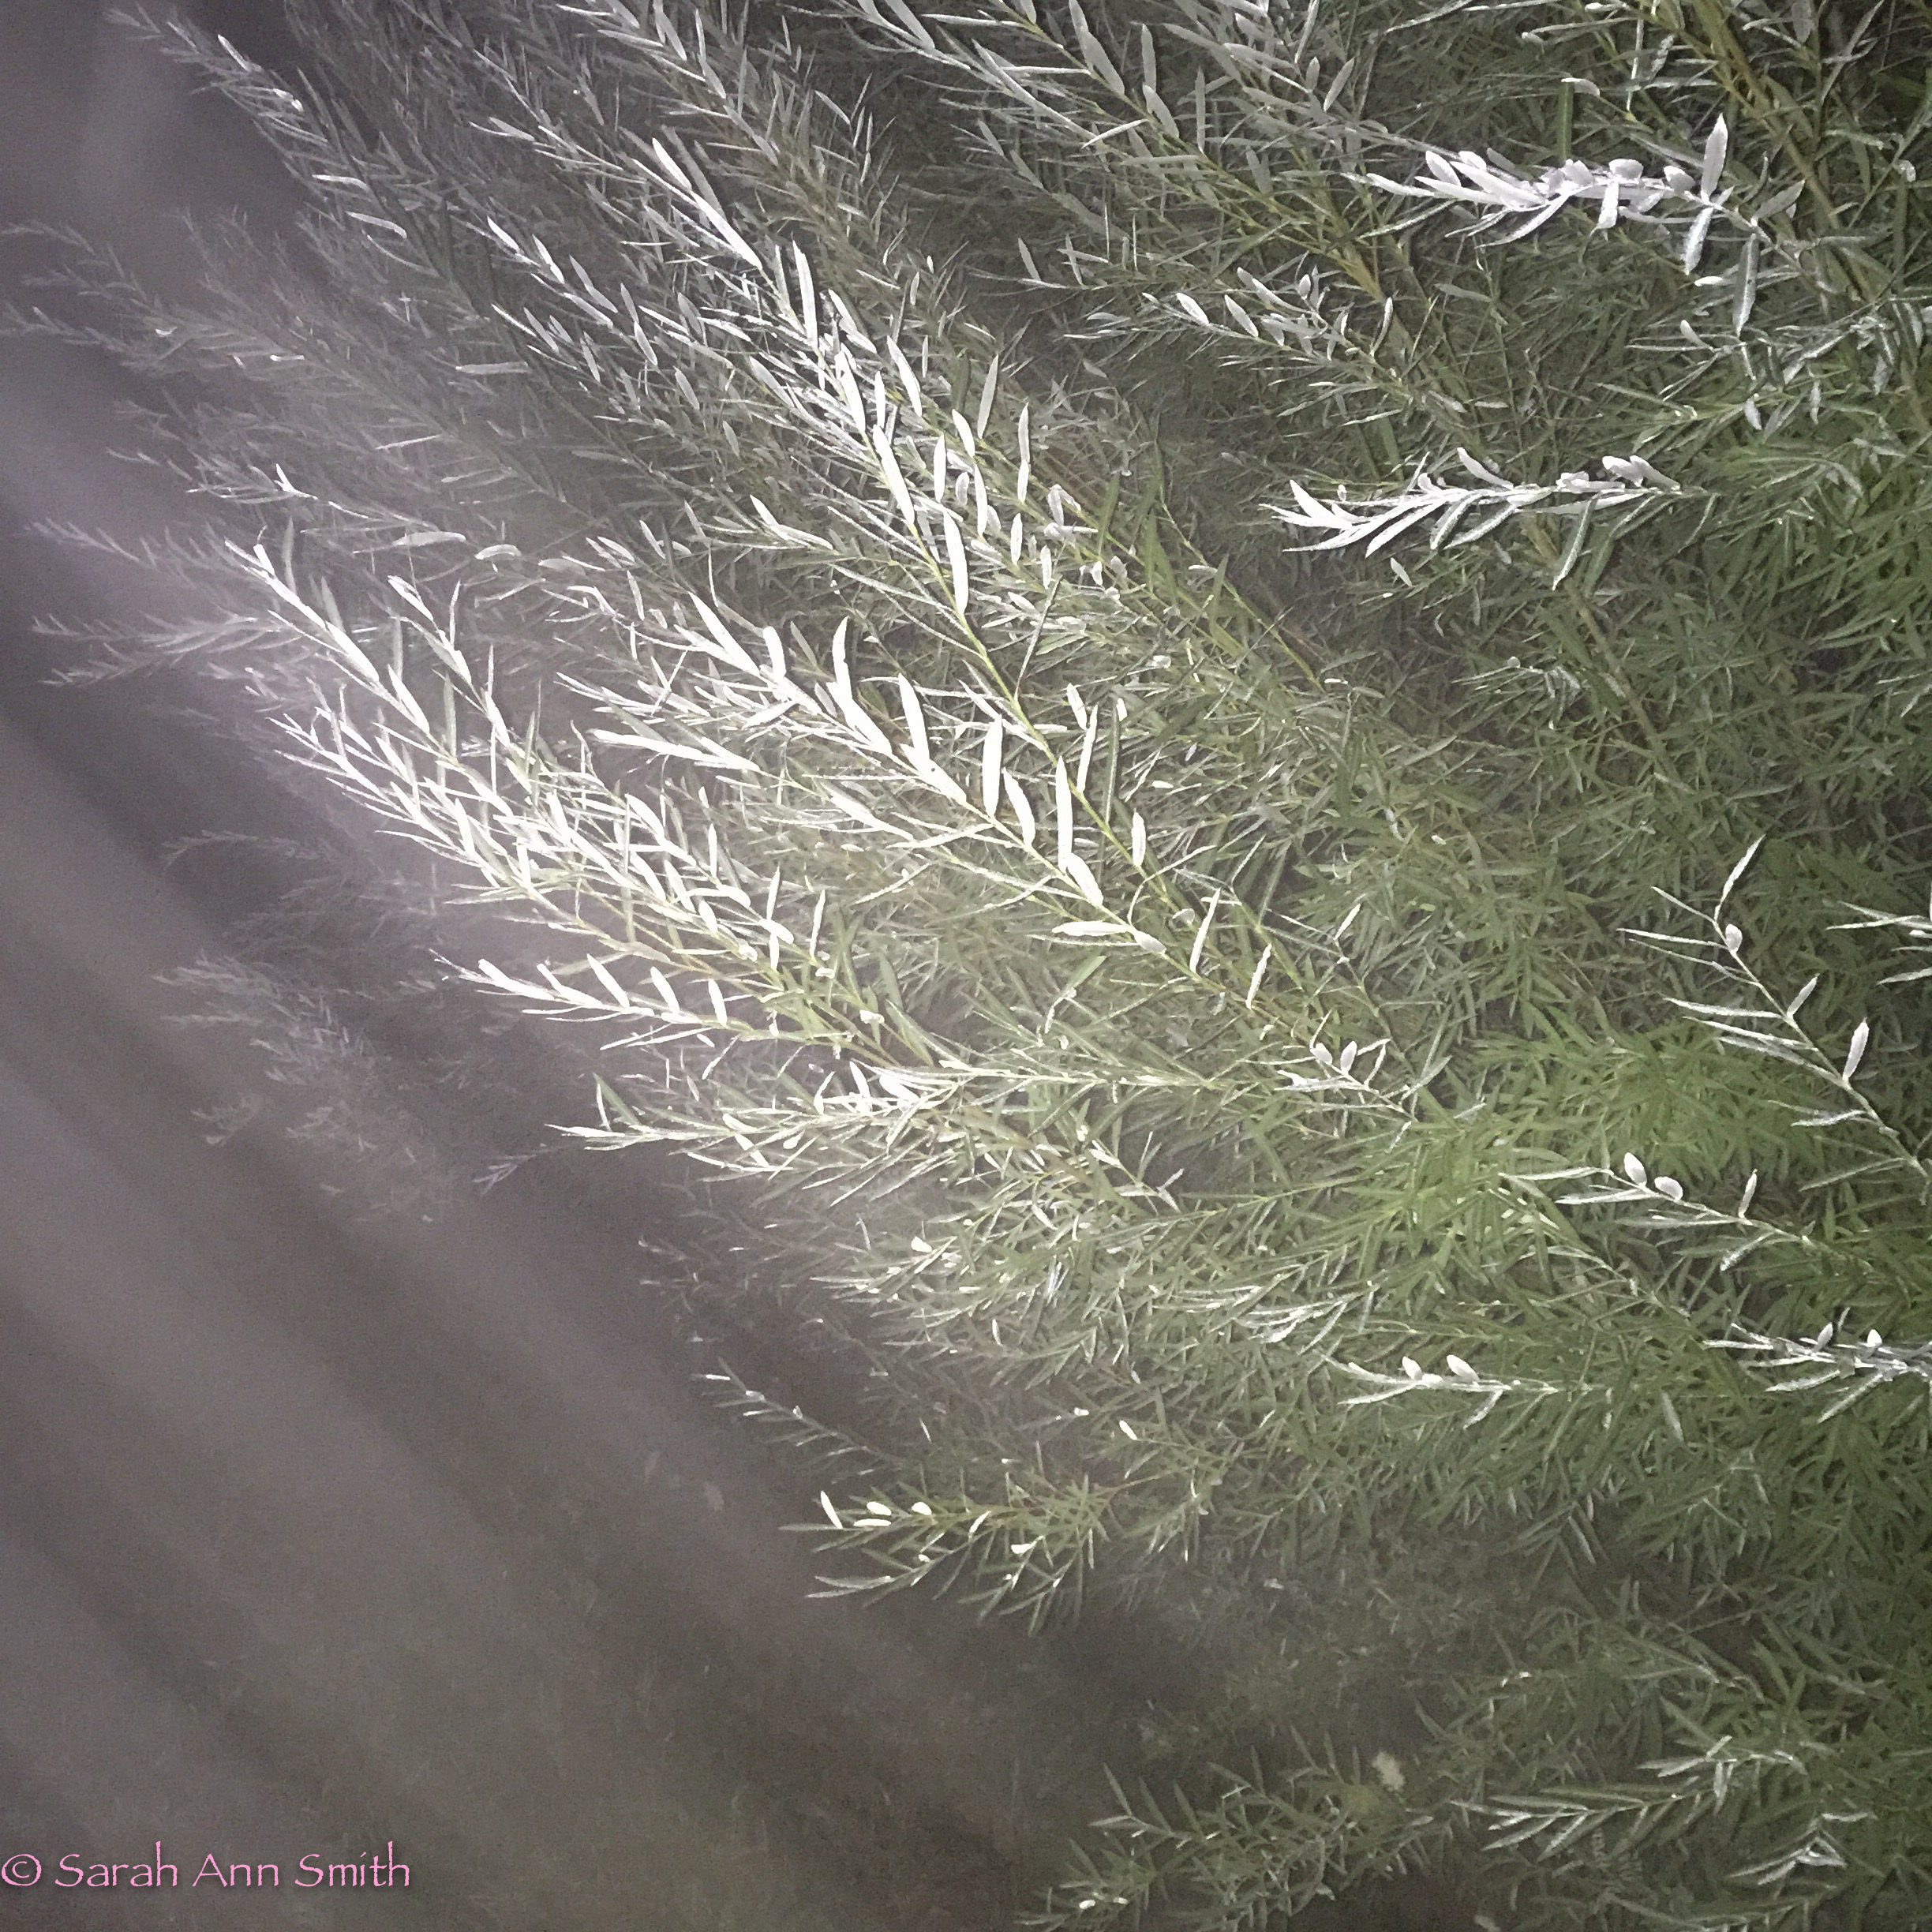
First of two photos taken on my iPhone a couple months ago.
3. Take the second of the two willows-in-the-night-mist and repeat the above process in Step 2.
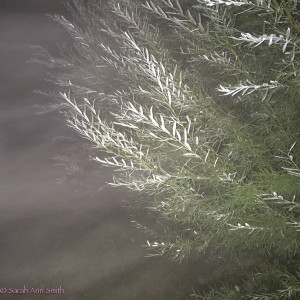
Second willows photo. The mist is going a different direction, and I like the layering that happened. Notice I flipped the photos horizontally to have the weight of the willows balancing the brightness of the moon.
4. Reduce opacity to about 30-35 on both willows layers.
5. Merge down layers so the four willow layers end up as one (or was it two) layer(s).
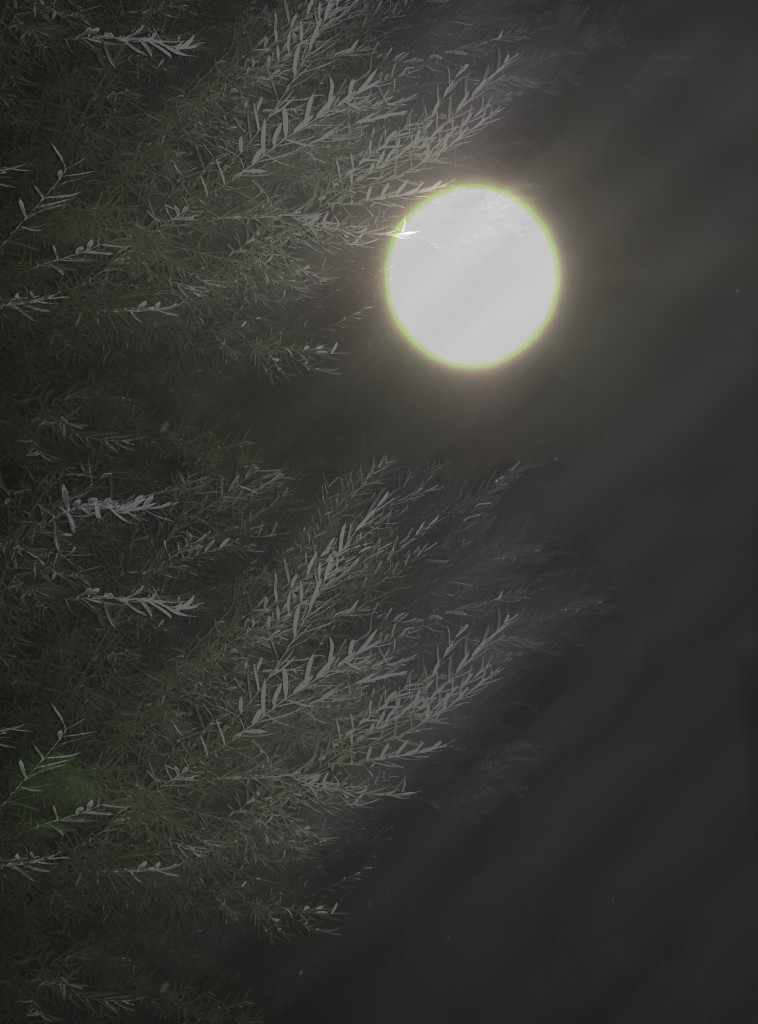
The first layer of montaged willows over the moon.
6. Spend a ridiculous amount of time trying to make assorted masks work to let the moon shine through without overlaying leaves. Give up and use an enormous, soft-edge dodge brush to lighten the layers over the moon.
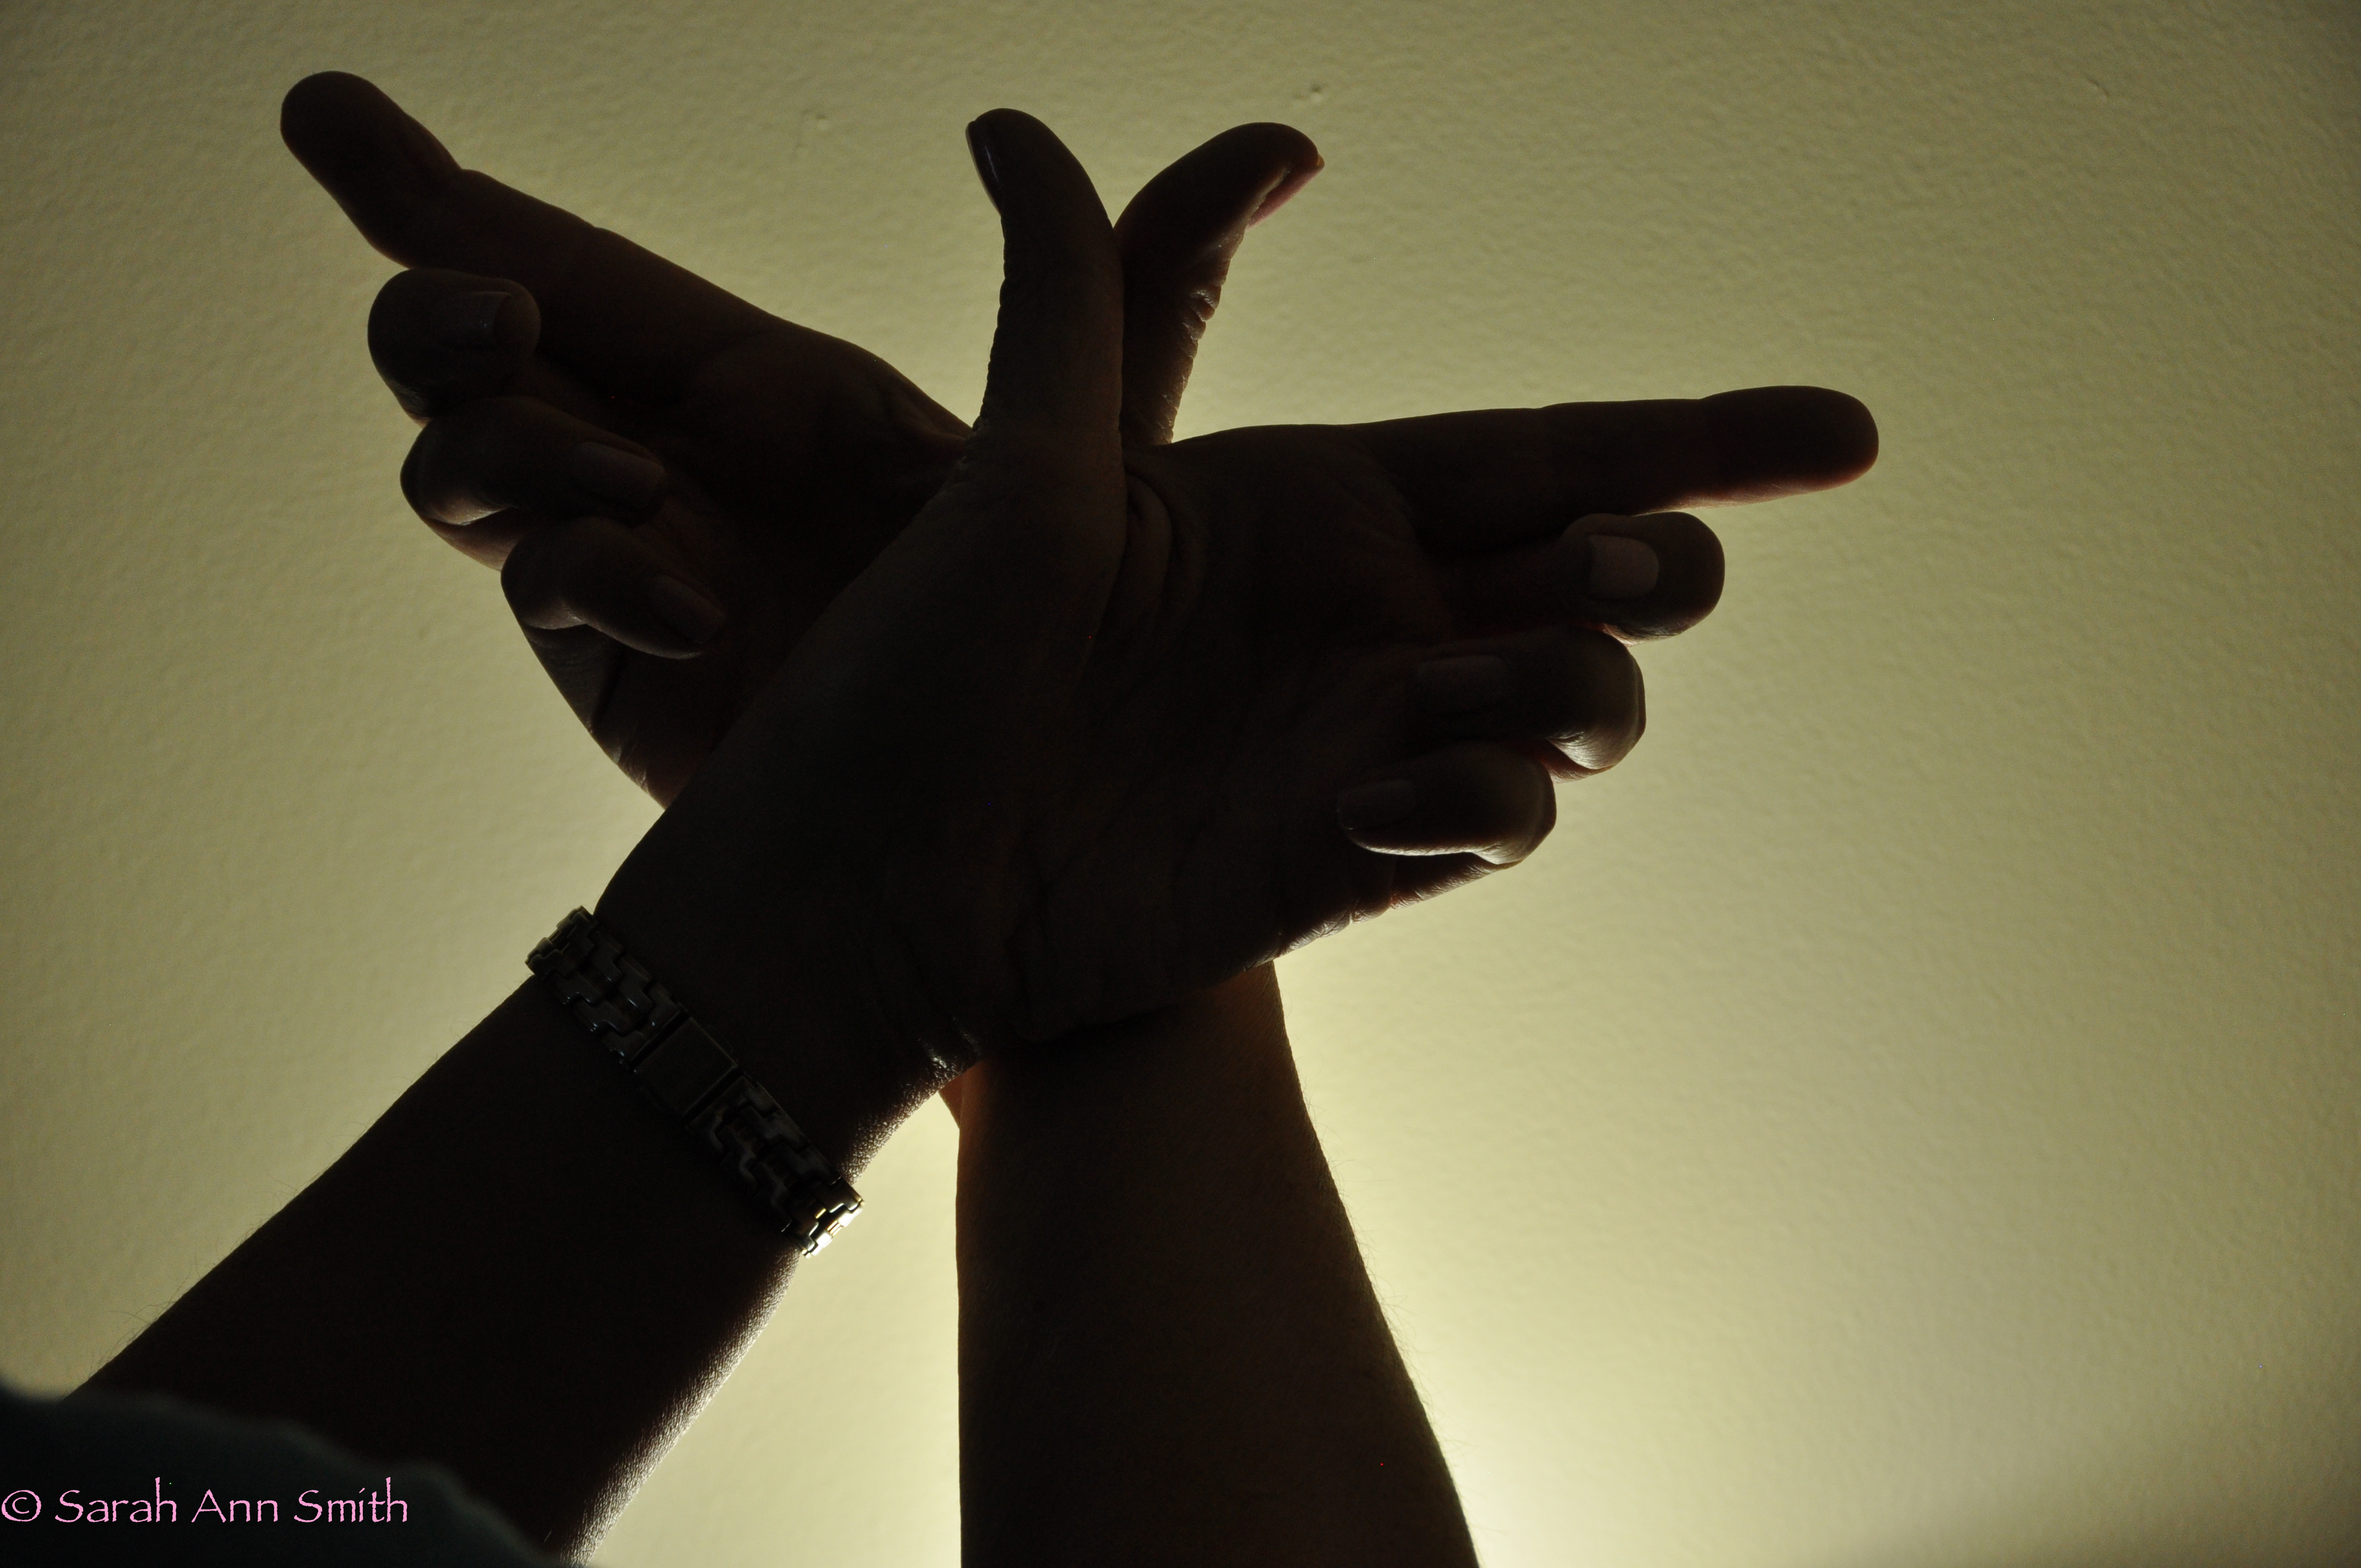
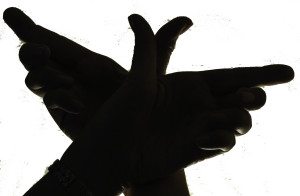
7. Dragoon hubby into taking shots of my hands as a bat (after google searching). Set up light and tripod/camera etc first.
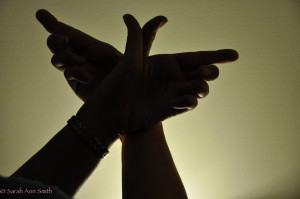
The original photo of my hands. Had a photography (for quilts) light shining up to get a sharp silhouette.
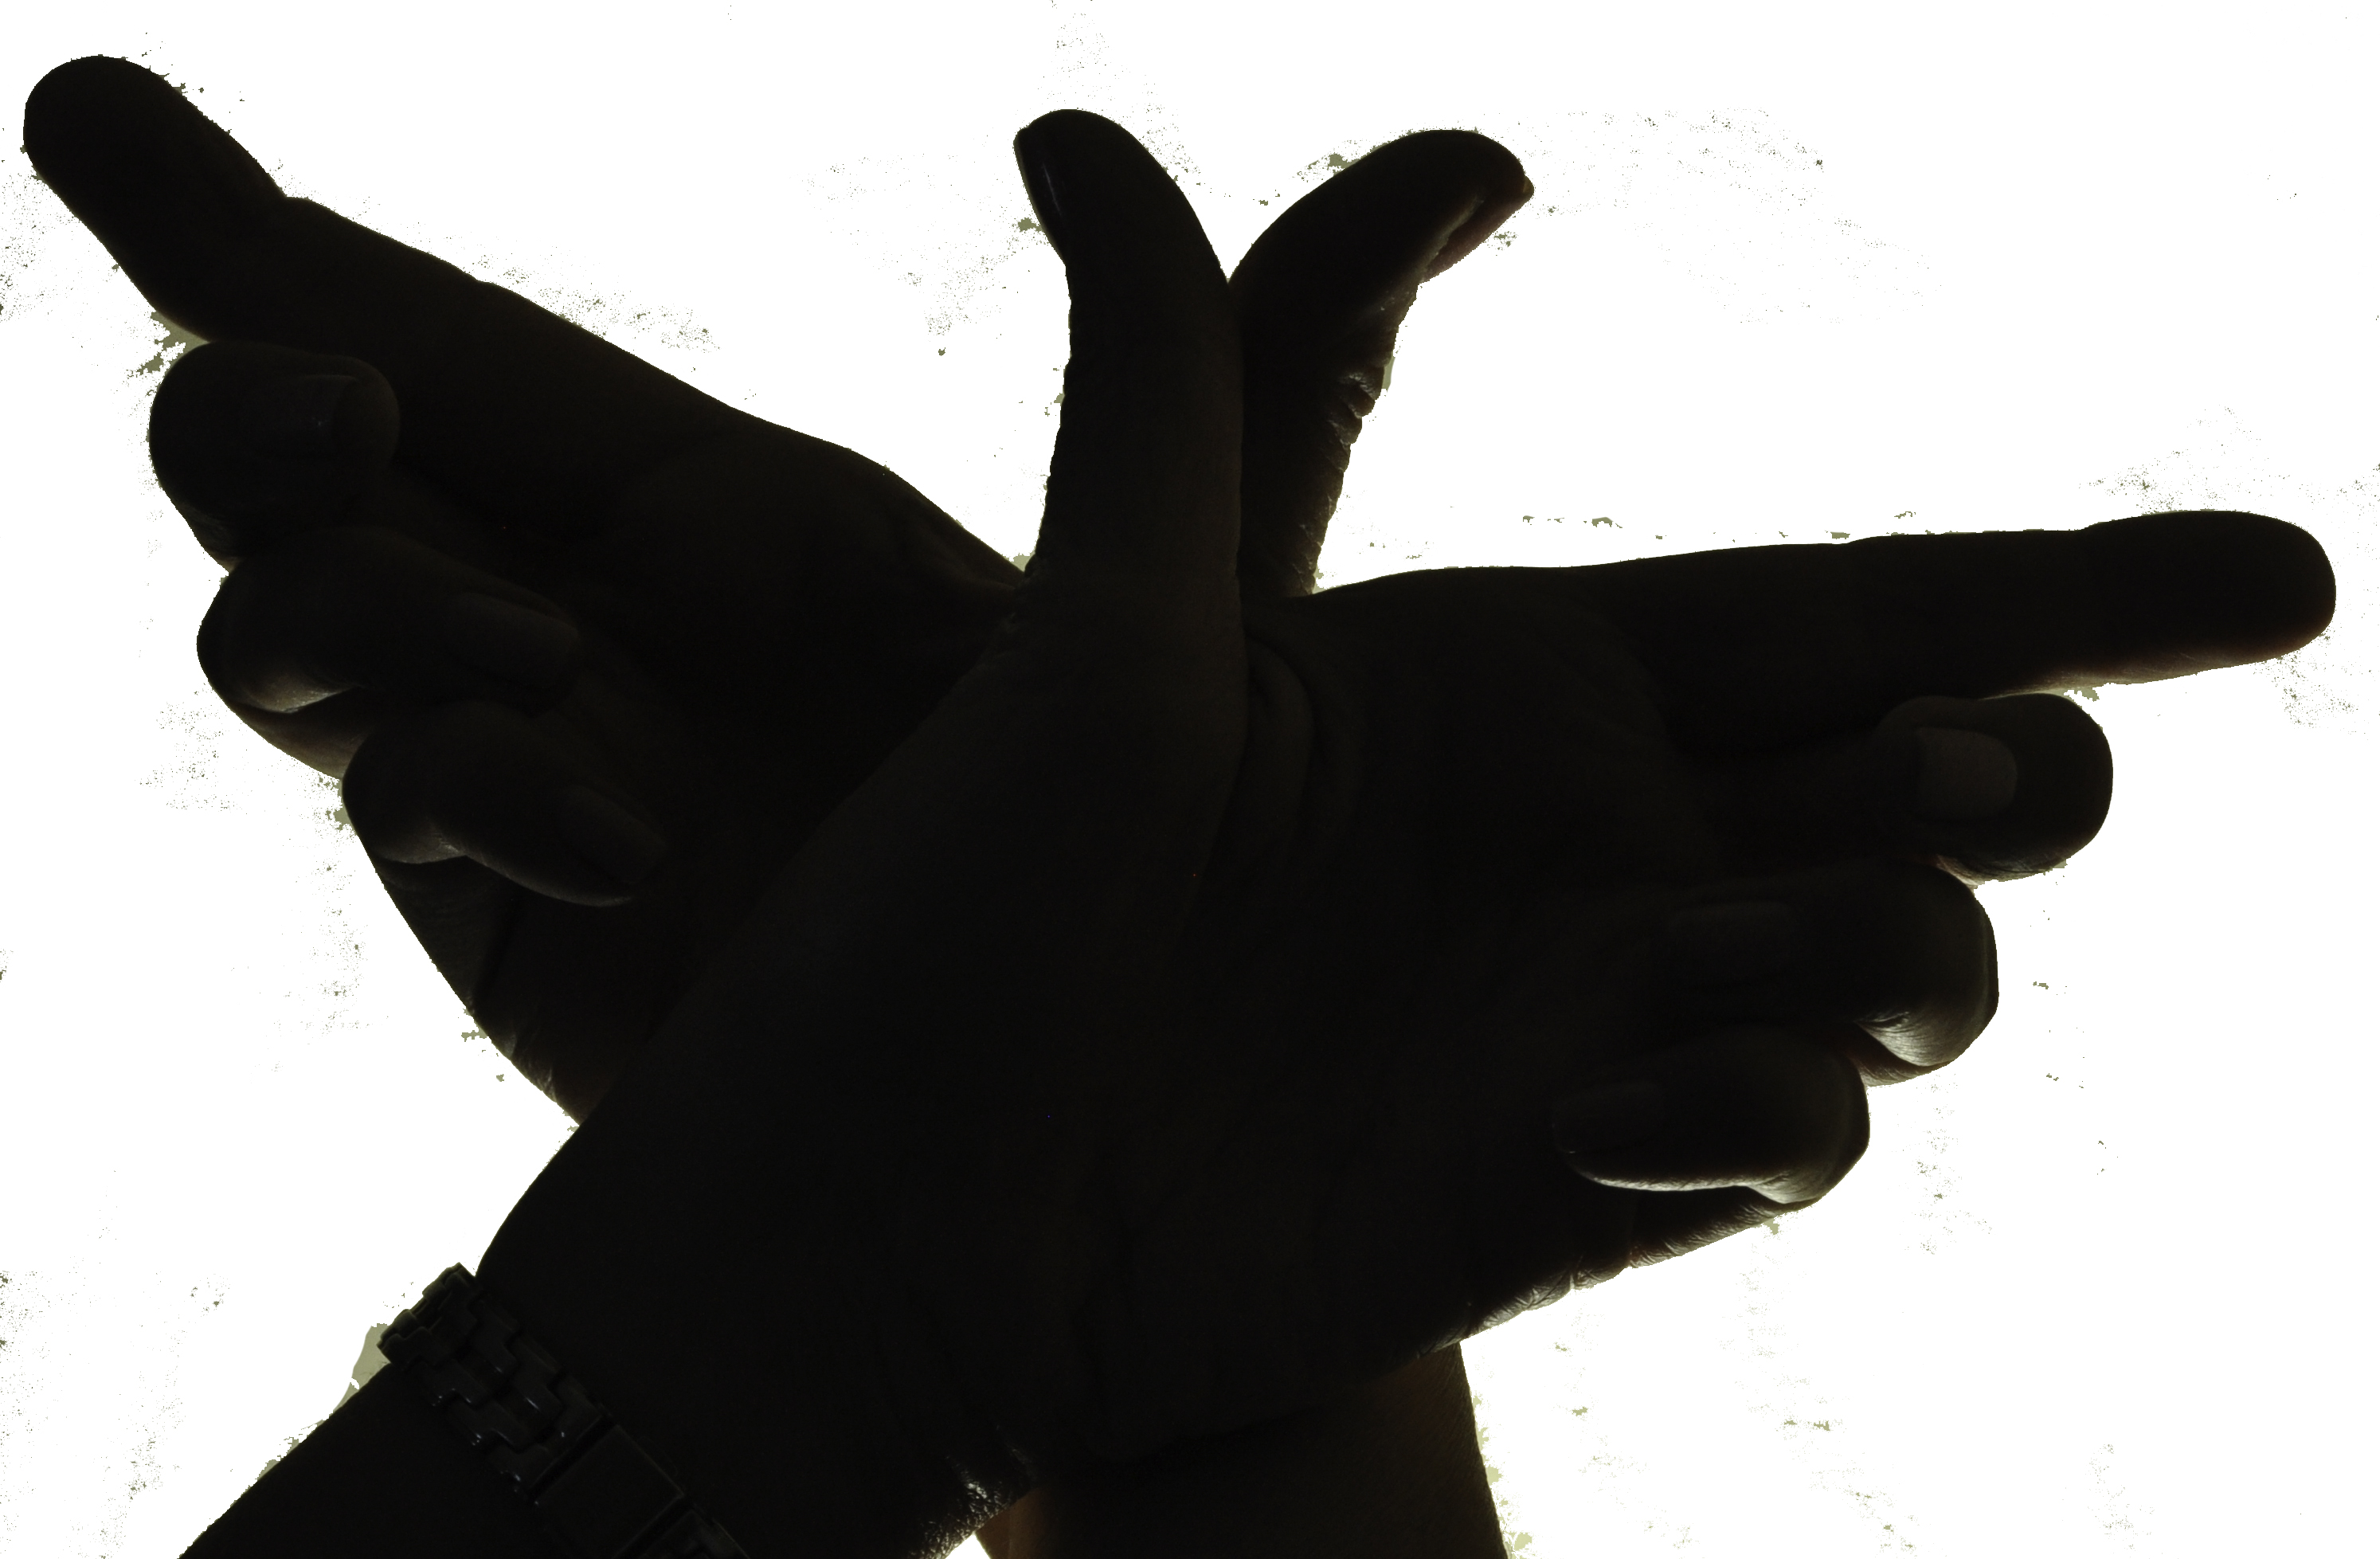
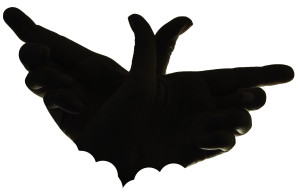
8. Remove background around hands. Reduce opacity, use burn tool to knock back highlights on my fingers.
Background removed.
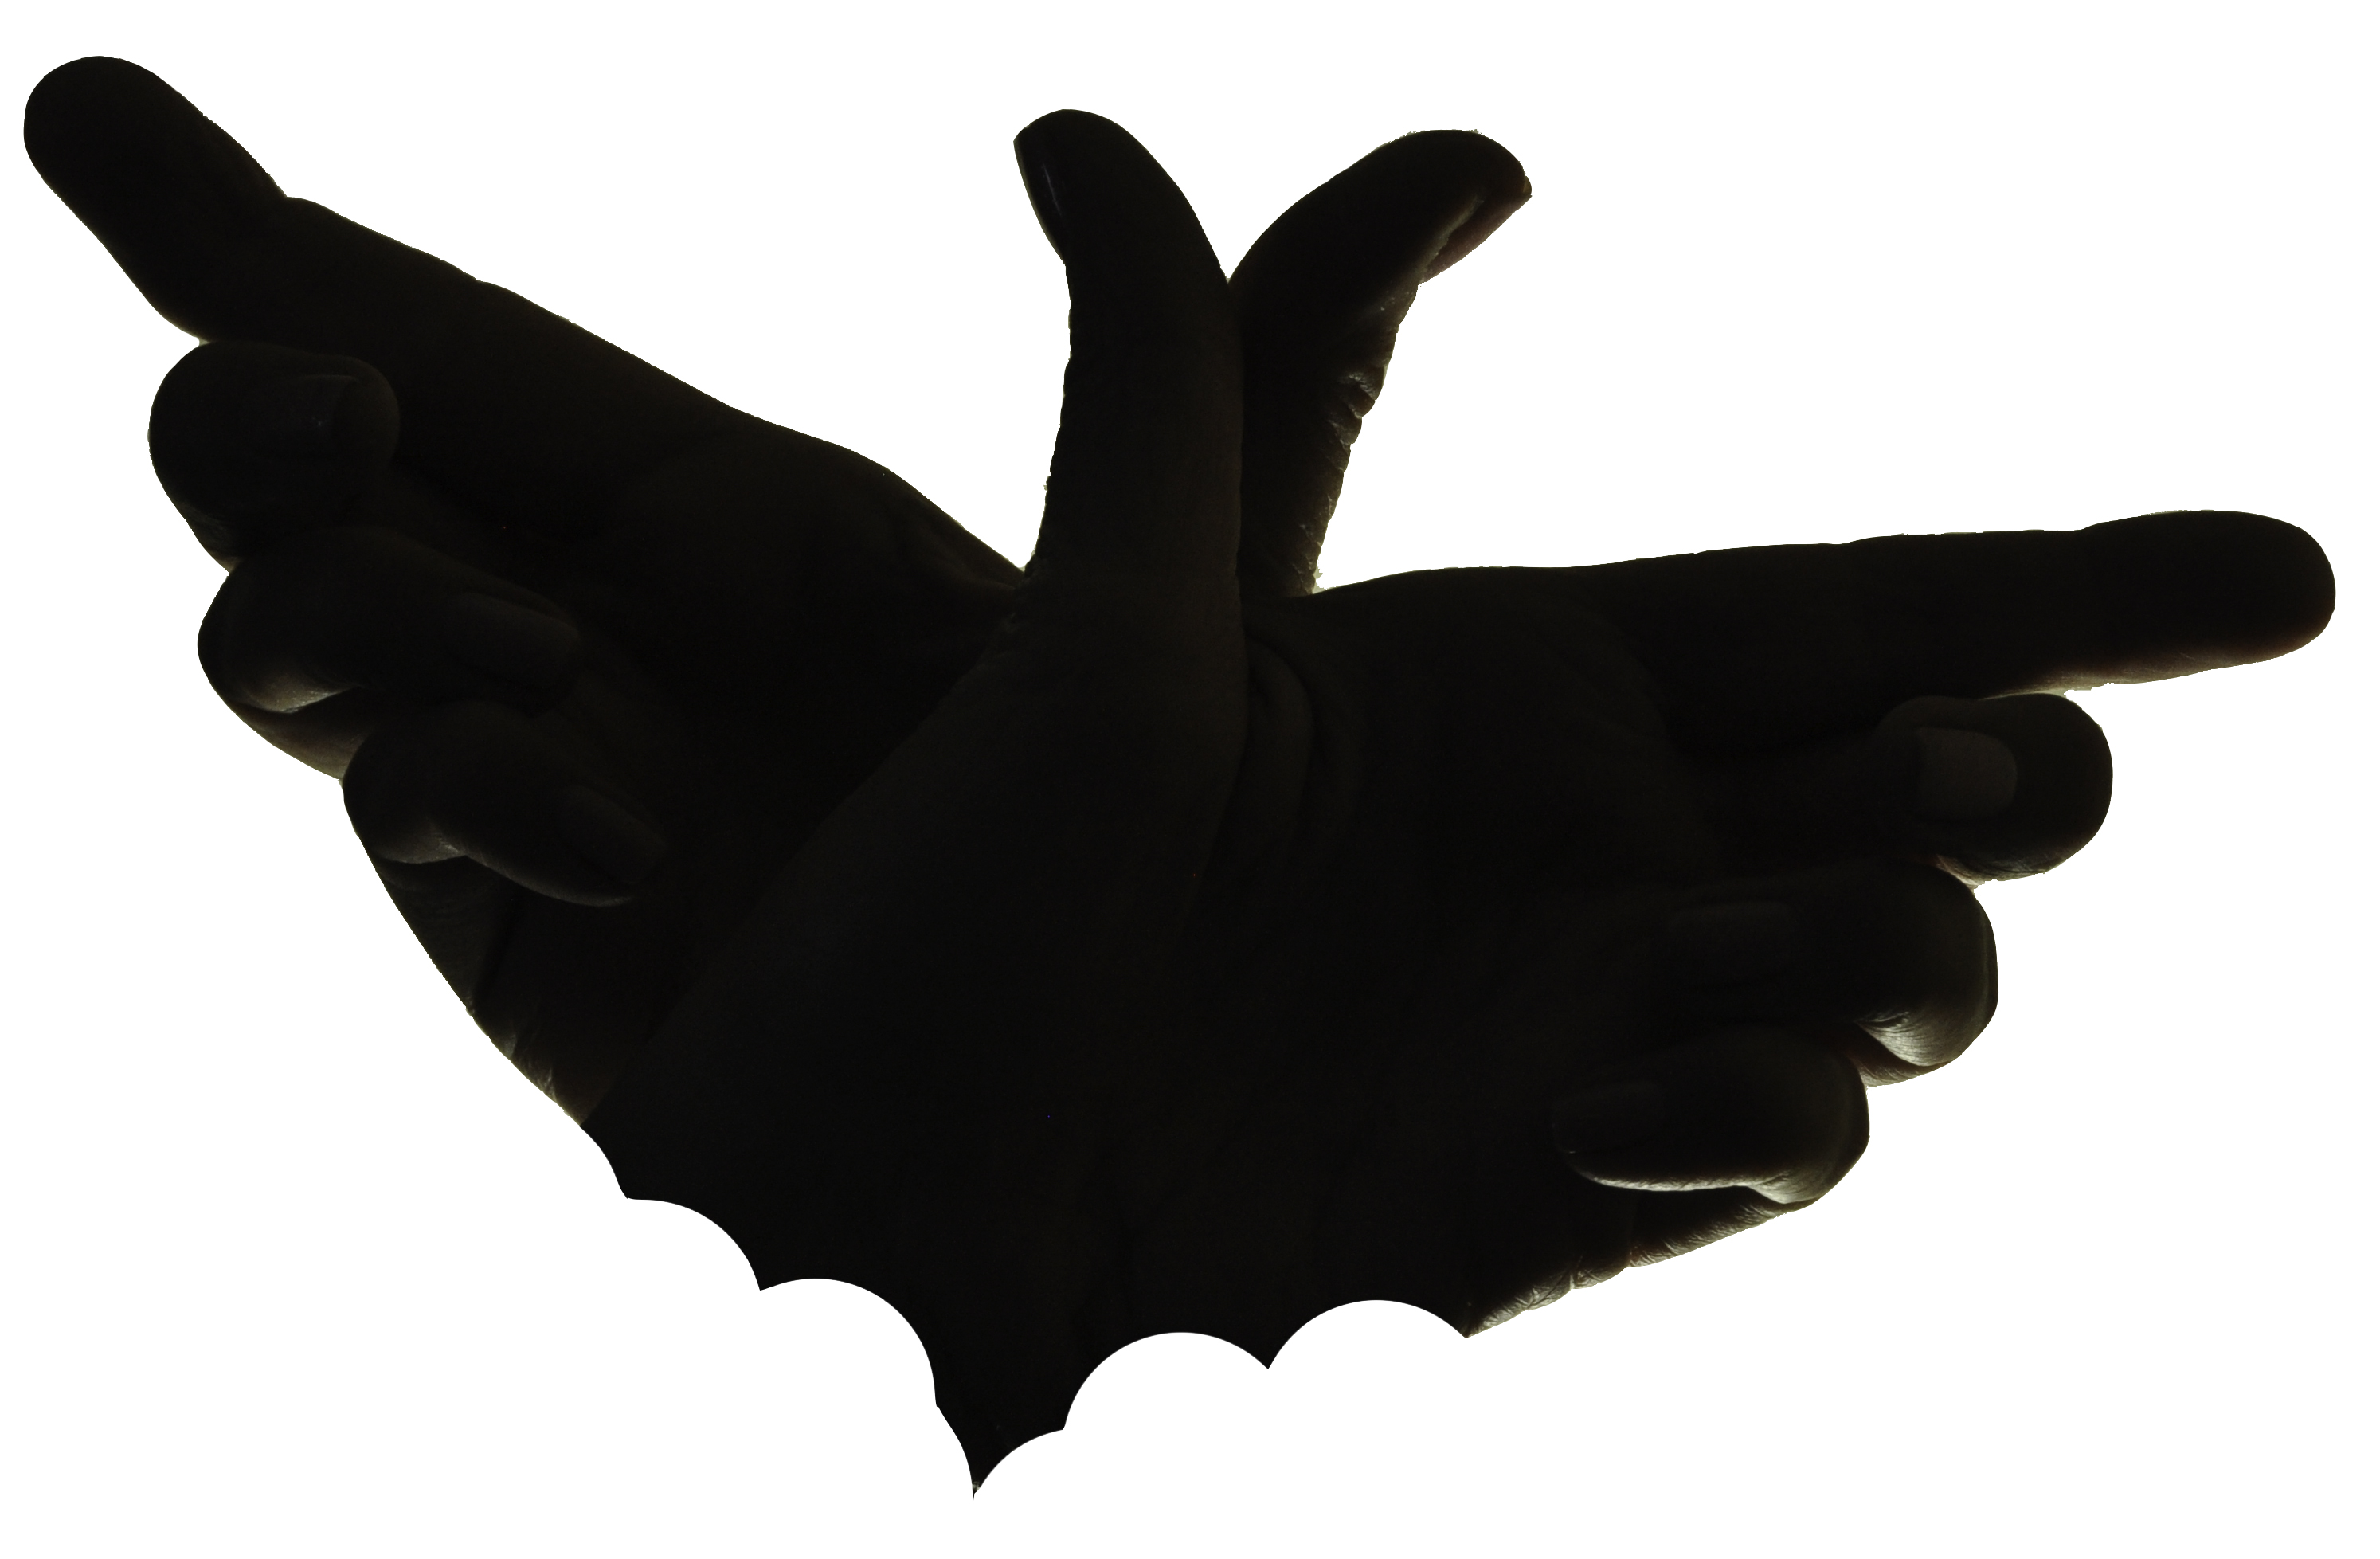
Edit out arms using a large hard-edged eraser brush to create wing scallops.
Presto chango, let there be a bat.
9. Create multiple layers, using “transform” to scale and rotate to edit the “bat.” Mull over whether to have one or three bats. This is seriously one of those “just because you can, doesn’t mean you should” moments. Still not sure about one versus three. But after HOURS of edits, I’m going with three!
Time for lunch and other work!
The image of a thousand edits! I combined four images: a photo of the moon, two different photos on my iPhone of the willows shot on a misty dog-walkies and the flash fired, and the bats are from a silhouette of my hands, seriously edited. I’ll post more info below including a link to the original images in my Flickr November album.
So that’s it! My Flickr album for November is here, and for the page with all my albums is here.