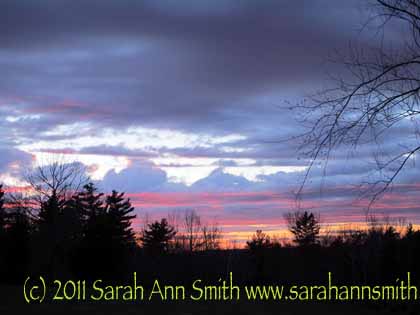
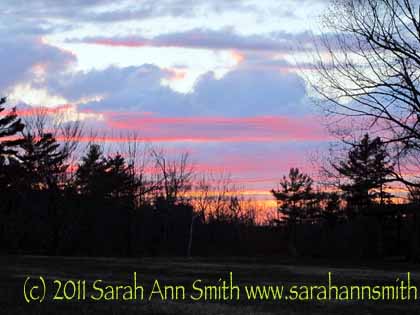
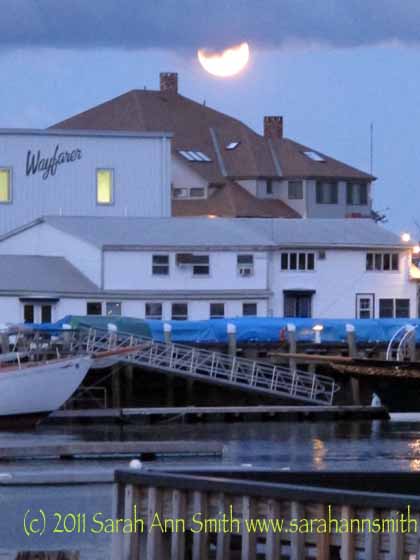
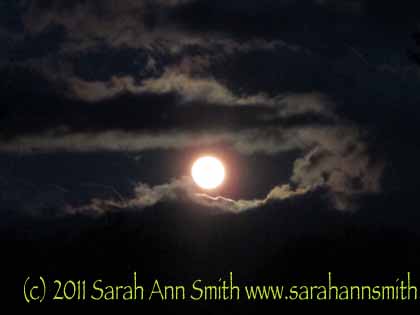
OH WOW am I in love with a new product and process! 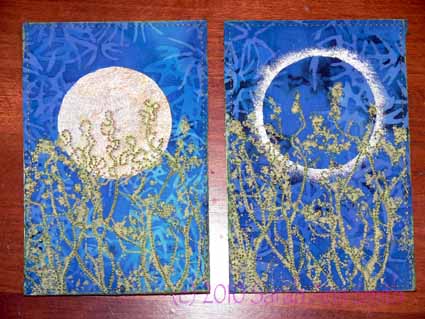
The product is called PhotoEZ and it allows you to make detailed screens for printing (on paper or fabric), such as the treetops in the fabric postcards in the picture above. The best place to get PhotoEZ is directly from art quilter Ginny Eckley at http://www.photoezsilkscreen.com/about.htm . Wonder how many requests Santa is gonna get now……
Many quilt artists now use Thermofax machines to make their own highly detailed screens for surface design printing. These machines were on their way to becoming dinosaurs and land fill when they were discovered by art quilters and tattoo artists. In both cases, the artists involved create intricate designs which are then “burned” into an emulsion-coated screen (or for the tattoo guys spirit masters). The process removes the image, leaving a screen to use for printing or, in the case of tattoo artists, for transferring the design to the skin to use as the guide for inking the tattoo. As the machines become more and more scarce, the price has gone through the roof: reconditioned machines now cost nearly $1000. Yes, one THOUSAND dollars. Plus supplies! My budget doesn’t stretch that far.
Well, a year ago at Quilt Festival in Houston, I visited Ginny Eckley’s booth where she sold (among other things) the PhotoEZ screen kits — a starter kit is $37 — and materials. Here is a picture of my kit and the photo I used:
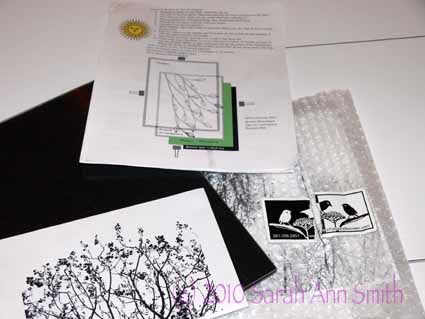
PhotoEZ kit, instructions and on the bottom left my image
Ginny told me she likes PhotoEZ so much she actually SOLD her Thermofax machines because she no longer used them. Rather than carry the stuff home, I opted to order the supplies from Ginny (here) and have them shipped to my home. One key thing: You need to refrigerate the screen material to keep it fresh! I have a flat baggie on the back wall of my fridge, behind the shelves, to keep mine fine.
After a year, I FINALLY got around to trying it out. I was concerned because I don’t have strong sunlight up here in Maine most of the year the way Ginny does in Texas! But I used my tulip-lights that I use for photography and they worked fine. When I asked Ginny a couple of “how to” questions this year at Festival, she said she uses a light box most of the time, so this makes the process accessible for everyone (not just those of us in sunny spots). In addition to the detailed info in the kit, you can find even more instruction on her website.
I had forgotten that the kit included an inkjet transparency sheet, so I fiddled with my photo of treetops in spring in Photoshop Elements (to turn it into a crisp black and white image) and printed it on paper. The trick was to figure out the correct time under the lights to get the screen to burn. I thought I had messed it up, but was elated when I did as instructed and popped the screen into the sink:
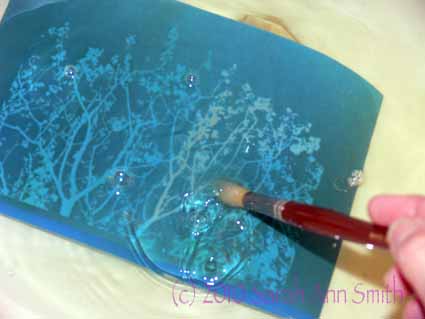
The image began to materialize; I used a soft paintbrush to swooosh away the area that had "burned" where the black ink reacted with the emulsion
Anyway, here’s another view:
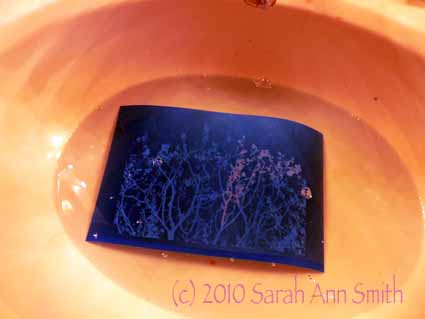
Part of the burned emulsion removed (lighter area), the rest to be removed
And here are the fabric postcards, for a “circles” swap I recently did, in process:
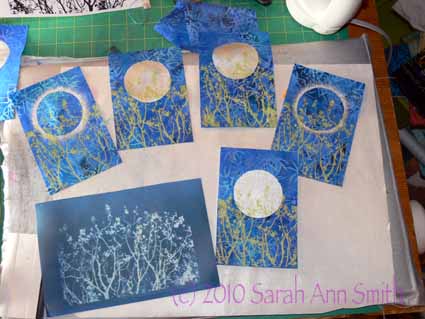
five of the postcards screened, with the full screen on the lower left
The moons and eclipse glow were done with freezer paper stencils using Lumiere paints, and the treetops were screened with Jacquard Lumiere Citrine (the lime green color). I REALLY like the squeegee that comes with the kit…it was JUST the right balance between firm and soft for me.
What I learned:
- I LOVE THIS PROCESS!
- And it costs a fortune less than a Thermofax. It isn’t, however, cheap per screen, but it will work and cost less per screen I think than a Thermofax.
- Spring for the extra cost for transparencies for your images. Then you don’t have to guesstimate the exposure time for your screen. With a clear sheet, exposure time will be consistent. If you print on paper you have to think about how heavy the paper is and how much it impedes the light working on the emulsion-ink reaction.
- Play with your image and print it in black and white (to make sure you like how it turned out) before printing it onto the not-as-cheap-as-paper transparency.
- Think about your images; in my case, I deliberately took the photo with only sky behind the treetops to make the photo editing process easier.
- Clean your screens promptly so the paint doesn’t clog the screen permanently.
- There is a learning curve about how much paint is enough but not too much; like most things, it takes a bit of practice and testing the various consistencies of paint
- I’m gonna do more of this!
PS–I am not affiliated with Ginny in any way. I just really liked the product and process! I surfed around online and Ginny’s prices seem to be the best out there. Plus she’s a quilter! While you’re at her site, check out her artwork, here. Her newest work uses the screens and is amazing (click on the New Work button).
And a last look at all the “circles” postcards:
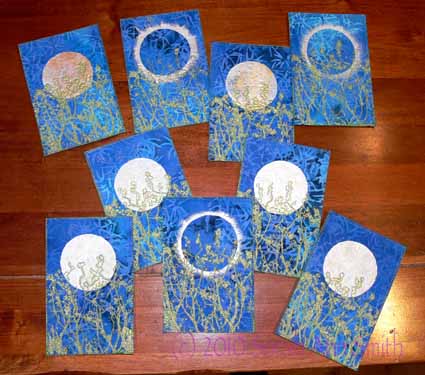
Spring Moonrise and Spring Eclipse postcards

