These past few months have been more than amply filled with family and household responsibilities, and precious little time for creativity and art. But I did eke out a few moments…over the course of two weeks! (these ought to have been done in a day or two..tells you what my days have been like) to make some mistletoe ornaments for my Frayed Edges Friends (we are, by the way, getting a rather lovely collection of ornaments we have swapped over the years).
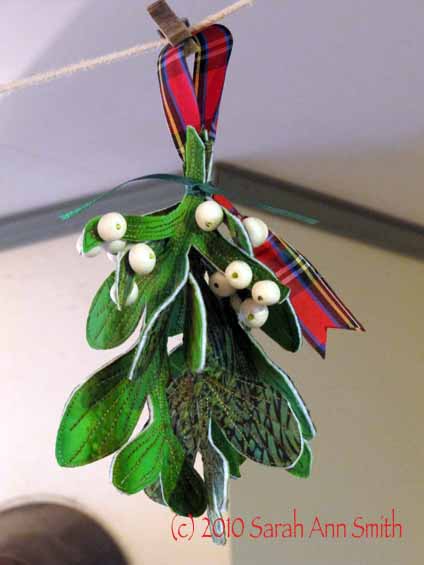
Photographed at Kate's house, the Mistletoe ornament pattern is by Susan Brubaker Knapp, in the 2010-11 Quilting Arts Gifts magazine
When I received my author’s copy of Quilting Arts Gifts 2010-2011, I immediately paged through it to find my article, but on the way was immediately stopped by Susan Brubaker Knapp‘s wonderful mistletoe ornaments. Susan and I have only met once “in the real,” in Houston (where else?), but have become friends via internet. I was thrilled when I looked at the credit to see that these beauties were her pattern!
Of course, could I make it just like the pattern? Not quite….. I used a slightly smaller pattern (I think now I like hers better–more room between the leaves…since I haven’t seen “live” mistletoe in decades tho, I wasn’t sure about the branching pattern on the leaves).
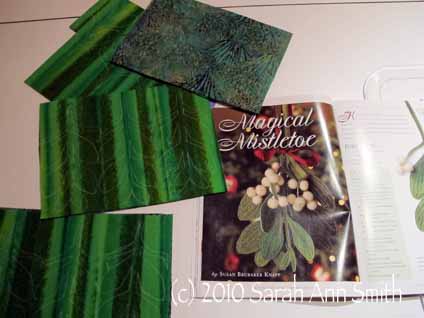
My leaves ready to cut out, and the big photo from QArts Gifts issue
Also, when I went to make these just before our Frayed Edges meeting, I realized I didn’t have either the 1 cm white wool balls Susan used OR the variegated light green floss OR anywhere to buy them locally AND not enough time to order stuff. So what did I do? I made it up!
I promptly thought of my polymer clay (neglected for a couple years in a box), and dug out my translucent and Pearl white Sculpey III (I think that was the kind) and made round white beads. LOTS of them. Think 7-8 for each sprig, with three sprigs per ornament, times four ornaments…… folded up some parchment paper into “Z” folds so the little pesky things wouldn’t roll in the tray while going into and out of the toaster oven. And since I couldn’t sew through wool beads with floss and make a lovely French Knot like Susan, I used green seed beads (a couple colors) as a “stop” to secure the beads to the stems. I think Susan had quite a few more berries per ornament than I did, and if I had had time I would have made another bazillion beads, but not enough time! Oh well!
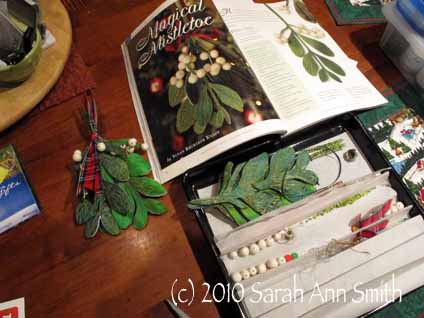
Here's my "work station" on the dining table, with the polymer clay beads I made in the "Z" fold parchment, waiting to be sewn on to the ornaments. Wear a thimble!
Then I didn’t have lovely silk ribbon like Susan, or a place to buy any, or time to order, so I dug through my ribbons and tidbits box and found the plaid ribbon. It’s not great quality ribbon, but it looks PERFECT. I tied an overhand knot about halfway down to make a hanging loop. Then I used some 1/8″ wide green satin double-faced ribbon (from JoAnns) to seriously tie together tightly the three branches of mistletoe and the plaid loop. I made sure the knot of the loop was below the tightly-tied green ribbon so the loop wouldn’t pull up and out.
Here’s the three I gave away—mine had to wait until later to get finished, but it did make it onto the tree before Christmas!
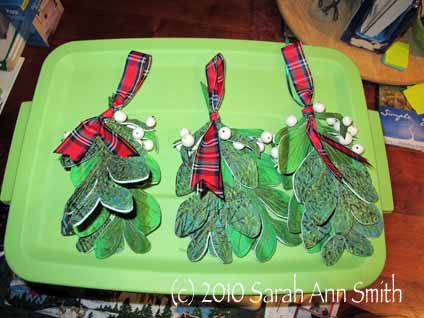
3 mistletoe ornaments, and MANY polymer-bead-berries
And a close up:
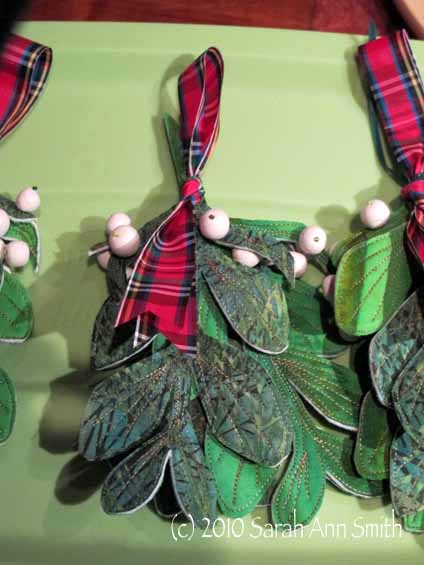
On mine I tried painting the edges as I wasn’t certain about the white. What a PAIN! I finished my ornament that way but it was so fiddly getting the brush between the edges of the leaves that I decided to skip that. And Kathy said she really liked the spark of white…good! Also, I used a heavy 35-wt cotton thread–heavier than I usually use–for the quilting. I had bought some of Superior Thread’s King Tut line (the Bullrushes color) for a class for kits, and had a bunch leftover. It was perfect, used it top and bobbin!
Best of all was when Kate just gasped….she had bought a similar ornament at a craft fair for the Mother and SO wanted one for herself but was good with the budget and didn’t buy one. So she got one anyway!
Thanks Susan for a really WONDERFUL ornament!
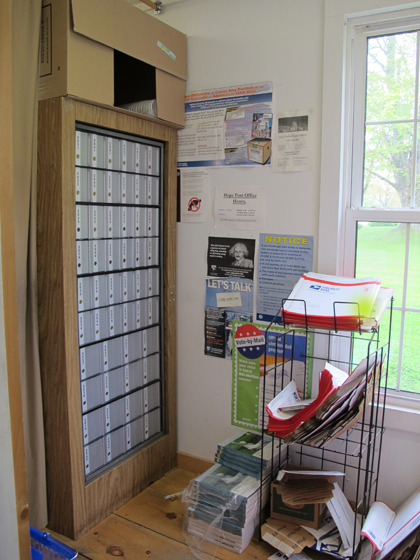 That’s it…our entire “post office.” It is at the back of the General Store (seen in this blogpost). I was mistaken earlier…it is larger than I thought. We have a whopping 36 regular post boxes (alas the utterly un-charming ones) and 16 “larger” ones. The mail is handled and delivered through the Camden, ME, Post Office, which is fine by me… love going in there!


