email Youtube

Home
Galleries
Blog
Workshops & Calendar
Store
Resources
About
Contact

Archive for the ‘Frayed Edges’ Category

Printing with Leaves

Friday, October 31st, 2008

A while back, I blogged about preserving leaves with glycerin and freezing for later printing (as in during winter when there are no leaves on the trees), here.  I was fortunate to be able to demonstrate leaf printing at Open Studios, part of the Make It University section of the International Quilt Festival in Houston, on Wednesday evening.  I’d like to share here what I did, and include some written directions for those who were able to stop by my table and who surf in to my blog.

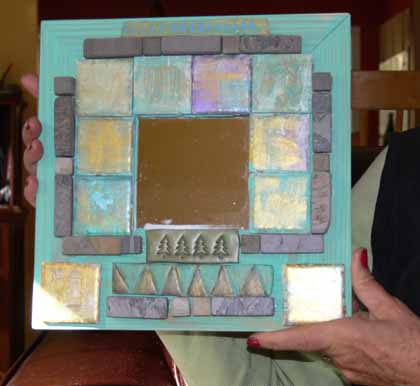
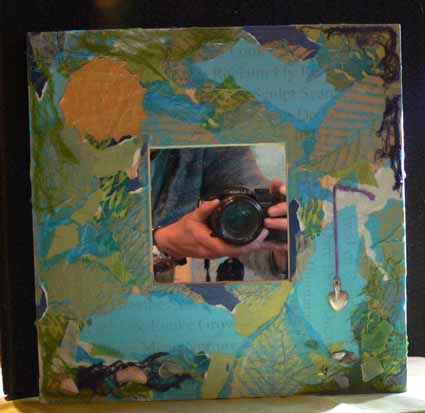
Mixed Media Mirror with leaf print tissue

Since the MIU is about mixed media, I decided I had best do something mixed media, even though that is SO not me….   When Deborah flew up to Maine and we all got together (see the post here), Hannah gave us all Ikea mirrors–the cool square ones with the wide wooden frames.  I decided I’d do a mixed media thing, since that is what Hannah loves, and do some leaf printing on paper as well as cloth.  I then used some papers from a journal kit Deborah made and gave us all one Christmas, then added a milagro Kate brought back from a trip to the southwest a couple of years ago.  Finally, I asked Kathy for some of her dyed cheesecloth–I wanted to add something that was from each of the five of us. The result is above! I LOVE IT!

Late note:  after writing this post but before taking the picture, I remembered the sea glass and shells we collected this summer with Hannah down at a beach / cove not too far from her house.  I decided to add some to the bottom of the mirror and love the addition (I used K6000 glue…the stuff that I think could hold up a roof).  I also like the reflection of my camera and hands!

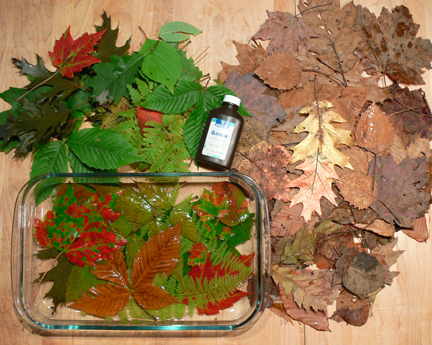
Here is what the leaves look like soaking in glycerin… I use about a one part glycerin to four parts water solution, but I’m really slapdash about it… I pour the glycerin into the lasagna pan,  add enough water that I’ll fit all the leaves.  If the water feels watery and not slippery like glycerin, I add more of the latter.  Very scientific.  Ahem.  The green leaves are fresh; the brown ones were collected brown about 4 years ago…they’ve been in the freezer all this time and still work for printing!

Glycerin leaves

To do your own leaf printing, first you need your supplies:

•    Textile paints
•    Fabric or paper for printing
•    Sponge roller
•    Soft rubber brayer
•    8×10 glass, edges taped or plastic page protector as a palette
•    Sponge paintbrush
•    Leaves, clean and dry
•    Paper towels, parchment or other paper
•    Plastic to cover surface
•    Lightly padded surface/worktable

The last time I dyed fabric, I used paper towels to mop up some of the mess.  They were so lovely I couldn’t toss them.  Then it occured to me to use them in my leaf printing and get a two-fer!

How-to:
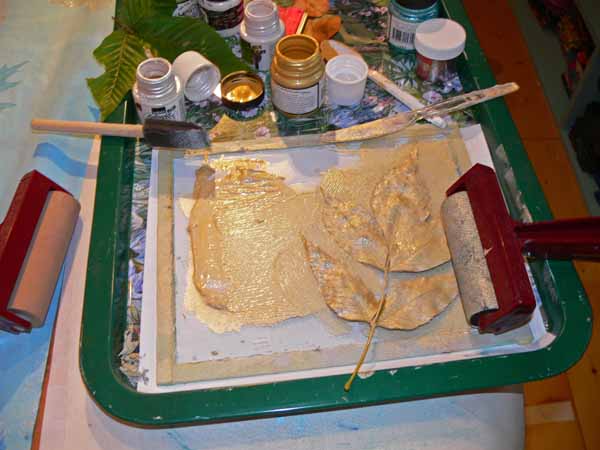
•    Squeeze or pour paint onto glass

roll the paint onto the leaf

•    Roll sponge roller to create an even coating
•    Place leaf bottom-side-up on clean / dry plastic and coat with paint; use sponge roller or paintbrush (as you can see, I didn’t do that…I just squished everything onto the glass)
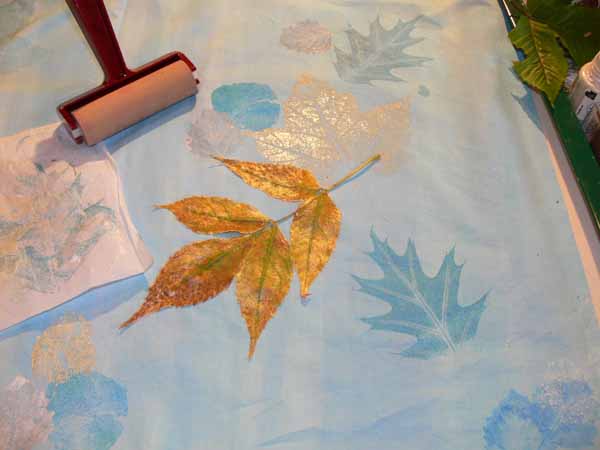
•    Lift leaf and place paint-side-down onto cloth or paper

leaf on cloth

•    Cover with parchment or other paper–I used the dye-soaked paper towels!
•    Roll over leaf with soft rubber brayer (seen at left in photo above) OR press with hands
•    Remove cover sheet and carefully lift up leaf (the gold thing is the leaf with paint on it)
•    Allow paint to dry and heat-set or cure according to paint manufacturer’s instructionsThe amount of pressure applied with a roller versus your hands differs.  A brayer will produce a finer, lighter print.  If the contrast between paint and cloth/paper is too subtle, add more paint or try pressing the leaf onto the surface with your hands.

Hope you like!  Thanks to Barbara Delaney and Pokey Bolton at Quilting Arts for  the opportunity to participate in Open Studios, and to Cate Prato for inviting me to submit some ideas for the Embellishments newsletter. Click here to sign up for the free newsletter.

The Frayed Edges, October 2008

Tuesday, October 28th, 2008

The Frayed Edges met at Hannah’s house in Harpswell, Maine, this month.  We missed Deborah, but had a wonderful visit amid the autumny leaves and air.  As usual there is a flurry of e-mails the weekend before about who’s gonna fix what…. Kathy asked if I’d share the recipe for the turkey kielbasa-potato soup, tho she was planning on making a pie already.  I quickly volunteered to make the soup, which I’ve mentioned on this blog in years passed….. Hannah had sumptuous, blueberry-laden muffins and coffee, Kate brought a salad with fresh baby organic spinach (from the acreage next to her house no less…fresh picked…handy having a farm next door!), bacon, blue cheese and a raspberry-vinagrette dressing….she and I cleaned the salad bowl.  Heck, I could have eaten the bowl myself!  I’ll post the recipe (from Janet Wright on San Juan Island, who got it from the cook at the Cannery restaurant years ago, in Friday Harbor…the legacy of this recipe is long!) at the end of this post.

Kath’s mirror

Last month, Hannah gave each of us these wonderful IKEA mirrors…they are about 12 inches square, with a 4×4 mirror in the center.  I’ll share mine in the next post, on October 31…but for now you can revel in Kathyu’s wonderful mixed media piece made of painted 2×2 ceramic tiles from Home Depot, some stone tile (same place), and some Fimo clay tiles that Kathy made!  I  LOVE IT!

I shared my leaves table runner and my Batiki bird, which shipped off to Lark books on the 23rd, for inclusion in a book that will come out late next spring…hmmm…. I see I haven’t blogged about it…OK, will do that in a week or so!  Hmmm….only have in-progress pics of the table runner on the blog too…gee….you’d think I’ve been working instead of blogging LOL…OK, I’ll share that one too!  Give me a chance to take pics and write the blogpost…..

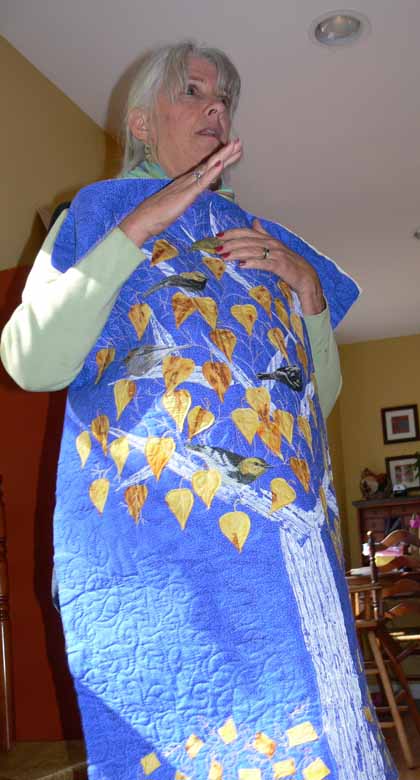
As always, Kathy shared her latest project, still in progress…. to get an idea of the size of it I’m including this photo, tho it isn’t the best:

Kathy with tree quilt

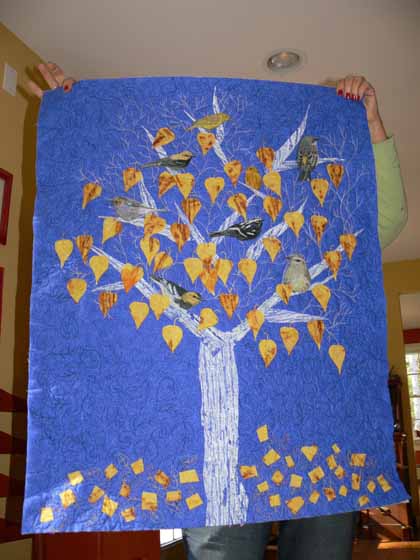
Here’s a better picture of the quilt…..

Kath’s tree quilt straight on

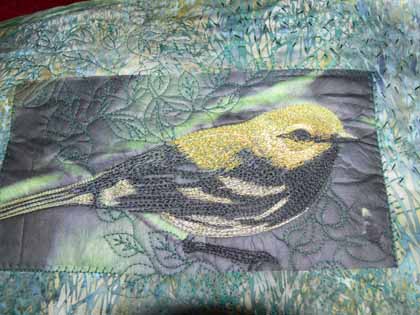
Kath is using this cool technique of printing the birds onto tissue paper, fusing them to the quilt, then stitching the daylights out of them….yields a very accurate, realistic and stunning bird.  You may have seen this picture already over on Kathy’s Studio in the Woods blog:

Kath’s bird

And here’s the crockpot soup recipe:

  •  Most of a 5 pound bag of Yukon gold (or similar) potatoes
  • 1 yellow onion, chopped
  • some butter and a dribble of oil
  • 1/2 pound turkey kielbasa (buy it in a 1 pound package, freeze the other half)
  • 8 cups chicken broth / stock (more or less)
  • 2 bay leaves (if desired)
  • pepper
  • stoneground mustard

Scrub and cube the potatoes into pieces, a small potato can be cut into four, a larger one into pieces that are about 1 1/4″-ish square-ish …just cut them up!  Place into large crockpot (turned off at the moment). My crockpot will hold a 5 pound bag minus four or five potatoes–this brings the potatoes to about 1 inch below the rim.

Slice kielbasa in half lengthwise, and again so it is in four quarters.  Cut into 1/2″ chunks.

Add butter and the dribble of oil to skillet  and saute onion until clear.

Push onion to outer edges of skillet

Add some of the kielbasa and brown.

Push that kielbasa to the side and brown more…if pan is too full, dump onion and kielbasa into crockpot.   Brown remaining kielbasa.

Pour a cup or so of the chicken broth into the pan to deglaze.  Turn off heat under skillet and pour contents into crock pot.

Add enough broth / stock to cover the potatoes…pretty much up to the very top of the crockpot.   While adding the broth, stir to mix up the onion and kielbasa througout the potatoes.

Add 2 bay leaves, pepper and whatever else you’d like to season with.

Turn on low for 12 hours; OR turn on high for 1 hour, then to low for 6 hours (or low for 6 hours, then high until the potatoes are tender).  When I make this for the Frayed Edges, I make it after dinner the night before and let it cook all night.  It is obviously not on while in the car, then I plug it back in at our destination for the day.

Just before serving add a large dollop of stoneground mustard, to taste, and mix.  I love the tangy goodness (this is the secret ingredient that makes this soup glorious)… I know it is odd… you don’t actually taste mustard, just flavor!

I’m SO GLAD they like this soup, as my family pretty much doesn’t, and an entire crockpot full is too much even for me (it’s about a week’s worth of meals!).

Fields of Gold is going to Art Quilts XIII

Friday, September 26th, 2008

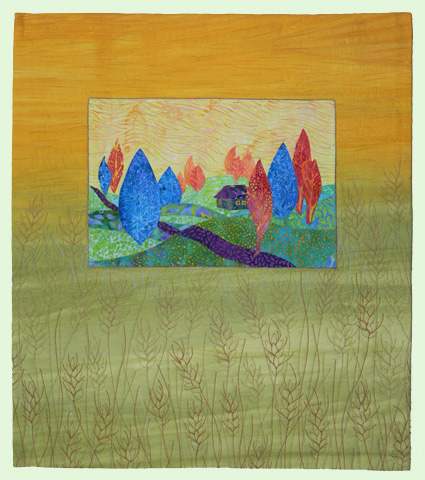
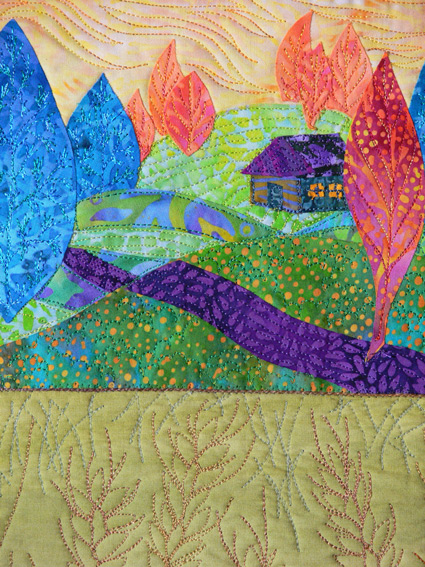
To my utter astonishment and delight, one of my newest pieces–Fields of Gold– (finished in the nick of time) has been juried into Art Quilts XIII at the Chandler Center for the Arts in Chandler, Arizona.  Actually, if I tell the total truth, the facings weren’t even completely sewn down when I took the photos for my entries!

Fields of Gold

I am mind-boggled to find myself in the company of so many of the leading art quilters today…. the list of those in the show is here.

A little bit about this piece:  I had designed the center part, which I called Sunset Trees, for a project / exercise for the applique section of my manuscript.  It is 9×12 inches (or thereabouts) and I intended for it to finish at that size…small and easy to manage as a learning exercise.  Then, I was able to help my friend Lisa Walton of Dyed and Gone to Heaven (Sydney, Australia) get an entry into the IQA / Festival at Houston when she unexpectedly got a quilt finished and photographed in time, but not enough time to mail reliably (i.e. quickly) from Australia to Texas.  I told her not to send anything, but she did anyway…a metre of her glorious hand-dyed fabric that ranged from rust to gold to green.  I pinned the fabric up on my design wall, next to Sunset Trees, trying to figure out how to make a journal entry for this year.  I couldn’t think of anything that wasn’t trite (the black silhouette of an Aussie cowboy and outback house against the glowing sun…been done well by others, and too many times).  Then I realized that if I used one section of the piece, it meshed PERFECTLY with Sunset Trees’ background.

Then I mulled over the quilting… at first I thought of blowing grasses.  Then, in the back of my mind, the song Fields of Gold by Sting came to mind.  I knew I had seen a quilt named after that song somewhere…and when the Frayed Edges got together in early September I mentioned it.  Deborah piped up:  it was on my blog!  I did one!  So here is Deborah’s version!  To me, the wheat fields of late summer /autumn are Fields of Gold, so I googled wheat images, learned that some wheat has the really long whiskers, other varieties have shorter, fewer whiskers, etc.   I think my favorite part of this entire quilt is the wheat quilting!  Once again, I seem to be moving toward nearly wholecloth pieces that are drawn with thread…. Here’s a detail:

Fields of Gold detail

Enjoy…now back to working on the Elusive Crested Batiki Bird, a small piece I’m doing for another Lark book on small quilts.  Cheers!

The Frayed Edges, September 2008–parte tres: Mandalas!

Sunday, September 21st, 2008

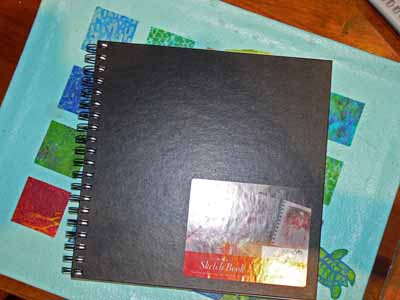
square notebook

Earlier this year, four of us (Deborah was in Texas) were able to drop in and say hi to Natasha Kempers-Cullen (one of the early leading art quilters, been in Quilt National, website here), whom Kate, Hannah and Deborah know… I blogged about it here.  After that visit, we talked about how fun it would be to do a day workshop when Deborah said she would be able to come visit!  Our schedule and Natasha’s fortunately overlapped on just the right day, so on Monday, Sept. 8, we trooped on over to Natasha’s studio at her house.   Our supply list included a square sketchbook / notebook, and art pencils, pens, pastels, watercolors, whatever.  I brought my Prismacolors, some Aquarelle / watercolor pencils, a waterbrush, a few fine-point sharpies (and went to Target afterwards to buy a whole set….ahem!), some old magazines and papers for collaging, and a lovely Canson square notebook.

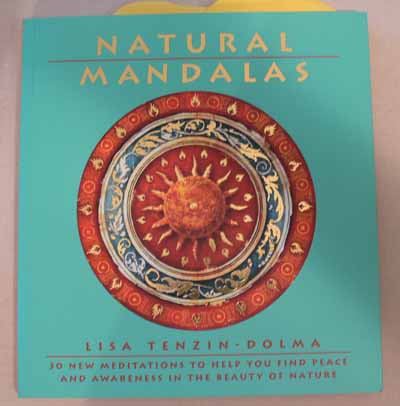
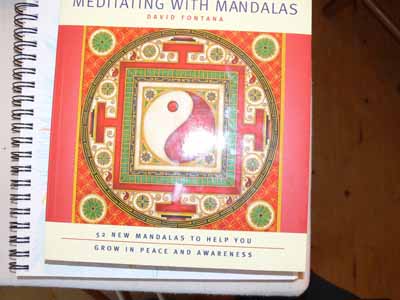
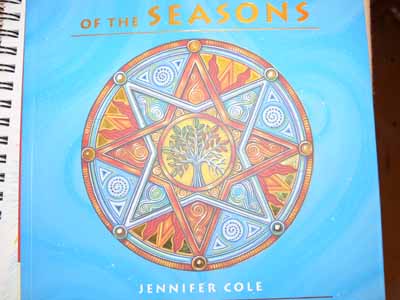
Natasha has some seriously cool books in her library, including these:

Book 1

book 2

book 3

I LOVED the artwork in this last one…good eye candy….

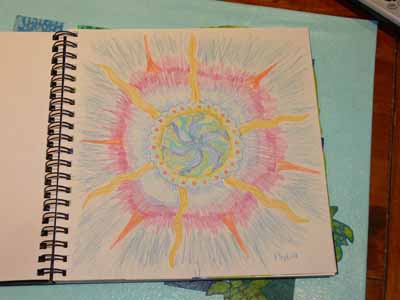
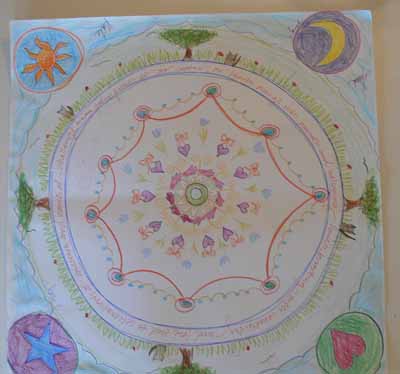
We worked quietly at first…which is of course hard for me.  I enjoy the camaraderie, but our first assignment was to take a half  hour and draw a mandala starting with a free-hand-drawn circle in the center.  Here’s my effort…so-so.  The center is OK, but I clearly rushed to fill in the outside.  Bleah. I don’t work well when rushed.

SAS first mandala

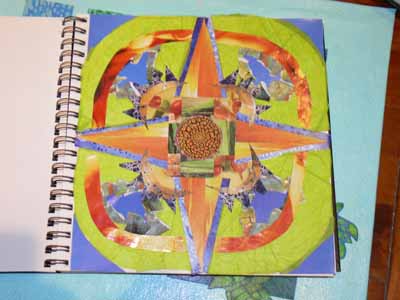
I liked my second one, a collaged piece, better.  Natasha had a selection of small “centers” from which we could choose one.  I deliberately chose one in colors and texture I don’t normally work with.   Here’s how it looks:

collage mandala

I think the green overwhelms (at least it wasn’t where I wanted to go with this one), but it’s not too bad… I really like the shrimp soup bowl I cut into quarter-wedges….Due to the papers I had on hand, it became more of my Caribbean colors and less of the earthy thing I had intended when picking the center….no gardening magazines around, so no good supply of leaf greens and browns!

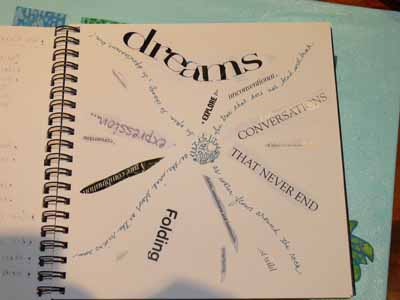
Then my words mandala:

SAS words

So for flexibility my words and phrases are:

(handwritten)

  • as water flows around the rock
  • the tree that does not bend will break
  • as the wind blows as the rivers run
  • be open to change, be spontaneous, live

(from magazines)

  • folding
  • wild
  • resurfacing
  • clarity, smoothness and luminosity
  • explore
  • unconventional
  • conversations that never end
  • of wisdom and knowledge
  • convertible
  • a rare combination
  • rejuvenation

Hmmmm….

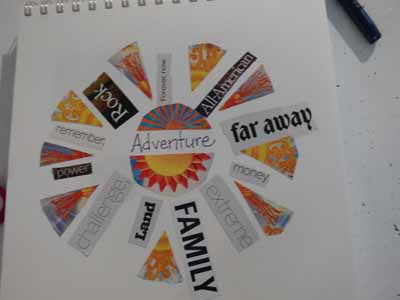
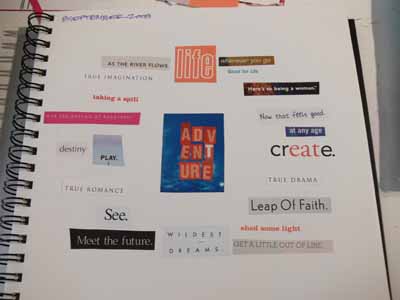
Natasha usually works with longer workshops, not one-day classes, so she had to abbreviate some of our projects, but gave us ideas to do for homework and exploration.  Then she had us pick a word…she has these angel cards with words like Freedom, Adventure, Flexibility, etc.   We had to write the word in the center of the page, then cut other words from magazines that interpreted the angel-card-word.  I got flexibility.  Hmmmm. So I used some very “expanded” definitions of flexibility!  Here’s that page:

Here’s Kate’s–seriously improved with color wedges

Kate’s words:

And I’m not sure who did this one…. ladies….help me out here–if I guess correctly from the handwriting, this is Deborah’s:

?? words

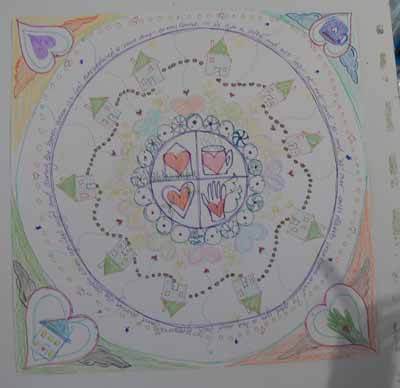
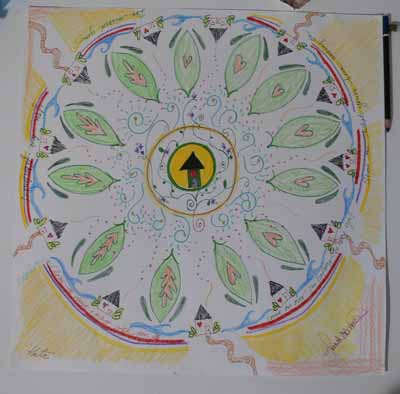
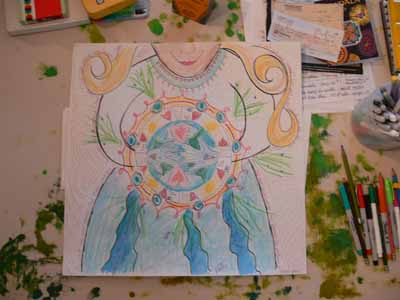
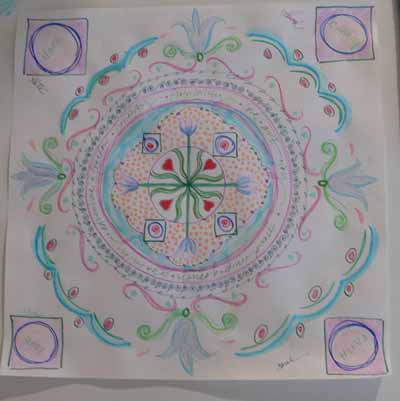
Our final project was a group exercise, with Natasha participating.  She gave each of us a large square of paper (about 20 or 21 inches).  We were each to begin with the center and draw something in our style and/or colors that interprets Friendship.  Then every 5 minutes we switched off the papers, doing two full rounds on each piece.  I think in the exercise book from which Natasha was working, they suggest 7 minutes or ten, but Kate needed to be home in time to meet her first grader at the bus, so we did the up-tempo version LOL!   at each round you pass your paper to the left, and then continue in the vein of the piece you receive.  The longer the process went on, the more freed up we became, working REALLY quickly to try to fill in and make the imagery or colors we wanted.  I was REALLY glad to have my watercolor pencils… I’d quickly scribble in color into a shape, then use my waterbrush to moisten and intensify the color.

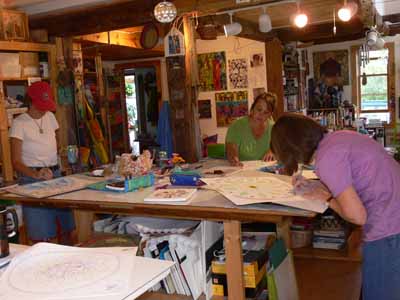
I’m NOT good at translating abstract concepts into specific imagery, or at things like this.  Once I got the first part over, tho, it was easy to simply do a round that was a riff on what someone had done before….   For friendship, I fell back on a tried but true:  I made a circle with an acorn in the center, from which five trees (us, duh) grow.  Here we are working madly, towards the end.  This first shot is of Kate, Hannah and Deborah’s table:

Kate, Hannah and Deborah at work

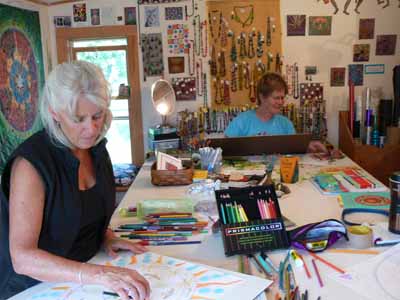
And here’s the table I shared with Kathy and Natasha:

Kathy, Natasha

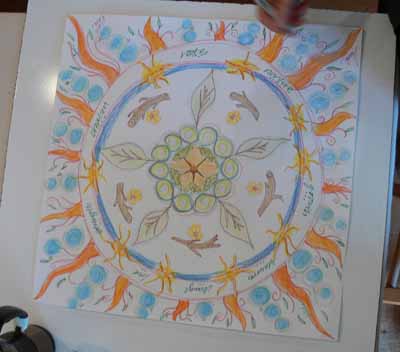
And here is what we had at the end…we all signed all of them…fun!  This one was Deborah’s; she began with the mug, heart, home, and hand:

Deborah’s

Hannah’s:

Hannah’s

Natasha’s—she began with the hands, Deborah added the arms, torso and chin, so I felt I had to add the skirt… it went from there!

Natasha’s

Kate’s:

Kate’s

Kathy’s:

Kathy’s mandala

And finally mine:

Mine

Then we all split to the winds, kids, families and real life

The Frayed Edges, September 2008–part deux

Monday, September 15th, 2008

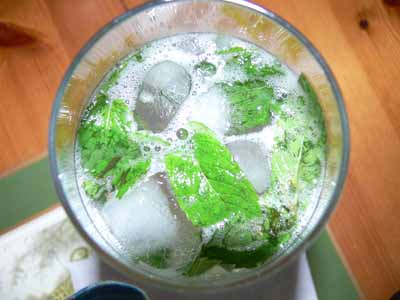
Our Frayed Edges merriment continued…. starting with mojitos by Kate, made with mint fresh from her garden (as an aside… I may be the only person on the planet who has managed to kill mint….  we got some, but it was in a planter left outside in winter…a large planter, but nonetheless it was too cold, besides which our garden is too shady even for mint, tho we get a bumper crop of moss and mushrooms).  Here’s mine:

My Mojito

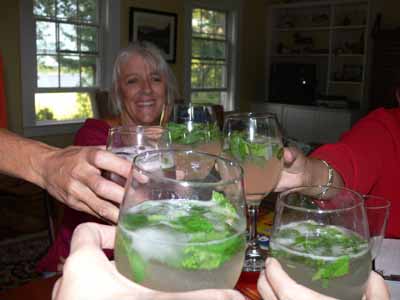
And all of us toasting:

Toasting with mjoitos

I’d never had a mojito before, but I do think I should like to have another, especially in such fine company! Kathy and Kate do seem to be enjoying dinner (a potluck affair, as we didn’t want to muck up the kitchen in someone else’s house!)

Dinner, Kate and Kathy

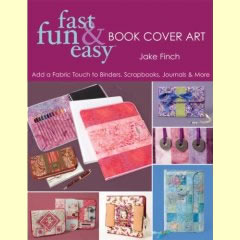
Then it was time to swap! we had decided quite some time earlier to do another trade, like our 5×8 memo pad covers.  This time we used a pattern from Jake Finch’s Fast Fun and East Book Cover Art Book:

Jake’s book

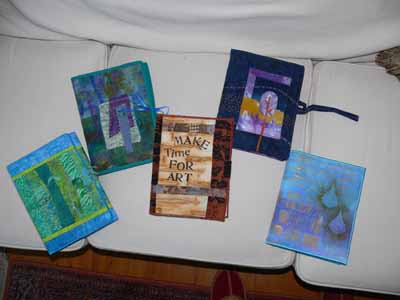
Here are five journals / sketchbook covers, with pencil pockets inside…. life overtook Hannah, so she ended up not making one, but Deborah had made a couple so she generously gave Hannah one, so now we all five have one.   From left to right these were made by me (lime and aqua), Deborah (painted cloth), Kate (rust-dyed and discharged fabric, with watch parts to be added), Deborah (trademark embroidery!), Kathy (trademark luminous blues!):

sketchbook swap

I was SO lucky to receive Kate’s!   I love it!

And in Parte Tres, I’ll share our Mandala workshop!