email Youtube

Home
Galleries
Blog
Workshops & Calendar
Store
Resources
About
Contact

Archive for the ‘Dyeing’ Category

Tote Tuesday, Feb. 16th edition

Monday, February 15th, 2010

Logo designed by Jeanelle McCall of http://www.fivespoongallery.com/

Get ready folks…tomorrow is another Tote Tuesday fundraiser for the American Cancer Society, and it’s gonna be AMAZING… please visit Virginia Spiegel’s Tote Tuesday page, here.  There are THREE bags of delectables from Karey Bresenhan filled with goodies from her stash, her mama’s, and donations from amazing people around the world.  There are other amazing offers of books, totes, padfolios, artwork… it is just amazing!  Let’s make this an especially successful day!

Next week will be (I think) the last Tote Tuesday, and it will include my donation of a copy of Threadwork Unraveled, a spool of Superior Threads Rainbows in one of my favorite colorways, four pieces of my hand-dyed cloth totalling just over a yard of fabric, and a pair of hand-dyed socks (upside down to each other, AND a piece of artwork using one of my new lino-cuts (more on that tomorrow!).  Stay tuned, and DO surf over to Virginia’s and see if you’d like to bid tomorrow.

Lino Cutting with Dijanne Cevaal

Thursday, February 4th, 2010

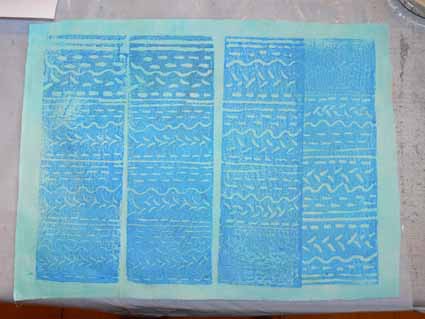
I LOVE woodblock prints, etchings, lino-prints…. I love and am always inspired by Dijanne Cevaal’s work, which you can see on her blog, here (and then follow the links there to more eye-candy).  Well, last year when I was beyond over-busy, I learned she was teaching an online lino-cutting class.  I promptly wrote and asked her to let me know when the next one began.  She did, and on Monday we received our first lesson.  Here are my first rudimentary attempts…

I have cut easier-to-cut surfaces than linoleum, such as MasterCarve (the Rolls Royce of rubbery media) and Speedy-Cut.  But I knew I could learn from Dijanne, and just reading the first lesson was a wonderful tour of antique textiles, textile printing history (did you know that Fauve artist Raoul Dufy also designed couture textiles?  I hadn’t!), and lots of useful tips.

I also learned while working on the first exercise that my Speedball lino-cutting tools are VERY SHARP, and how deep is too deep to cut safely (thereby causing the blade to skitter out of control into my left index finger…OUCH!).  Yes, Dijanne warned us, but I –as usual– appear to have had to learn the hard way that THAT was TOO deep!

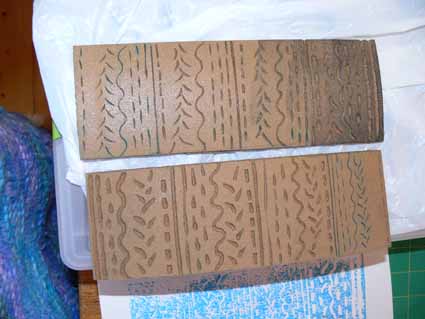
The picture at the top is four efforts at printing on cloth.  I used one of three different types of linoleum (wanting to try out each one before buying a bunch) I ordered from Dick Blick, a major discount art supply house here in the US.  I actually don’t much like the one I used here… it is like sawdust plasticized.  I hope I like the other, but harder to carve (?) lino better… the other yellowish one certainly feels smoother, and the quite hard gray even better.  Anyway, here I decided to be uncharacteristically methodical, and tried all 8 of my blades (I have two different carving tools, and luckily each one came with a slightly different assortment of blades, giving me four “V” and four “U” shapes/sizes).

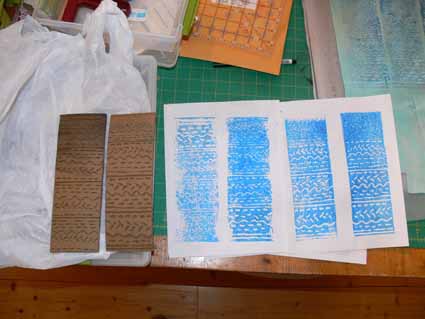
I did a test-print (I used Jacquard textile paint in blue on a piece of aqua hand-dyed) on paper first.  Clearly, I need to refine how much paint I get on the lino-cut and how well.  My sponge roller is in need of a new sponge, since the last time I used it it accidentally dried with paint in it.  Ooops.

I’ve got two more exercises to do for this lesson, and I’m really looking forward to the next two lessons!  However, I’ll wait for my sliced finger to heal and also work on a MAJOR project that is due and needs massive amounts of work NOW… back in a bit with more lino-cutting!

Betcha didn’t know…

Tuesday, February 2nd, 2010

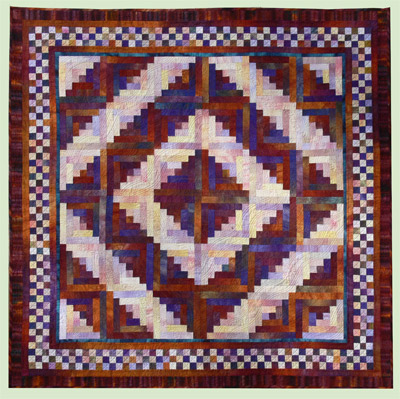
that I began my quilty life as a traditional (well, sort of) quilter.  My very first quilt…the one I began first…was a Mariner’s Compass (!!!!).  However, it was too hot in Central Africa, even sitting by the air conditioner, to sit under the quilt for more than 30 minutes so I gave up trying to quilt it by hand until we got back to the Washington, DC, area.   Pretty soon I started playing with colors, quilting designs and themes, though.  Maybe ten years later, I fell in love with Judy Robertson’s hand-dyed fabrics; I spent a small fortune buying two multi-light yards and two multi-colored dark yards and made this quilt, From Sea to Shining Sea:

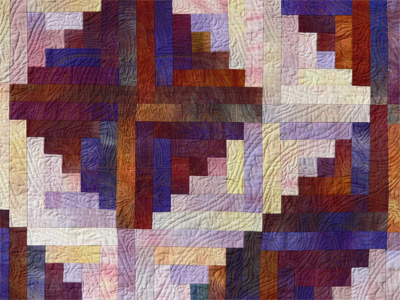
The colors reminded me of the words from America, the Beautiful, so they song is machine quilted into the quilt, with an American eagle (from the US quarter dollar coin) and a sorta-traditional vine.  I tried…but just couldn’t get a truly traditional feathered vine to look  right on this quilt!  Detail:

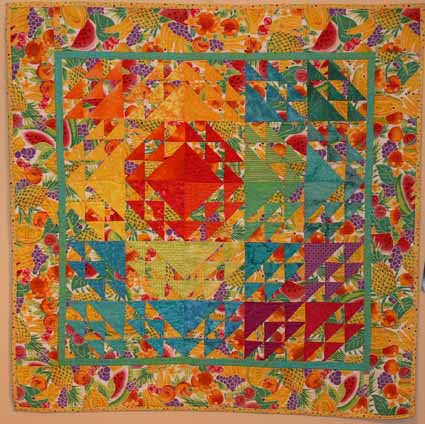
That purchase of hand-dyeds started me on learning how to hand-dye myself.  Then I started selling my hand-dyeds.  I wanted to show folks that they could combine hand-dyeds and lookalikes with print fabrics and make fun, contemporary quilts based on traditional blocks.  This quilt is, I think, North Winds, and came from the Quilts from the Quiltmaker’s Gift book (link here) or More Quilts from the Quiltmaker’s Gift (link here…forget which one).   They are both lovely books, with great illustrations to show how the quilts will look in different colorways.

Anyway, this quilt has an official title, but to me it is the Anti-January quilt.  I lived in the Pacific Northwest of the US at the time, where it is gray and dreary from late November until at least February.  I found myself yearning for bright cheery fabrics every January, and made this one at that time of year.  I set the colors to look like the blazing sun surrounded by the green islands and tropical blue waters…..:

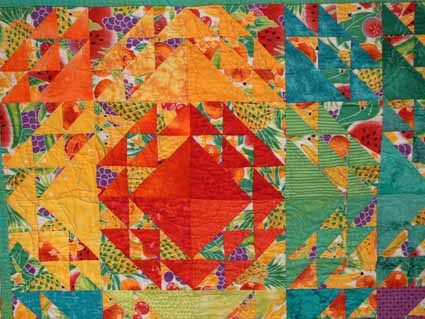
and a detail…quilted with tropical seas, palm trees with coconuts, waving beach grass, tropical fish, seagulls……..

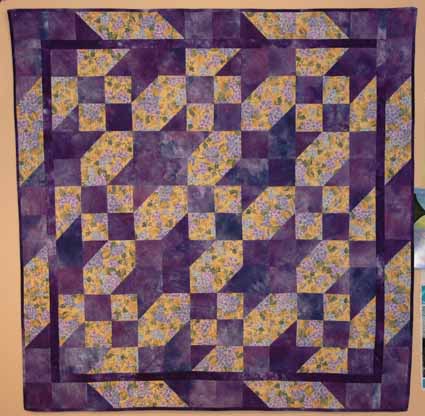
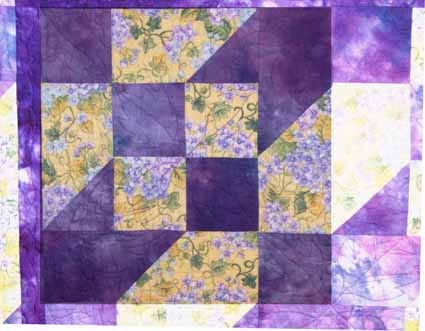
Then as a quickie quilt to help sell MY hand-dyed fabric (which I no longer do really), I grabbed some purple (four fat quarters I think) and a very girlie yellow-purple print on my shelf and made this quilt using the Road to Oklahoma block:

Since it is hard to find the block, I did up this photo.  There are nine blocks of 12 inches each in the center of the quilt, which is about 42 x 42 inches (about a metre square).

Hope you enjoyed this trip into medium-ancient quilt history!

Book Review: Inspired to Quilt: Creative Experiments in Art Quilt Imagery by Melanie Testa

Saturday, December 19th, 2009

OH MY!   It isn’t often that I get a book and immediately want to go run dig out my dyes and cloth and start playing!   The sad news is that three-plus months later I STILL haven’t had time (and now it is winter, the basement is too cold to dye, etc), but boy do I want to!  That is what Melanie Testa‘s Inspired to Quilt has done to me, and that is a very, VERY good thing!  You can order it from Melanie, Interweave or Amazon.2009.12.Blog.BkRviews.008
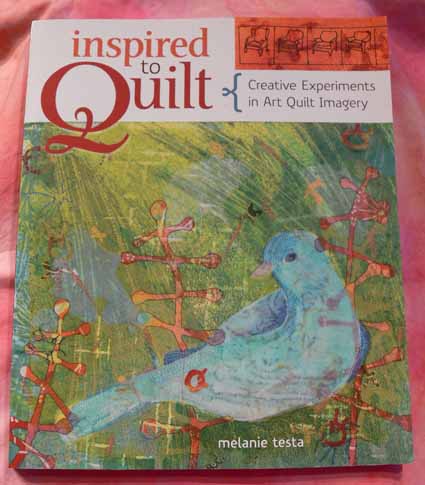
I’ll also be honest… Melanie’s art and quilting inspire me, blow me away, make me think—all of these are wonderful things!  The book, published by Interweave, is well laid out, with great page layout, graphics and color inside, truly enhancing Melanie’s work, words, and instructions.  No boring white pages here, but creative inspiration all around.

One of the things I need to do a lot more is play, work in a sketchbook, and suss out different ideas, images and concepts.  I am usually so overwhelmed with stuff “to do” that I never give myself this freedom.  It is work, Work, WORK all the time, and then scramble to make any quilts at all.  Mostly for the past couple of years it has been samples for the book or classes, and not nearly enough creative development time.  Now that this book has sat for a while waiting review here, I think I need to go through it again, inspire myself all over again, and more than anything, follow Melly’s example and work with my sketchbook. The book covers:

  • The Fabric Foundation
  • Technique Application
  • Creating Quilts Inspired by your Journals
  • Sandwiching and Quilting
  • Embellishment
  • Finishing
  • Smallworks, Series, and Exploration

2009.12.Blog.BkRviews.006

One of the things I like best is how the illustrations show how Melly builds her cloth and designs, from white to finished, as in the example above of the leaves.  The same goes for this bird, where progressive washes of color create the image, just as she did in her sketchbook:
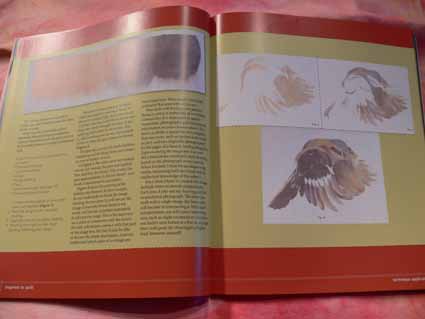
2009.12.Blog.BkRviews.005

I love that she shares her notebooks and sketchbooks:
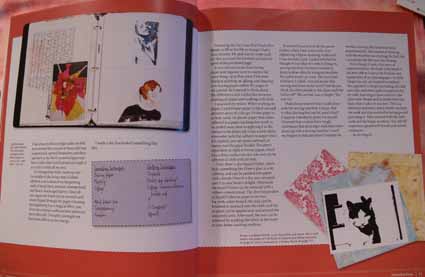
2009.12.Blog.BkRviews.007

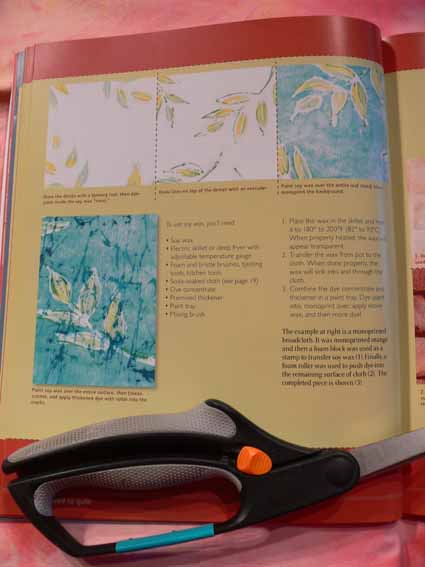
One of Melanie’s signature techniques is to screenprint and dye a sheer overlay fabric to work with the base fabric.  She has detailed information on dyeing, printing, creating stamps and screens–plenty of information to get you going without having to buy a separate book on surface design (tho it may whet your appetite for more!).  The photo below shows four steps in creating the transparency layer that brought the sketchbook work on the left to life…
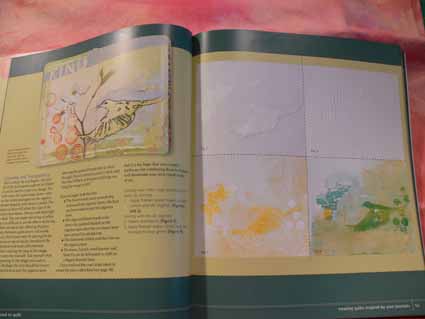
2009.12.Blog.BkRviews.004

There are several projects that are just plain fun (merit badges for grown ups, including one that is a hippo–I love it!) and help you try out these techniques on a small scale to get a feel for them. I particularly like how she combines hand stitching with machine, and there are also many examples to inspire.

In sum:  If you are or want to be an art quilter, and are willing to just do it on your own, this is a great book for you whether you are a beginner or moving on to (or at) advanced!  There is plenty of instruction, more than plenty inspiration.  If you want your hand held…well….. buy the book anyway!  Be inspired, find out if Melly is teaching anywhere that you can reach, and give it a go.

Definitely need to put this one back on the (re-) read pile by the sofa before tucking it onto the shelf….or into the DO NOW pile!

Dyeing in August with the Frayed Edges

Monday, November 2nd, 2009

Sheesh…ya think my life has been on fast forward?  Just checked and I have photos for blogposts from July and August….. posts I never had time to write!  So before I get to Houston and Festival and the Frayed Edges in October, I’ll share the summer fun!2009.08.blog.003

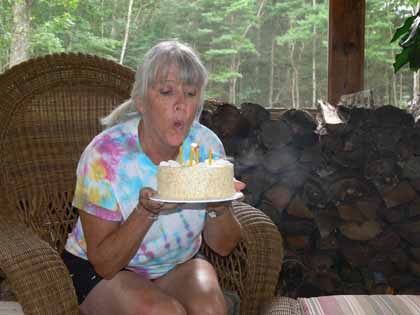
We were a small group in August.  Deborah, of course, was in the beastly heat of Texas, and Hannah was home with four girls, so she didn’t make it to our August get-together.  But Kate, Kathy and I finally had our “dyeing day” which we had originally planned for last summer (!).  AND we got to celebrate Kathy’s birthday (photo above).

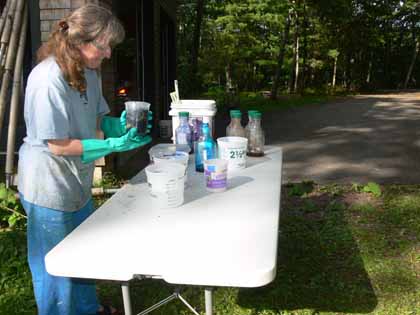
Then we got to the fun, messy stuff!  I set up tables in the back yard, and mostly forgot to take pictures, but thankfully Eli took a few, especially the following day when I had more time to putter. He got one of me on the “mixing table.”

2009.08.blog.012

(Marie…don’t those rasty clothes I’m wearing look familiar?  Marie and I used to dye in our garage in Friday Harbor before I left Wash. for Maine!)

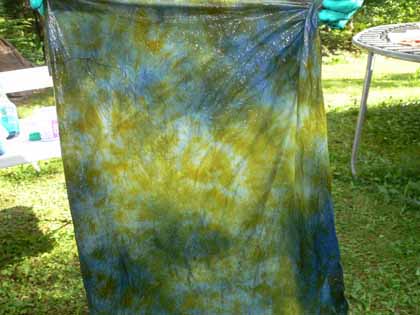
Here is one of the mottled pieces I did.  On the right you can see the edge of the trampoline, which (covered with plastic) held our dyed wonders!

2009.08.blog.013

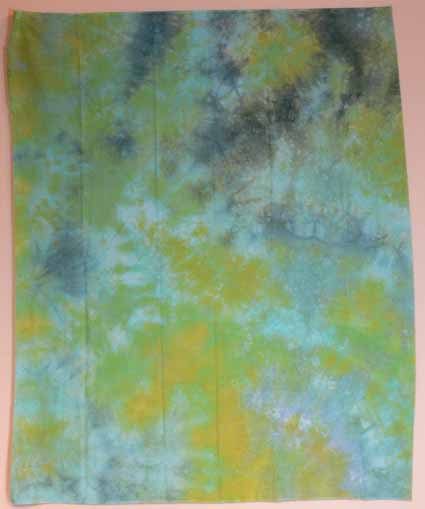
Here’s the same piece, dry:

2009.10.blog.AugDyeing006

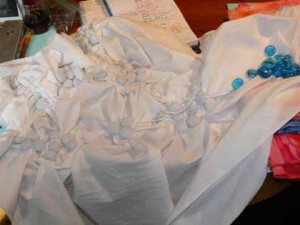
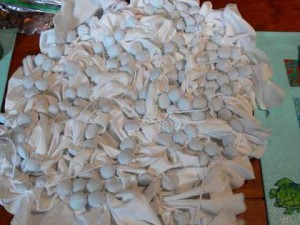
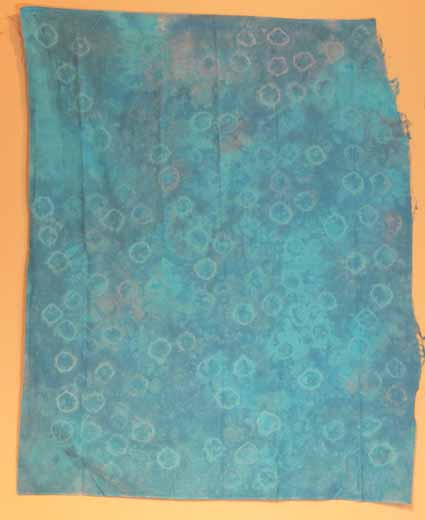
I wanted to try a bit of shibori, cloth that is tied to create resists.  I used those glass “pebbles” that you can buy to  put in the bottom of vases or for mosaics and crafts, and tied them with yarn.  It took nearly 3 hours after Kate and Kathy left to tie up a yard of fabric.

2009.08.blog.004

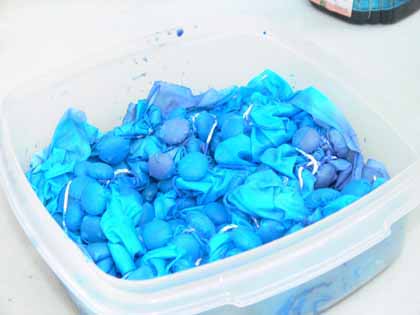
2009.08.blog.006I  deliberately didn’t tie some of the pebbles too tight, as I am not fond of white fabric showing on my dyed fabrics.  I wanted just a bit of dye to seep under the ties so the resist would show, but not too much.  Here is the cloth batching in a plastic tub:

2009.08.blog.009

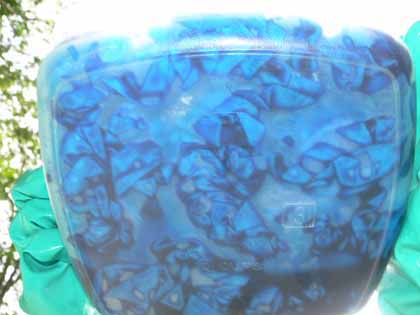
And looking at the bottom of the tub:

2009.08.blog.011

Finally, it was done, and I LOVE it!

2009.10.blog.AugDyeing001

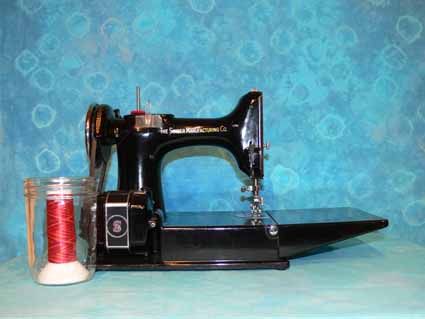
I even ended up using it as the backdrop for a photo in my book (to order, click on the link in the left sidebar, and yes, I ship outside the US)!

2009.10.blog.AugDyeing010

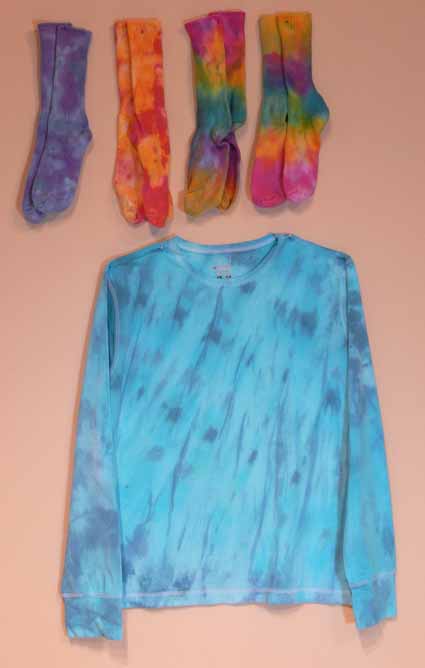
Here are the socks and shirt I did the day after the Frayeds….  the purple socks went to Deborah, since she couldn’t be with us.  You can see them on here feet here Teeheee!  The pink and yellow socks were for Hannah for her birthday in late September, and the upside-down rainbows and shirt are for me!

2009.10.blog.AugDyeing009

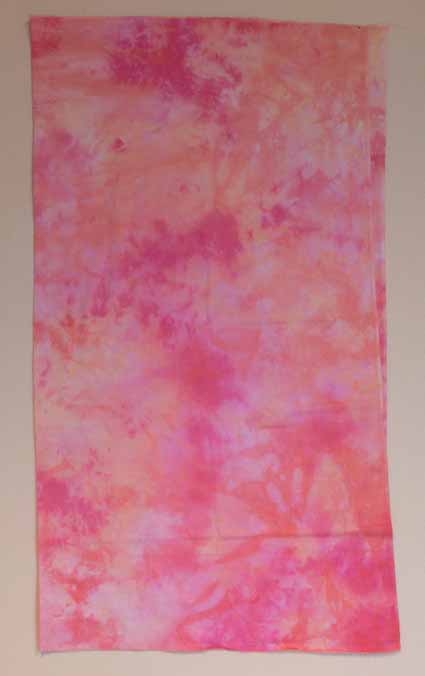
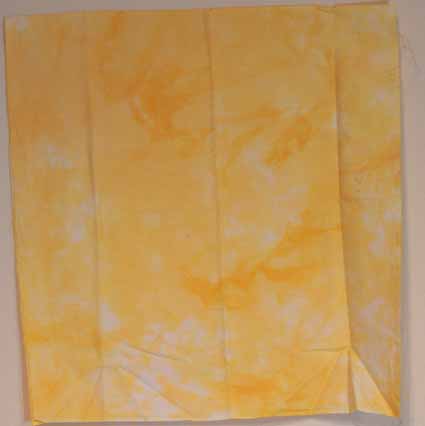
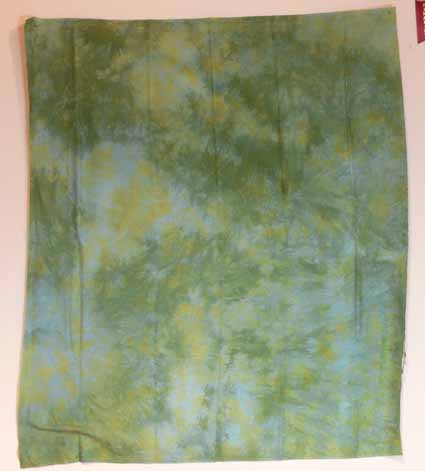
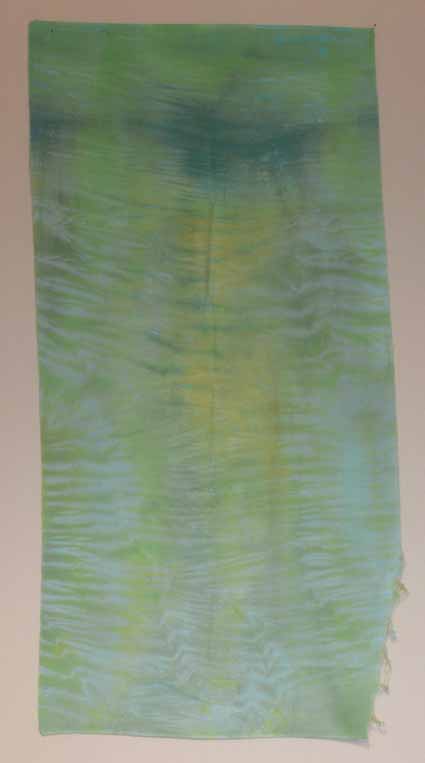
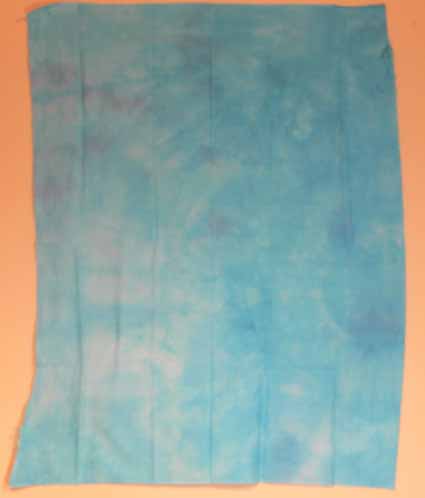
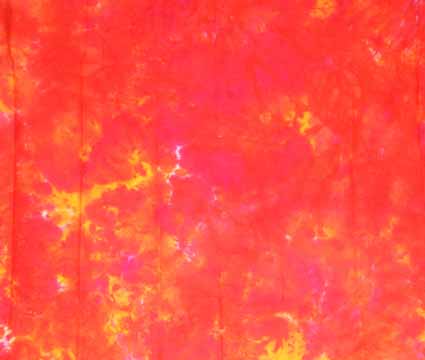
And here is the rest of my dyeing days results.  I find that for my art quilts, I prefer “blendy” fabrics, not hand-dyeds with sharp crystallization patterns–at least for most things.  You’ll find that many of my fabrics from this session are blendy and “stash fillers” to plug gaps in my selection.  without further commentary:

2009.10.blog.AugDyeing0082009.10.blog.AugDyeing0072009.10.blog.AugDyeing0052009.10.blog.AugDyeing0042009.10.blog.AugDyeing0032009.10.blog.AugDyeing002

Hope you enjoyed…I sure did!  Now to find time to quilt with it!