email Youtube

Home
Galleries
Blog
Workshops & Calendar
Store
Resources
About
Contact

Archive for the ‘Techniques’ Category

Moments, Hours, Days, Autumn, a Book of Hours

Sunday, December 23rd, 2018

Happy Solstice to one and all…at last the days no longer get shorter! To celebrate and as a Christmas gift (whether you celebrate it or not, it’s a gift of the season) to one and all, I thought I’d share a video I recently uploaded and just shared with those on my Newsletter List. (To sign up for the newsletter, go to my home page and fill in the blanks—about once a month I’ll pop in with this ‘n that.)

Those who follow me on Facebook (here) will recognize this pond and view which is down the driveway and onto Ludwig Road, between two neighbors’ houses.

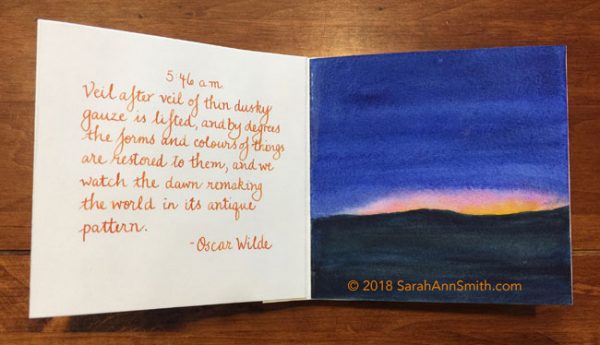
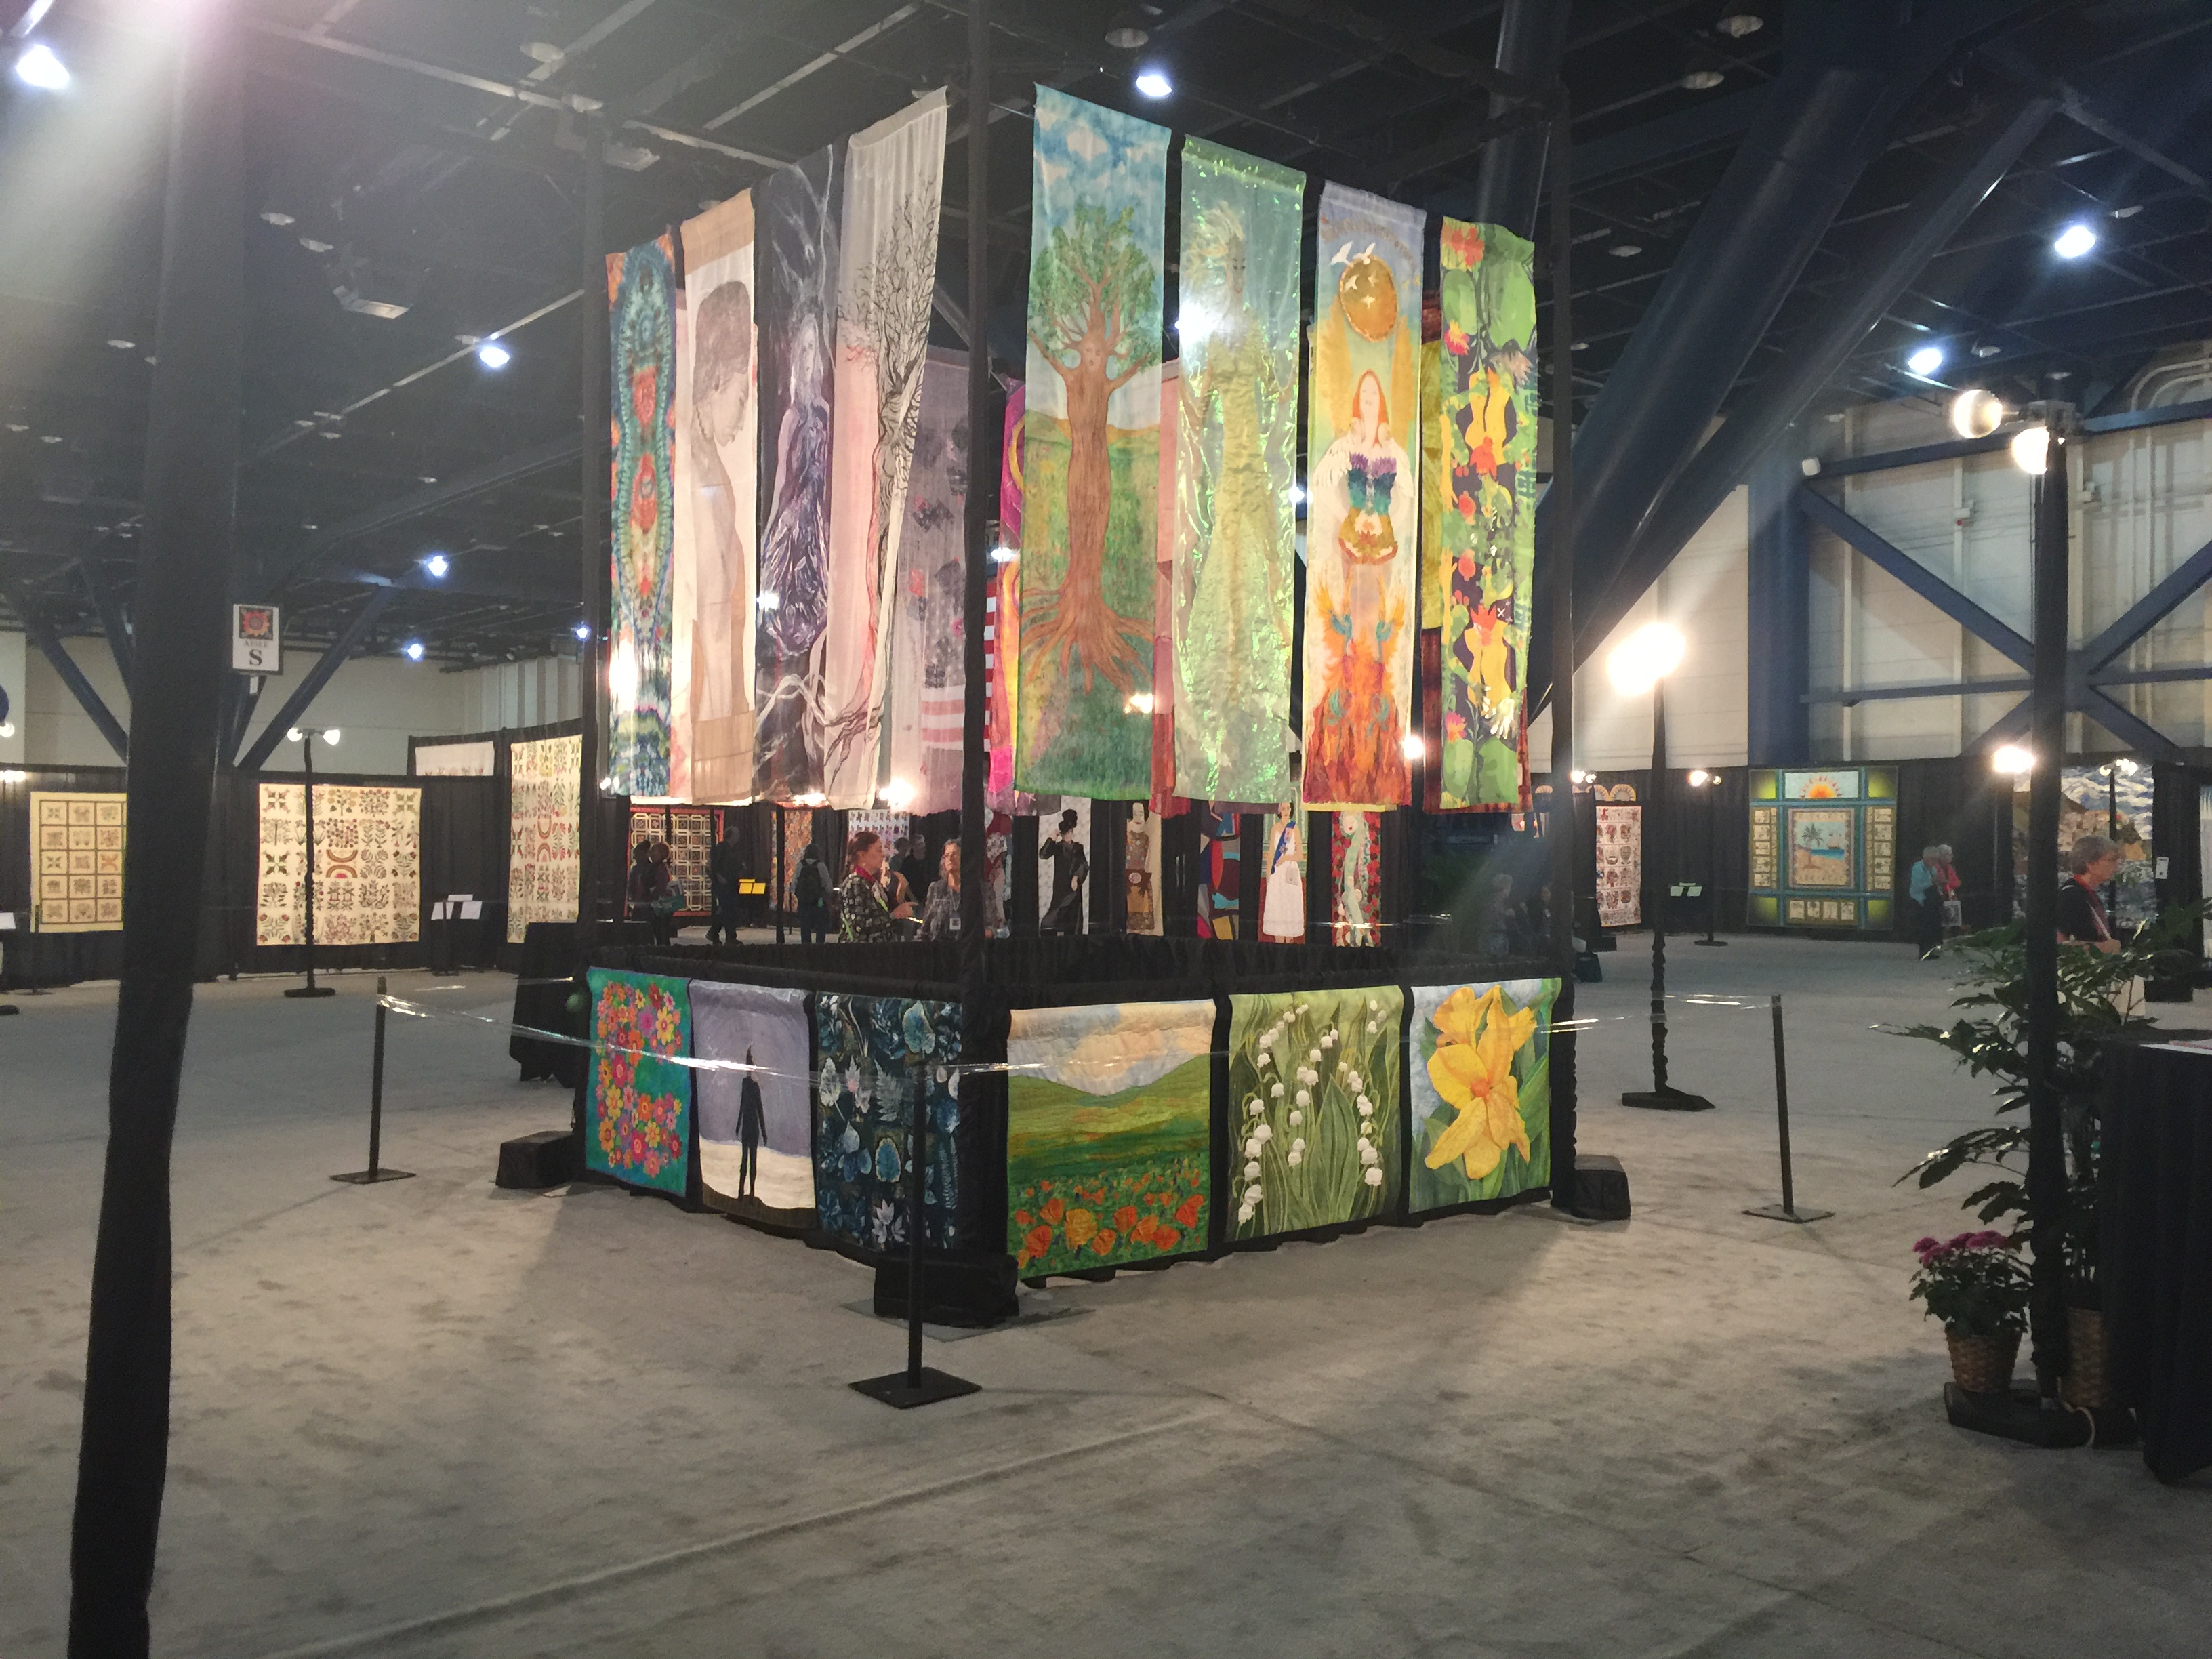
Recently, I’ve been taking some journaling and watercolor classes. Then, the Mid Coast (Maine) Book Arts group had an exhibit at the Camden Public Library. I was inspired by a book of hours on display, so BFF Kathy D. and I decided to make our own small accordion books. Below the still photo you’ll see my a video tour of the book, which I have titled “moments hours days autumn” to chronicle my life this past Autumn.

Beginning at 3:11 a.m. through to my evening ritual of sitting in my chair near my hubby’s chair, with the dog and a pile of books. You can see still shots of each page in my new Mixed Media gallery.

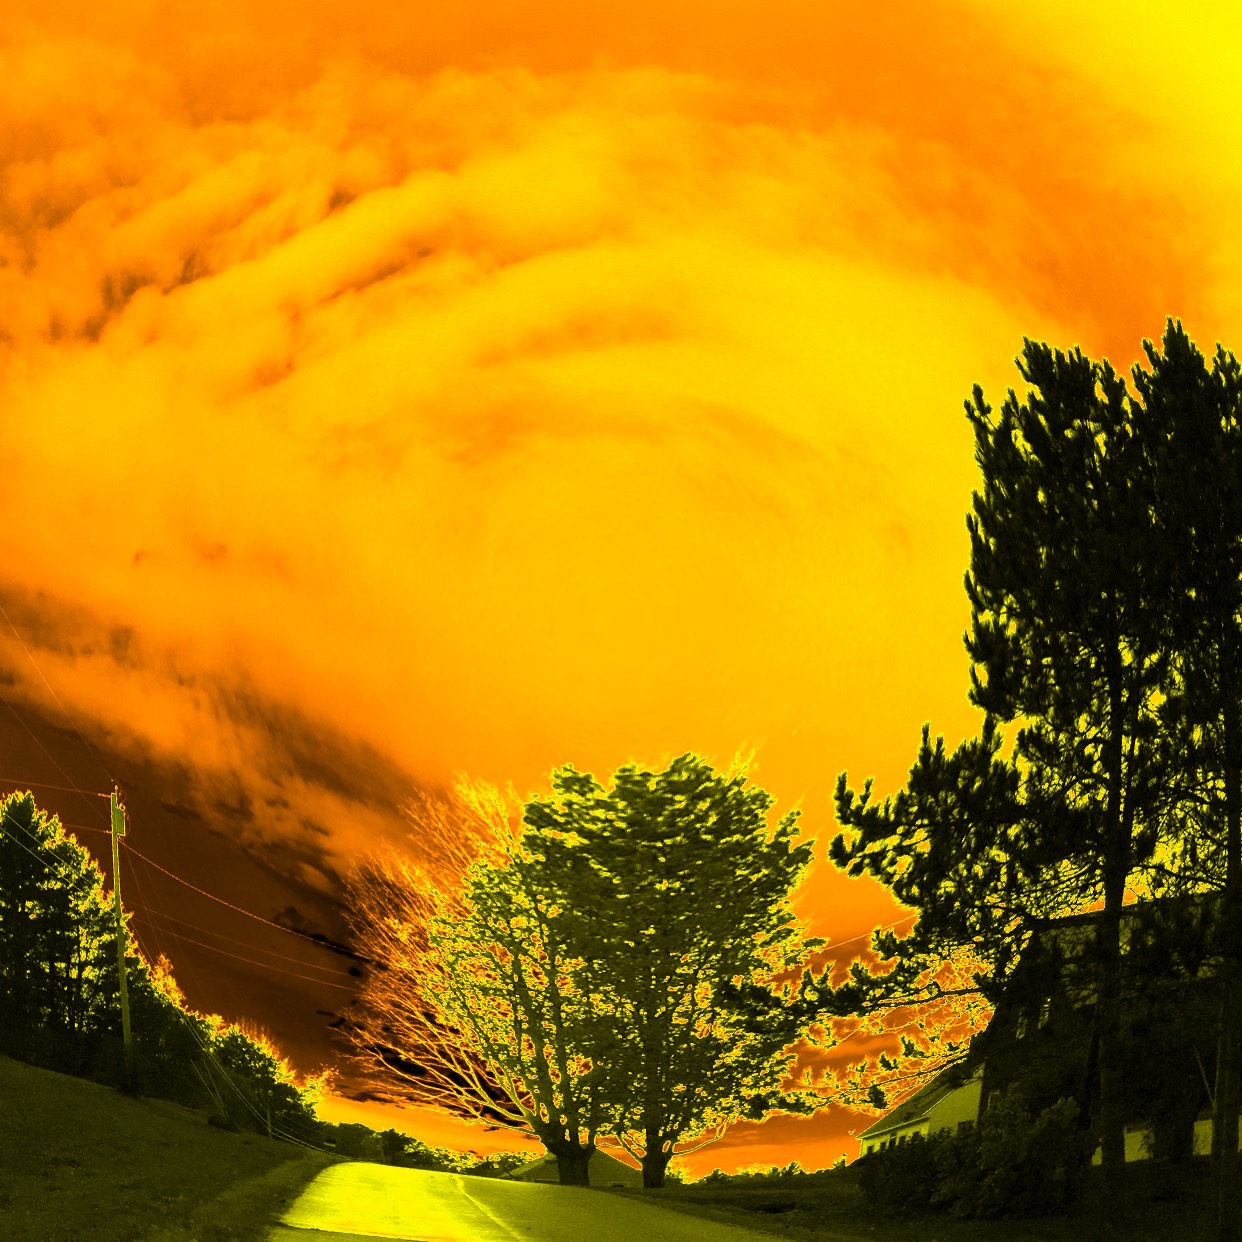
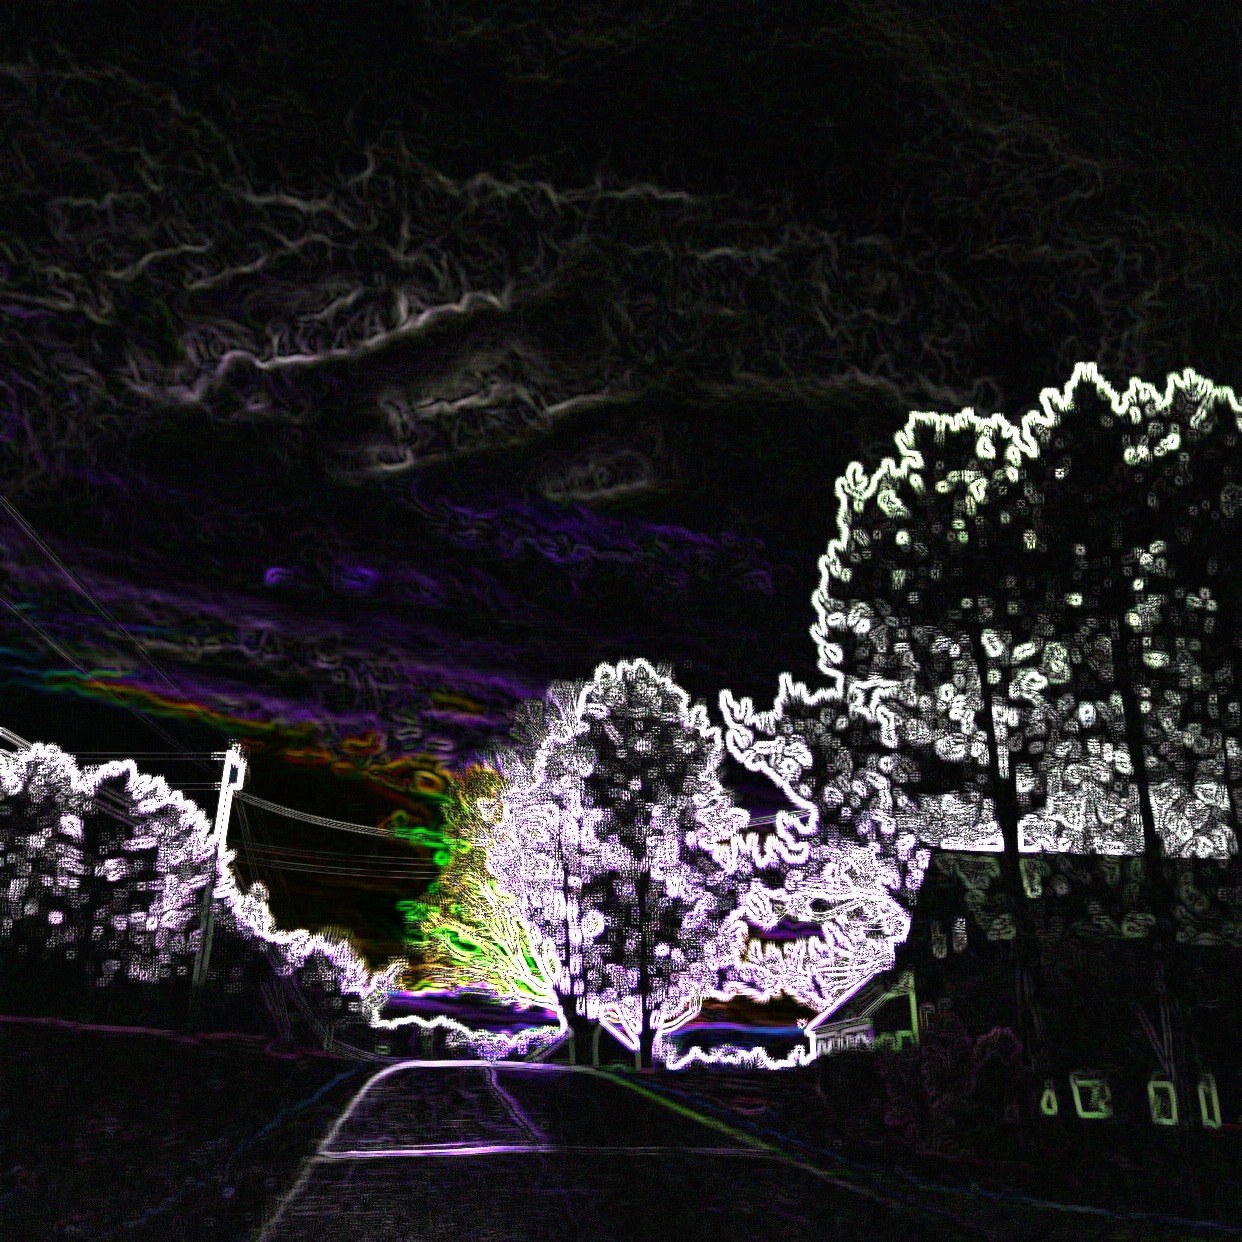
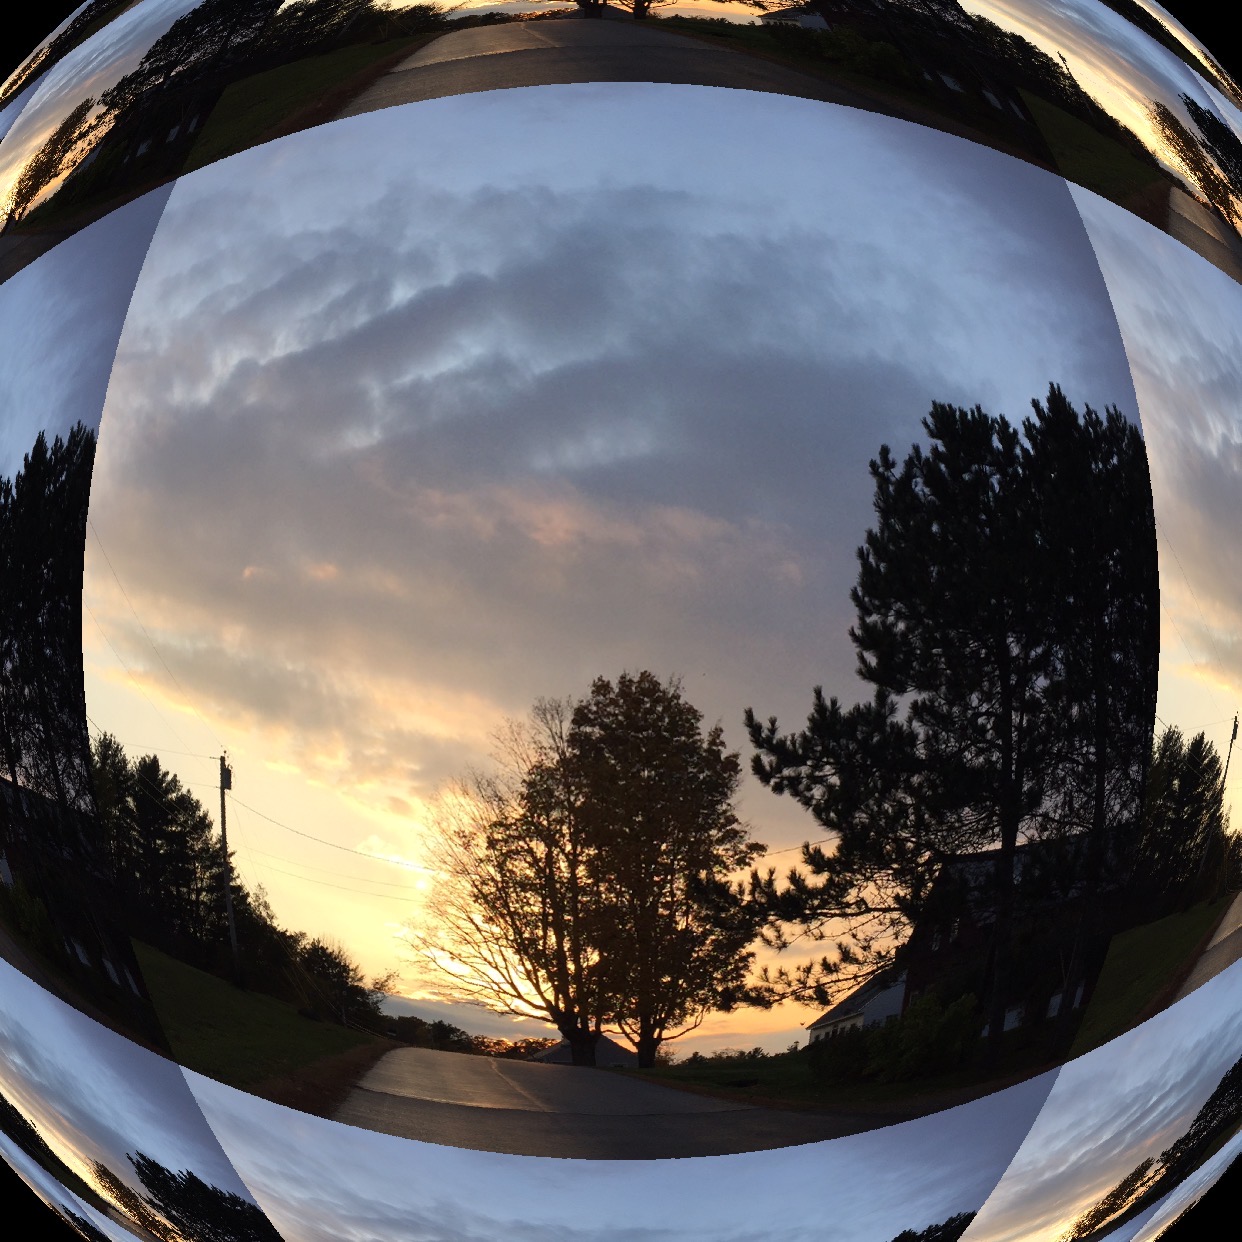
The left page is a quote, some by me, most by someone else. The right page is a watercolor, 5 x 5 inches. I figured I would mess things up, so it was better to do each separately, then glue them to the accordion “base” pages. On the back, I painted a single LONG (80 inches!) view that runs from winter to spring, summer and fall, back to winter, with the sky running from night, through morning, noon and afternoon, back to night. I used a dip pen and acrylic ink to write Strider’s Poem, by J.R.R. Tolkien, which has been a favorite since high school and whose meaning goes far beyond the Lord of the Rings saga.

I used Daniel Smith Watercolors, Stonehenge Aqua 140 lb. watercolor paper, Yes! paste glue, and both acrylic and fountain pen inks and a dip pen for all the lettering. The cover is made from my own hand-dyed fabric fused to mat-board from Kathy with Mistyfuse.

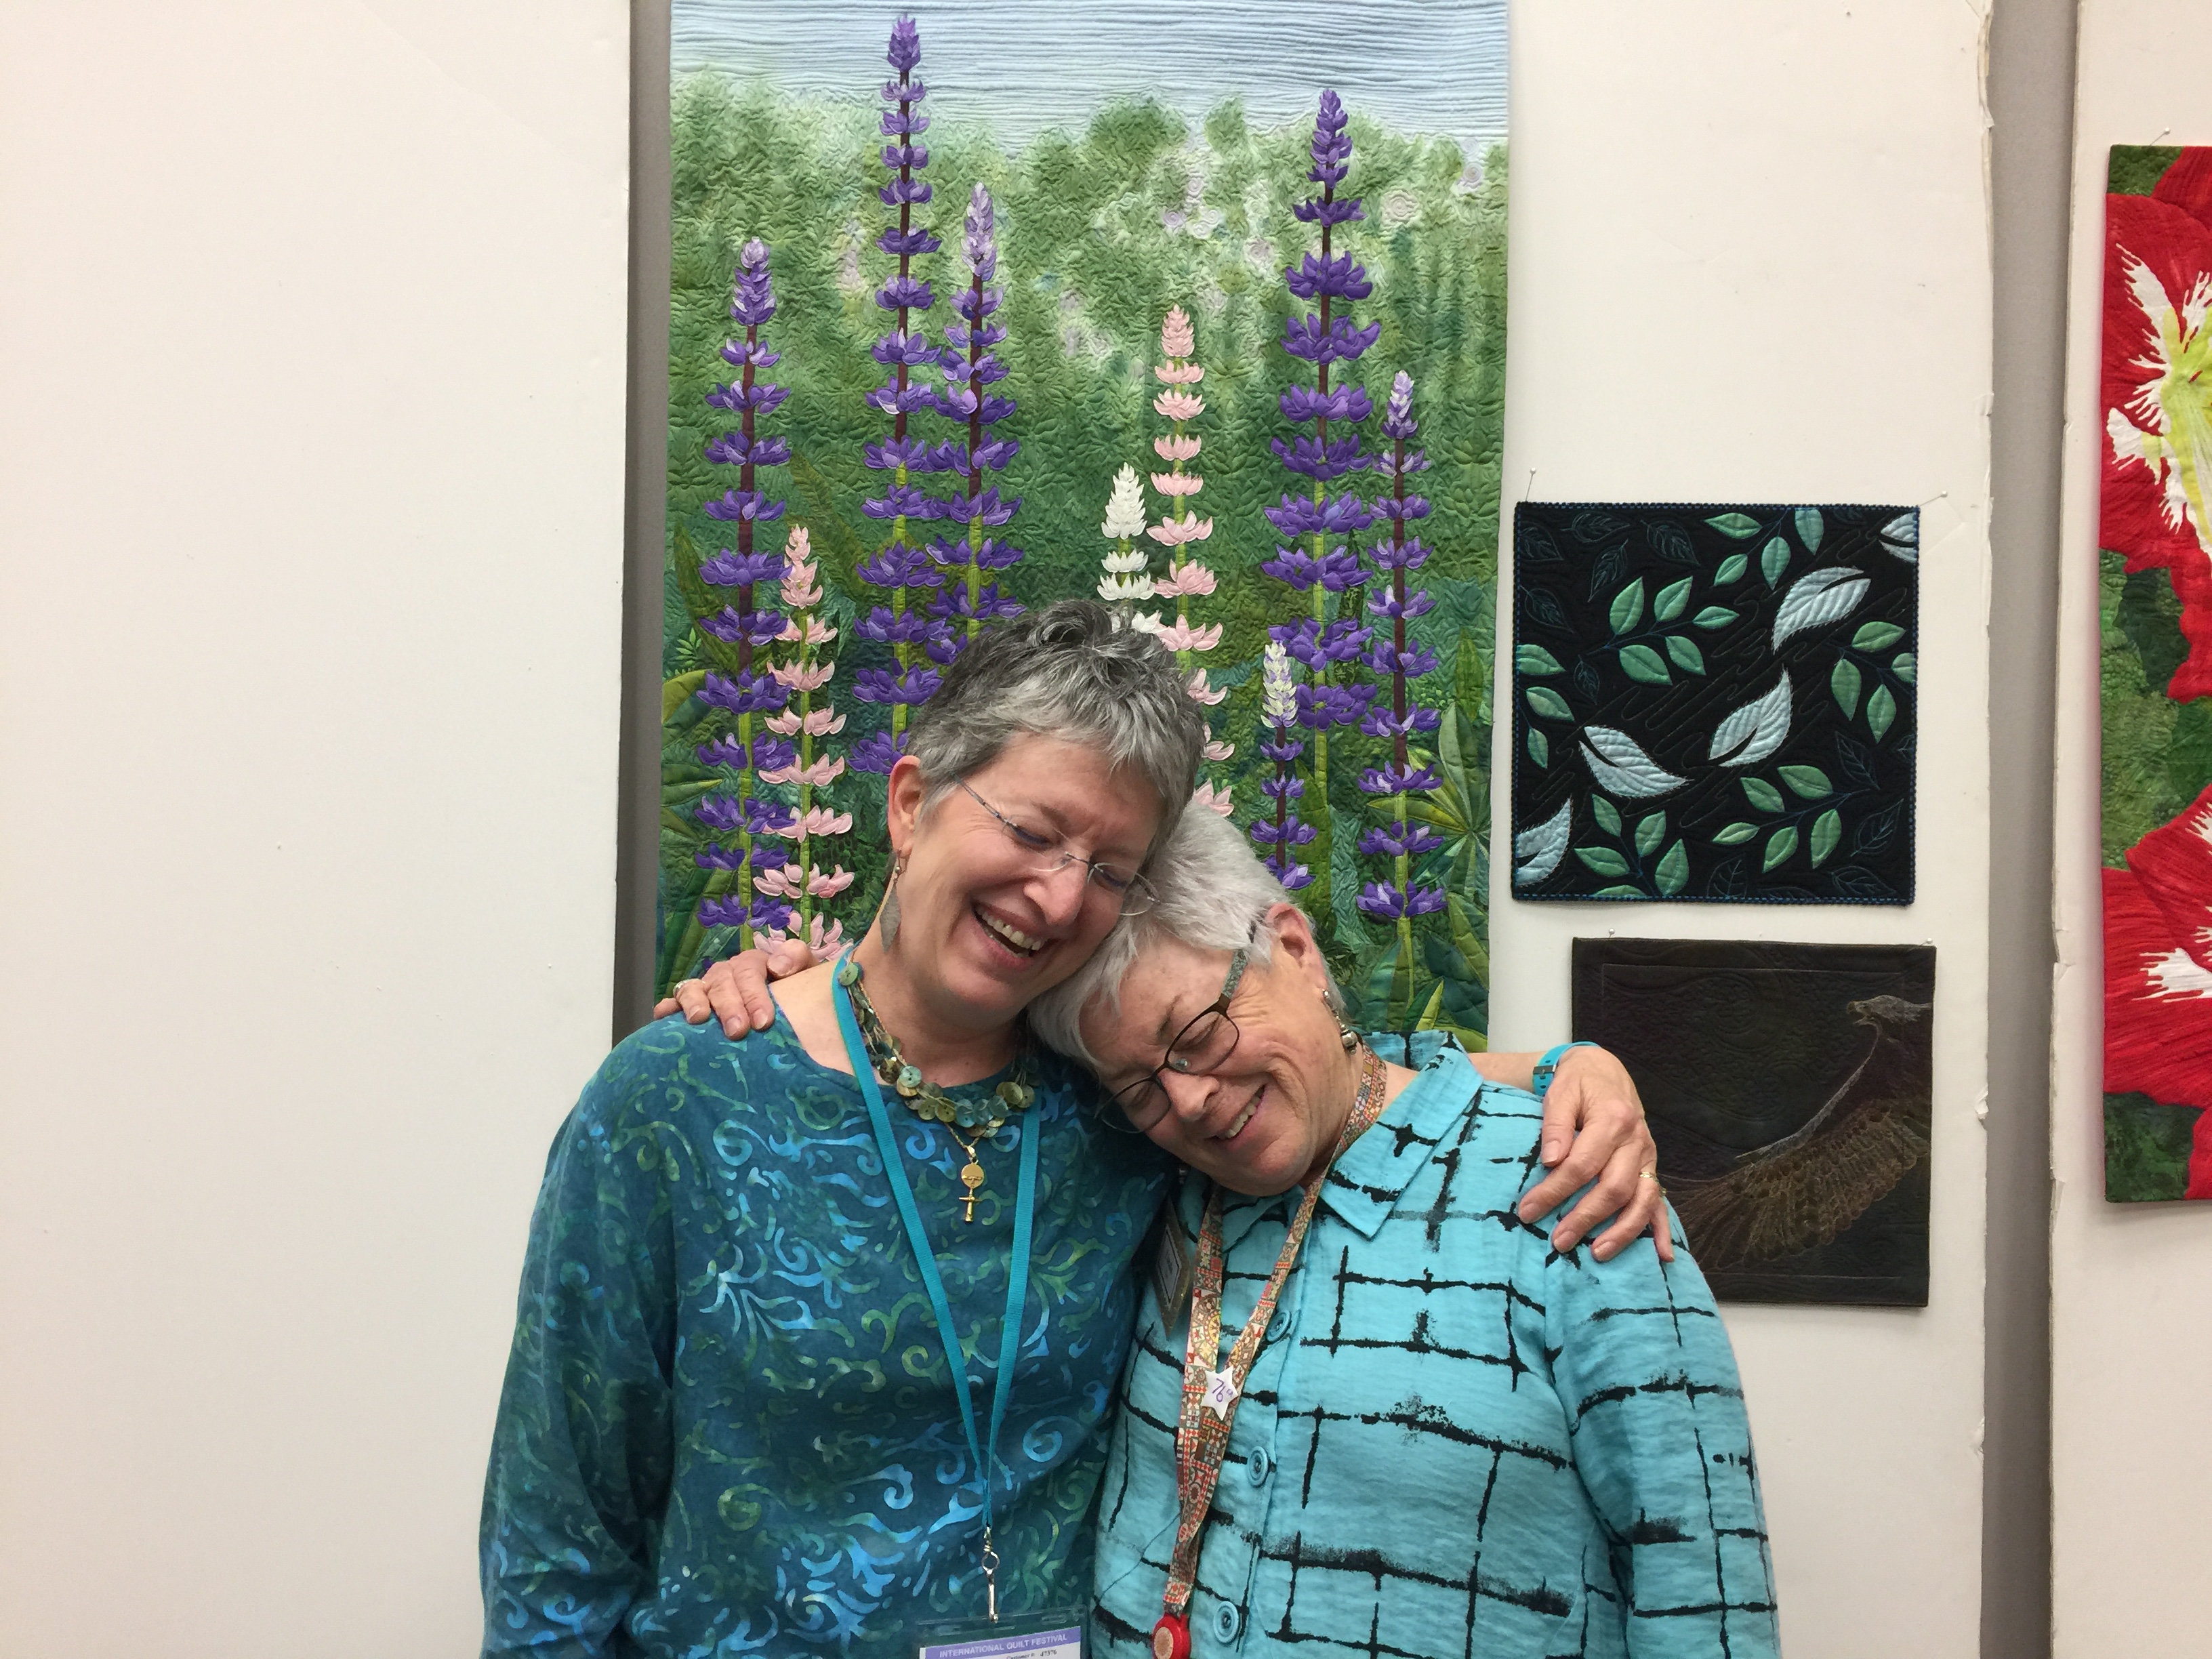
Here’s to hoping you all have friends (which can include family!) and joy around you throughout your lives, not just this season. I hope you enjoy my first ever made-by-me book. I think I will do more! Let me know what you think, and what you’d like to see in my new Newsletter. (And to sound like a broken record, sorry, sign up here.) MERRY MISTLETOE!

International Quilt Festival #4: Fine Finishes (to be retitled to Bindings and Piping and Facings, Oh My!)

Saturday, November 24th, 2018

Bindings and Pipings and Facings, Oh My! class in Houston 2018:  Truth in teaching: this is usually what my teacher’s table looks like: a hot mess!

I LOVE teaching this class!  I LOVE that EVERYONE gets how to achieve a perfect mitered corner no matter what width your binding!  I LOVE showing students how to use Susan K. Cleveland’s Piping Hot Binding tool–students come into class thinking “I’ll try it but don’t think I’ll ever use it” and leave with the tool in hand planning how they CAN use it because it rocks!   Then I teach my perfect facings for art quilts which by the way is also how you can do perfect prairie point “bindings” etc.   I LOVE that this class has something for everyone:  traditional, modern, art, contemporary, whatever you do, it works.   I also LOVED that this class more than any I have ever taught immediately embraced the idea of taking notes ON their class samples:  that way the notes don’t get lost, what you need to remember about how YOU sew and what to do to improve is right there on the sample.

YES! They got it! Put the notes ON the sample to remember how to get is JUST right!

One older quilter in the class was BEAMING when she left–she was so delighted as she had never done a corner, let alone a piped corner, this good. I think I will remember her smile forever–THIS is why I teach this class!

Doesn’t the pink bandana fabric look great as piping?

More notes, during the “perfect corners” part of the class in the morning

Midday/right after lunch we get to the piping (do the precise and time-consuming stuff first). LOVE Susan K. Cleveland’s Piping Hot Bindings tool. Available here.  It may be available at larger online sites, but I like buying things direct from the creator–Susan’s website is Pieces be With You (in the link).  I wrote my own instructions for the class handouts (without looking at Susan’s), but her more in depth instructions are worth every penny!   

The best part of Festival is FRIENDS–Linda Cooper

The absolute BEST PART of International Quilt Festival is FRIENDS!   Over the summer I learned that Linda, a BFF from my life on San Juan Island, would have a quilt in a special exhibit and was coming to Festival.  On Tuesday she showed up at my classroom door at lunch break with her friend from SJI.   They decided on the spot to take my Bindings class on Friday, their last full day at Festival (pitter patter, tear in my eye)!   It was like the intervening 14 years since I left the island evaporated.

She and Barbara managed to get the stuff to make the quilt sandwiches (class prep) and amongst the three of us came up with the requisite thread, scissors, rotary cutters, etc. to use.

Class….the lunchtime lull.  Thank you Kathy Spier for being my “Teacher’s Pet”—so much fun, met Suzy Webster when she took one of my classes a couple years ago.  This year her mom took Bindings, and we all had lunch together!   Like I said, the BEST PART of Festival is friends, old ones and making new ones!

Time permitting, we even get into some fun alternative edge treatments…couched yarn is perfect for postcards and small works

And miraculously, I remembered Linda and I needed to get a photo before she packed up for the day!

Old friends reunited!


International Quilt Festival #2: Collage the Garden, Wednesday and Preview night

Thursday, November 22nd, 2018

First off, Happy US Thanksgiving to one all around the world–this was written ahead and scheduled to post because (a) not everyone is in the US and (b) sometimes we need some R&R from the feasting and festivities!

My second full day at International Quilt Festival 2018 I got to teach one of my “Quilting the Garden” workshops, Collage the Garden.  Along with Thread-Coloring the Garden, the two classes can be combined into a two-to-five day workshop–any guilds or retreats out there interested????   My students were, of course, brilliant!    They had a choice of either the tiger lily or water lily in the class–I love when students take my patterns and projects and completely make them their own.   Like yesterday’s post, I’ll have TONS of pictures including some from Preview night on the show floor. Taught students how to pattern, how to use my favorite Mistyfuse, how to get the fabric to do some of the work for you!

These are the two class samples…you can see how well the students did!  One had a *very* hard time letting go from the traditional quilty-applique “thou must do it thus and so exactly” but she finally threw caution to the winds and did a great job–so proud of her!

and here you can see the actual student work:

Way to go!

Learning how to pattern

fabulous fabric choice….let the fabric do a bunch of the work for you. The placements of the darks is spot on.

and the water lily–love how she went deeper darker in the center with reference photo right there to guide her choices

students hard at play!

an ochre/yellow version

Flower nearly complete

And auditioning a background

Another great fabric choice, and love how the trees fabric changes once cut up and placed into the background

WOW!

The students were wonderful—LOVED having a FULL Class…the collective energy helped everyone!

Then there was preview night…drum roll:  gotta love that little red dot indicating my Autumn on Blueberry Lane sold…AND it was hanging next to my dear friend Deborah Boschert’s ladders and trees quilt, which ALSO sold!

Mine on left, Deborah Boshert’s ladders on right…and both sold!

Love it when I spot someone looking closely at my work, this time it is the Pink Oyster Mushrooms quilt

And part of the Power of Women exhibit….my Lilies of the valley is on the bottom tier on the right side. LOVED this particular part of the exhibit!

I’ll be back with more on Festival 2018 in the coming days!

A sneak preview…Start your Art – Lyric Kinard

Thursday, November 1st, 2018

Art and quilt teacher and friend Lyric Kinard (website and Facebook and Instagram) delighted me recently when she asked if I’d like to be part of a bloghop to launch her new prompts deck of cards “Start Your Art”…of course!  The official bloghop is in about two weeks after International Quilt Festival, but I’ve had a chance to download the pdf and play a bit.

Hot off the press, Lyric Kinard’s Start Your Art deck of cards / prompts is available as an actual deck or a digital download. You can get the deck here at Lyric’s shop.

Then, not long ago, Laurie Russman, of neonkittyquilts on instagram and website, told me about the MegaPhoto app she uses to make “tweaked” photos.

Sitting waiting for my annual physical check-up, I decided to play–a prompt from Lyric’s deck plus MegaPhoto!  Lyric has some suggestions–like set a timer and keep it short–to get you started along with 48 exercises.  I hopped around the set randomly and selected one (and of course I forgot to write which prompt) that I could do on my phone while waiting.

I began with a frequently photographed location on my afternoon dog walks and used one of the MegaPhoto filters to get this image…all sorts of new ideas for quilts are funning (what a hoot, that was meant to be running, but I like the typo!) through my head.

To those of us who have been teaching ourselves art for a while, some of the prompts may be familiar, some are new, but I have to say I totally love having these on my phone where I can take advantage of those moments where you are somewhere without a book–a productive alternative to Facebook!  Even familiar prompts become new and are worth doing again. Then I tried another filter on the same photo–what a difference in mood!

Another filter in MegaPhoto –just look it up in your App Store. I believe there is a free version, but you can get rid of the ads and add a few extras for about $2.99.  

I tend to be pretty literal in my artwork, so many of Lyric’s prompts that require one to work in abstracts will be a good push for me.  This may be my favorite of my Mega Photo filters I used on this photo:

Love the prismatic, fish-eye look to this photo. I can see playing around with this type of composition and fracturing in an art quilt….maybe over winter? Or even…hmmm…printed onto cloth, then paint on the cloth, then quilt….hmmm….

See, that’s what happens with prompts:  they get the creative juices going.  They let you get out of your own way and try something that isn’t in your “usual wheel-house aka creative safe spot.”  I’ll do a proper review of the deck in mid-November when it’s my turn, but just wanted to let you know what I’m doing now that the boxes of stuff are shipped to Houston, it’s not yet time to pack clothes, and I’m noodling around with play time!

So I can heartily recommend Lyric’s Start Your Art.  I’ll play around with it more and check back with another review for the bloghop in mid-November.  Here’s the link again to this deck of cards:

An Apple for your favorite teacher

Thursday, August 30th, 2018

Recently made up a VERY quick and easy project for Janome America which is free for you to use… a felt apple pin for your favorite teacher.   Of course you could also make it in woven cloth, a lovely wool, anything you like, but a wool felt is fast, Fast, FAST…and fun!


A quick and easy project by Sarah Ann Smith for Janome America ©2018

I used leftover bits of felt–you could use black for the backing instead of the oatmeal felt I had, anything you want!  Including drafting the apple and sewing on the pin backing I think this took all of an hour to make.

The blanket/buttonhole appliqué stitch on my Janome 9400 make this quick and easy.

To find full instructions with more pictures, details and tips, visit the Janome blogpost for this project, here.

Thanks as always to Janome America for their support.  I’ve sewn on Janome machines for 15 years now, and they are the best.  Currently I’m using the 9400 and it is my dream machine!