Bloghop-Giveaway Grand Finale!
Saturday, October 5th, 2013To cap a wonderful bloghop, I would first and foremost like to thank the amazing artists and bloggers who made this possible: Jamie Fingal, Deborah Boschert, Vicki Welsh, Leslie Tucker Jenison, Terry Grant, Gloria Hansen and Diane Perin Hock. To all of you who left comments, THANK YOU! And to Quilting Arts/Interweave, Mistyfuse and Havel’s Scissors, thank you for your generous donations that make this grand prize possible! Here is one more chance to win, and read to the bottom for a bit more news! Please note, this giveaway is for those residing in the United States only due to postage costs. However, if you live outside the US and win and are willing to share postage costs, you can enter also. Leave comments before 8 a.m. Eastern Time, October 10th. I’ll do the drawing that morning and post/contact the winner.DRUM ROLL please: the Winner is number 42, Gail Myrhodosky! I’ve emailed you, Gail, to get your snail mail address. This giveaway is now over, but I’ll do one more in mid November–come back on November 10th—well, come back before then please, but for more on the Holiday giveaway, visit here on November 10th.
There is now a video clip available on YouTube which you can watch here or over on YouTube, here.
The grand prize is grand indeed:
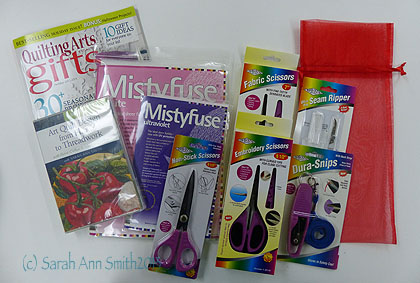
Huge thanks to Quilting Arts/Interweave, Mistyfuse and Havel’s for their generous donations to this bloghop!
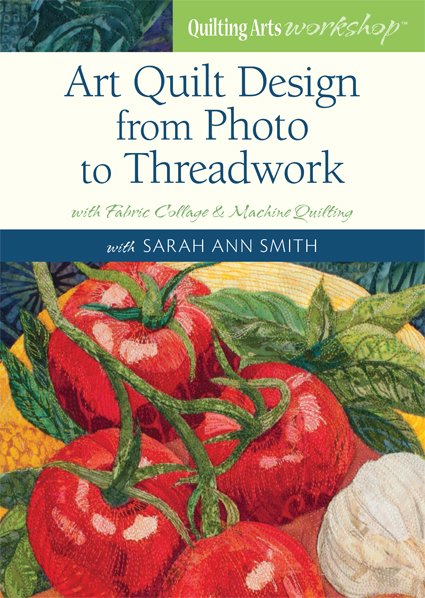
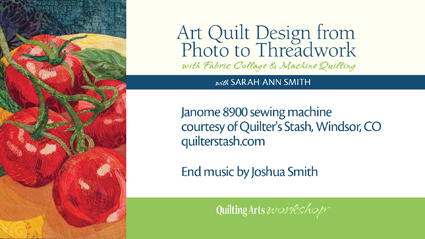
- A copy of the DVD!
- A selection of products from MistyFuse! I show you how I use these products in the Video workshop.
- A huge donation from Havel’s Scissors including a generous giftbag that includes long scissors, short scissors, snips, seam ripper, AND the non-stick scissors too!
- And a copy of Quilting Arts Gifts magazine from this year, with a project by me!
Here’s a photo of the stencilled ornaments project I did; I will also be demonstrating this project at the Christmas Delights Sampler (Class 765, and it still has openings…sign up at Festival!) from 2 to 5 Saturday afternoon at International Quilt Festival!
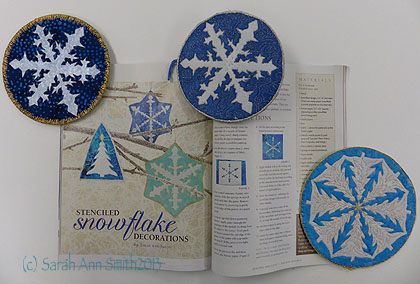
My project in the Quilting Arts Gifts 2013-14 issue is Stenciled Ornaments.
If you’d like to win this GRAND PRIZE, please leave me a comment and tell me something you learned these past two weeks from one of the blogs you visited on the bloghop! And if you can’t wait, or don’t win, do remember you can order my DVD from me here or the download (or DVD) from Interweave, here. Leave comments before 8 a.m. Eastern Time, October 10th. I’ll do the drawing that morning and post/contact the winner.
NOTE: this giveaway is for those residing in the United States due to postage costs. However, if you live outside the US and win and are willing to share postage costs, you can enter also.
And….. just when you thought the bloghop was over, NOPE! I’m doing a SECOND bloghop in early-to-mid-November to kick off the holiday season. So on November 10th, make sure you come back (well, come back and read my blogposts before then, but you know what I mean) to join the second and final round of fun!