email Youtube

Home
Galleries
Blog
Workshops & Calendar
Store
Resources
About
Contact

Archive for the ‘Techniques’ Category

Knits, Sergers, Cover Stitch machines, and more at Janome Education Summit 2018 Post #7

Thursday, July 12th, 2018

Thursday was a whirlwind as we finished up at lunch time.
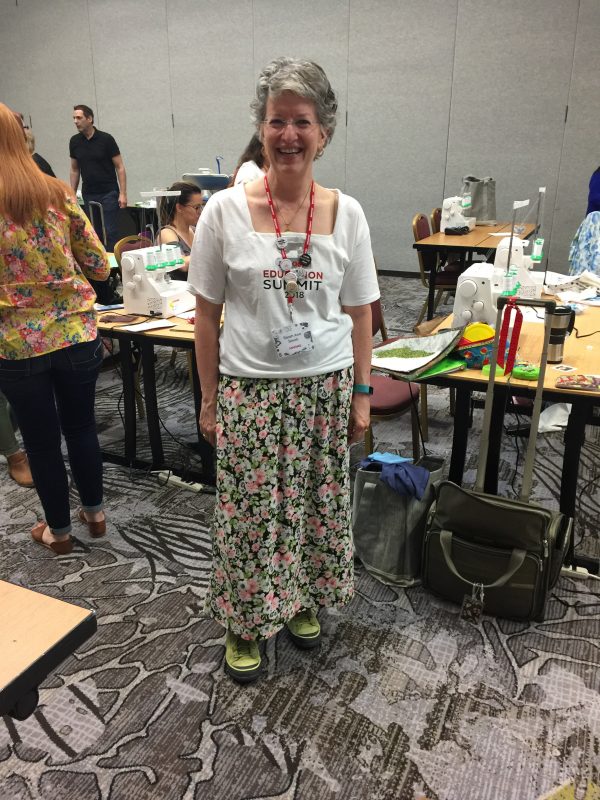
Me with my Summit t-shirt (we also did some iron-press decals…this was a basic shirt with an altered neckline also done at breakneck pace) with my skirt tucked underneath. Even my lime suede sneakers go with it!

In that morning we had a presentation on My Fabric Designer Software by Eileen Roche and made a knit skirt using sergers and cover-stitch machines thanks to Girl Charlee.  The amount of machines and work Janome America put into having them onsite for us all to test-drive and learn was amazing–huge kudos to Janome America for such a great Summit!  And of course major thanks to the sponsors and presenters for all the goodies and best of all the learning!

Today I am actually wearing the skirt I made (photo above)…the project was to make a pencil skirt.  I’m afraid that pencil skirts and my body and lifestyle are not a match made in heaven, so once again I was the disobedient child and made a gathered skirt.
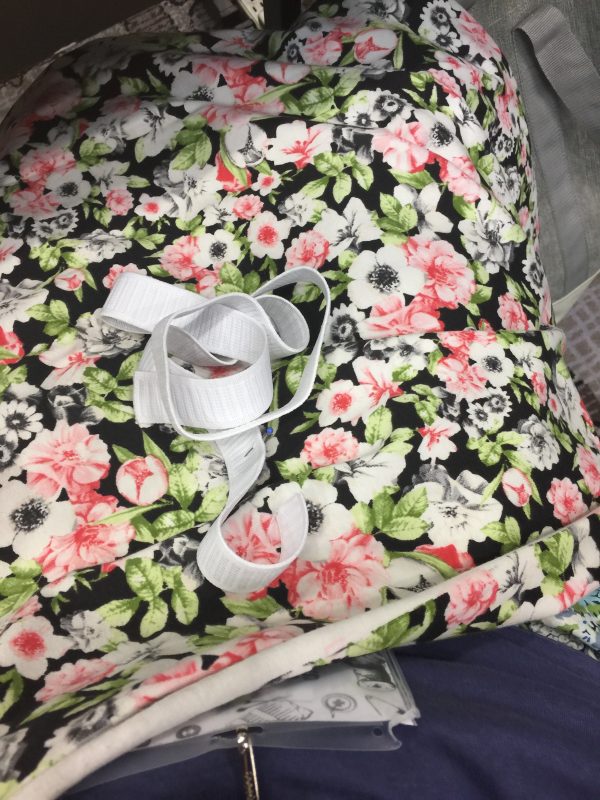
The fabric I chose…other choices were a solid denim look and a blue floral print. Heather Peterson’s Girl Charlee site is here, with a wide range of VERY reasonably priced knits. This particular fabric is still available as of early July 2018, here, and is only $8.50 a yard! It’s a lighter t-shirt weight skirt (so not too heavy for a full skirt) and is soft and comfy.

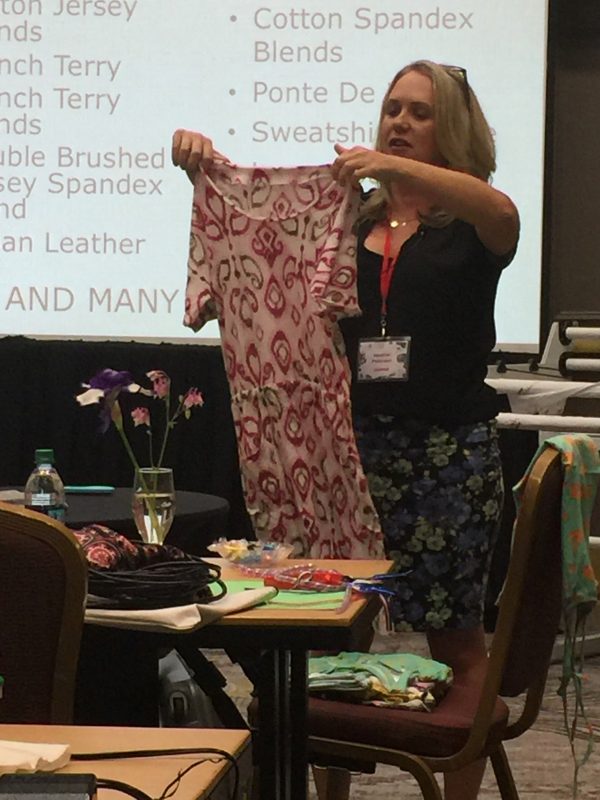
Owner Heather Peterson showed some of the fun projects she has made and gave us tips for sewing on knits.  For those who don’t have a serger, even the most basic sewing machines have an overlock stitch that you can use to whip up these fun things on your domestic machine.  What I learned:  don’t be afraid of knits!  You can do it!

Heather holding up a comfy knit dress

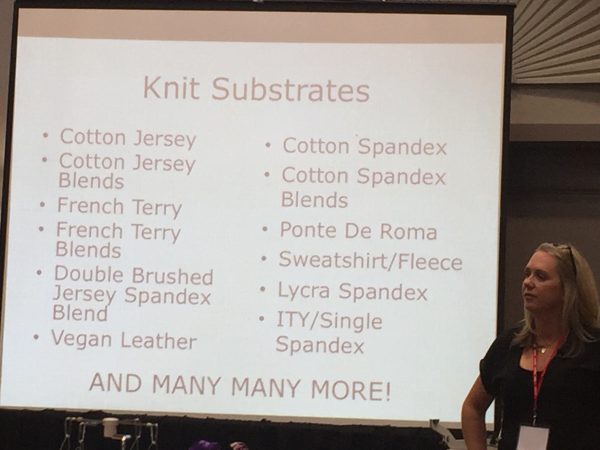
And on the screen behind her, tips:

Different types of knits….I had never heard of Vegan Leather….but it looks leather-ish and it actually stretches! I don’t think leather leggings are in my future, but maybe this might work on a quilt….hmmm…….

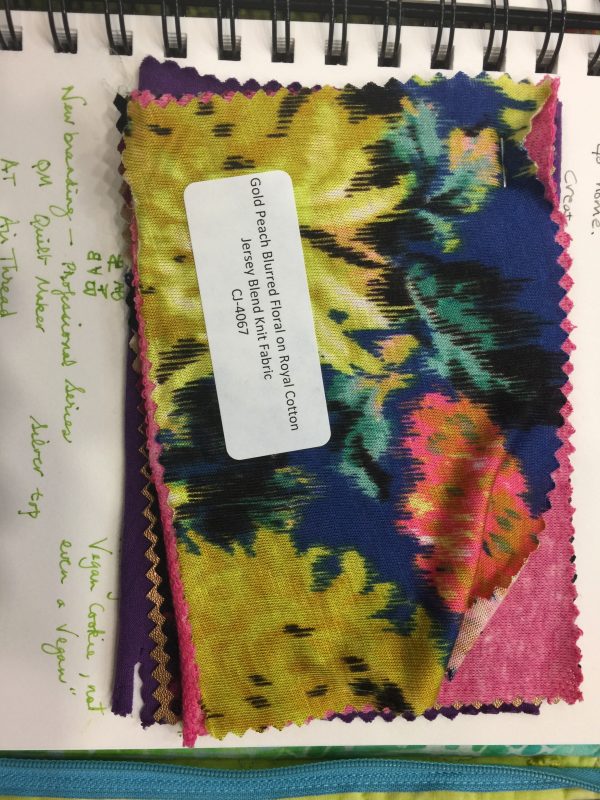
Some of the delectable fabrics at Girl Charlee

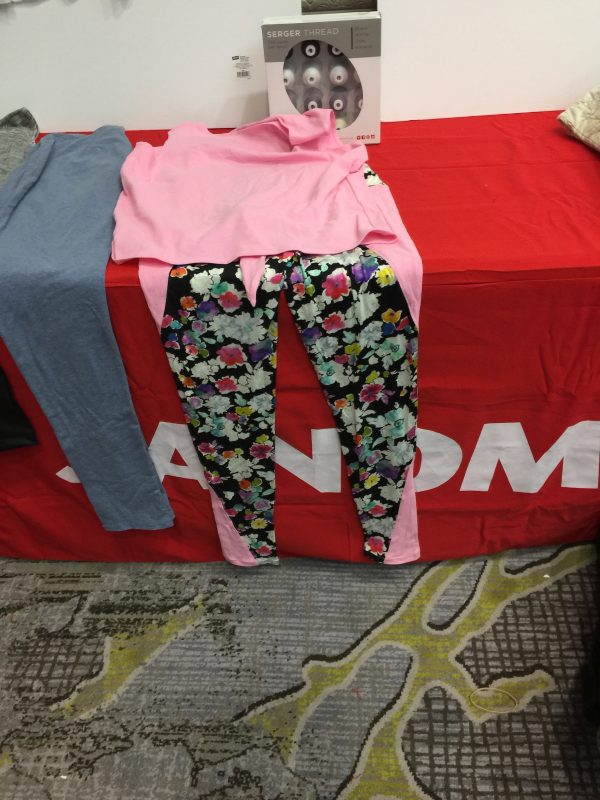
A couple knit projects up on the front table

The ladies who DID make the pencil skirt wore them and fell in love–the entire time I was thinking “I wish I had Ashley’s (DIL) measurements” because this project was ideal for her.  When I showed very petite Ashley the pattern provided (here) she was delighted and said “OMG, a pencil skirt that would actually FIT!”  The pattern has you start with your measurements, then subtract a bit, calculate the length, and presto, nearly instant skirt.   I used the full yard of fabric to make a nearly ankle-length skirt.  I didn’t have time to be afraid…we had to work FAST, so I serged up the side seams, serged the elastic (my first time ever doing that!) to the top, then switched over to the cover-stitch machine to stitch down the elastic and hem the skirt.
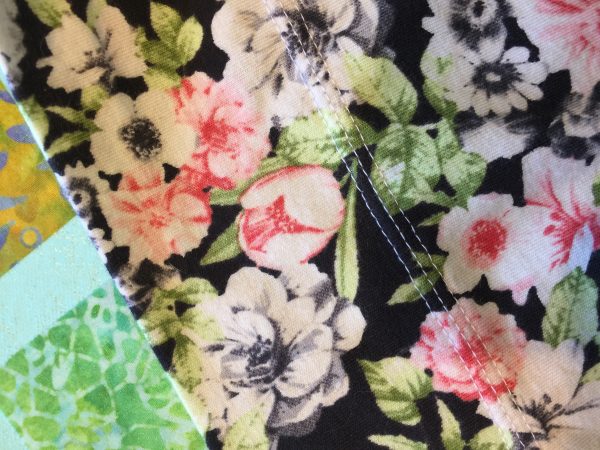
The hem of my skirt. I’ve never used a cover stitch machine before–I love the look of this three-needle hem. On a domestic machine, you can simulate the look of a cover stitch machine (or setting on a serger) by using a twin needle. The bobbin thread zig-zagging on the bottom side gives stretch to the hem, which means the threads don’t break.

After the summit I did some noodling around on the internet: the one issue I had was the fabric curling at the top edge of the hem.  Terial Magic would take care of that by stiffening the edge, but there is also stuff called wash-away tape that is 1/4″ wide.  That, placed on the cut edge, would hold the hem in place AND keep it from curling (which it does between the pins).  Thanks to Heather’s workshop I’m determined to take the fabric I bought to make leggings 2-4 years ago will be MADE UP into leggings this summer!  I’m not afraid any more!

Back to Eileen Roche– her company prints your designs (similar to Spoonflower) on a wide range of base goods (cottons, knits, poly, etc).  But she also offers software that works on PCs (sorry, not on Macs which is what I have) that helps you design repeats.  I could see having a lot of fun with this!
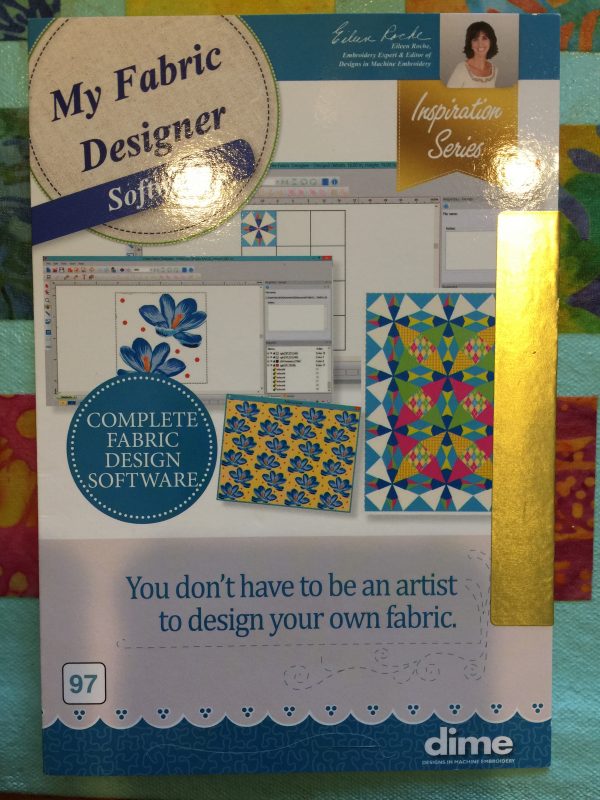
Here’s the print fabric website: https://www.myfabricdesigns.com and here’s where you find the software: https://www.inspiredbydime.com/inspiration-software/my-fabric-designer/

Although I’ve returned to earth after the rush of the Summit, just revisiting these photos has brought back what a great week this was.  A TON of good stuff packed into 3 full days!

Quilting Arts–my article on using your camera as a design tool

Saturday, July 7th, 2018

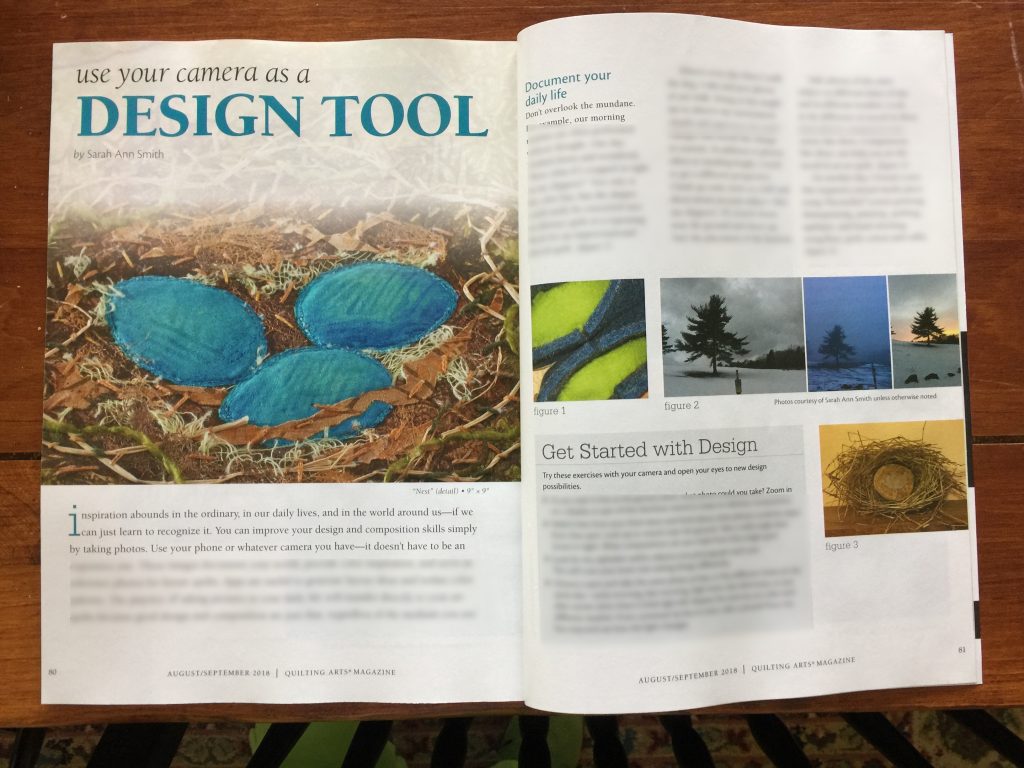
Delighted to share that I have a new article, “Use you camera as a Design Tool” in the August/September 2018 (just came out) issue of Quilting Arts magazine.  The article is inspired by my “Inspiration in the Ordinary” lecture which encourages quilters–traditional, art, modern, any and every kind–to look for inspiration in the world around them.  All the photos in this quilt and in my lecture were taken in my daily dog walkies and a couple forays (to the farmer’s market).

Delighted to be published in Quilting Arts magazine again…gosh, I just realized the first time I was published in QA (and in a national magazine ever) was twelve years ago!

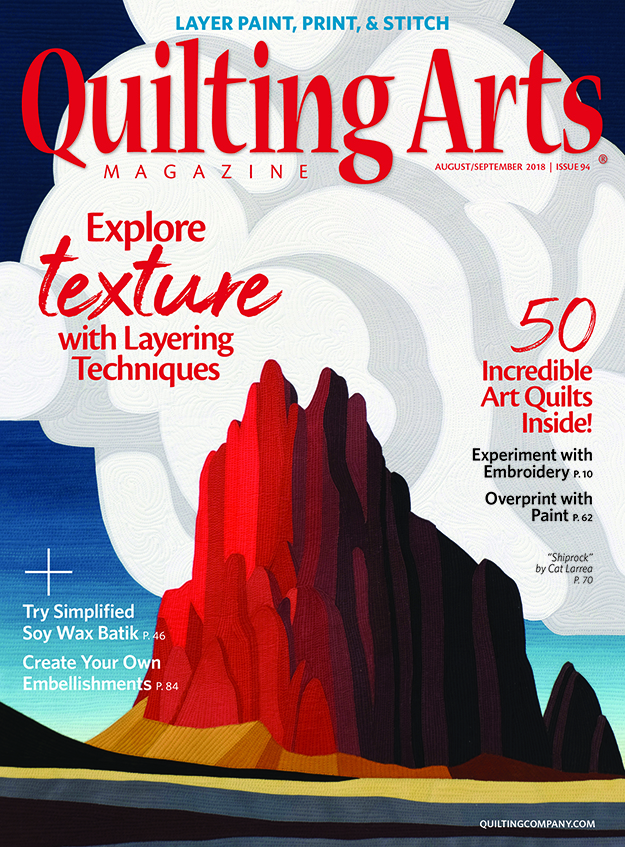
The cover of the issue with my article and some great ones by friends that I can’t wait to read!

There are examples of my world (including my slippers), some challenges for you to try to think, or re-think, how you approach design.   After all, good design, a good composition, is just that.  It doesn’t matter if it is a photograph, a quilt, a painting, a garden.  The same principles apply.  In the next couple of weeks I’ll share a few more tidbits that didn’t fit into the article so by coming to my blog, you get even more!   Here’s today’s tidbit:  pause briefly and take three shots changing only the horizon line.

Look at what a difference changing the horizon line makes in your composition. Three quick snaps with your phone on a dog walk to practice design.


I’ll be back soon with more tidbits!

SaveSave

Getting ready for the next quilt….the herald of summer in Maine

Sunday, July 1st, 2018

Before I can start in on the fusing and collaging process, I find that I now need to dye fabric specifically for a project.   While working on my Lilies of the Valley Quilt, I used up most of my good “summer” greens.   My next piece is for Explorations at the New England Quilt Museum (in Lowell, Mass.), a regional SAQA (Studio Art Quilt Associates) show.  I’ve had several ideas I wanted to try for this piece, and really wanted to push myself to do something different and unexpected.  Unfortunately, those ideas are just not wanting to fit into the required vertical orientation and size required!   So I’m going to do a large piece on something I’ve been wanting to do for a while:  Maine’s lupines that bloom in late May and early June and herald the summer.

SAQA members from Massachusetts, Rhode Island, Maine, New Hampshire and Vermont were invited to submit a body of work.  If selected, artists would then make a 30×50″ art quilt featuring a specific technique.  We were advised to submit several techniques, so I suggested dyeing, fused collage and machine quilting/threadwork.   I am delighted that I am one of 24 artists selected!  There will be two exhibits of 12 artists each.  We won’t know whether we will be in the Oct-Dec 2018 exhibit or the Jan-April 2019 exhibit until the works are completed and submitted August 1.  That means I need to work FAST!

I was chosen to showcase fused collage.  The exhibit is about techniques, with in depth information and supplementary materials.  From the acceptance letter:

In the exhibit, your piece will be accompanied by a number of items, including your artist statement, a brief bio, a photo of you in your studio, and materials which explain your technique. Each artist has a 20″ x 50″ area that they can use to explain their process. You can use process photos, sample pieces, written materials, even video presentations if you can figure out how to make it work.

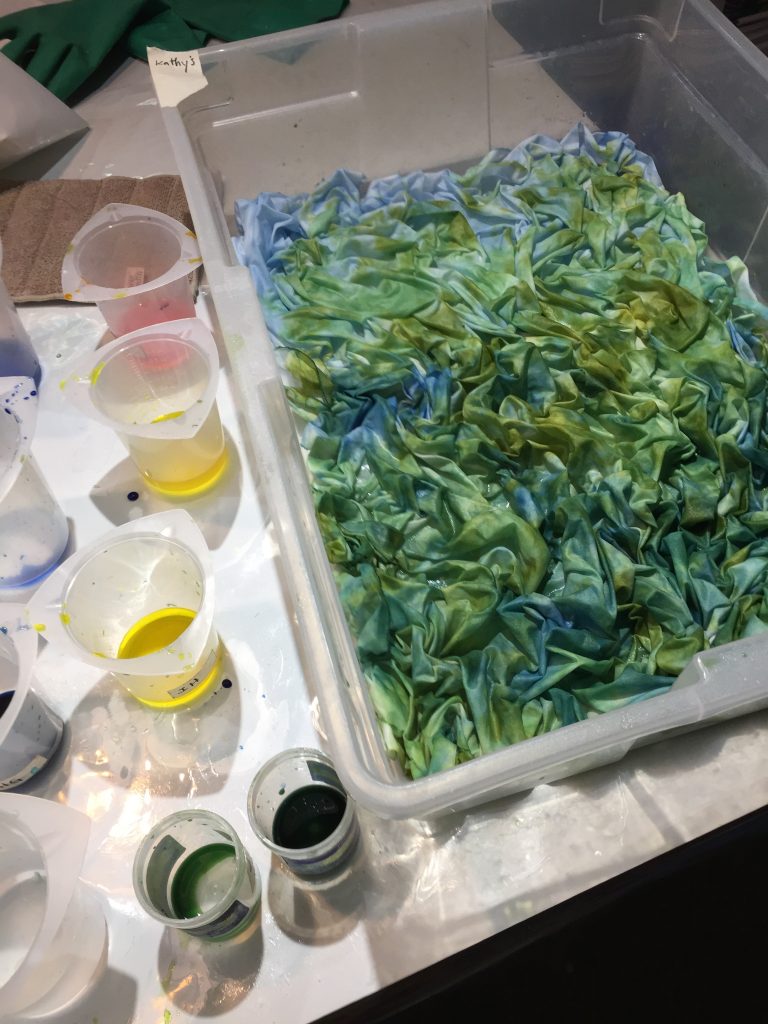
But before I can fuse, I need the right COLORS to fuse.   Some years ago I made some cloth that I gave to my friend Kathy, who used it is a fabulous portrait of her granddaughter.   I thankfully kept notes of which dyes I used, and I call this combination “Kathy’s fabric.”  This time, I decided to make it not as dark—summer meadow greens instead of piney woods greens.

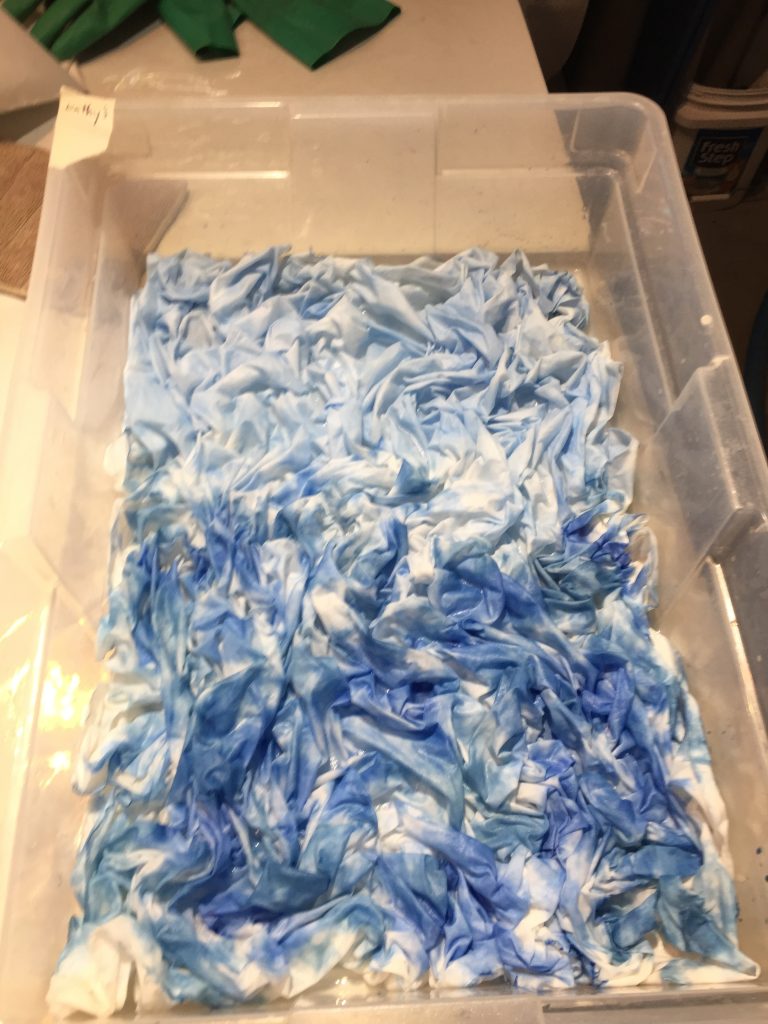
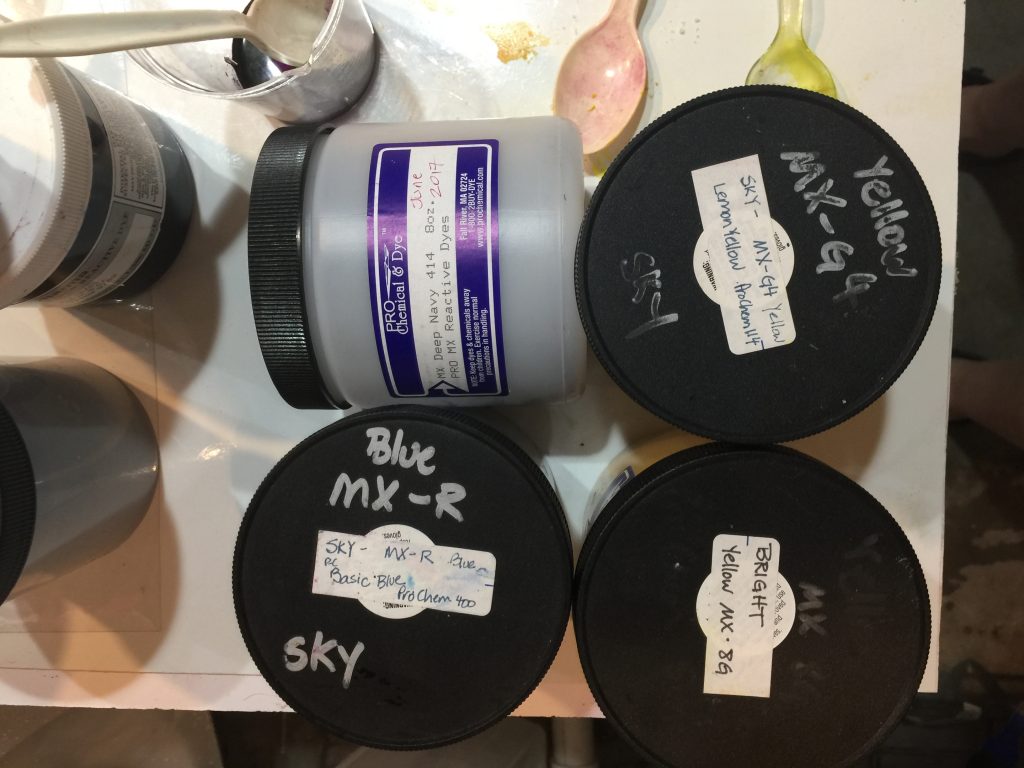
I start by dotting dye on, both navy and basic blue. I literally stick my latex-gloved fingers into the dye and daub it on. MANY classes with Carol Soderlund and many MANY yards of fabric and miles later, I can begin to predict what I will get because I tend to refer to my notes and books from the workshops, then go improv.

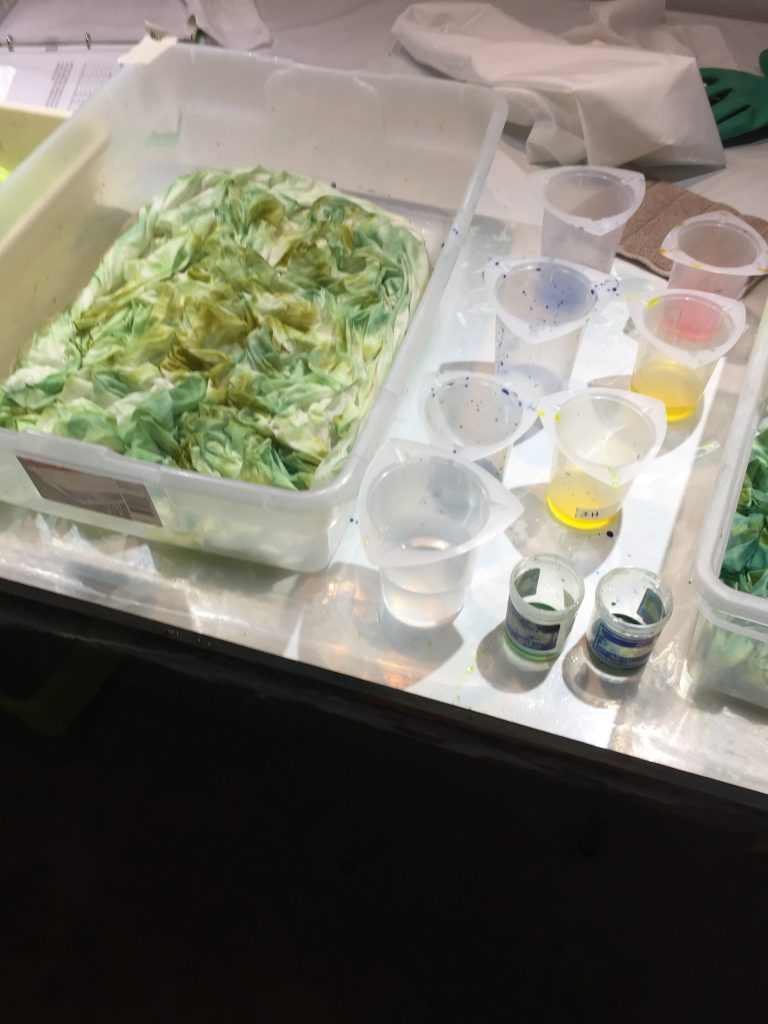
Then I add two or three yellows, because not just one will quite do what I want. Sometimes, I do a second cloth, as here, where I have actually mixed some greens instead of just doing yellow on blue.

For dye geeks, most of the time I prefer to paint dye onto cloth, then paint soda-ash/fixer solution on top, but this time I soda-soaked first, then daubed on the color.  When I want significant patterning, it’s soda-soak first.

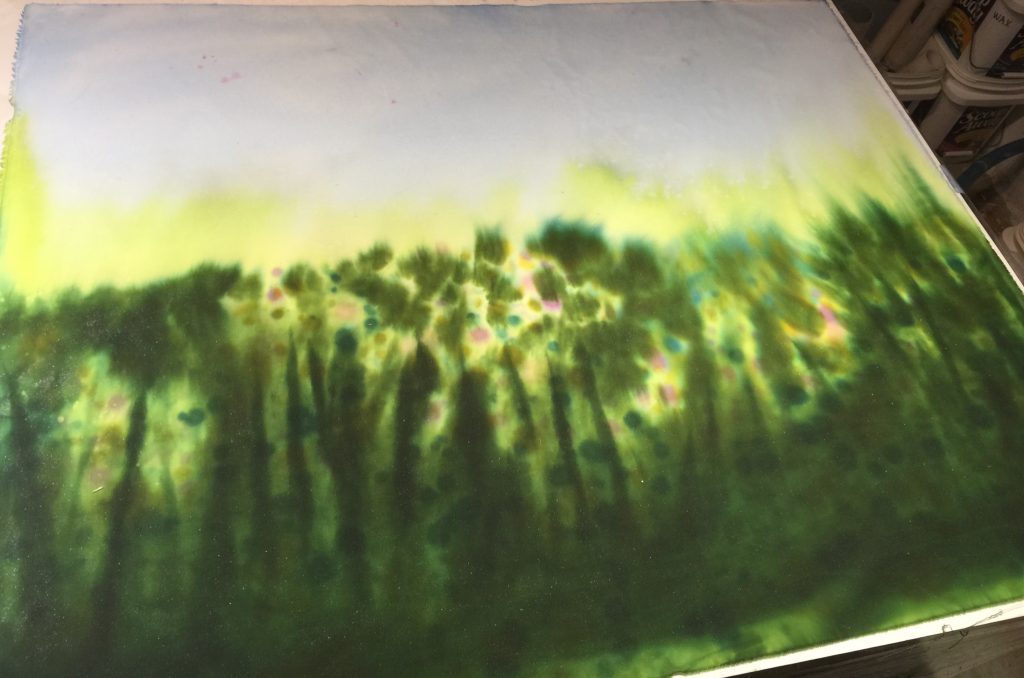
The photo at the top of this post is the one which began with blue dots, then yellow, then greens.

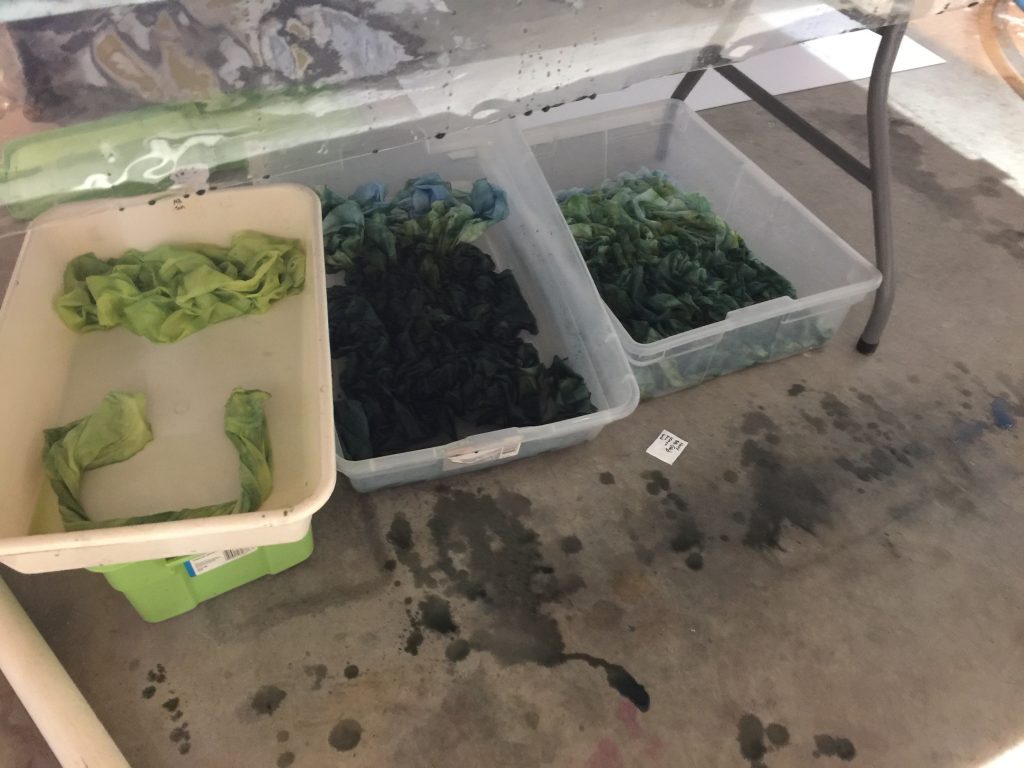
Once I’ve gotten the color on, the fabric needs to batch so it moves under the table for several hours before washout, sometimes (as this time) overnight. Had to make some of my bright spring greens, too.

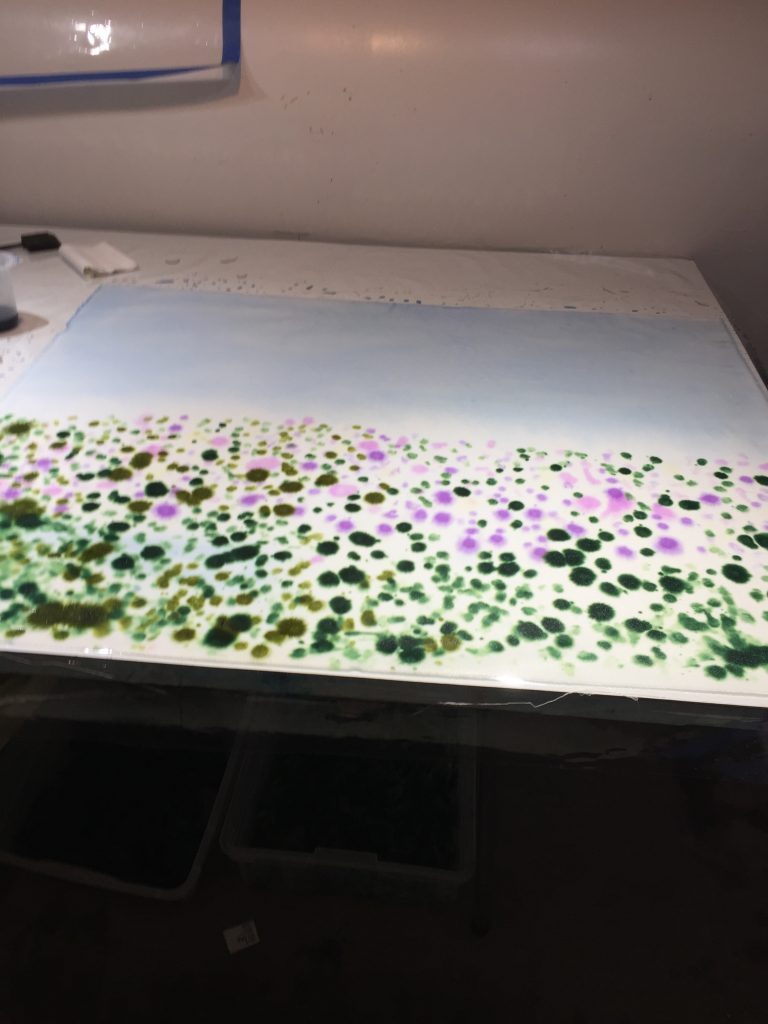
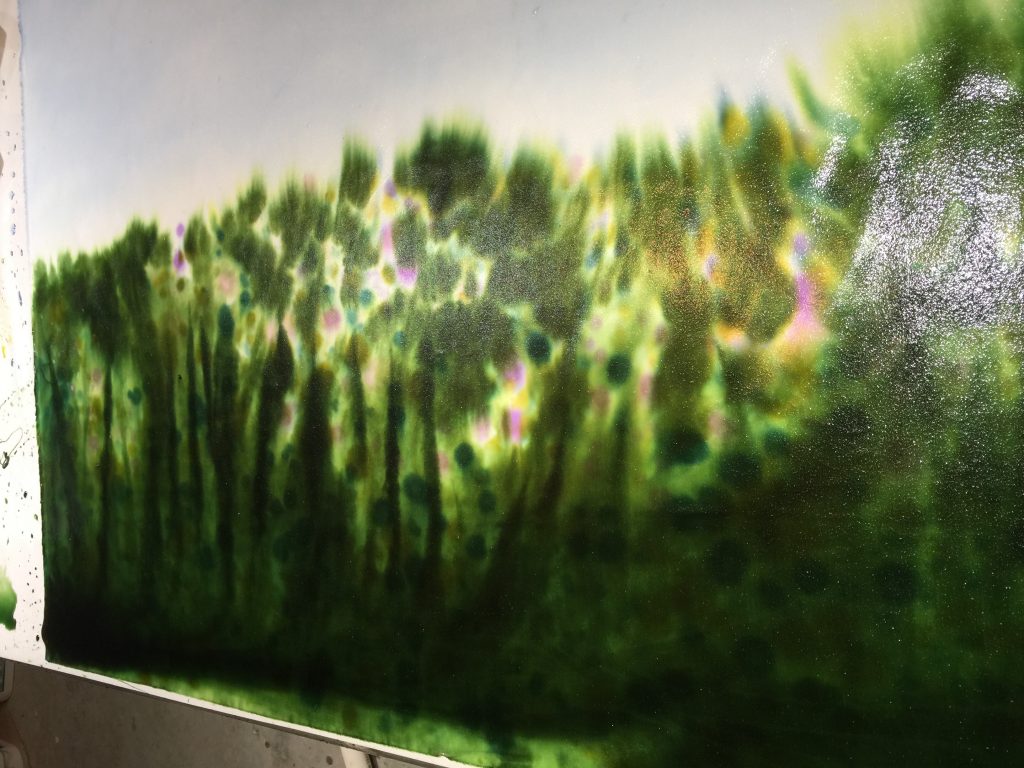
Then I decided to try to make a field with lupines in it, but blurry, to use as background at the top of the quilt.  I may have messed this one up…..

Sky at the top–good until I put some plastic over the top to batch it overnight. Apparently SOB there were stray dots of dye that didn’t get washed off properly last dyeing session. SOB.

This is what it looked like about six hours later. I like the way the dye is seeping up into the sky. This is when I covered it. SOB.  And most of those dots got covered up. 

This morning when uncovered. SOB. Random specks of pink in the sky. SOB. Will have to see after washout what remains.  Cover it up with tall lupines perhaps.  SOB.

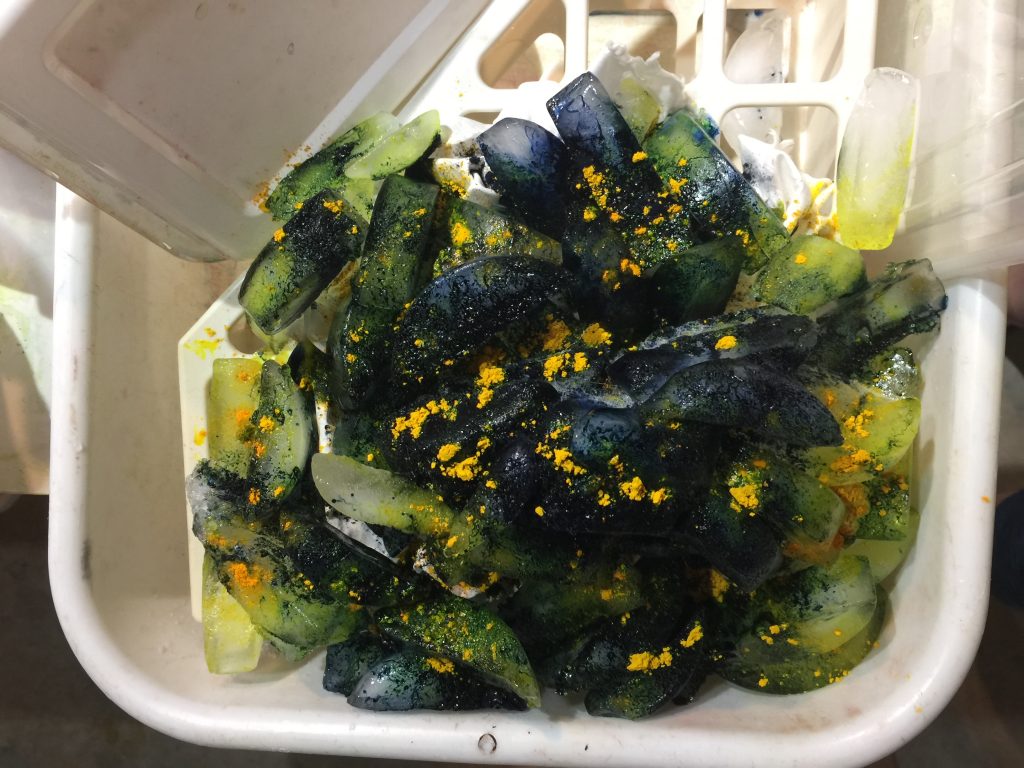
I also decided to try ice dyeing for the first time, inspired by my friend Jim Vander Noot. I used a magazine holder because it was available to keep the fabric up out of the pooling, dripping dye (instead of a screen). Put another piece of cloth in the bottom of the tub to soak up the drips. I use pure dyes, not mixes which is more typical for ice dyeing, so I kinda winged it on this one. I sprinkled the dyes in the picture below on, then dribbled some yellow dye solution I had already mixed up as well.

Dyes sprinkled on.

Today I washed out….stuff in the washer now.  OH MY I am SOOOOOOO gonna do more ice dyeing…totally hooked!   Hope they look as spectacular washed and dried as they did rinsed out!

Stay tuned for an update.

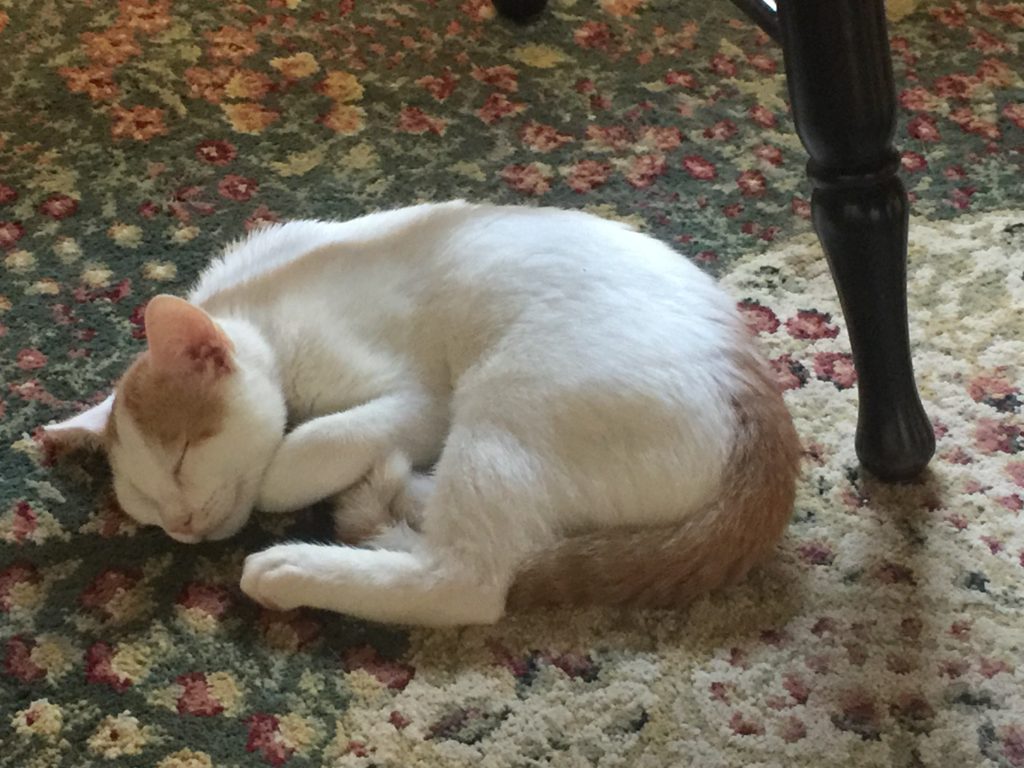
And…gratuitous cat pic of the new kitten, Zabu (named after the Leapin’ lemur on Zoboomafu which the boys watched when they were little)

Sweetness, to be followed when awake by zooming and cavorting and wreaking kitty havoc.

#saqa, #fabriccollage, #artquilt,#artistsoninstagram, #fusedfabric

#saqaexplorations, #neqmexplorations, #saqa, #neqm, #saqamari

SaveSave

Janome Education Summit 2018

Wednesday, May 30th, 2018

Many of you know I have been a Janome Girl for a long time.  I was beyond fortunate to be able to attend Janome-America’s first ever Education Summit last week in New Jersey.  It brought together Janome Educators–those wonderful folks who work in show booths for Janome, Janome dealers, in classrooms at quilt shows, around North America, the National Spokespersons for Janome for both the US, Kimberly Einmo, and Canada, Tamara Kate, as well as many Janome Artisans (like me) and Janome Makers.   As someone said at the start, I am in awe of the talent in that room, and my awe only increased as the week progressed.   I’ll share what we did over several blogposts because it was WAY to much fun and educational to fit into one post.  A bunch of us from the summit are blogging, so I will link to their posts at the end (and perhaps in a separate post, too).  A HUGE HUGE HUGE THANK YOU to Janome America–I think all of us are still floating on the collective energy and inspiration!

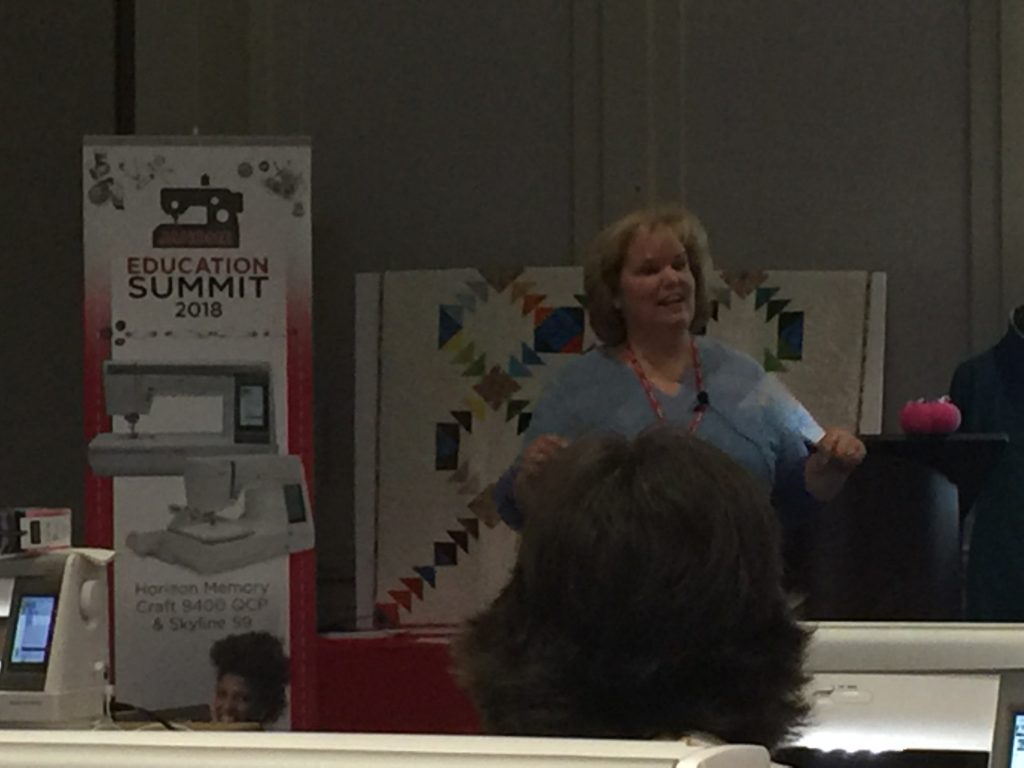
Our welcome and first session were from Janome’s new US Spokesperson, Kimberly Einmo. She’s well known for her many books on Jelly Roll quilts, great traditional piecing techniques, and being an all around nice person.

We began by working on the Janome 9400, the machine I have in my studio.  You will have to pry it out of my cold dead hands.  I love what I can do on this machine. Stay tuned for different session work on it (as well as all my garment sewing and a lot of my quilting).

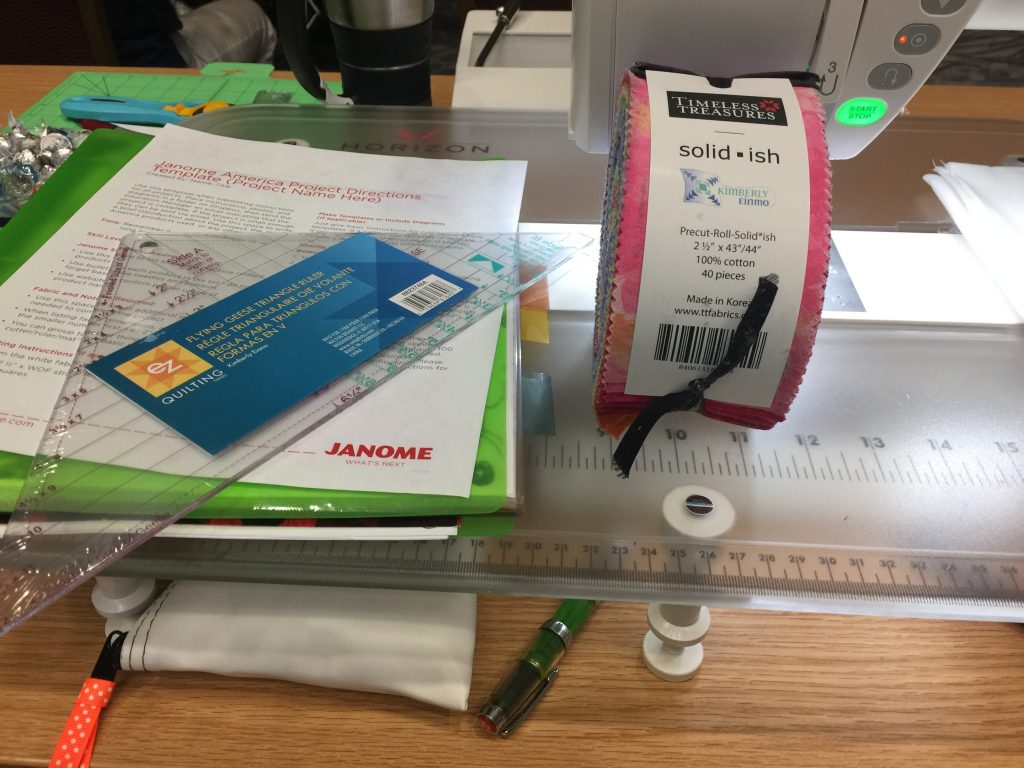
The swag that came from attending this Summit was unbelievable–thanks to ALL the donors.  Kimberly designed a ruler for flying geese and has a new line of fabric, Solid-ish which was one of our first delights. I had admired it on Facebook posts, but OMG it is SO much prettier in person!   And I am now a convert to specialized rulers.  This ruler makes it brainless and possible for even me to get perfect points (and I totally mean that, not just complimenting because we got a freebie, it really works).

Check with your local shop or online for solid-ish. There’s a warm pink and coral and yellow that I want some yardage! Well, the aquas too, and the greens…..

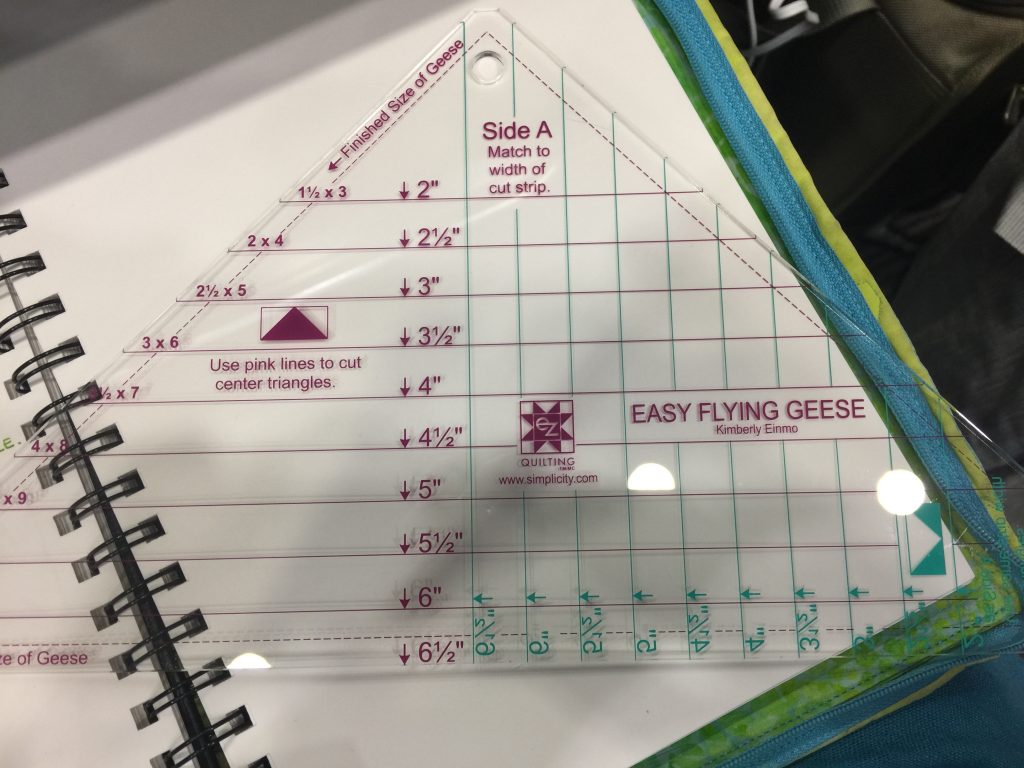
Even I can use a ruler like Kimberly’s Easy Flying Geese: the colors are pink and mint for breast and ovarian cancer awareness. If you can read the writing, in this case the pink, that makes the geese (notice the darkened triangle above the 3 1/2″ line?). If you can read the blue (flip the ruler over), it is for the background pieces. Easy peasy.

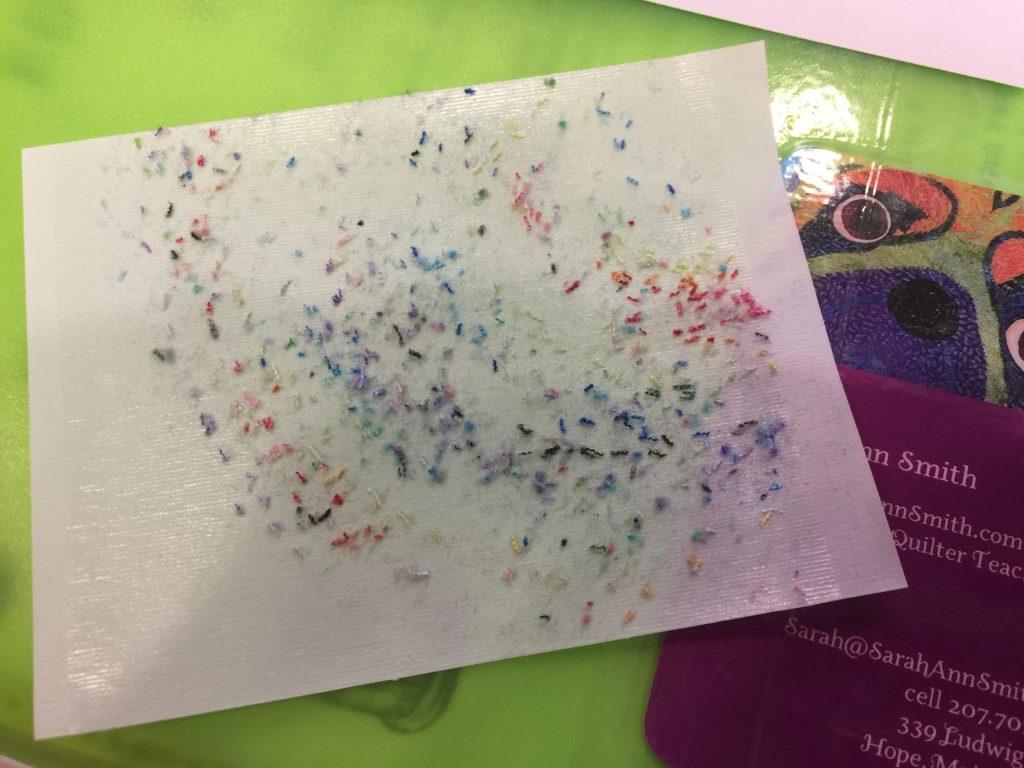
One of the first and most useful tips came at the start:  ya know how Jelly rolls and other precuts have pinked edges and shed bits of thread and lint like crazy?  Lint roller them FIRST, before you undo the package!!!!!   Brilliant!

If you lint roller your jelly roll, you end up with lots less floaty bits messing up your clothes and studio!

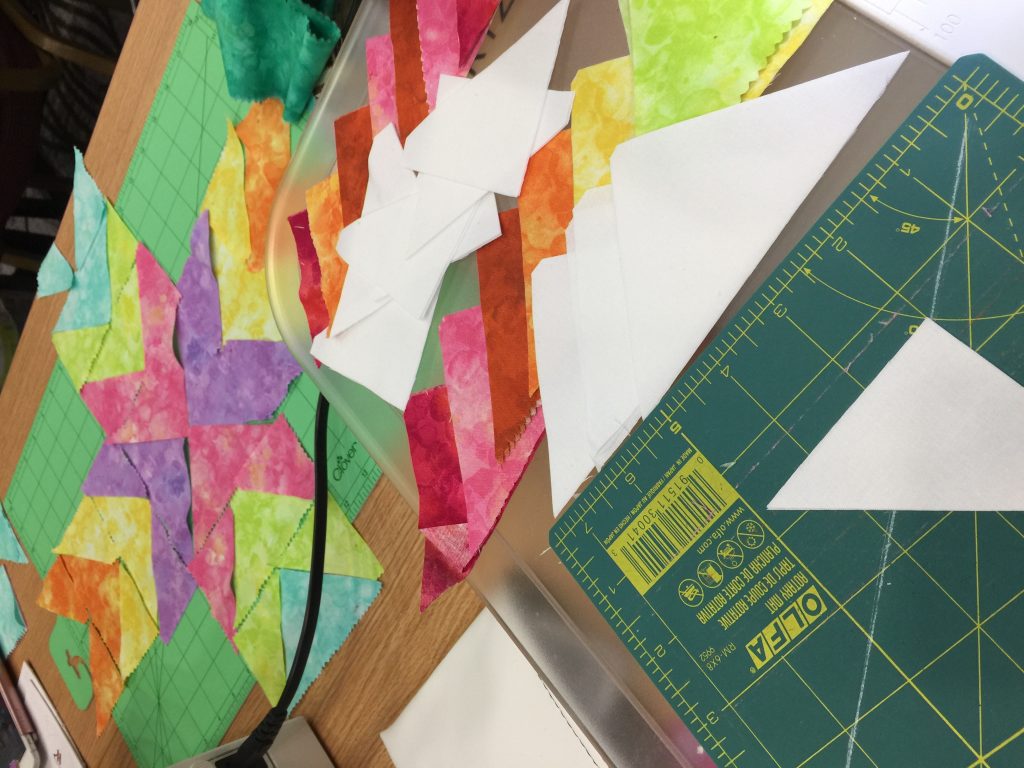
This shows my pieces laid out on my sewing machine table and a block in progress by Kimberly Coffin, my tablemate, whom you can find at her website Sweet Red Poppy.

I tend to stress in classroom situations and my brain freezes, so I don’t accomplish a lot.   But I do start thinking.  I totally want some play time to make more geese and maybe some placemats, a wall quilt of the modern persuasion…. I saw what Tamara Kate was doing and totally thought that I need to get out of my box and play.   Go check Tamara Kate’s website Kayajoy for inspiration.

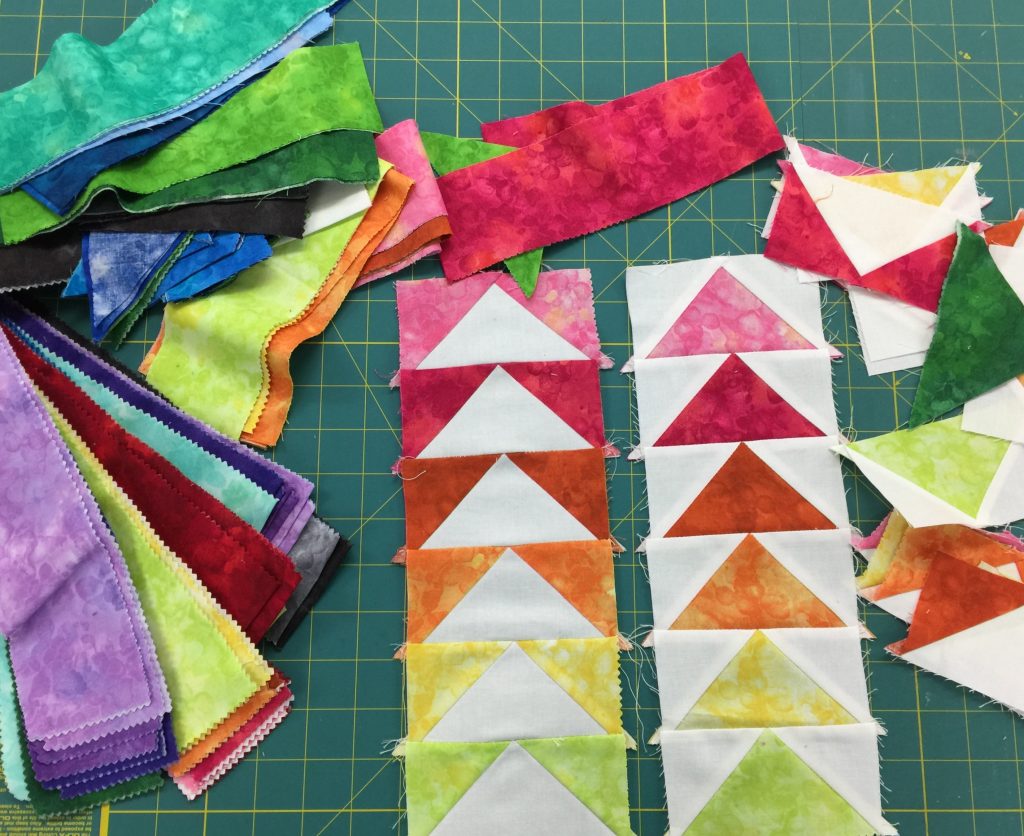
My flying geese…. I need some new placemats for spring and summer, so think I’ll order some of my favorites…that magenta, and the bottle green, and the turquoise…oh dear…..

More soon!   Next post will be about ruler work with Amy Dreishbach Johnson of Sew Simple of Lynchburg VA.

SaveSaveSaveSave

SaveSave

QA TV Series 2000, including me, is now on air!

Thursday, August 3rd, 2017

Hi everyone…a quick pop-in to share that Quilting Arts TV has begun airing.   Check with your local PBS station to find out when it will air in your area.  In Maine, it will be on Maine Public’s Create channel (I think).  If you’re like me and don’t have access to a PBS station (grumble) that airs it, you can download the episodes or series at Interweave, here.  I’ve even got a new badge:

Sarah’s on Quilting Arts TV again, Episodes 2001, 2007 and 2012.


I’ll be talking about my journey from hobbyist to professional in the industry (Episode 2001), how to get crisp corners when facing art quilts (Episode 2007), and  my way of using thermofax screens to blend collaged fabrics prior to quilting (Episode 2012).  I hope you’ll enjoy the journey with me–nothing of mine is earth shattering, but not much in life is.  It’s the little tweaks and changes that make the difference, and I hope my tips and techniques will improve your quilting and life.

SaveSave

SaveSave

SaveSave