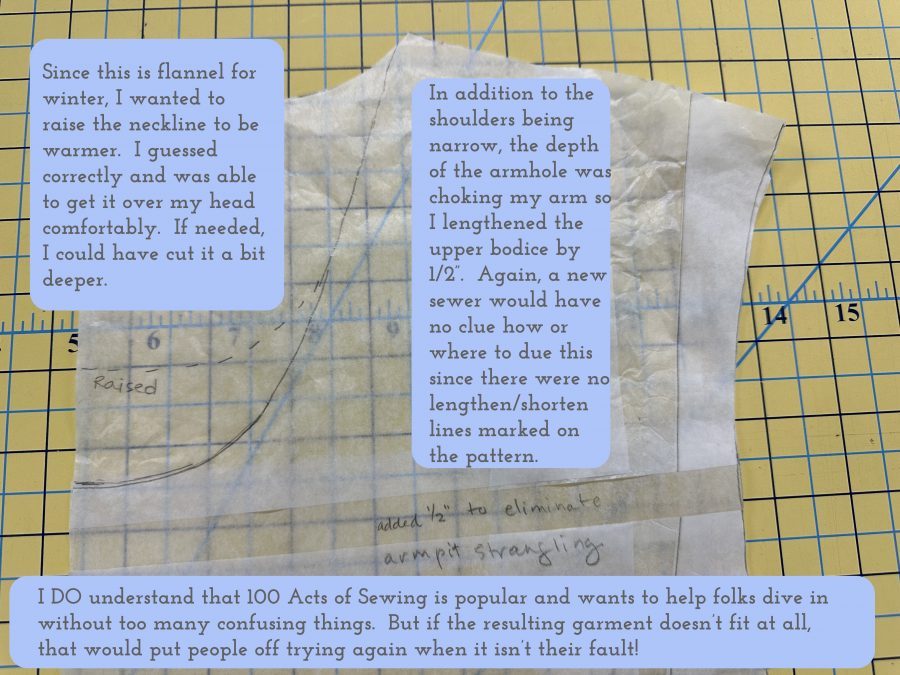
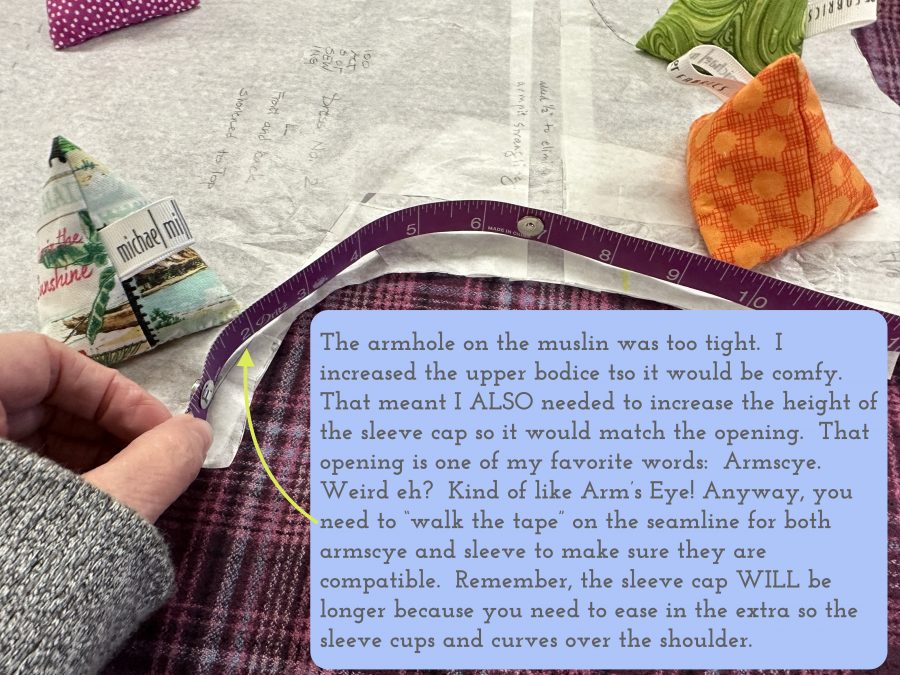
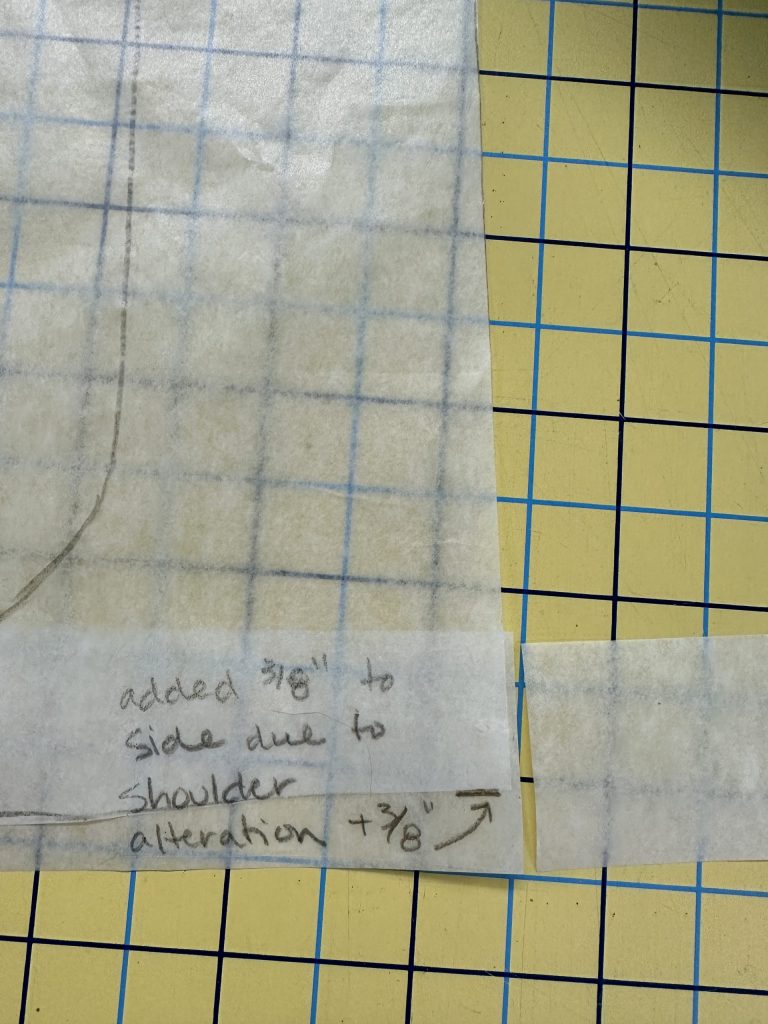
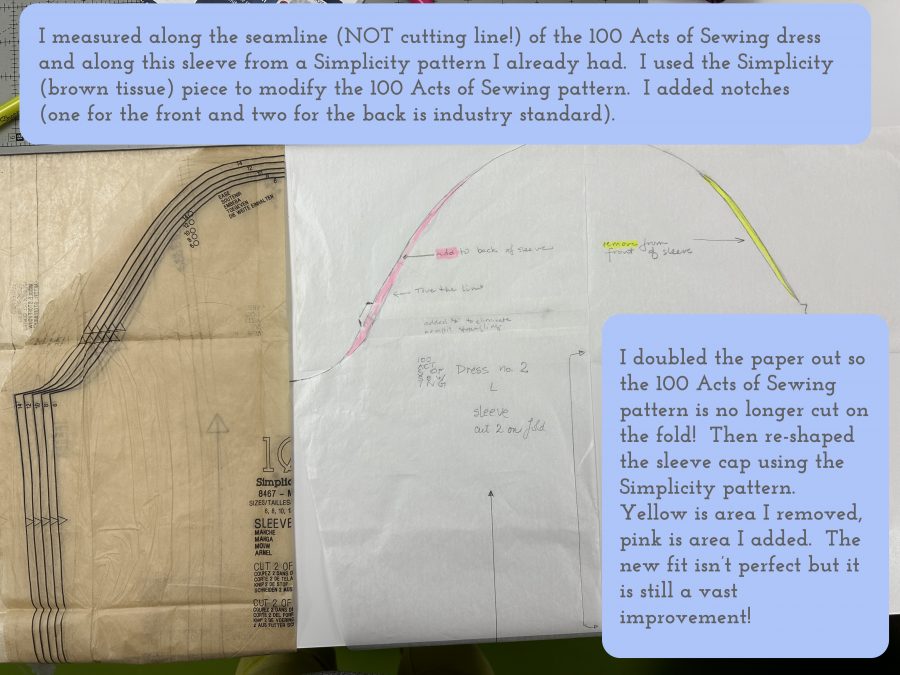
email Youtube

Home
Galleries
Blog
Workshops & Calendar
Store
Resources
About
Contact

Archive for the ‘Sewing hints’ Category

Plaid Top Tutorial: Lesson 1-Choosing a pattern and starting tips

Friday, February 17th, 2023
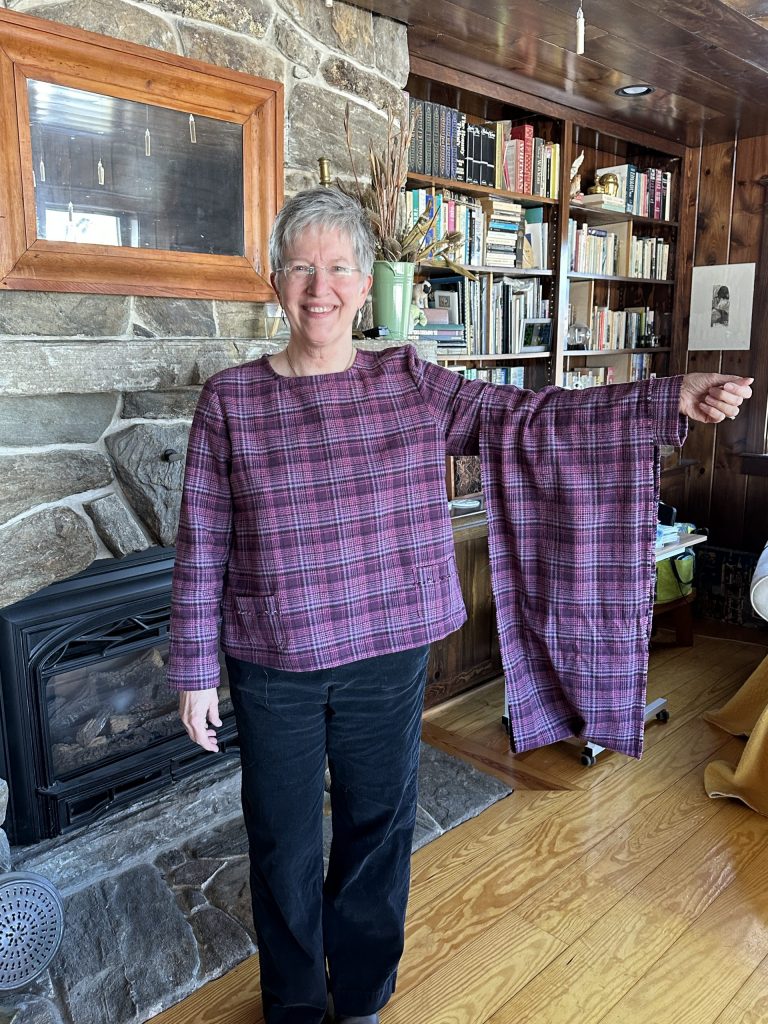
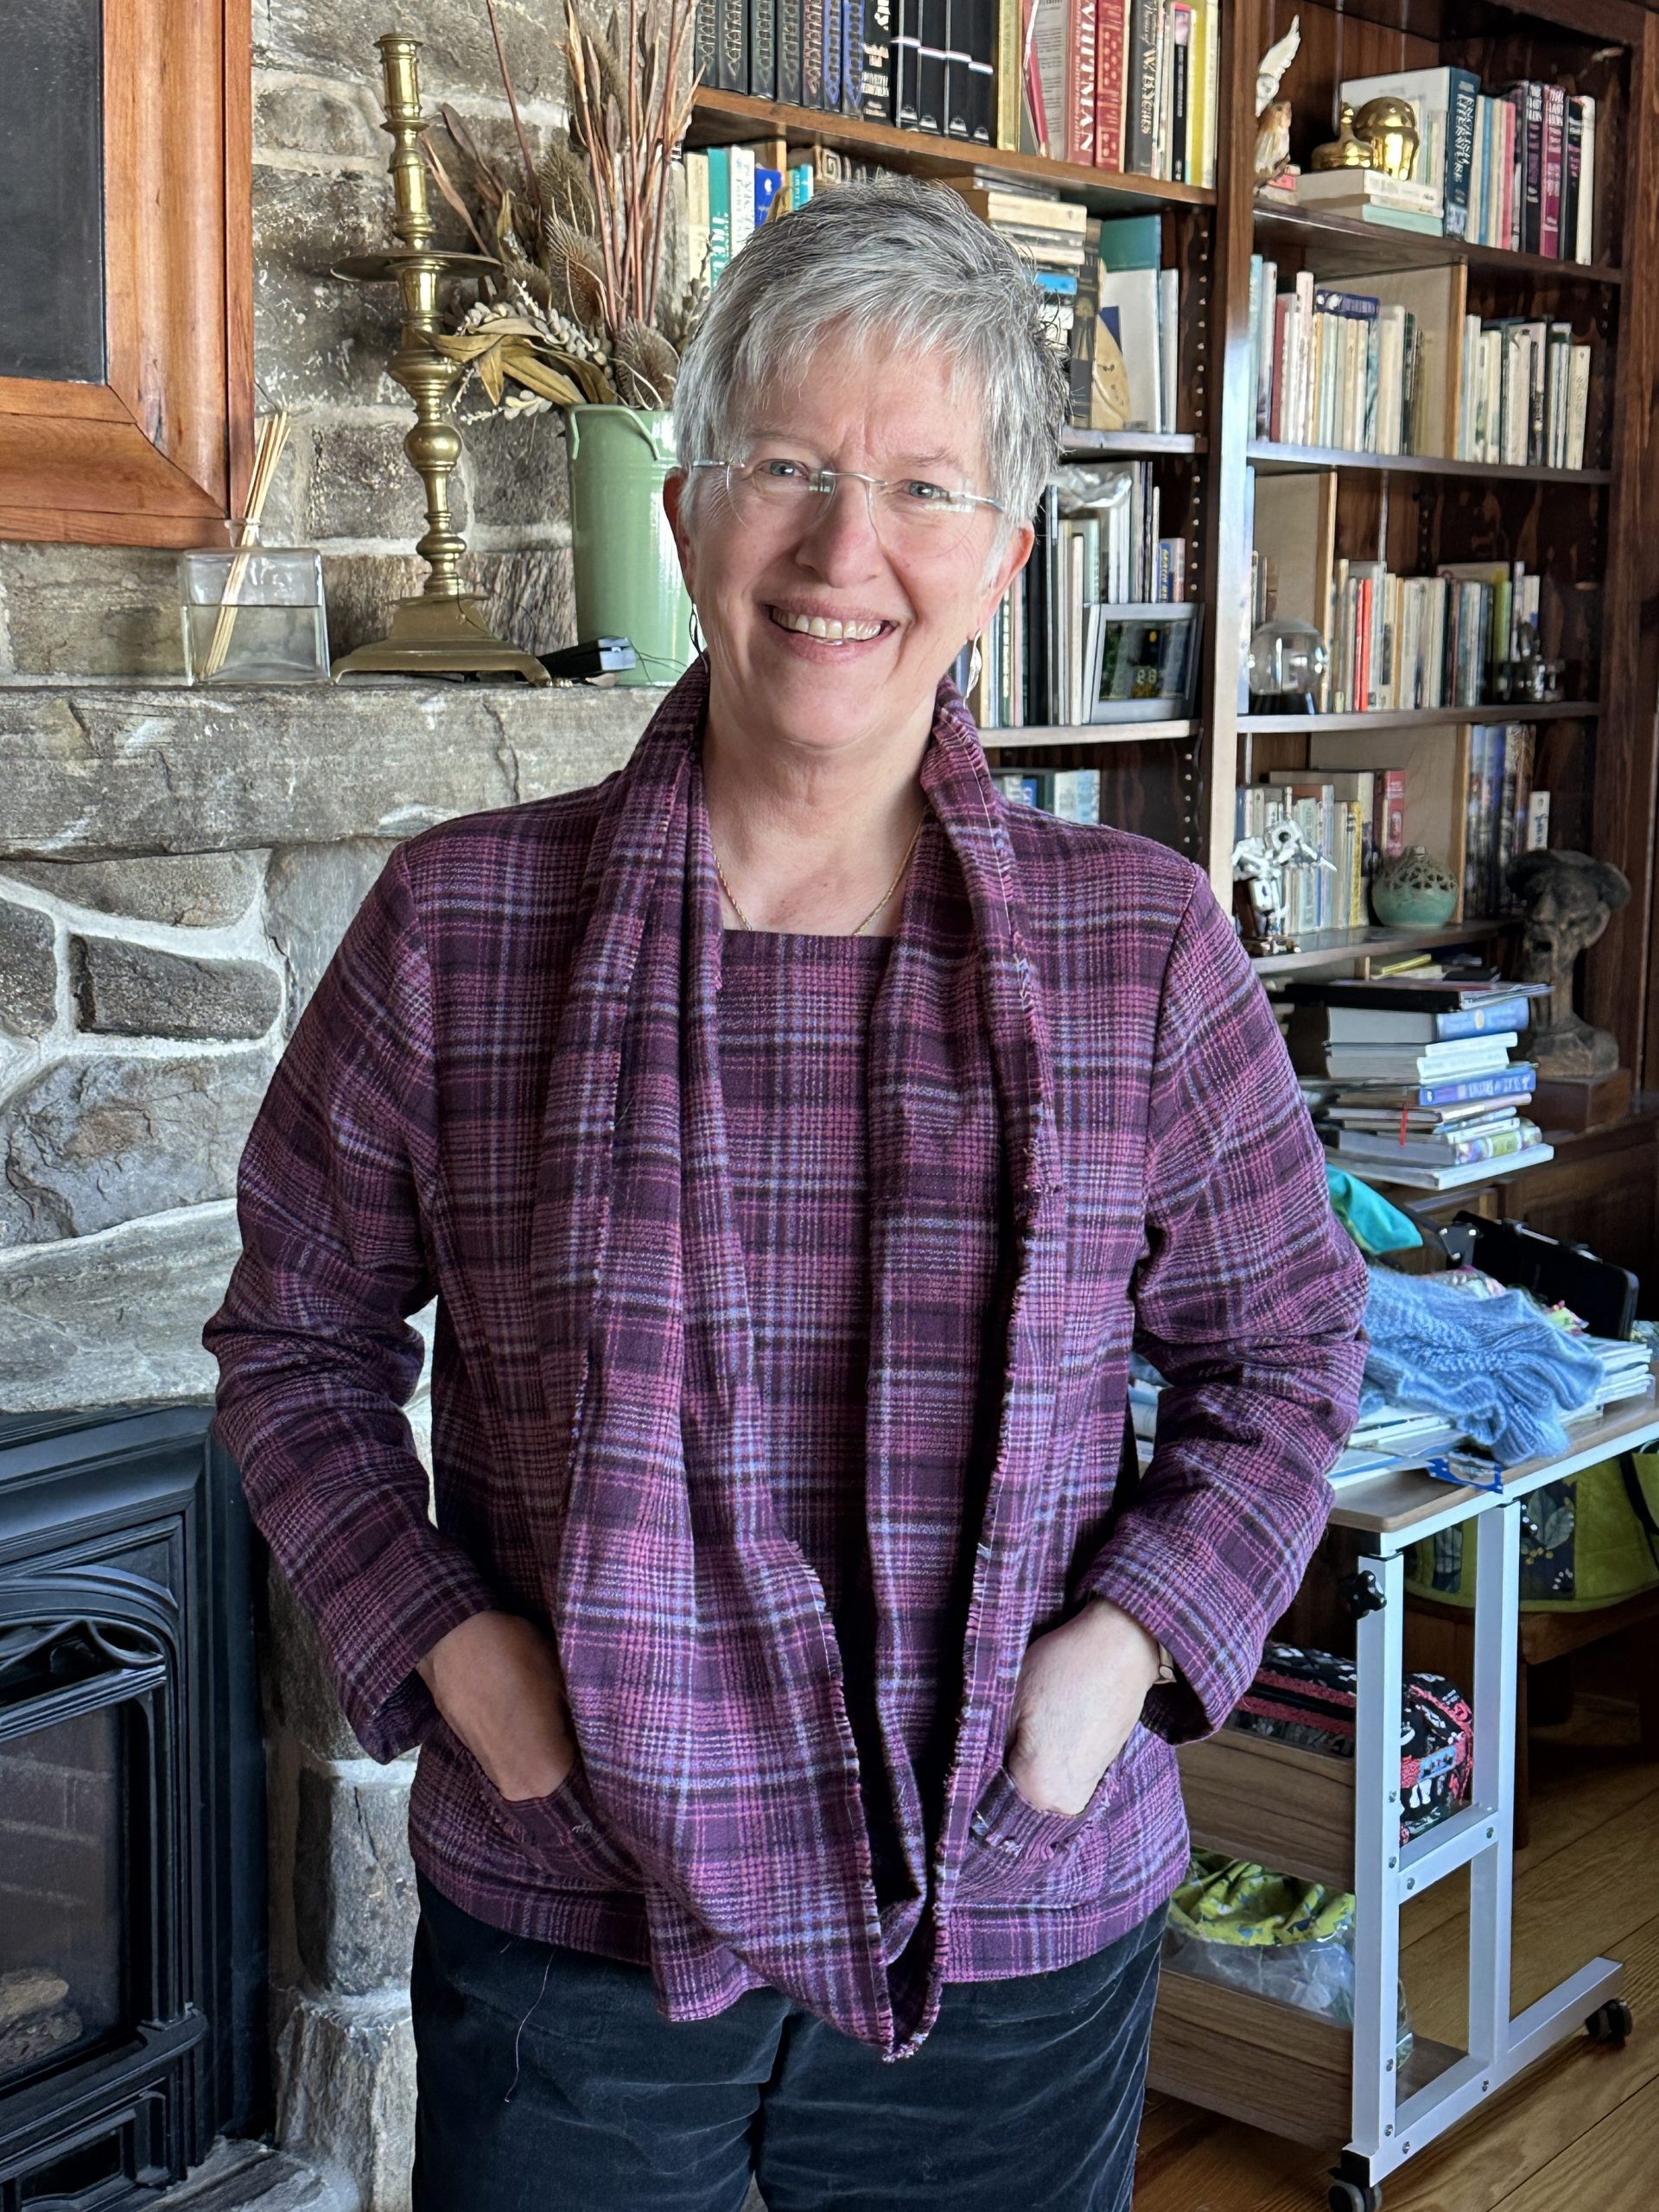
Flannel Plaid top and scarf

I thought it would be fun to teach some basic garment sewing techniques using a simple “T” top in woven fabric as the platform, tossing in a few special lessons along the way. This isn’t a class in how to make a blouse–rather it is a way to teach several techniques that are useful in garment making and home dec across the board.  There will be 9 posts total that will publish on Tuesday and Friday through March 21. As they go live, I will update a list at the bottom of each post that has links to all the other lessons. Today, I’ll cover:

1. What to look for in a pattern
2. Figuring out what fits you by looking in your closet
3. Wearing Ease
4. Pre-shrinking!
and a tease….be sure to look at the photos at the very end!

Future posts will touch on

–alterations including length, shoulders and bust adjustments (full and small)

–Matching plaids when cutting
–fine seam finishes including
     *Overcast
     *French seams
     *Flat-felled and lapped
     *Hong Kong finish–not used on the top but good to know
and a bit on when to use each


–Lined Patch Pockets, getting a smooth curve, presser foot tricks

–a bonus Infinity Scarf and wrap up

Please note:  I am affiliated with Janome as a Janome Artisan and am compensated.  However, my reviews are honest and I would say what I say whether affiliated or not.  I’ve also chosen to be affiliated with Janome since 2003 (!!!) because their machines are so good and they are so responsive to the interests and needs of their customers.  
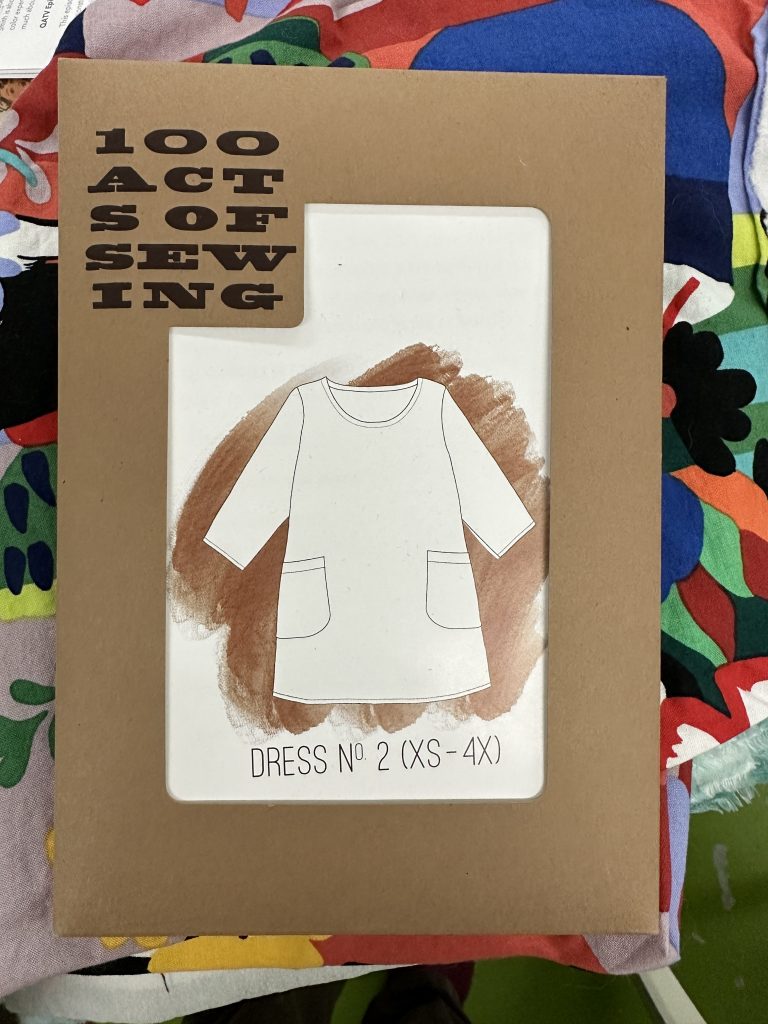
100 Acts of Sewing, Dress No. 2
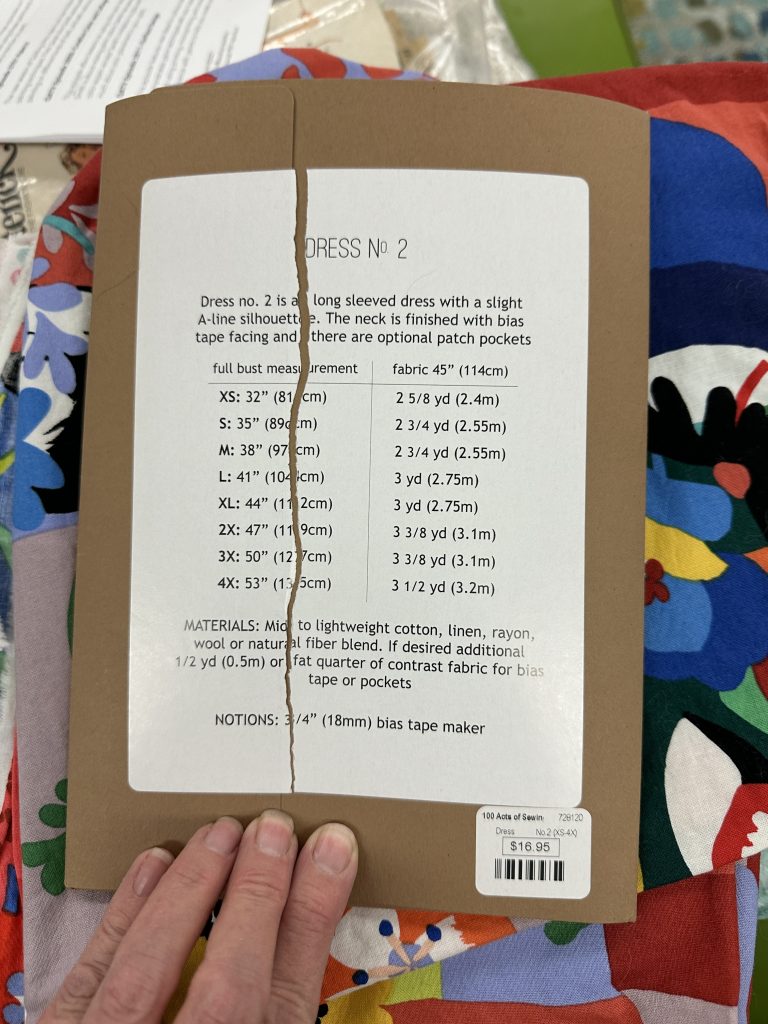
Pattern back

A dear friend loves this very popular pattern and has made it many times. It is a simple “T” shape and is supposed to be geared to beginners with simple shaping and few pieces. By making it shorter, you can have a top or a dress from one pattern, and the size range is good for almost all bodies. Or so it would appear. All I can say is that I am so sorry I cannot recommend it. At ALL. I’ll show you why.

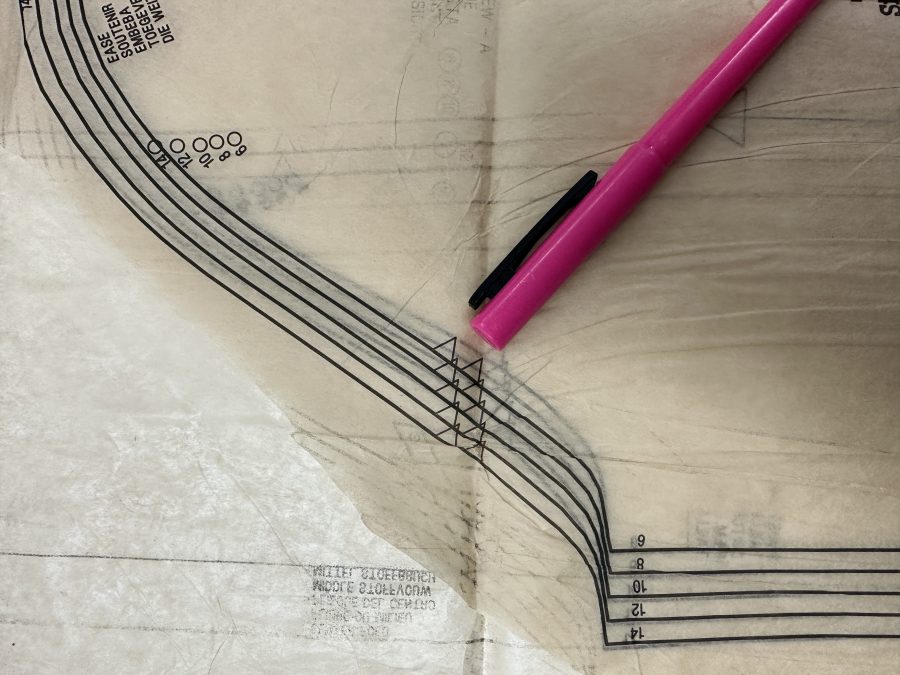
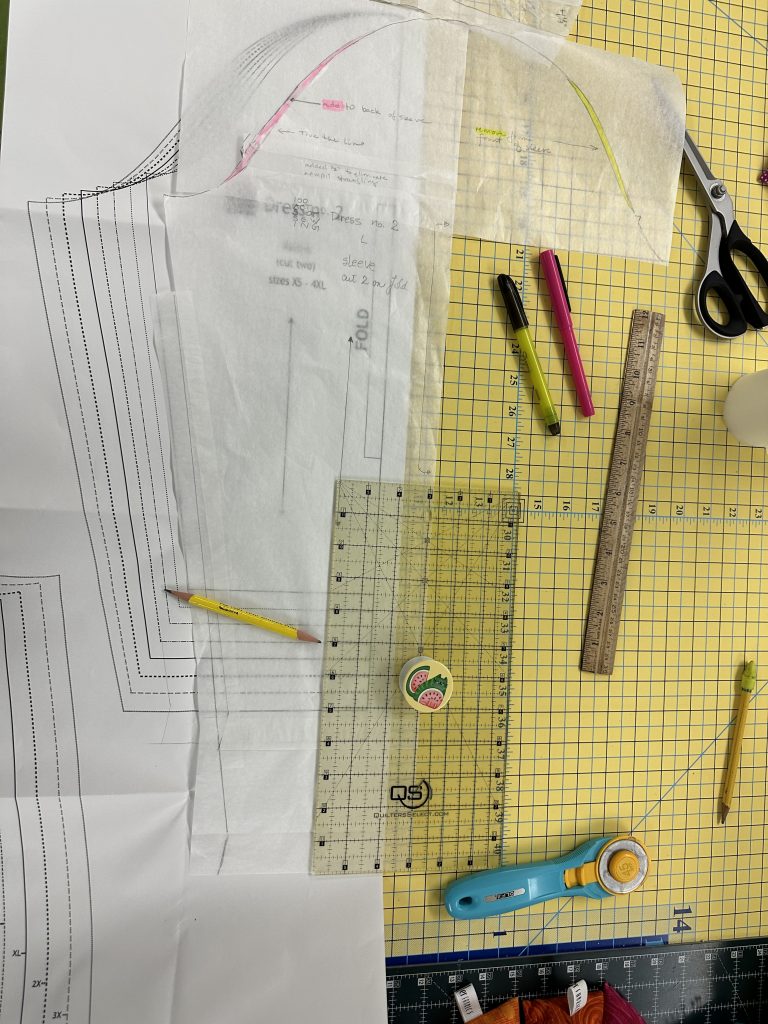
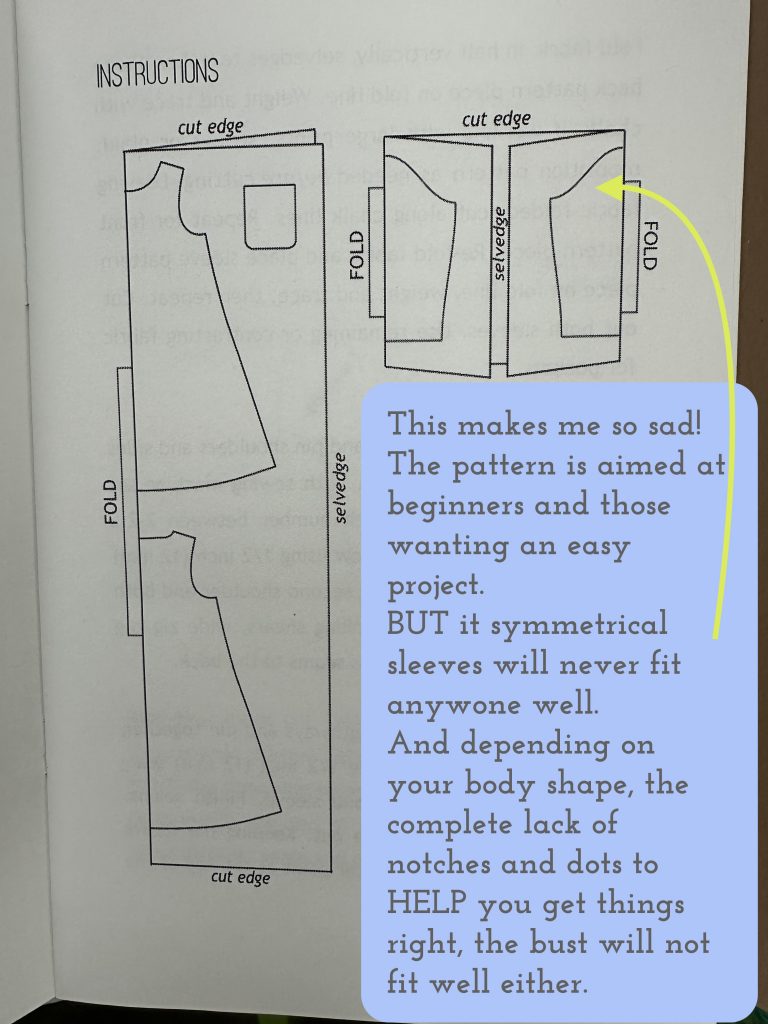
Pattern layout. I knew there was a problem as soon as I saw the sleeves were cut on a fold with no shaping of the sleeve cap. It got worse when I discovered the front and back of the dress are exactly the same shape, with no allowance for a bust, even a small one!

As you can see from the cutting diagram on the left, it has a simple flared silhouette with a front, a back, a pocket and two sleeves. Easy peasy, right? WRONG. Here’s why: Registration marks are found on most patterns–I had thought they were on all but I was mistaken because there are none on this one. You see, notches make it EASIER for you to match what goes where and properly align your pieces. Registration dots do the same thing–there is usually a dot somewhere at the top of the sleeve cap which you align with the shoulder seam to position the sleeve so it will fit the body. Lengthen/shorten lines tell you where to do just that, because after all we aren’t all the same: some folks have long torsos, others are short-waisted, and arms–our arms are all sorts of different proportions. AND, there are NO DARTS. Can you imagine an A-cup and a DD-cup trying to fit into the same tent shape? Yeah. As someone I once heard say, one-size-fits-all means looks good on no one.

I am guessing the reason the designer had for omitting these essential marks was to not intimidate the beginner. Unfortunately, all that will happen is the newbie will make something that doesn’t fit any which way and will think they are the problem, when in fact the pattern is doing them a disservice. Like I said, I really wanted to love this pattern and use it as one that you could buy. Don’t. Please keep reading!


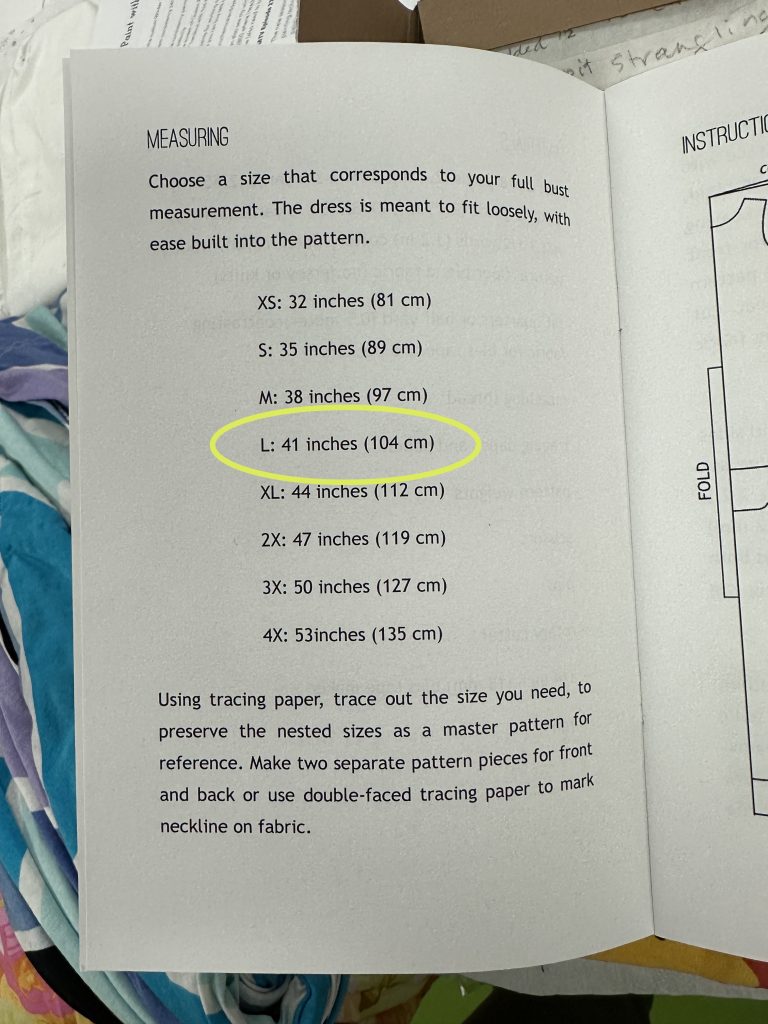
Since my bust measures 39″ the Size Medium is too small. I figured with my broad shoulders, the Large, to fit a 41″ bust would be good. WRONG.

You’ll want to measure your full bust, around the widest point of your bust line; wear a snug camisole so that you are measuring your body not bulky clothes as well . Then you want to measure the high bust, which is around the torso above the bust, kind of up under the armpits. If you have a large cup size, you will want to choose a pattern that will fit your shoulders, then do a full bust adjustment. Luckily, many of the independent designers now design for full bust–I have to skip those lines or down-scale the fronts so they don’t look concave and sag on me. The major companies tend to design for a B-cup, but some have started offering patterns for various cup sizes–smart!

Make a drawing! + photo of measuring a blouse

Then there are sizes. In this pattern, I opted for size Large since my bust measures 39″ and I have broad shoulders. The Medium would have been too small. a Many patterns from the traditional Big-4 companies, Simplicity, McCall’s, Butterick and Vogue, are based on sizes that DO NOT correspond to off the shelf. I am usually two sizes larger in one of these patterns than in ready to wear. Not to mention that my ready to wear, depending on the company, ranges in size from Small to Extra Large. I’m not exaggerating…we all know sizes are all over the place.

The key is to measure yourself AND measure a garment you have that fits you comfortably and looks good. Then compare those measurements to the information on the pattern. You can usually find two measurements: the size of the body and the size of the finished garment. The difference is wearing ease (see below). 

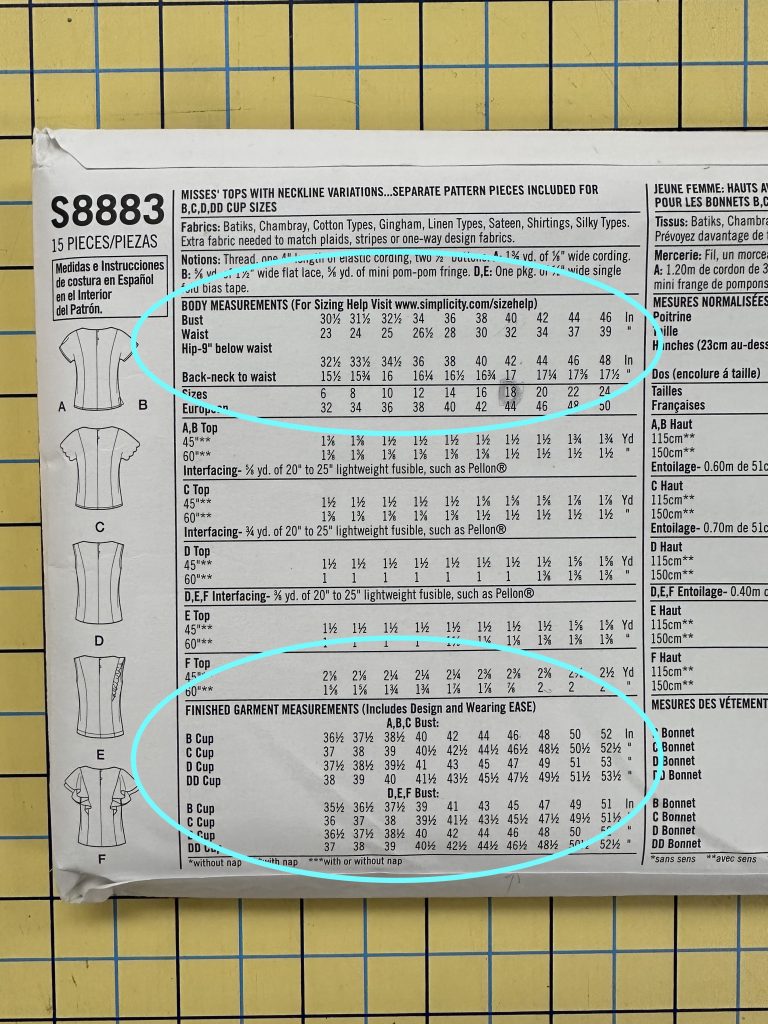
This is the back of Simplicity S8883. I was elated to discover it had cutting lines for various cup sizes. I still had to decrease to an A cup, but with the various cutting lines it was easy to see what I needed to alter. It shows, for a 40″ bust, a B Cup top would measure 46″, which is fairly roomy.

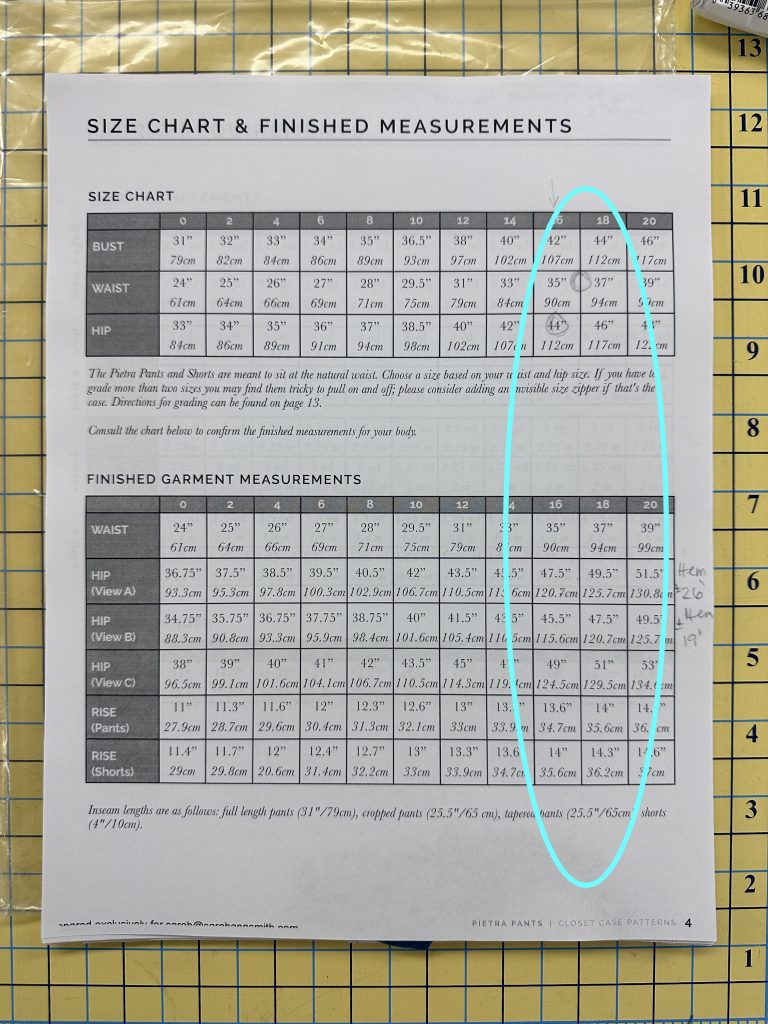
The Pietra Pants pattern is an Indy pattern design, and as with many of them, comes with lots of detailed information. I am between a size 16 and 18.  All that ice cream has made my waist a bit bigger.  It is also WONDERFUL that it includes the rise–the measurement of the crotch seam from front to back.  No more camel toe (those pants that pull and and cut into you in a very unattractive way)!  It also reveals the difference in wearing ease in the 3 views of the pants/shorts.  This helps you compare to something you have that fits (or doesn’t), so you can adjust accordingly.

Then, measure across a blouse (make sure you compare like items, so if you are making something with woven cloth, measure a garment with woven, not knit, fabric) at the bust line. That will have anywhere from zero to 4 or more inches extra. This is called wearing ease. Some of us like very fitted, body skimming clothes, while others (like me) prefer things a bit looser or even very loose. Fitted garments tend to have 0-2″ ease, while semi-fitted are 2-4″, and roomy is even larger. If you have a flowy top that measures 52″ over a 44″ full bust, that is 8 full inches difference. Knowing that amount of easy will help you choose a pattern that will you give you the results you want! There is also something called negative ease, found in knit garments.  If you want a form-fitting garment, it will be cut 0-2 inches smaller than the finished size, then the stretch in the fabric will make it fit you snugly and show off your beautiful curves.  

Pre-shrinking fabric: This is always a debate among quilters, but for garments there is no question. If you intend to wash or clean your garment, you MUST pre-shrink! Don’t do all that work, finish the garment, love it, then have it turn one or two sizes too small after you clean it. Even woolens that will be dry cleaned need a bit of a steam press! Since most of us wear things we wash and dry (hang dry or in the dryer) at home, treat the fabric you have purchased the way you will the finished garment. If working with tricky fabrics like rayon or silk, do some self–education on the internet about how to handle them. For now I’m going to talk only about this cotton flannel top.

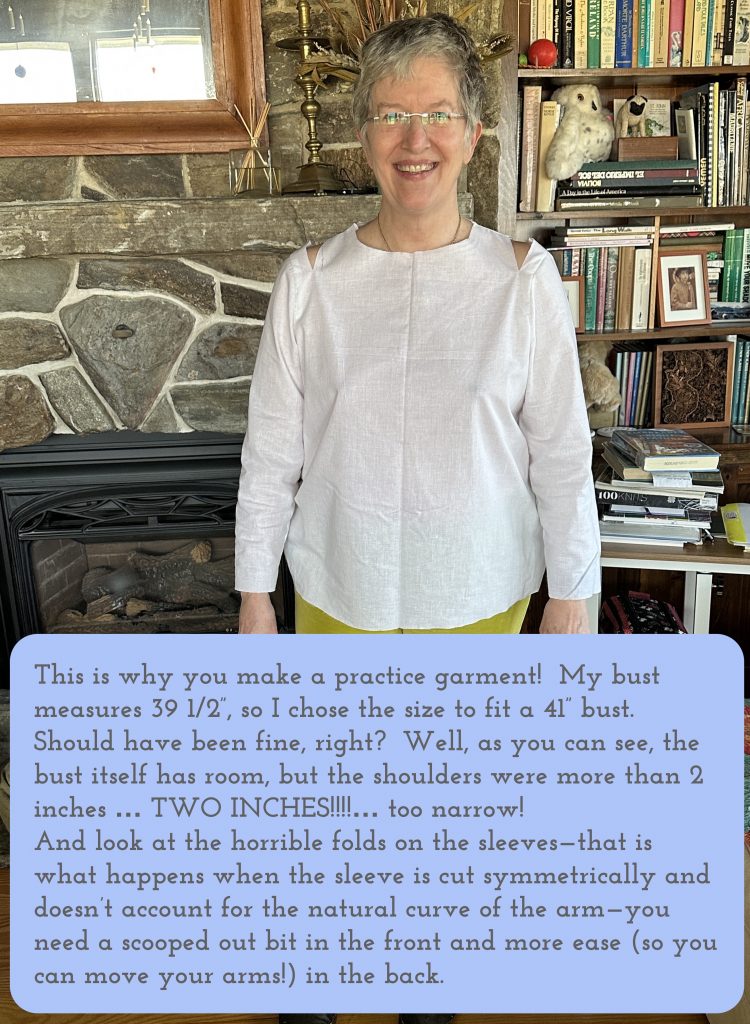
I’ll explain the what and why in my next post, but for now, just LOOK at this! The Dress No. 2 was made for a 41″ bust. There is indeed enough room for a bust larger than my 39″, but the shoulders were TWO FULL INCHES TOO NARROW!

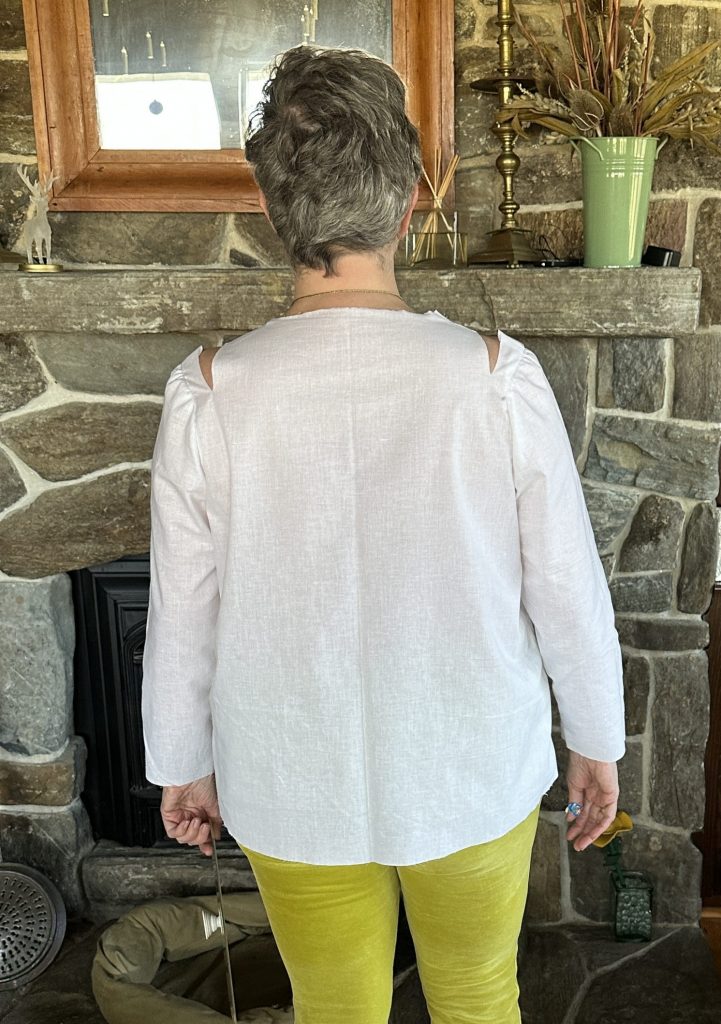
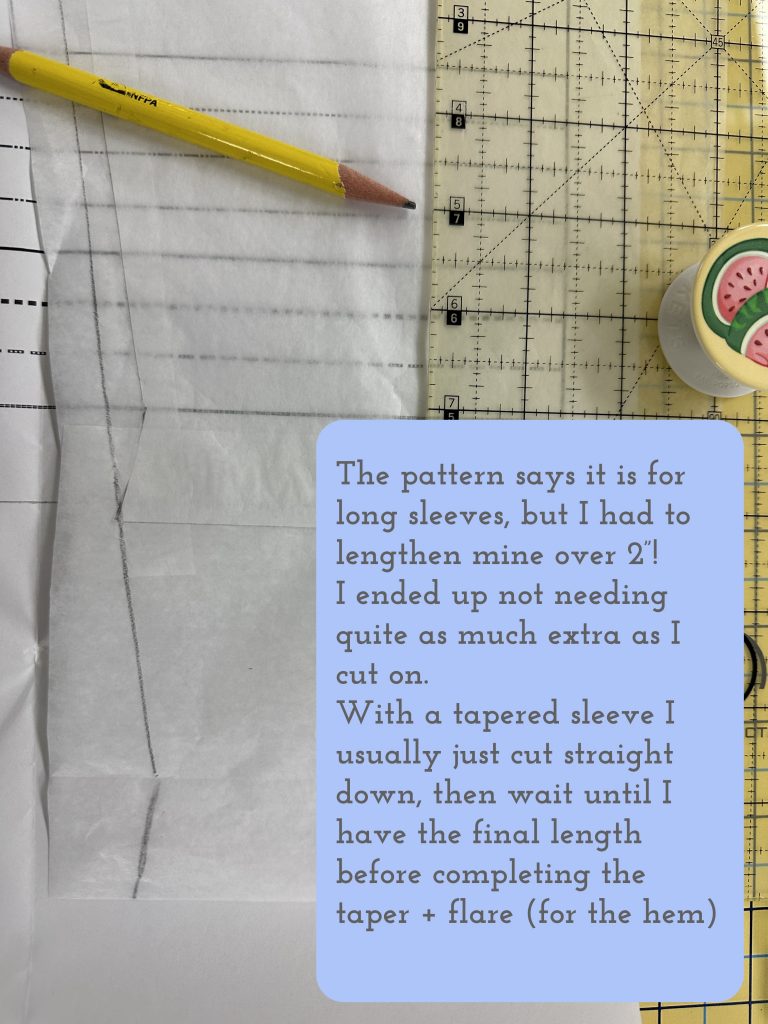
The muslin doesn’t fit any which way. And those sleeves are supposed to be LONG sleeves. On whom? They stop 2 inches above my wrists, and that is unhemmed!

Remember what I said about size, and picking Large for this top. Thankfully I made a muslin, above–
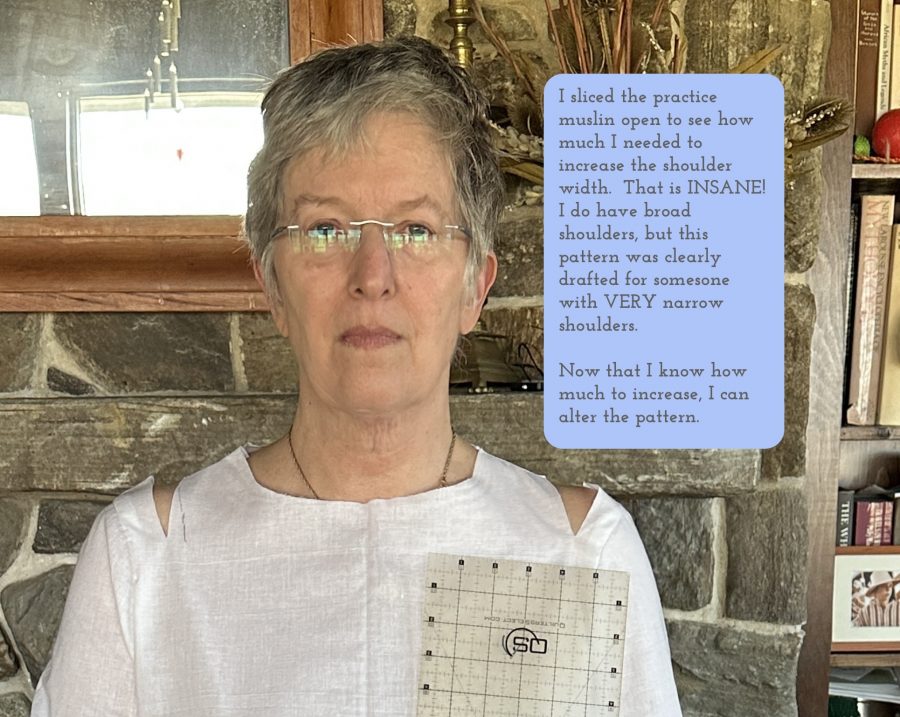
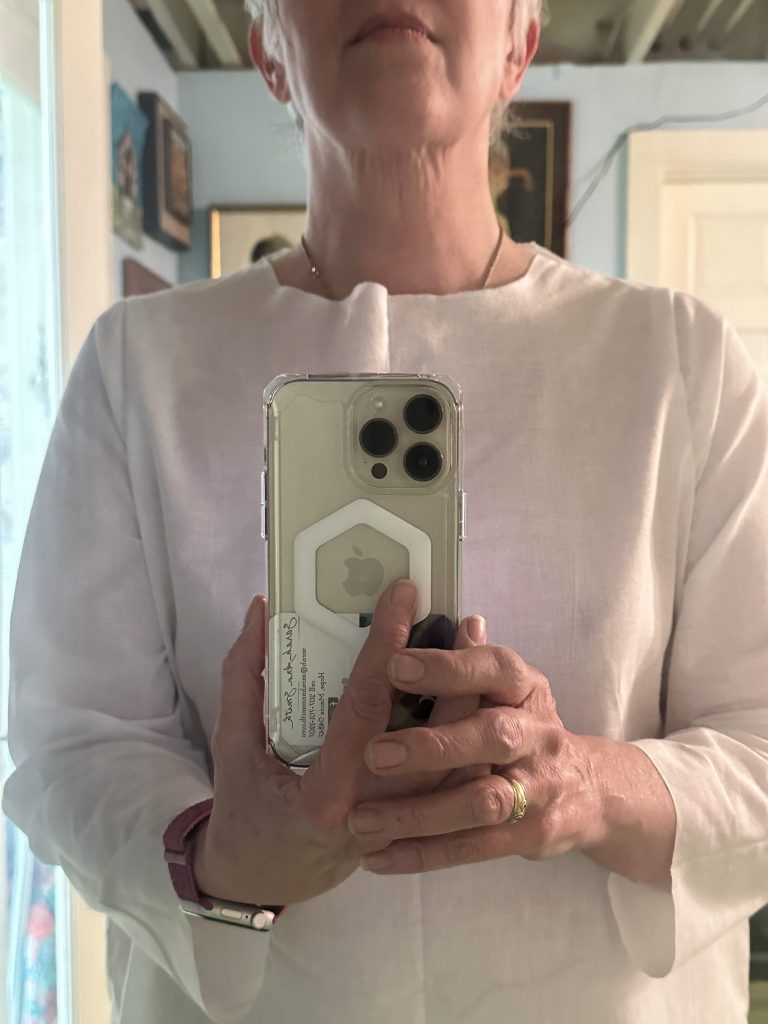
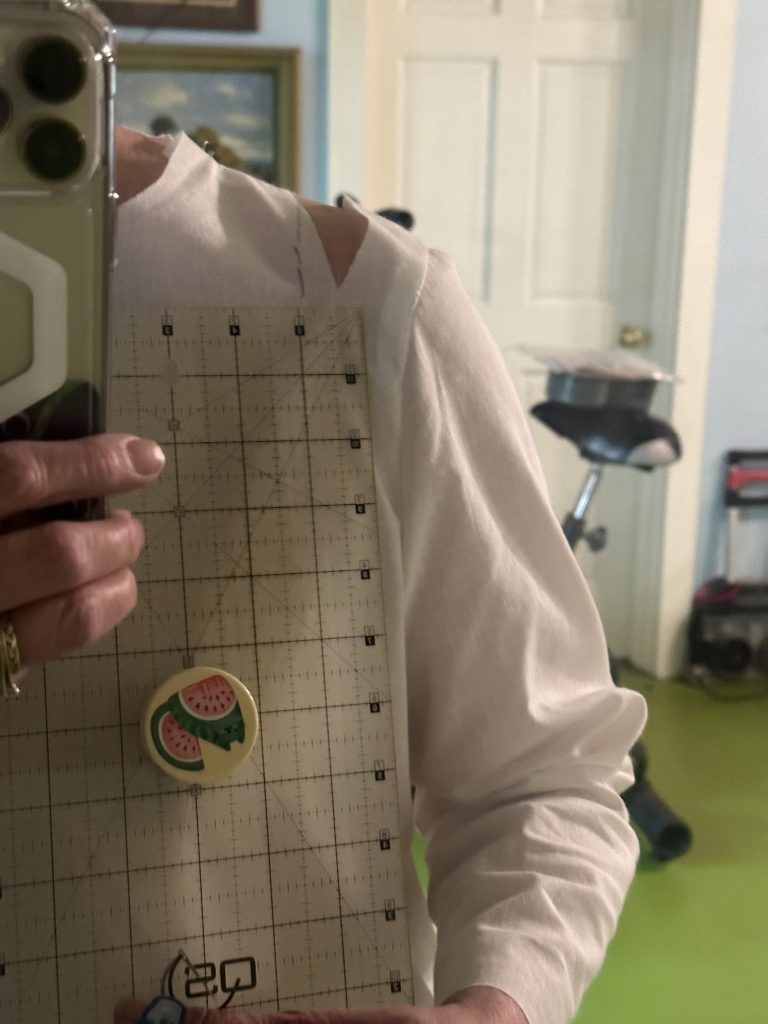
Above, the top as made per the pattern in a practice muslin to gauge the fit; I used super-cheap white cotton whose purchase price was, I think, $1 a yard which tells you how cheap it is. The shoulder seams are WAY in from the actual shoulder point, causing the shirt to pull up and strangle my armpits (yes, I DO have broad shoulders but this is crazy), which then causes the center front to ripple, not to mention feels uncomfortable. The way to figure out what needs to be done is to slice open where it is too tight. I marked the spots with a pen, took off the muslin, sliced, and put it back on. The next photo shows a gap of just one an INCH on just one shoulder!

If I had measured the pattern piece before I started cutting (smacking self upside the head) and compared it to an existing top that fits, I would have realized the problem and been able to take remedial action. But no matter what, doing a practice muslin saves money and effort in the long run. More in the next post on how I fixed it.

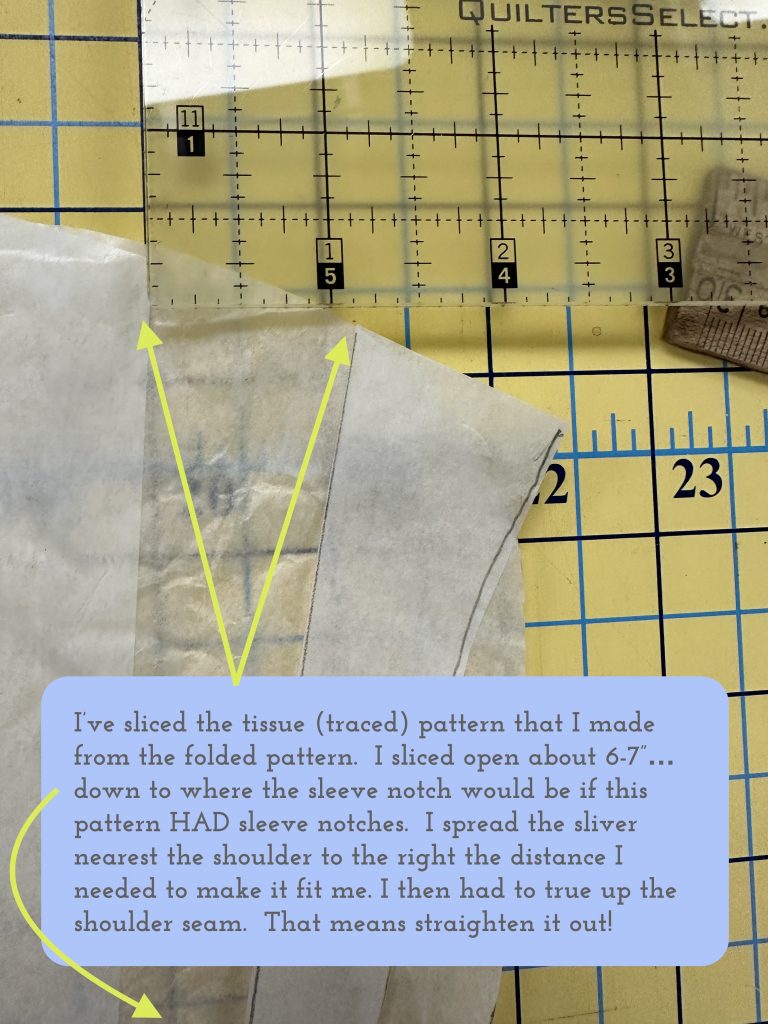
By slicing the too-tight top, I can see how much needs to be added to the pattern.  And how did I learn to make these miraculous adjustments?  …read the next paragraph! 

I will share fitting in the next post (on Tuesday, February 21, 2023), but they key is this:  In late 2021, I signed up for a fabulous set of 12 monthly lessons from Philippa Naylor, who is known for her prize winning quilts with immaculate construction and her wardrobe.  With significant experience working in professional garment making and patterning, she offers Garment Makers Question Time (GMQT) an online workshop with new lessons that build upon the previous ones.  The value for price, $15 a month, is simply phenomenal–I’m not affiliated in any way other than being a very pleased student.  Participants range from people who have never made a single garment to some of us who have been sewing for 50 years.  The amazing thing is that we are ALL happy and learning.  In my series of lessons here, I am sharing things I have learned over the years, not replicating what she has taught.  But I can heartily recommend GMQT–if you want to make garments that fit and are well made, this is the workshop that finally helped the alteration process click for me.  One key is to get someone (pay someone who does alterations if need be) to measure your body accurately–that’s what I did at a local fabric shop that has a teacher who gives semi-private lessons.  Again, that is Garment Makers Question Time.  Truly, I can’t say enough good things about the whole series! Look for more garments this year once my travel teaching is done!

Here are the links to all the posts in this series of lessons, techniques that can be applied to virtually any garment and many home dec projects.   Let me know what you’d like to learn and see here on the blog.  Cheers and thanks, Sarah

Lesson 1:   Choosing a Pattern and Starting Tips

Lesson 2:   Making a Muslin, Fitting and Sleeves

Lesson 3:   Matching Plaids, Cutting out Your Garment Pieces

Lesson 4:  Overcast Seams, just like Serged Seams

Lesson 5:   French Seams

Lesson 6:  Lapped and Flat-felled Seams

Lesson 7:  Hong Kong Finish for Seams

Lesson 8:  Lined Patch Pocket Tutorial

Lesson 9:  Hems and Scarf


Drum roll! Snoopy Dance! Ready for summer!

Thursday, May 6th, 2021

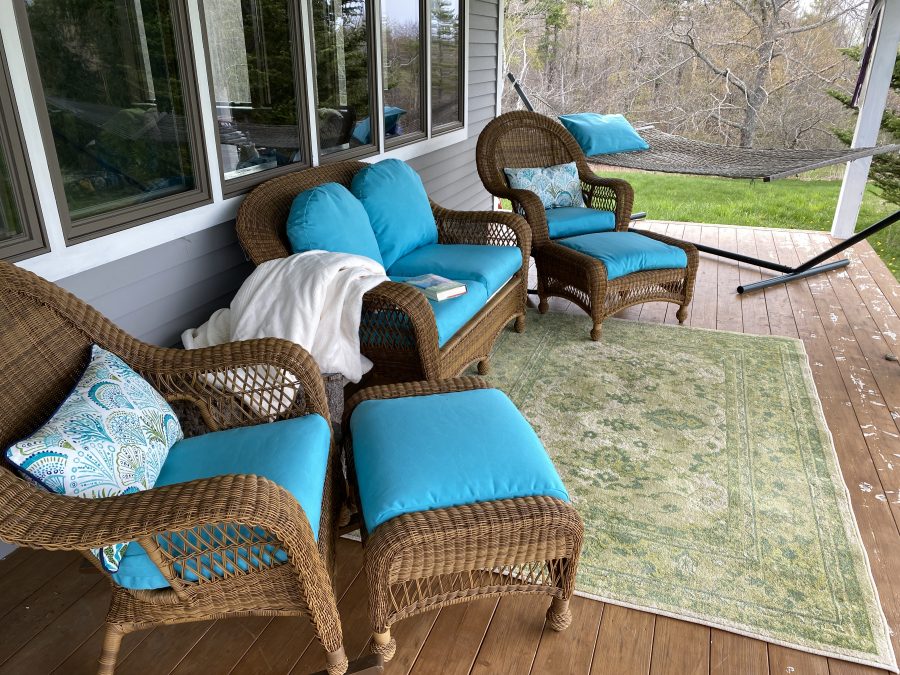
I’ve posted some in progress pictures on social media, but at long last the cushions are done, and oh my what an improvement!

After wheedling a lot one year about 12-14/15 years ago, I convinced Paul to buy this “wicker” (ie extruded plastic) furniture. It came with the cushions you see below. I dislike stripes, and don’t like drab colors. I’ve wanted to replace the covers all this time, and finally last summer purchased the Sunbrella Awning fabric in the Aruba color. The Awning fabric is wider at 60″ than the regular upholstery fabric, stiffer so harder to work with it, and sheds water. It was both the width, which allowed me more efficient use of the yardage, and the ability to prevent water from getting into the cushions that led me to use this version of Sunbrella. I bought it online from a place in Florida, Outdoor Fabric Central. I used almost all of the 7 yards ($28 a yard).

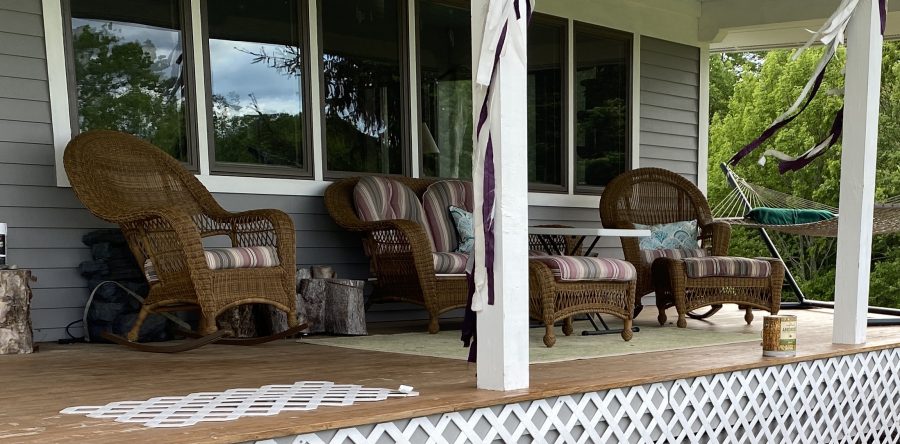
This is what it looked like before. Furniture nice, fabric: definitely not my style!

Apparently I really dislike the old cushions so much it took searching in 4 years of summer photos to find a single one with the old striped cushions!

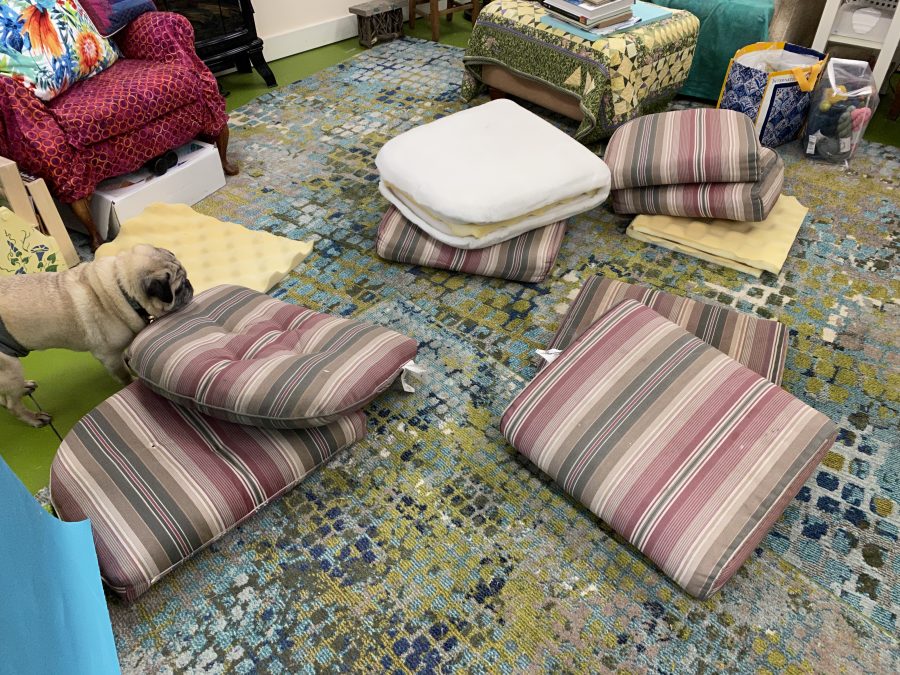
Here are the old ones on the floor in my basement studio. I used to work for an interior designer for a couple years when we lived on San Juan Island, so I learned to pattern from an existing cover and also to start from scratch. Measuring existing is easier! I knew I didn’t want the backs tufted, and knew also that I would move the zippers and do things my way.
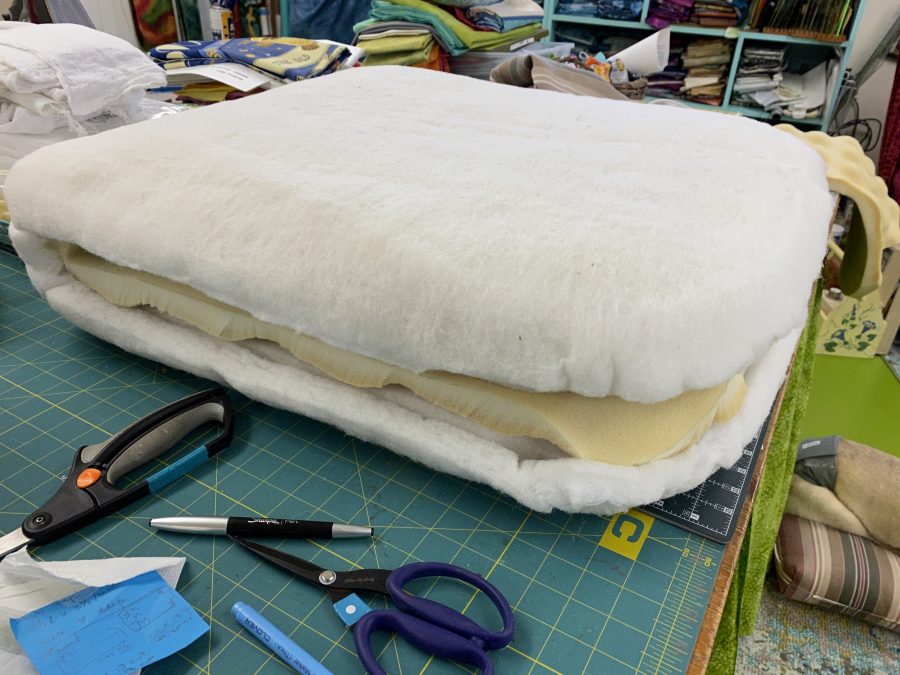
When I opened up the seat cushions I discovered the reason they weren’t comfortable is because there was no foam, just dacron! I still need to do something with the frame–it is “strung” with elastic, and after 14 years the stretch is stretched out. I set plywood under the cushions last summer, but even with the addition of foam, I need something with more give. Will look for webbing/strapping to see what I can find that my arthritic hands can actually install and make work. I used an egg-crate foam mattress topper that Eli used to use. I’m replacing his twin with a Queen sleeper sofa for when the kids come to visit, so the topper is now cushion fodder.
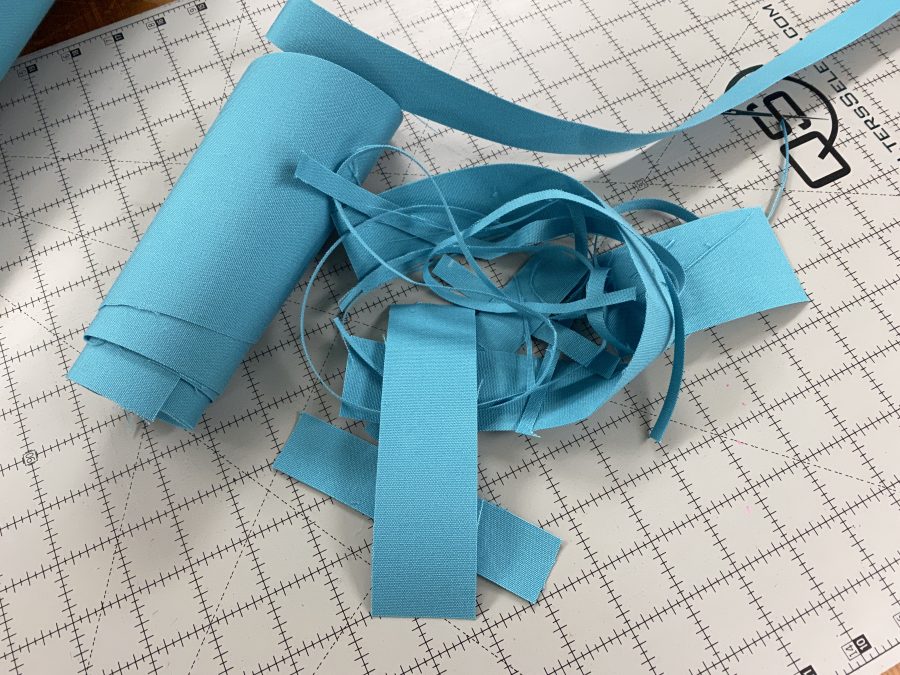
With careful planning and careful cutting I had minimal waste! My trusty M7 Continental from Janome sewed through stuff like a champ! I used my antique (20+ years old) serger to overcast the inside seams. Because of the stiffness of the fabric, I chose to not do piping.
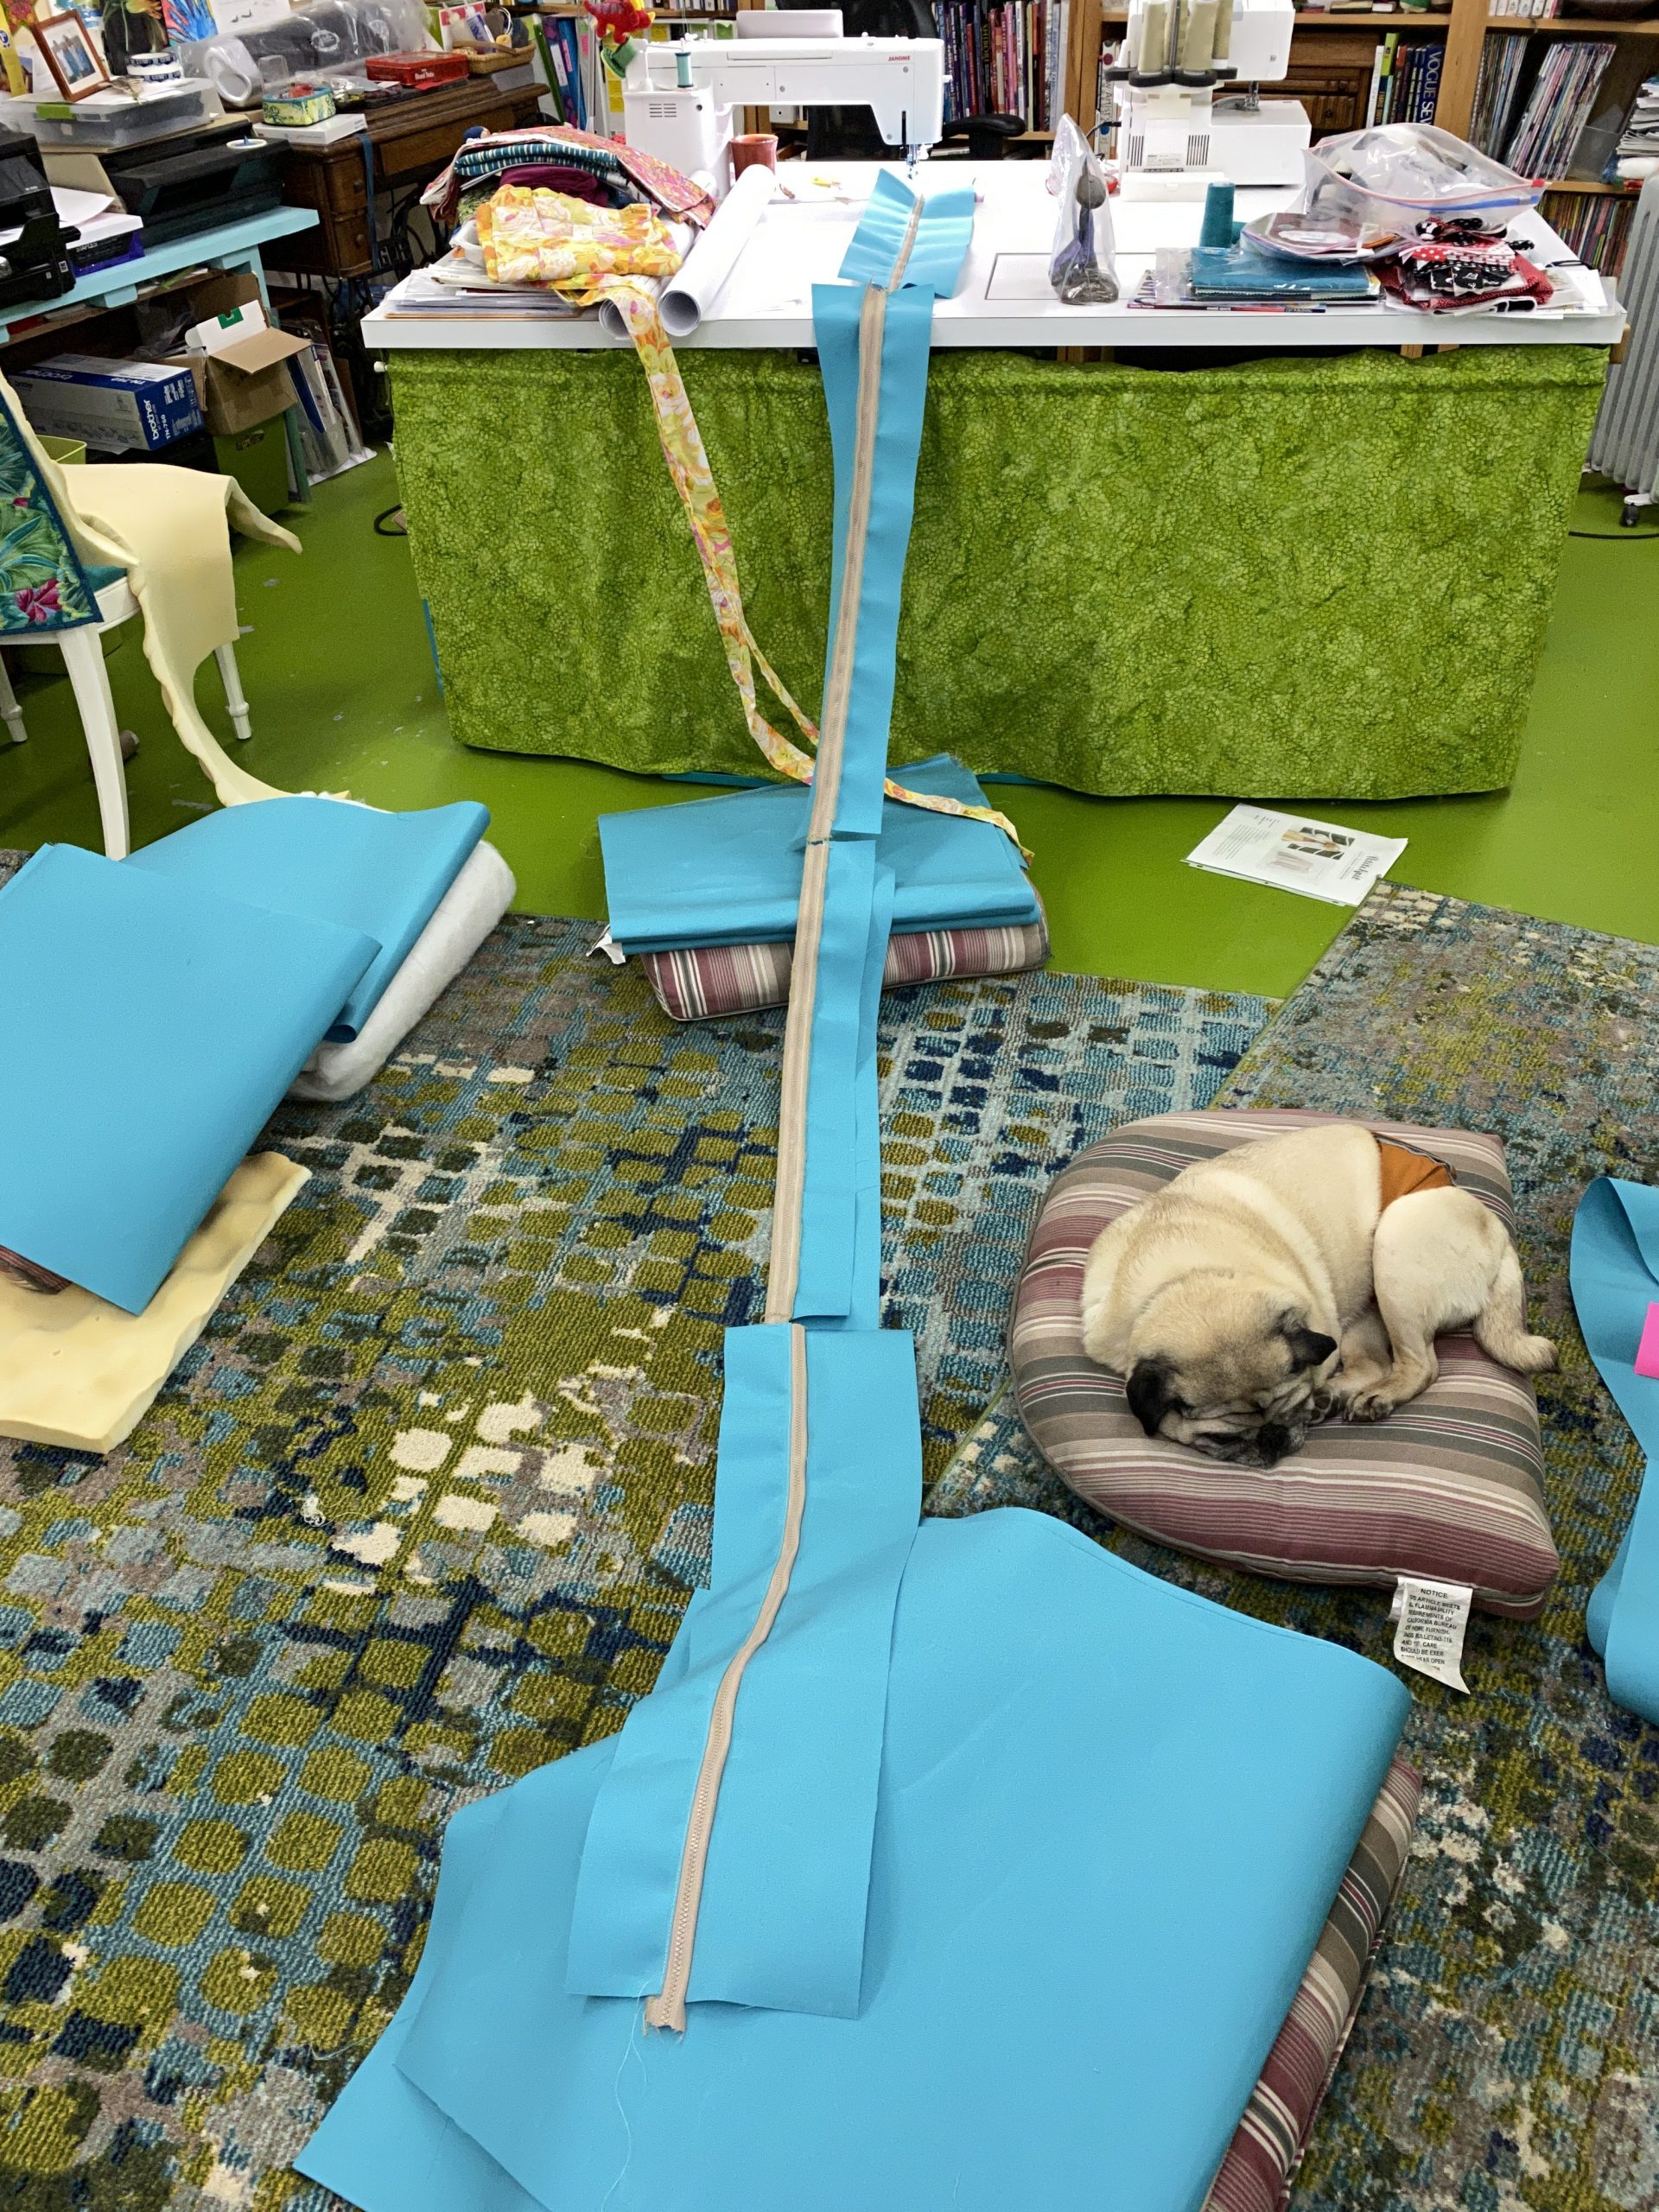
The Janome at work, the dog at rest.
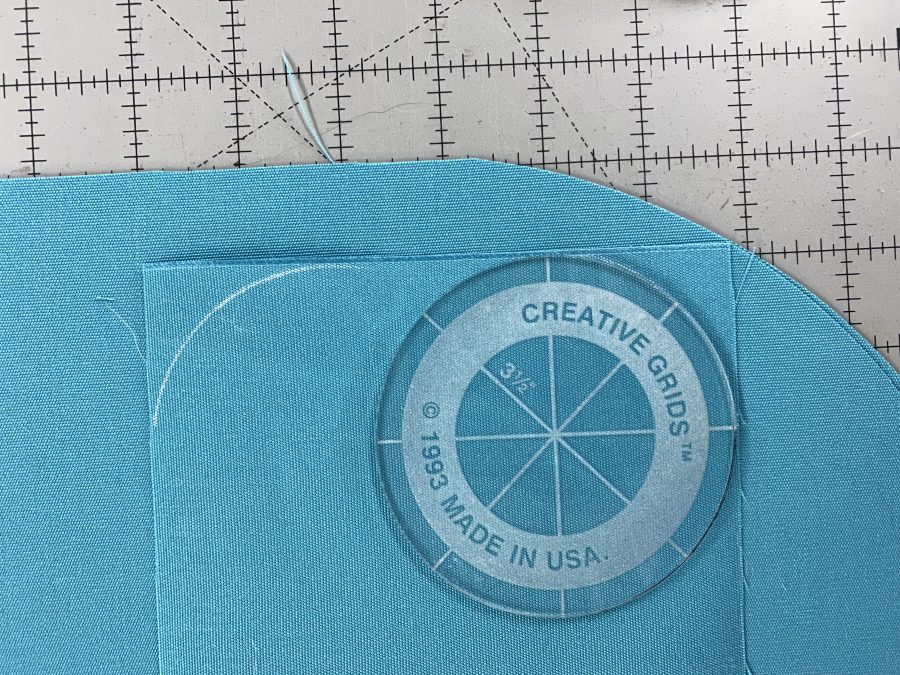
My circle templates came in handy for rounding corners.
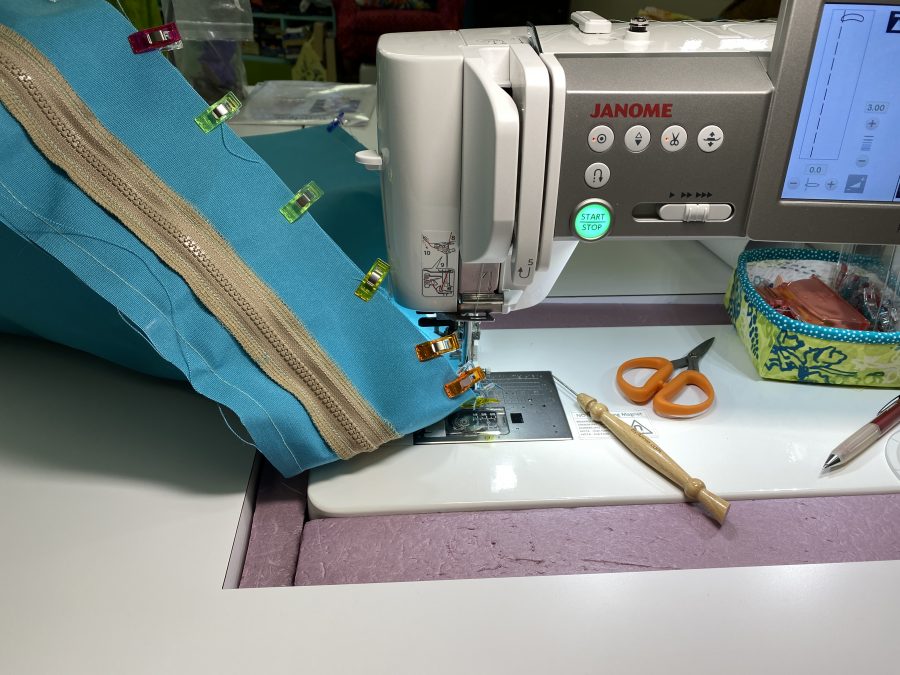
Wonder Clips (from Clover) are worth the price! I bought a pack of 50 and have used them for so many things! And of course the machine sewed like a champ! I LOVE MY JANOME! You might also wonder about the tan zipper. Well, 20 years ago I bought a roll of black and a roll of tan zipper tape and a billion pulls. Since I completely hide the zipper, no worries that it doesn’t match. This is wide and strong zipper tape as there is a lot of stress on seat cushions…the same bulky weight as sleeping bags.
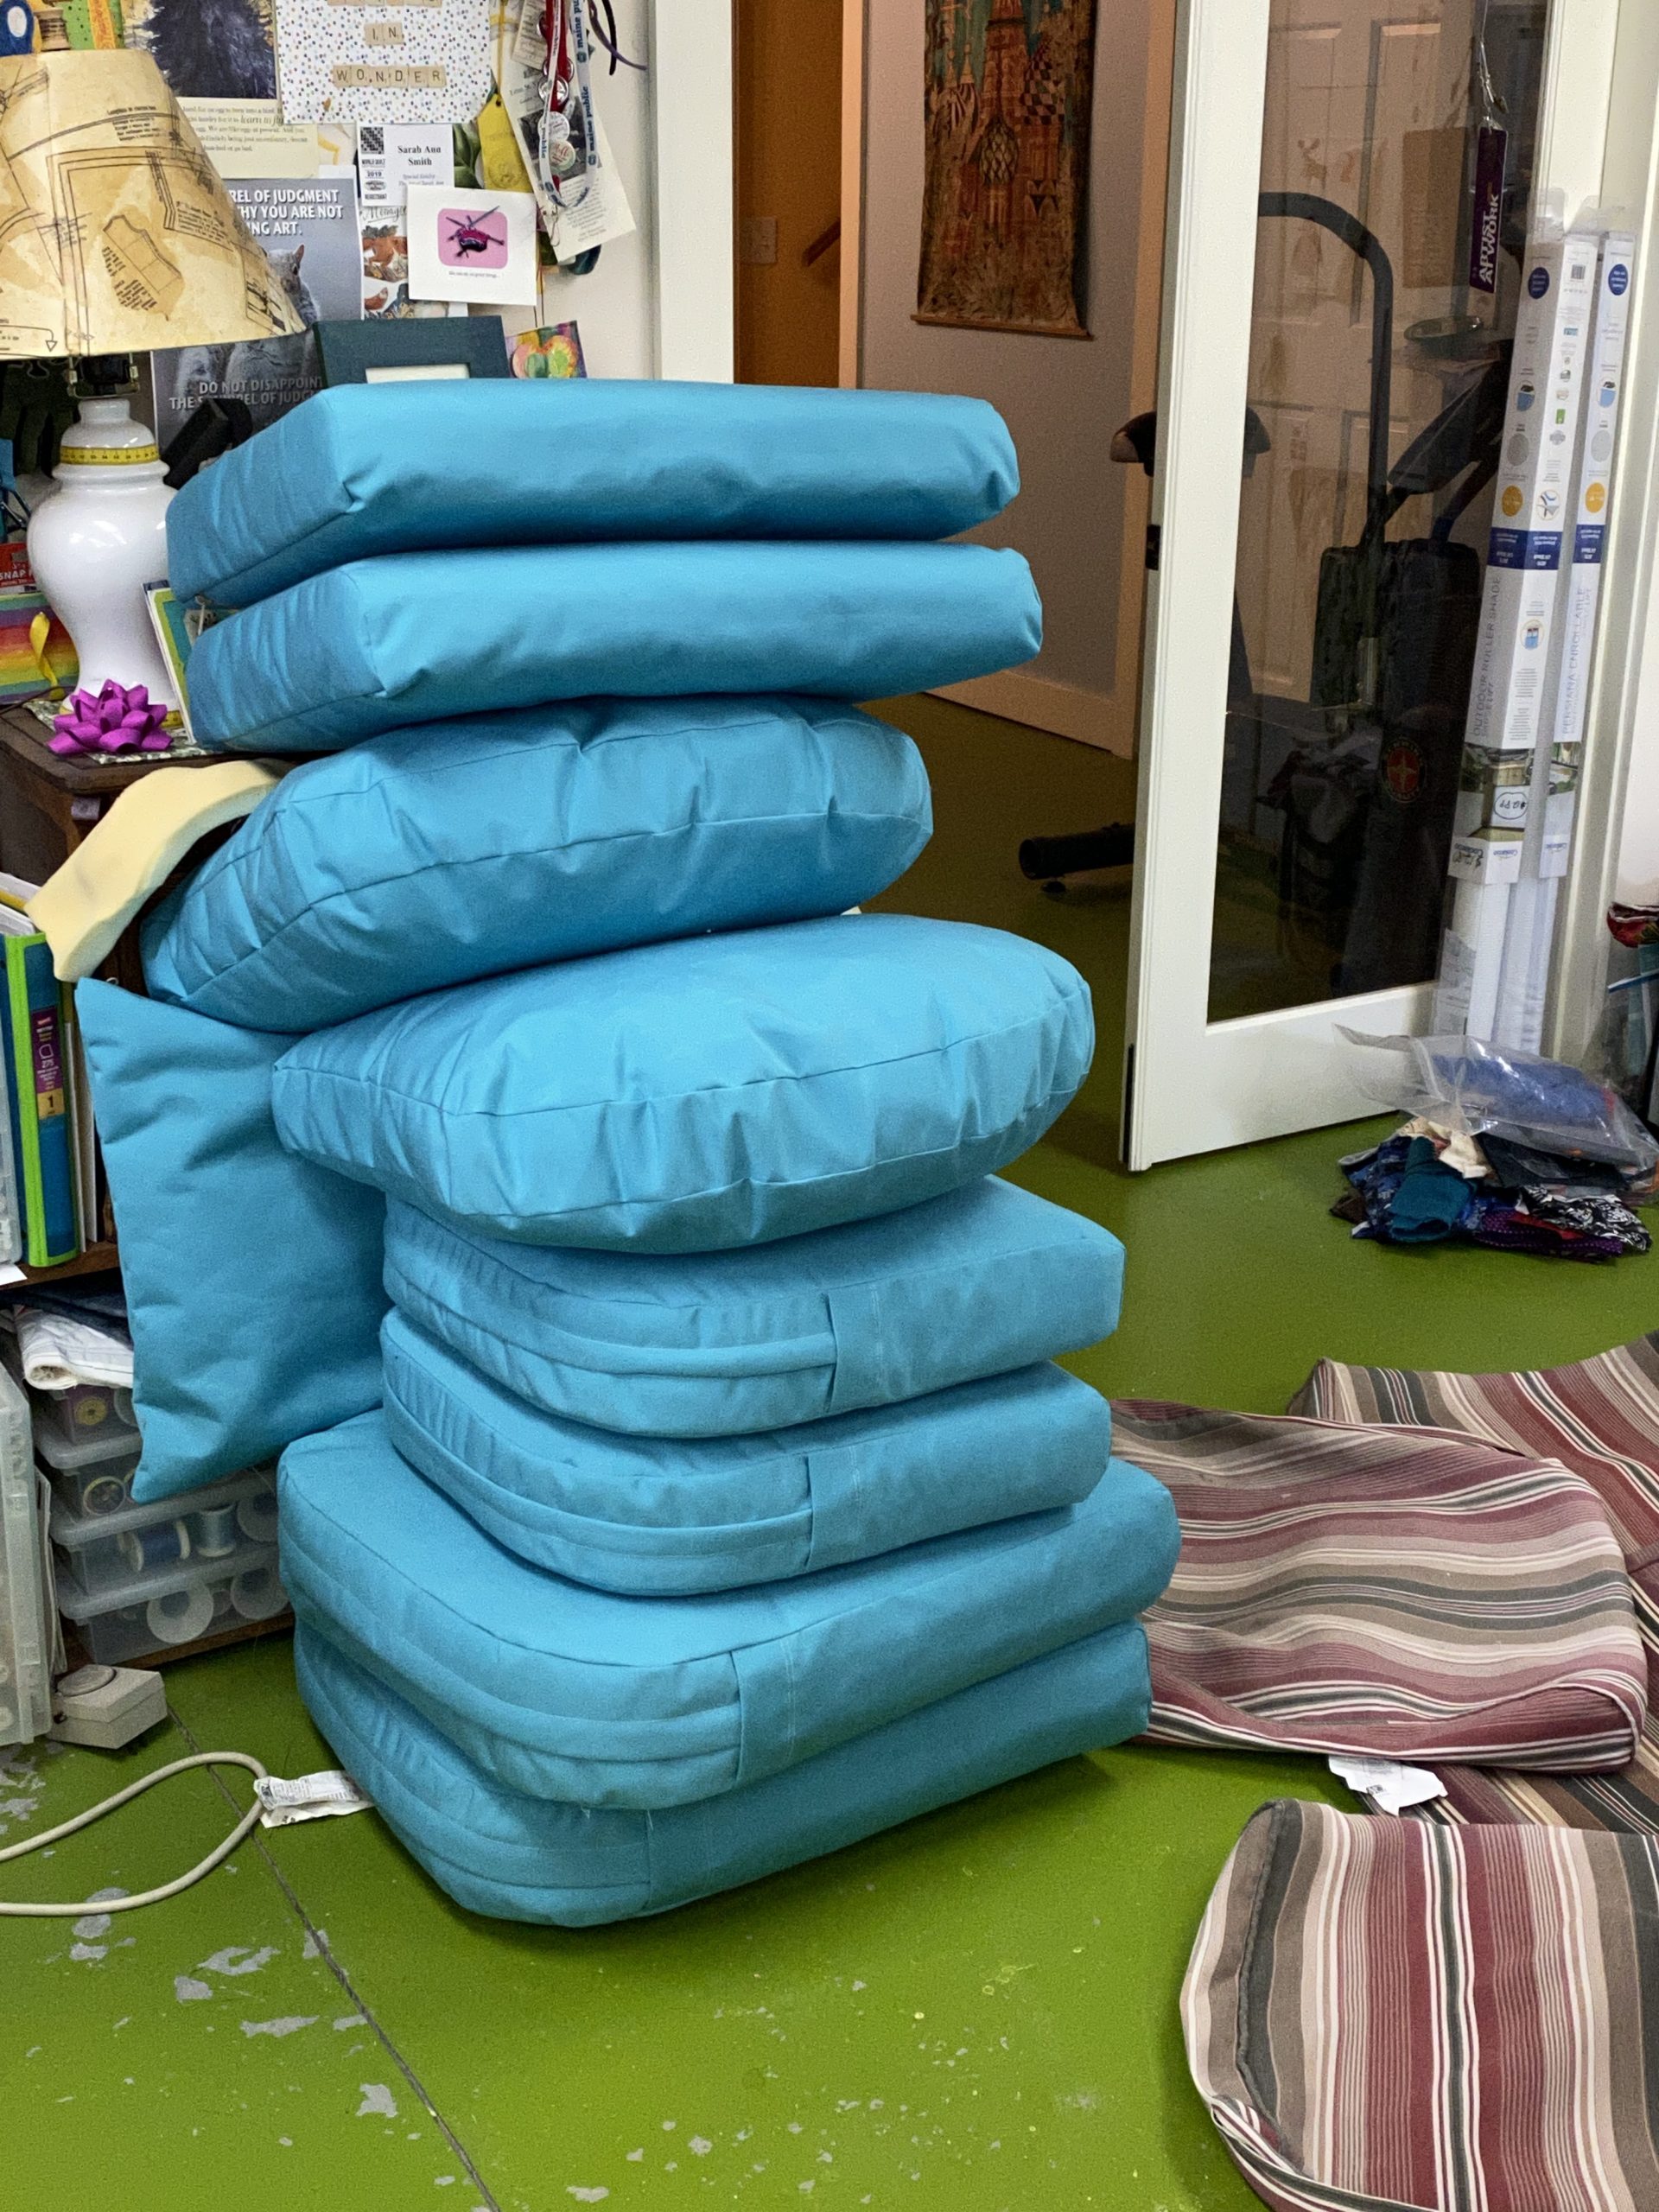
Here’s the pile of nearly complete cushions.

Thanks to a suggestion from Diana Feit on FB, I cut a pool noodle in half and used that arched inside the settee back cushions to fill them out. I had already cut a 3″ wide strip from the egg crate foam, smooth side out, and then used the foam arched from one bottom corner to the other to fill that out. Worked like a charm. Also, notice those DEEP zipper plackets. The place is centered on the gusset, and there are “zipper garages”–little pockets on either end to conceal the zipper pull. These deep plackets use a bit more fabric, but they cover the zipper SO much better that I always make them. Last year about this time I did a blogpost tutorial on one of my Michael Miller Fabrics brand ambassador projects here and here. Click on those links for details on the how–the process is exactly the same.

So there we are….now all I need to do is MAKE TIME to sit on the porch (once it warms up, even with the electric throw it was kinda nippy out there two days ago, then it got colder!). But summer IS coming and I intend to enjoy some Porch Time!

Perfect Pattern Weights free pattern!

Wednesday, December 9th, 2020

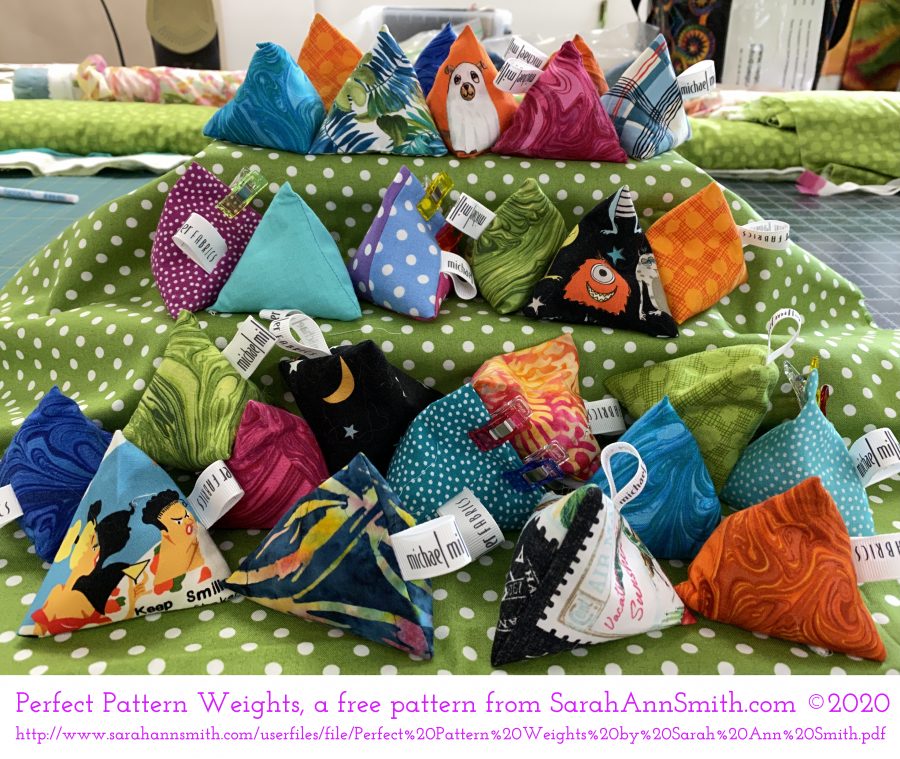
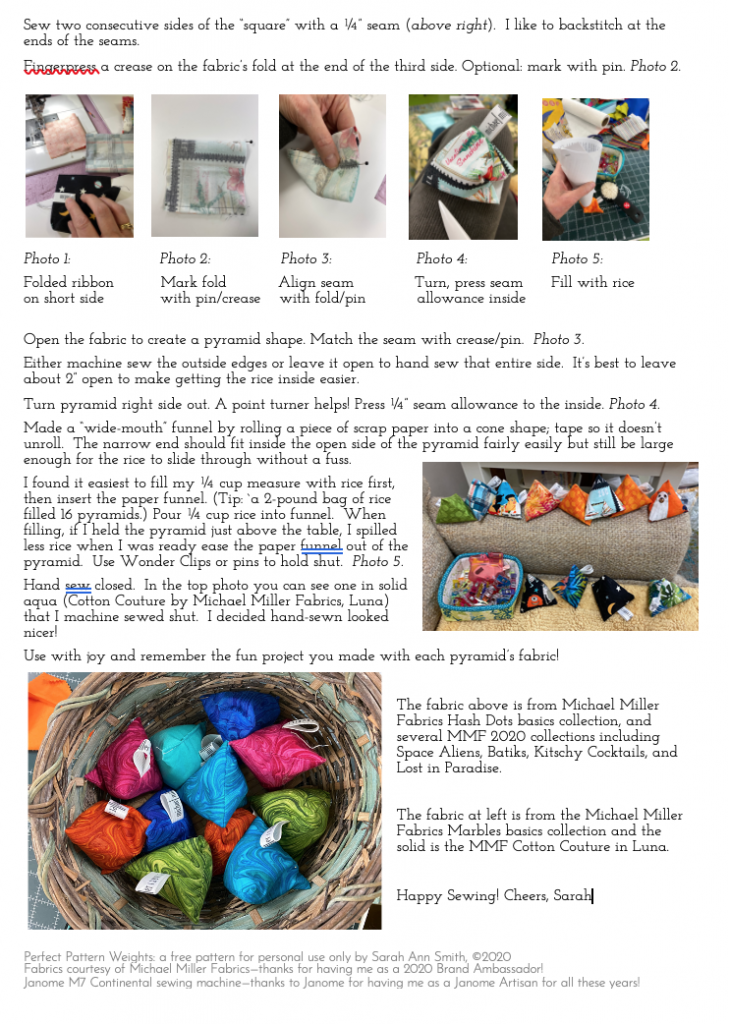
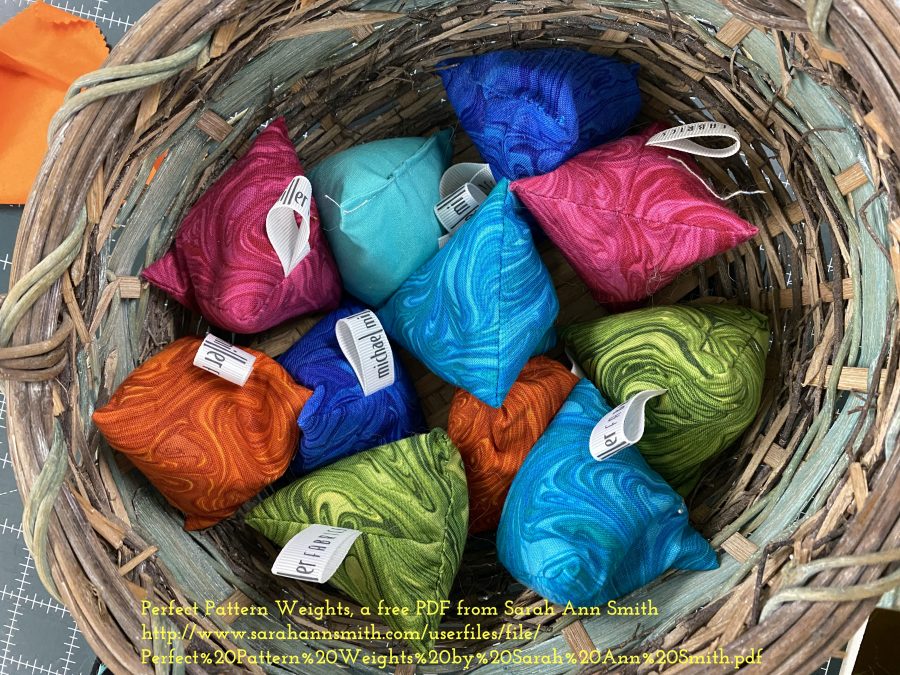
These just-perfect sized pattern weights, 3″ on a side, are not only just the thing for YOUR sewing room, but they make quick and easy gifts for anyone you know who sews!

PerfectPatternWeights by SarahAnnSmith.com
Can you tell how much FUN I had? Lookit the doggie as a Halloween Ghost (top row) and the goofy Space Alien (center right) and those fantastic Garden Pindots (middle and lower rows)! See free PDF for pattern and Michael Miller Fabrics fabric details.

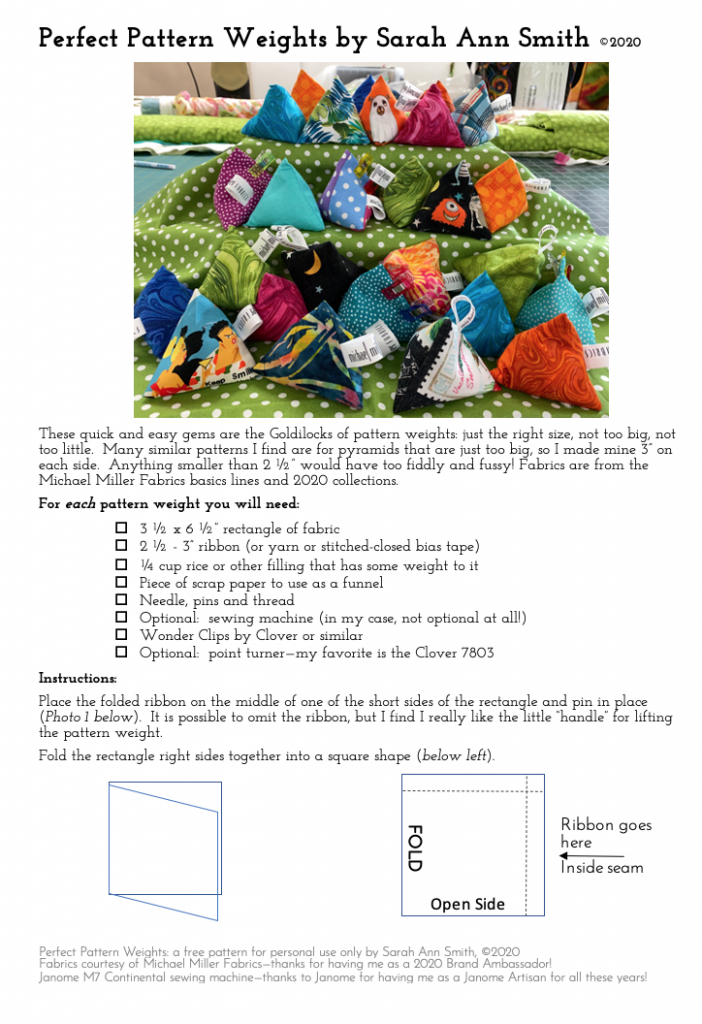
Early in my year as a Michael Miller Fabrics Brand Ambassador for 2020, I decided to use some Marbles (MMF Basic collection) for a much-wished-for set of pattern weights. Most patterns on the internet were way too big–at least 4″ on a side. I wanted mine smaller, to fit into smaller areas. As I made them I thought what fun it would be to remember this year by using fabrics from each collection and project that I made in more weights. It’s now December, and here’s what I have….FUN! Even better, Here is a FREE Printable PDF so you can make your own. The printable version duplicates what comes next:

Here’s the hotlink again to the printable PDF.

And some new info: My cousin said the rice filled ones can be popped into the microwave (briefly!) and make nice handwarmer’s, and a friend said she uses a combination of fiberfill for soft outside and buckshot for the center to add the heft that you need for a pattern weight.

ENJOY and stay safe–here’s to hoping next year at this time we’ll be like to something approaching normalcy with COVID controlled, almost everyone vaccinated, and holidays celebrated with a LOT OF HUGS!

Winding Ways: quilt and done!

Saturday, August 29th, 2020
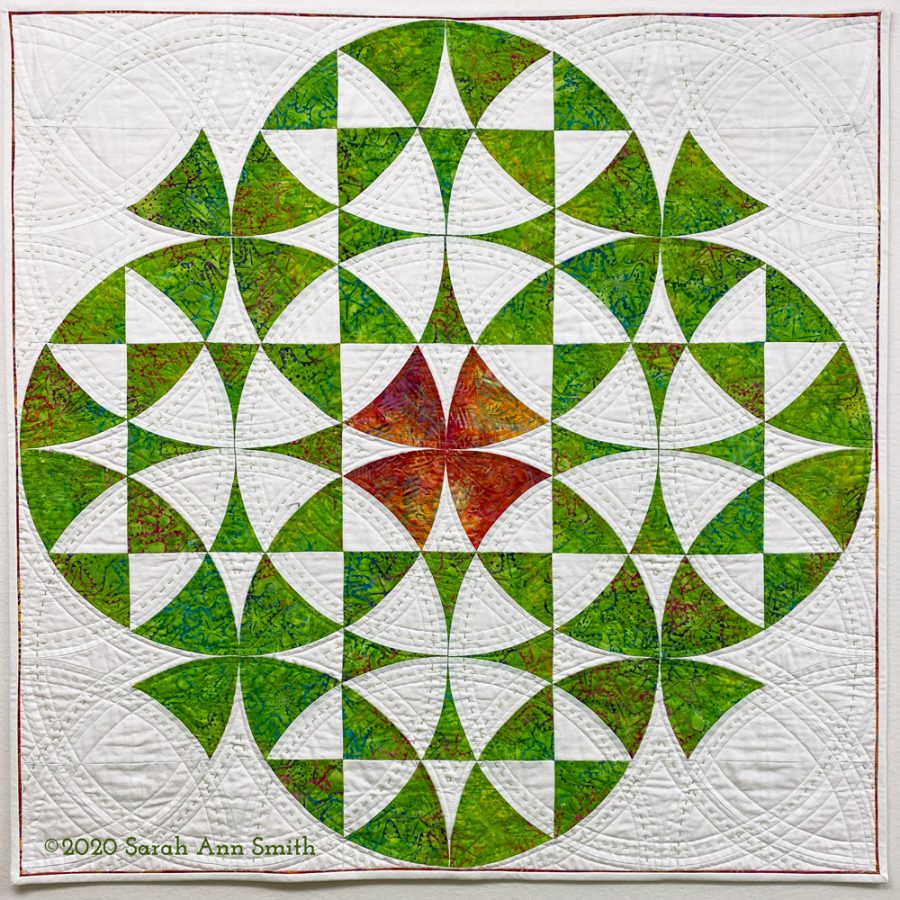
Good tools (AccuQuiltGO!), good fabric (Michael Miller Fabrics), good thread (Aurifil), good machine (Janome Continental M7), and some experience, and you can do a lot! This return to my quilty roots just makes me happy!

Over the course of the year I’ve shared progress on this quilt:

  • First, there was learning to use the AccuQuiltGO! which I blogged about here. It was a different block, but the easy applies.
  • Then there is the PIECING of CURVES: see the blogpost here or go directly to the video on my YouTube Channel here.
  • Now there is the quilting video (that covers a couple other things), embedded below and share-able on my YouTube Channel here.

Full disclosure: I have proudly been a Janome Artisan since 2003, and this year am a Michael Miller Fabrics Brand Ambassador for 2020. MMF provided the fabric and we were given, as part of being a brand ambassador, an AccuQuiltGo and several dies. To my surprise I enjoyed the process so much I have purchased both the Winding Ways and Crossed Canoe dies. Stay tuned for more!

This is the die that I purchased to make the Winding Ways, which has always been one of my favorite traditional blocks. Click this link to see a blogpost of using the AccuQuiltGO (for another block, but it’s the exact same process) including a video.
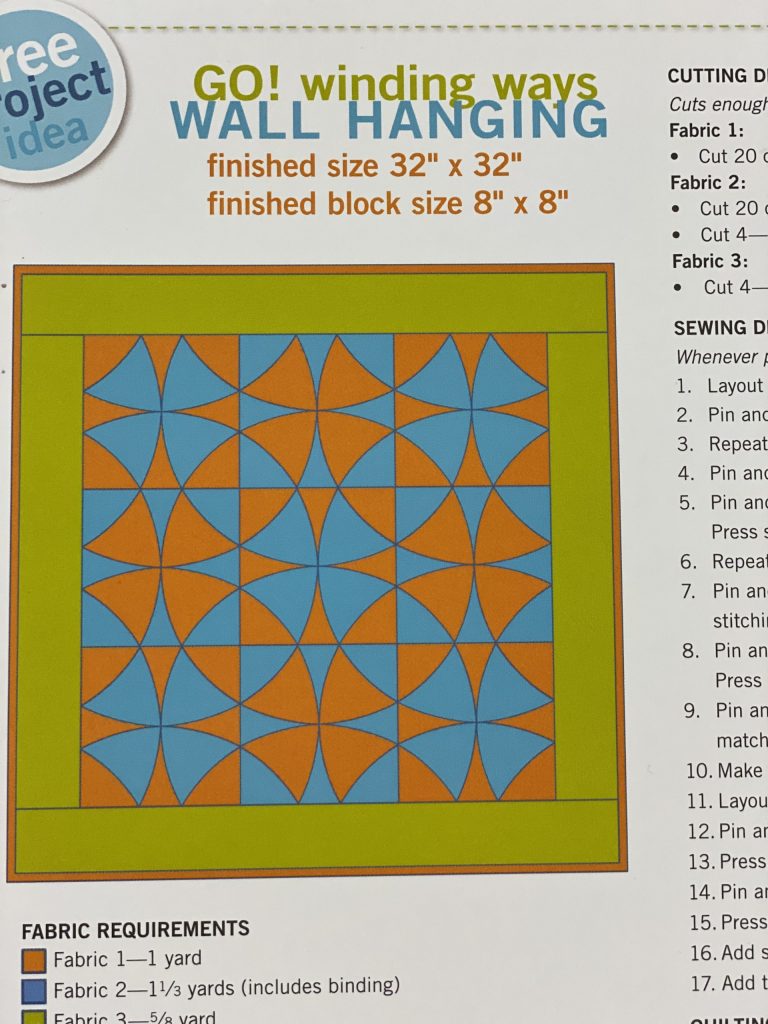
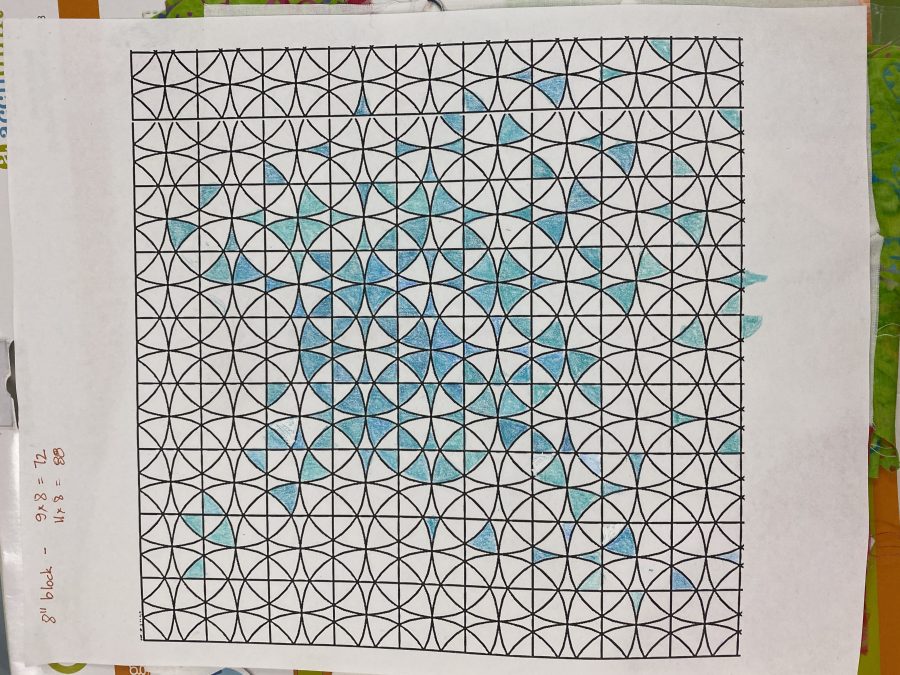
I found this design somewhere on the internet and printed it out to mess around with a design for a future quilt! Stay tuned for a WANDERING Winding Ways! Using a grid like this can help you plan out fun color fades and settings.

Next came machine quilting. I worked on that a while back–I did end up teaching for the Mancuso Online Quiltfest in August and will do a Threadcoloring the Garden workshop in October! More info on that soon! In this video I’m practicing making a video, demonstrating at the machine, and it just happens to be walking foot quilting (fast! easy!) on my beloved Janome M7. Even if I had paid full price instead of being a Janome Artisan I’d rave about this machine’s wonderfulness! Their new slogan, Reliability by Design, is really true!

Then, the hand quilting and the finishing!

I haven’t done any hand stitching in a thousand years, but nearly two years ago I bought matching green thread from aurifil in piecing/light quilting weight and a heavier 12-wt that is about the size of a light perle cotton or 6-strands of floss. I LOVE IT…and it went so fast! I can remember clearly sitting on the porch in early summer, something to watch on the iPad, stitching away.

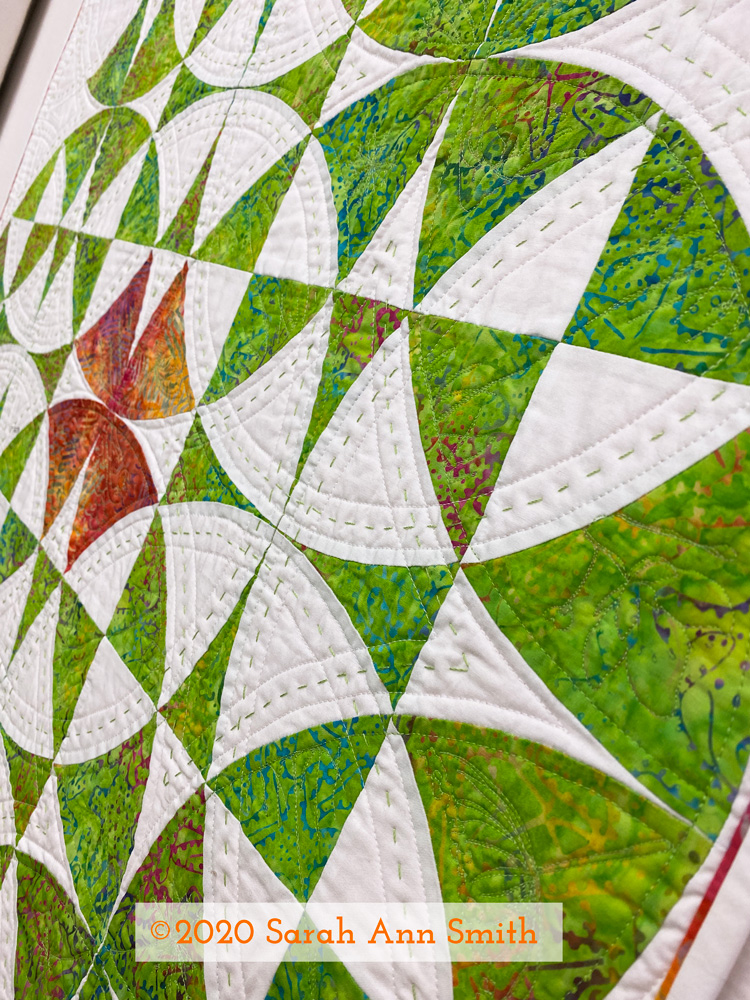
I just love how an angled shot shows the texture and dimension. I was surprised at how quickly the hand stitching went. I used the same green color of thread on the green parts for machine quilting as the green in the heavyweight Aurifil thread.

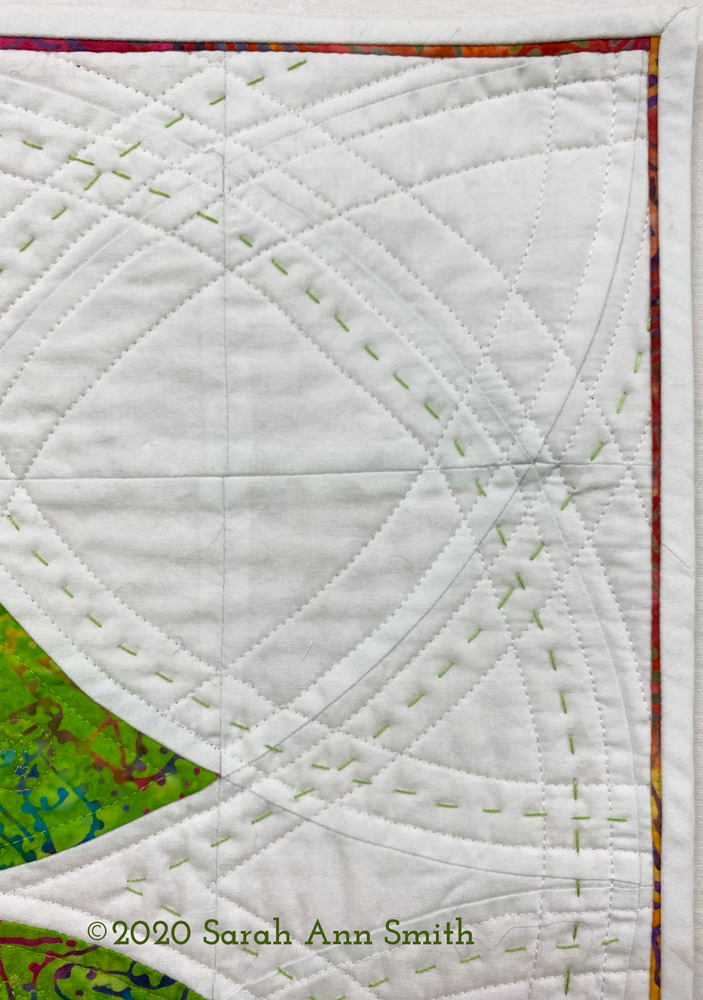
I wanted to repeat the orange batik in the center on the edges, but using it as the binding was too much. I instead inserted a tiny stitched down “reveal” that is a scant 1/8″ just inside the white binding. Can I also put in a plug for Michael Miller’s Cotton Couture solids? The quality of the base cloth is SO GOOD! And the consistency in color / dye lots over the years is really amazing. I dye fabric and know how hard it is to get perfect matches from batch to batch and it does.

Last but not least, those skinny inserts and perfect corners.

I taught the half day version of my bindings workshop at the Mancuso Online Quiltfest in June and may do so again in the new year. I am scheduled to teach and have an exhibit of my work at the Mid-Atlantic Quiltfest in Virginia in February, but at this point who knows if it will be in person or online! I promise I will teach the bindings (full or half day) again in the new year online, just need to figure out when. My students in June had GREAT results online so it works online too!

Anyway, I hope you’ve enjoyed my 2020 detour back to my quilty roots. Coming soon, a new art quilt!

Piecing Curves…it is possible even for me

Monday, August 3rd, 2020
Whoo-eeeee! Lookit those perfect seams… this was my second block, and I think it looks pretty durn good for someone who doesn’t really piece a lot! There are a few MINOR things I can fuss at (like the seam allowance on the center top spike is a skosh wide and the upper left corner edge isn’t perfect, but still! Fabrics are batiks and Bright White Cotton Couture from Michael Miller Fabrics.

Precision piecing has never been my strong suit, but I am — like Michaelangelo at age 80 — still learning. One of the things I’ve learned is that it is OK to use specialty tools like the AccuQuiltGO! and byAnnie’s stiletto. Thank you to Michael Miller, for whom I am a Brand Ambassador this year) and Janome America for having me as an Artisan. For me, careful cutting for squares, rectangles and triangles isn’t too TOO challenging (as long as I’m paying attention which is never to be take for granted LOL). But CURVES? Not so much.

Back in May, I shared a video that tells yo about the amazing (Heavenly Perfection?) HP presser foot and throat plate, herhttps://www.sarahannsmith.com/weblog/?p=13206e. If you have a Janome with this option and haven’t tried it out, DO! Go watch the video… it’s a brief but I hope helpful mini tutorial. The video is also on my YouTube channel, here. I’ve been doing a bit more with brief videos…looks like about one a month. I’ll have another later this month about using the blind hem stitch for some slacks I made–you can subscribe to the channel.

After cutting using the Winding Ways die (requires the AccuQuiltGo or similar cutter, too), I laid out the blocks to see how they looked (and to make sure I had enough of each shape).
Here are the settings on my M7 for the HP foot which helped me get such amazing accuracy and careful piecing. Slowing down helps, too. Ahem.
First, I cut and assembled segments.

Here’s a quick video of me using the oh-so-wonderful HP accufeed foot and throat plate from Janome, on my M7. Thanks to Kimberly Einmo who shared her love of this accessory at the 2018 Janome Education Summit! Like I said…there is ALWAYS more to enjoy learning.

The stiletto from byAnnie.com is here.

Sub-units created
Following the assembly instructions that come with the Winding Ways die, you press seams in specific directions and create and assemble sub-units in a specific order.
Then you get as close to perfection as I am ever going to get! There is still some fine tuning I need to do (meaning the dreaded P-word: PRACTICE) to get the outside edges straight, but I mean really, look!
Here’s my Winding Ways on the design wall, considering various settings. I ended up going fairly traditional…I’ll share “done” in a week or two.

Hope you’ve enjoyed my detour from art quilting. I’ve actually needed a break to recharge myself, and this has been DELIGHTFUL. I’m thrilled with the finished quilt… will post it in about a week or so.

Full disclosure: I’ve been a Janome Artisan for 16 years, and am forever grateful for their support and machines. I’m a Michael Miller Fabrics (MMF) Brand Ambassador for 2020; the batiks and white fabric were donated as part of that ambassadorship. The AccuQuiltGO! was a GIFT (!!!!) as part of the MMF thing, and I purchased the Winding Ways die once I realized that wow, I could USE this machine! Whooda thunk it? Well, I should have. Having FUN! And lastly, thanks to byAnnie.com; their donations to the Teacher Goodie Bags in Houston one year netted me that awesome (and not expensive) Stiletto!