Christmas Bag tutorial and fine finishing tips
Sunday, December 22nd, 2019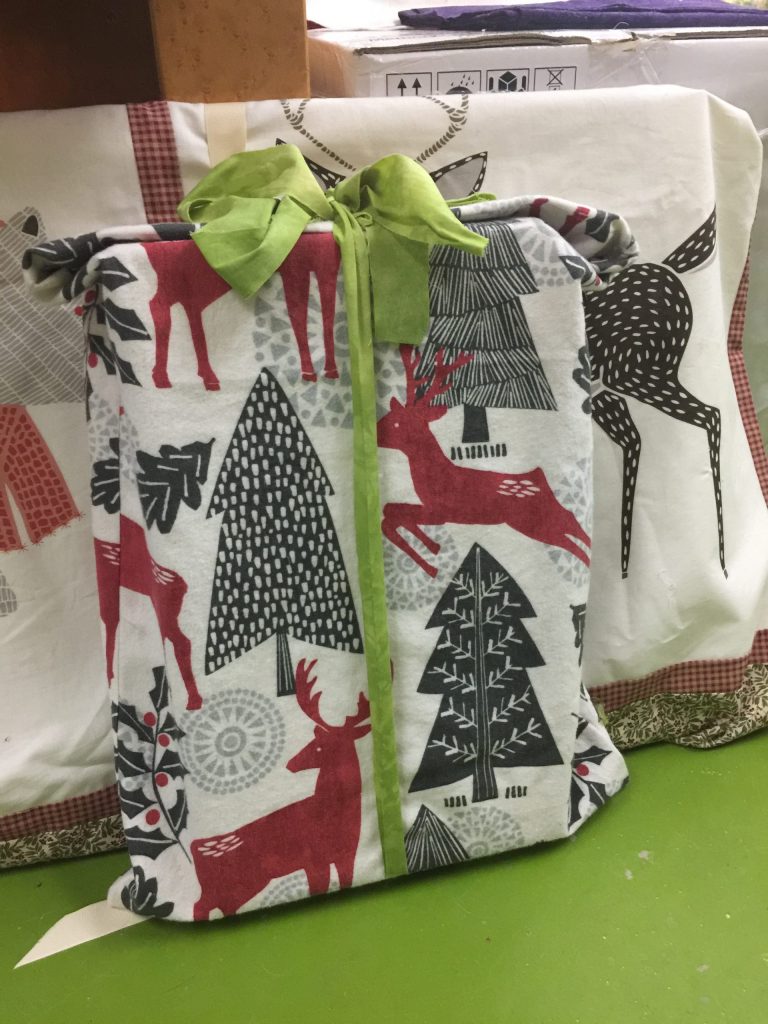
Sometimes it is possible to whip up a quick something just before Christmas…I’ll have to back-to-back posts (I hope) about sewing for the holidays that include this tutorial on zipping up a quick gift bag and, next, the wonderful York Pinafore pattern from Helen’s Closet patterns.
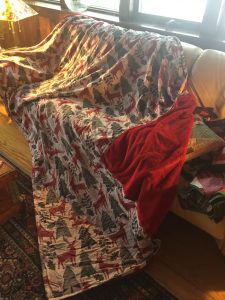
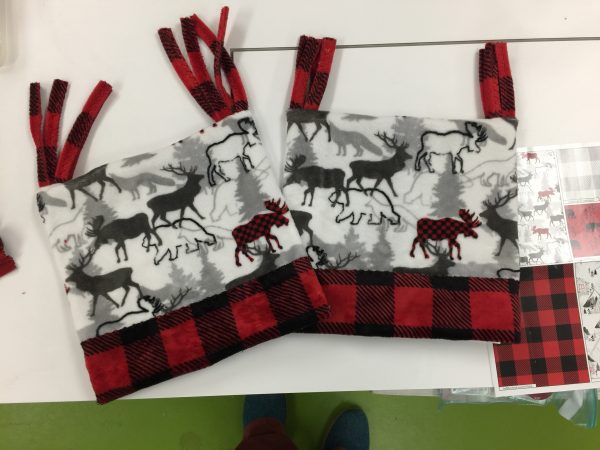
I needed the Queen Sized sheet so it would be long enough for the red Luxe that is so silky soft. That meant I had quite a bit leftover…so I thought I’d make a garment (next post). Once that was made, I still had leftovers so I whipped up two gift bags and thought I’d share it as a tutorial.
Tutorial:
- Cut two rectangles of fabric or one very wide rectangle. Place right sides together.
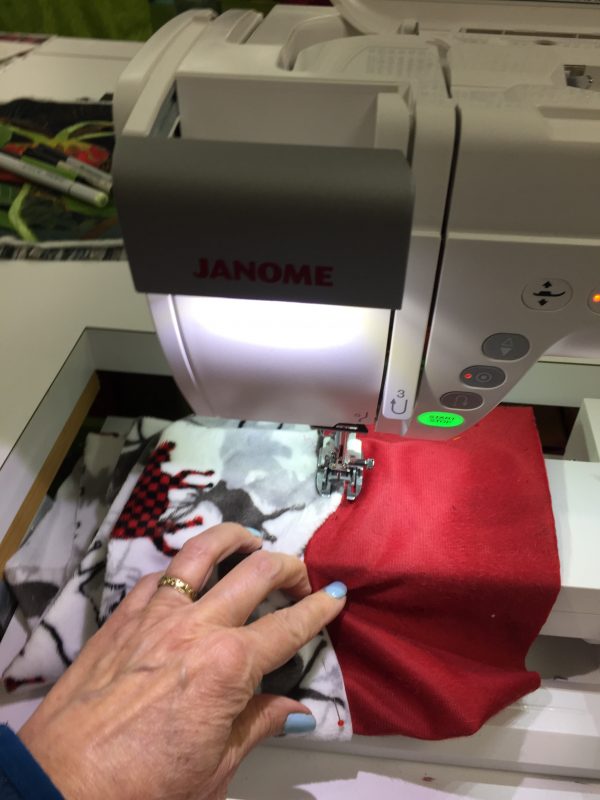
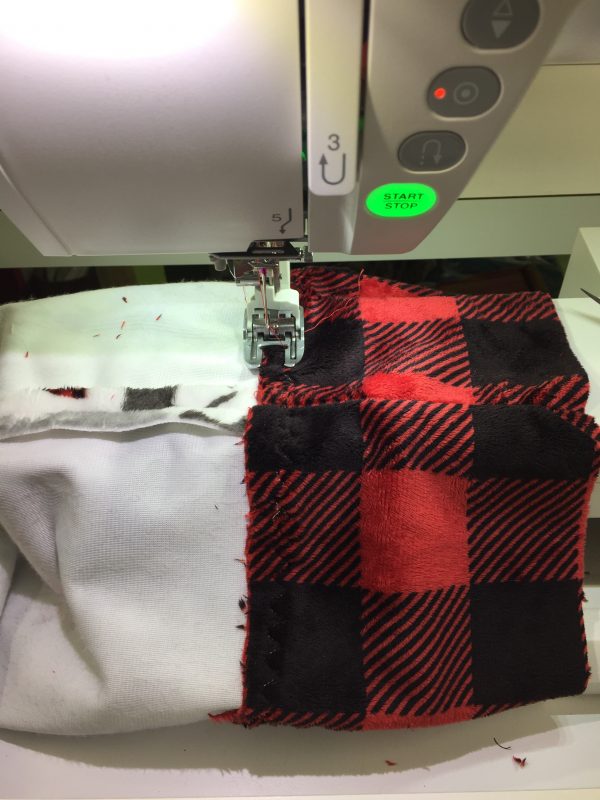
- Clean finish edges. You can use an overcast stitch as I did (photo below) or use a french seam (google it, or I’ll do a tutorial eventually of some basic things every sewist should know). Using the Janome’s “M” overcast foot gave results as good as a serger.
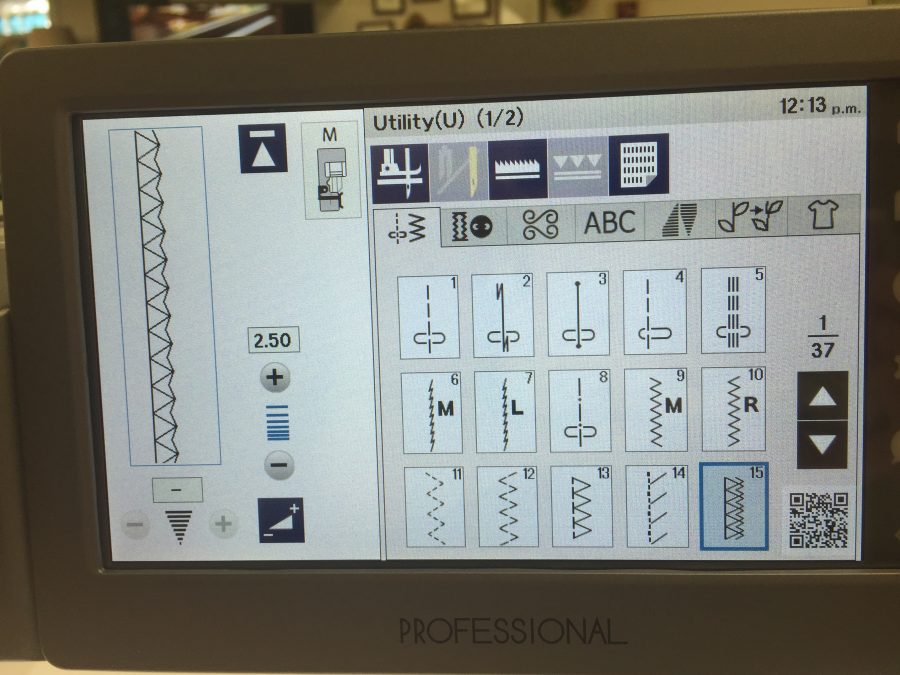
3. Sew a simple straight seam just inside the overcast edges. Sometimes the contents of gift bags can be heavy, and especially with soft and stretchy flannel, I felt a little extra stitching was a Good Thing.
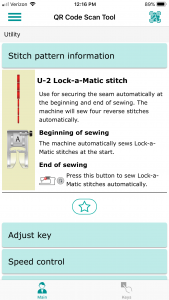
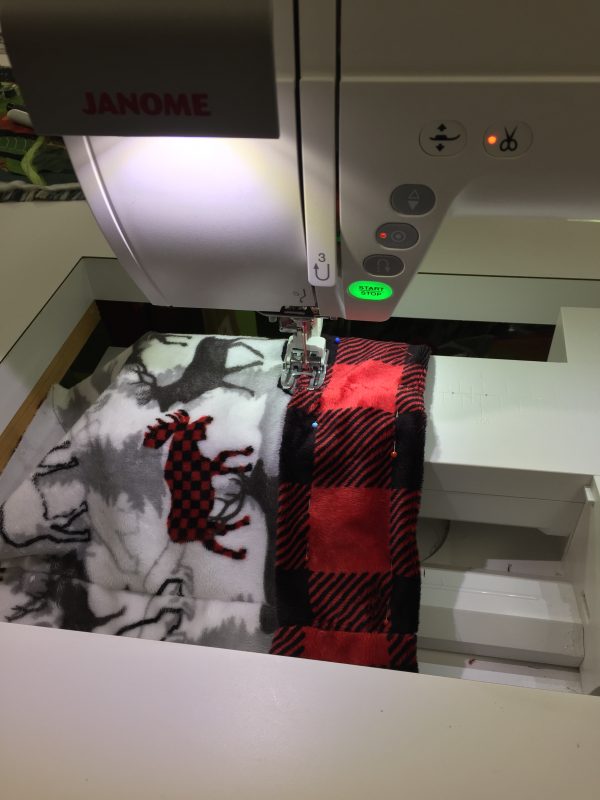
I’d never used the Lock-a-Matic stitch before because I learned to sew when we were lucky to have a simple zigzag on a machine and not all the bells and whistles.
Janome has designed the AcuSpark software. In the previous photo that QR code I pointed out: use your phone to scan and it will pull up a screen with helpful information. Here, I’ve got the one for the Lock-a-Matic Stitch!
Having started sewing when dinosaurs roamed the earth and you were lucky if your machine did anything besides a straight stitch forward and back, I am so used to just doing the lockstitch or backstitch myself that I likely will keep doing that, but this stitch automatically does a securing backstitch at the start of a seam and, when you press the back arrow, at the end. I had been concerned that it might sew a lockstitch when you pause in the middle of a long seam to re-position your hands, but it doesn’t, which is good!
4. Turn your bag right side out.
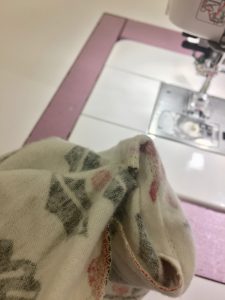
Once your seams are finished, turn the bag right side out. I like to fold the corners so that both seam allowances are to one side. My hand is inside and I’m pinching the corner together. Then keeping hold of the seam allowances, turn.
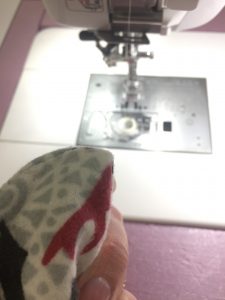
Pretty good corner, and I haven’t even eased it out yet!
5. At the ironing board, use a point turner to coax the corners out to perfect.
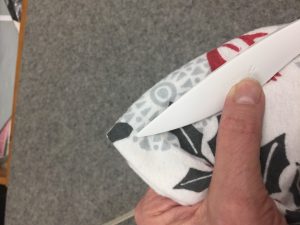
I have several point turners. This is one I bought just this year. Make by Clover, it is beautifully smooth, and has a Hera Marker (sharp edge for marking lines on cloth) on the other end. It is longer than most point turners, curved to fit the hand nicely, and I like it better than any others I have tried.
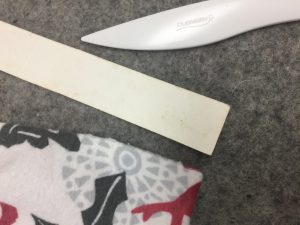
Lookit how perfect that corner is! Square as can be! I created this method for corners when doing custom home dec work for an interior designer. Some of the upholstery fabrics were so thick that I was afraid if I clipped the corner, the old school way to deal with bulk, the fabric would unravel and ruin the project, and the fabric was crazy expensive. This is secure and gets even better results.
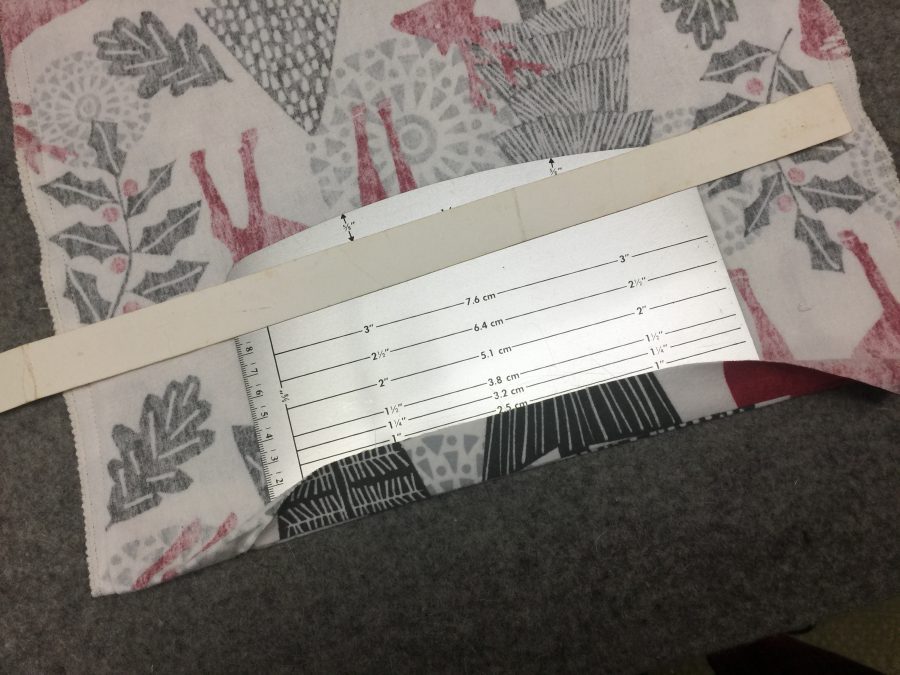
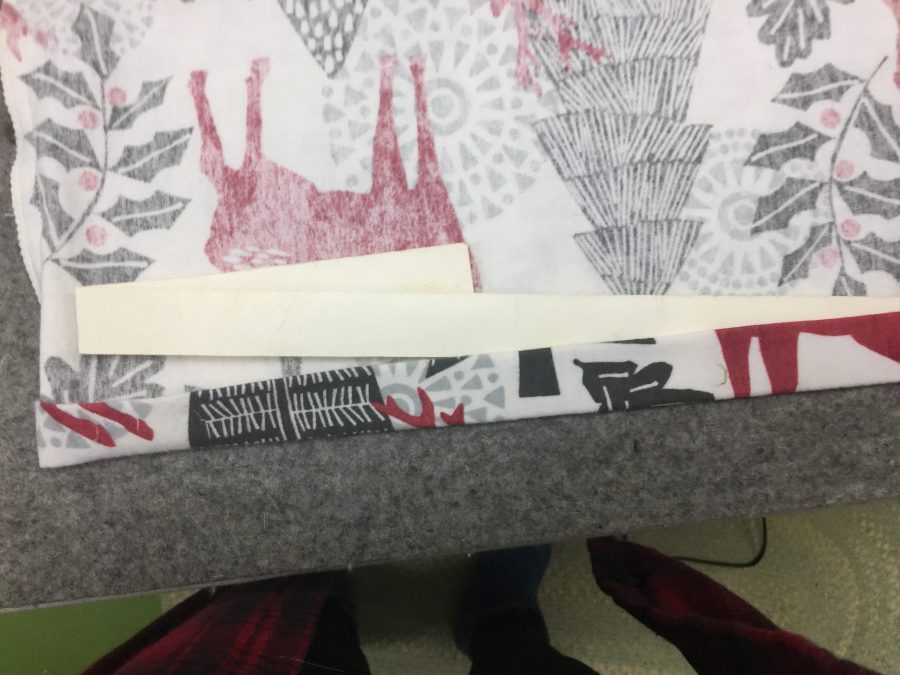
6. Hem the open end. The interior designer I worked for taught me about using poster board (or tag board or an old manila folder) to make templates for turning hems. When making curtains, the extra weight of a doubled hem helped them hang well. I called it the turn-turn hem, since you turn up two full hem-depths.
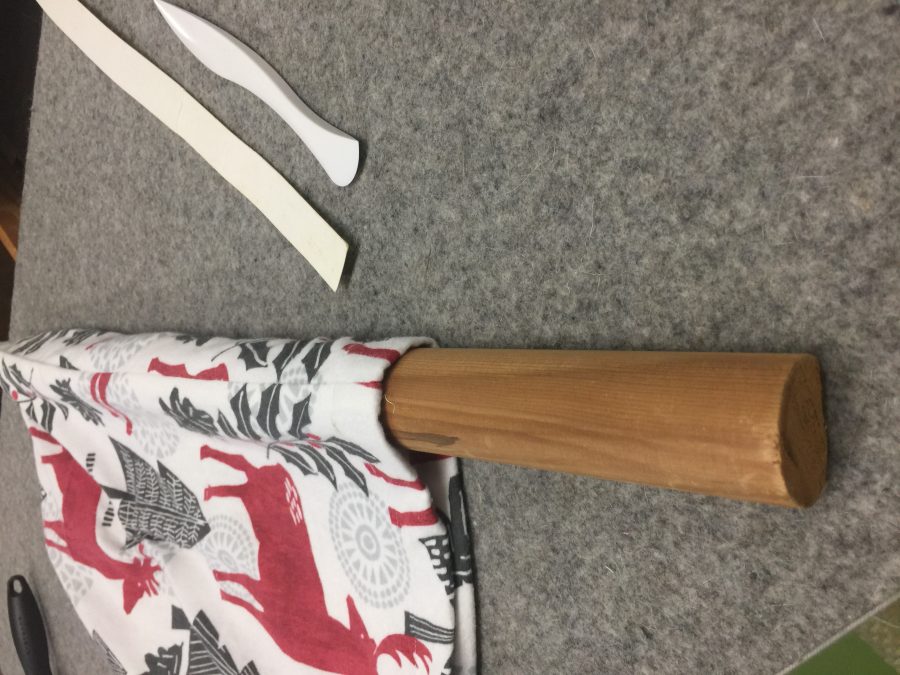
7. Press your seams to one side. Using a seam roll –in this case a piece of cheap stair handle from the big box DIY store. Dressmaking suppliers sell beautiful hardwood (maple usually) seam rolls for Lotsa Bucks. This pine stair rail handle was a few dollars for 24 inches. Sits flat on the ironing surface and does the trick.
8. Give your bag a final press, tuck the goodies inside, and tie shut. I think, having found that strip of green, that instead of buying ribbon I might “make” some from leftover bias bindings (unfinished on the edges) or making some straps (turn seam allowances under, sew folded edges together) to use as ties for future years. Here’s that original photo again:


