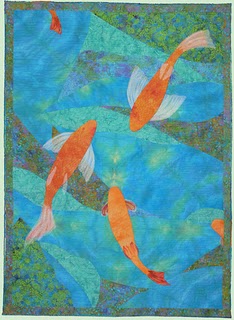
The Koi quilt is done 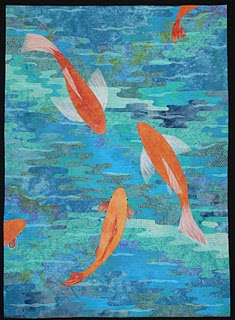 (well…except for the sleeve and label, what else?!!!), the photos have been taken, then entry form for Houston filled out and mailed in. So now I get to share the quilt with my local guild chapter, my friends, and wait until August to see if they get into Houston. And in the meantime, they will travel to Augusta, Maine, for the annual Maine Quilts show in late July. All of the photos should be clickable to make them larger so you can see more detail.
When deciding on how to make the water, I looked at Pauline Burbidge‘s water quilts, thinking they were what I had in mind for the water, but it turned out not so. So I just went ahead and made what I did…then I realized that the pattern is very much a typical Japanese style design for water.
And here are some detail shots of the koi, the quilting and the beading. The beads represent the surface disruption / rippling caused by the movement of the fins and tails just beneath the surface.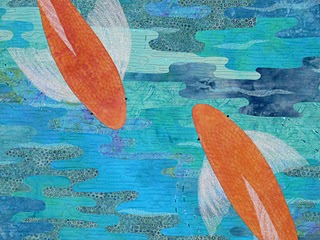
I took the pictures before sewing on the hanging sleeve because I didn’t want the quilt view on the back marred by the sleeve. This is the reverse side…as if you were lying on the bottom of the pond looking up at the sky. You’ll notice that you are looking at the bellies of the koi, and the fractured sunlight streaming through the water, with the branches above visible through the water:
If I had a detail shot, (which I don’t) you could see that the top facing isn’t really a facing, but a narrow hanging sleeve that is the same width as the facings on the side and bottom. For quilt shows I will sew on the regulation 4″ hanging sleeve, but when it has done it’s quilt-show-journey, I will buy a metal slat, drill holes in the ends, and slide it into this top facing. That way, the quilt can be hung with either side out … or both… think room partition? Here’s one more (sideways…dontcha love blogger?) closeup of one of the koi on the reverse / back side: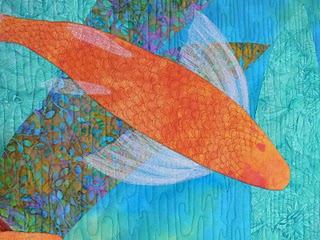
I think I’d like to do another koi quilt (or two), not so large, maybe just one koi, but with overhanging branches, shadows from the branches on the water, and maybe raindrops forming circles/ripples on the water……
As for technique: I painted with a very thin wash of irridescent paint over my own hand-dyeds for the fish, which were quilted separately, then appliqued to the already-quilted surface of the pond (the ones on the back by machine, the ones on the front by hand). I pinned VERY carefully to get the fins and tails to line up on both sides of the fabric and quilted them in one pass. The background is fused, using my own hand-dyes and commercial batiks. The fins and tails are multiple layers of sheers (three different ones…a white, a cream and a pale gray for the white fins, and a totally tacky red floral for the orange-red, but which cuts up nicely!). I used Misty Fuse for all the fusing, including on the sheers.
Now, to crash on the sofa before heading to Saco, Maine, tomorrow where I will be doing a demo of machine quilting at the Art Quilts Maine exhibit at the Saco Museum. Hope to post pics on Monday or so…. Thanks for surfing back in to see the final result. Cheers, Sarah
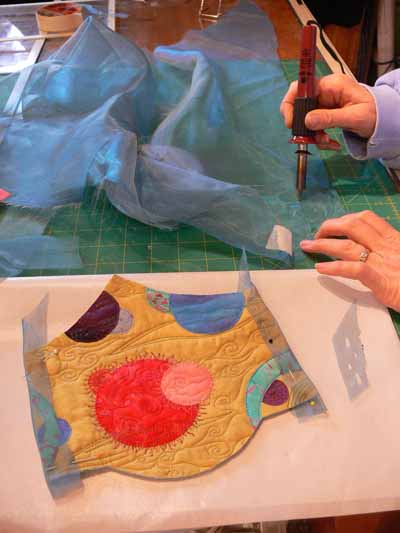 follow. Secure the fabric with tape at each end.
