Our first gingerbread house
Wednesday, December 6th, 2006Well we had fun and work over the weekend, and at last things have let up a little (I’ve been making Christmas gifties) and I can post about our first EVER Gingerbread House …. 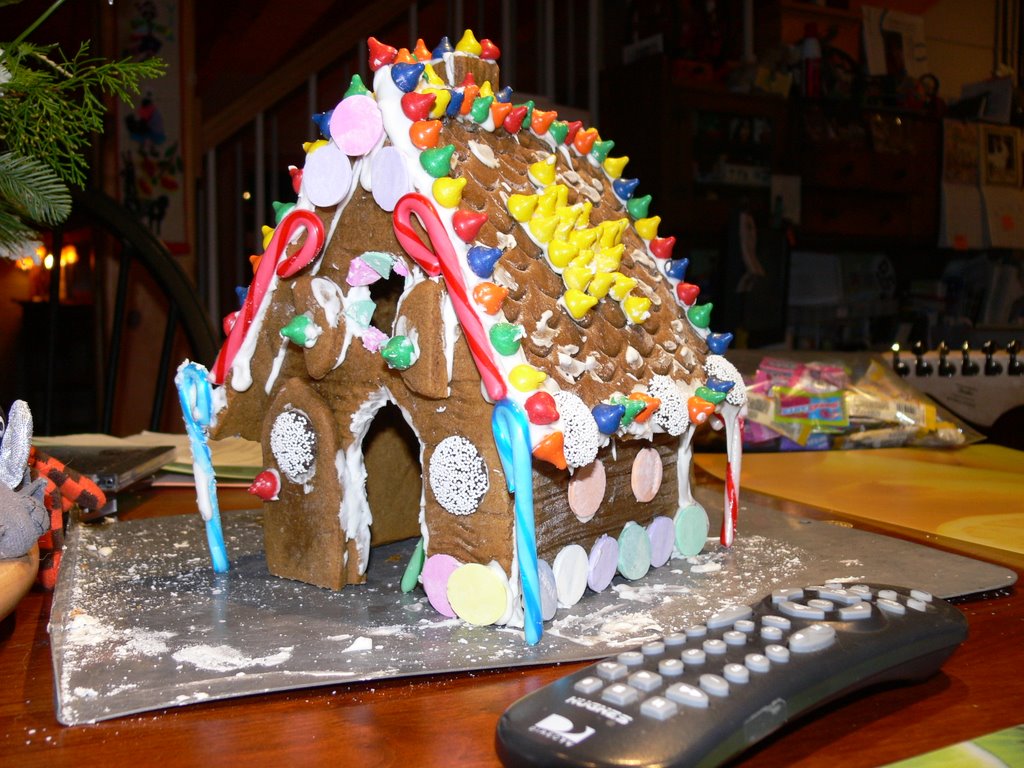 that’s maybe not so surprising for Eli (8) and JOshua (13), but I’m nearly 50 and it’s my first, too!
What I learned is that it takes a LOT of time, and not as much candy (phew!) as I thought. On Saturday we made the gingerbread from a recipe in Joy of Cooking Christmas Cookies (hotlink is to the book on Amazon), and decided to make life easy and use their pattern for my first house instead of making up a design from scratch (what a concept!).
I loved the way the batter looked so glossy and swirly when I mixed the molasses into the mixture: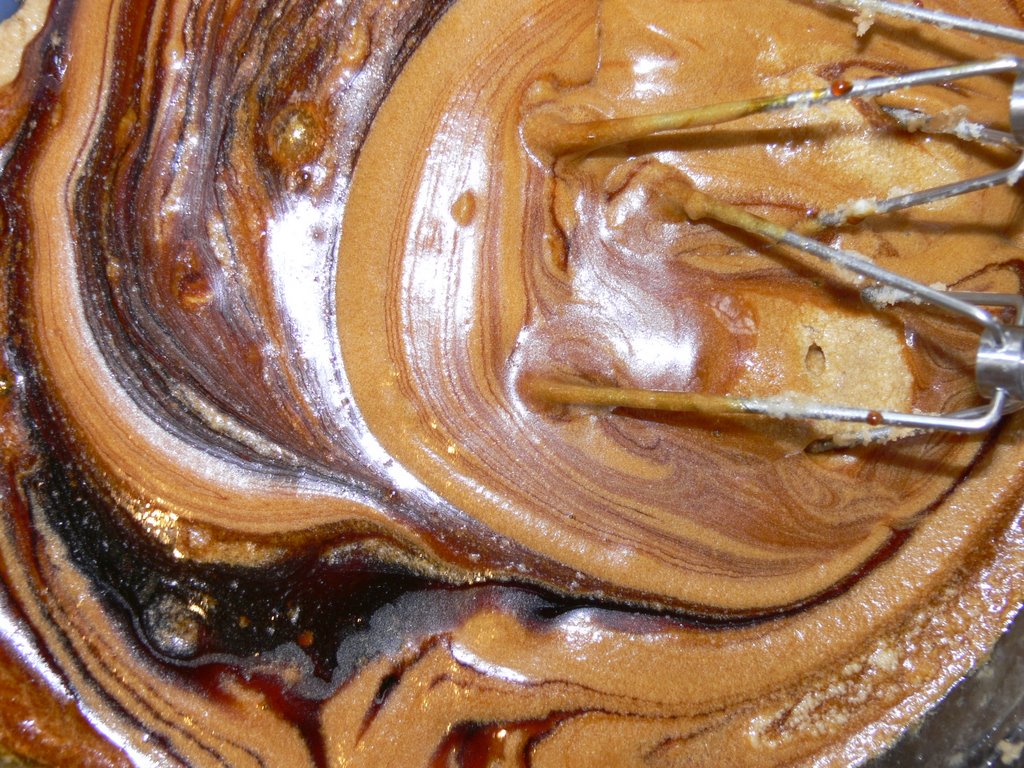
Then, the batter had to “rest” in a cool spot (our garage) for 2+ hours. It ended up being more like 6, which was fine according to the recipe. Rolling it out and cutting the pieces took a lot longer than I expected…about an hour!
It definitely helped to roll it out, as suggested, on parchment paper that you can cut and just slide the piece onto the cookie sheet….that batter gets really sticky, even the “construction” grade (versus cookie / eating mixture, which has less flour).
I used (of course I did…I’m a quilter!) my 9 1/2 inch squzre Creative Grids Rotary cutting ruler to measure out the pieces! I just dusted a little flour on top of the gingerbread before placing the ruler, scored the lines to match the pattern, and then sliced away.
Here are the pieces having just come out of the oven: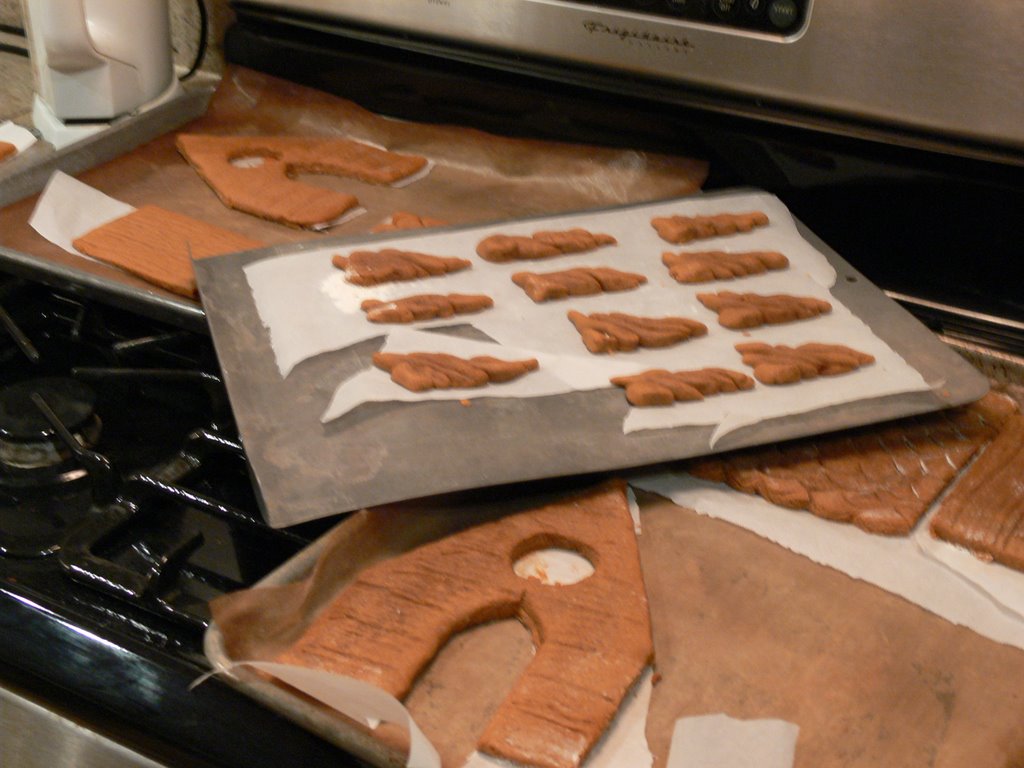
I tried to make trees and an outhouse out of the leftovers. So-so for an effort. Then on Sunday (the next day) we had to “glue” the house together with frosting and wait at least an hour for it to “set up” and be solid. THEN we finally got to decorate.
At the grocery, when I returned several bags of not-needed candies, the manager had a great idea which I wished I had known: cut your pieces the size of a pint container and “glue” them with frosting to the container…helps support the gingerbread from the inside. Even making a cardboard “house” frame first, and taping it together, would really have made things a lot easier. Save that idea for next year. Anyway, I ended up making two trees, and got too tired and just pitched the outhouse parts.
I made the house with front and back doors (or two front doors, if you prefer) so that each of the boys had their own end to do, but Joshua decided to be a teen and “IM” with friends and play Runescape instead. Bummers. He didn’t even eat the candies! Eli, however, joined in and had the great ideas to use the candycanes on the ends of the eaves over the doorways.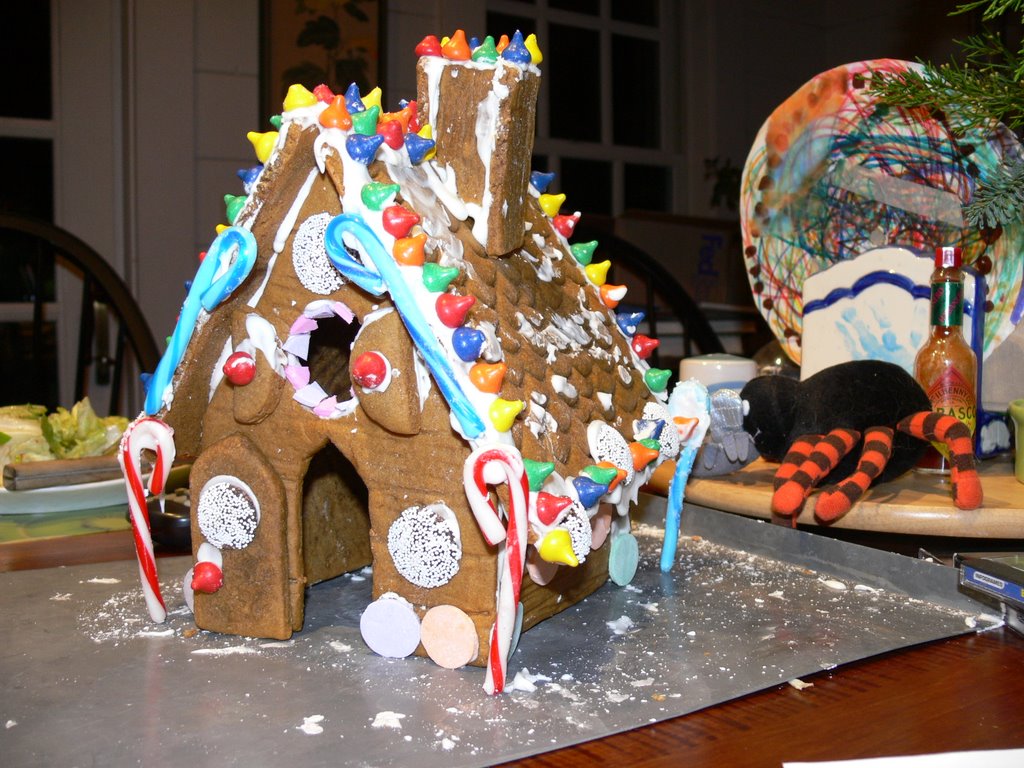
Now…what do I put on the cookie sheet so it looks nicer?
Another lesson learned…using cheap-o store brand sandwich baggies as a frosting tube (clipping a tiny bit of a corner off) instead of a proper pastry tube is a recipe for a mess…the bag split any number of ways, including in the middle of the bag. So our “piped” edges and drips are more like messy blobs. Oh well….we’ll call it wet snow which is clumpy!
And….wonder why you can’t just glue it up using hot glue instead of frosting….the house isn’t going to get eaten (the dough recipe has double the flour to make it sturdy), so why not???? Anyone have any ideas?
Oh, and I really like the candy-coated “Kissables” (think chocolate chips meet M&Ms) which I used all along the roof, and the Necco dots on the foundation of the house.
PS–that black and orange thing on the lazy susan is an adorable Halloween spider from the boys’ devoted Aunt Joyce!


