email Youtube

Home
Galleries
Blog
Workshops & Calendar
Store
Resources
About
Contact

Author Archive

It’s a Garage (in the making)

Wednesday, October 17th, 2012

Utterly not related to either art or quilting, but a big event for us nonetheless:  construction on the garage has begun!   Now when we dig out in winter, it will be to dig out the garage doors and not the car itself!

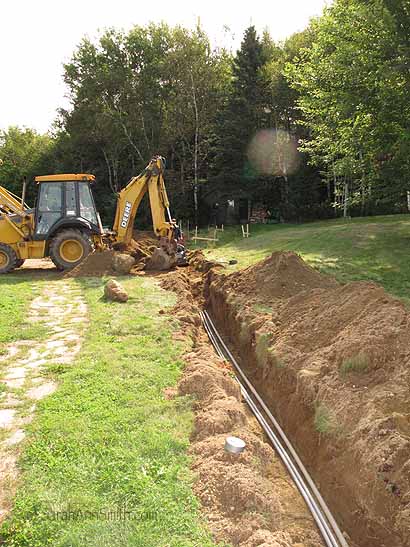
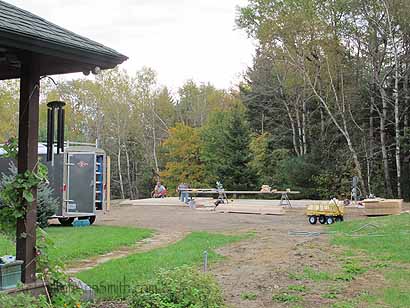
In the beginning there was open space where we parked. The first step is to trench in the electrical.

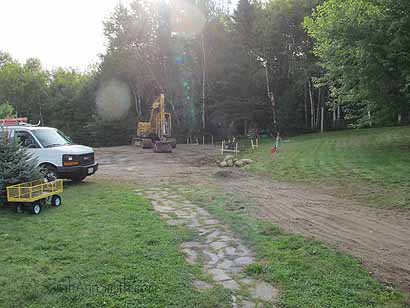
Next, our neighbor Alex, who is the plow guy, the Hope town Road Commissioner, Deputy Fire Chief and probably a few other hats, too, prepared the pad/area for the concrete guys to come in:

Alex seems to have a small fortune in large earth moving equipment! He’s brought in dirt to pound and level before the cement men arrive to pour the slab.

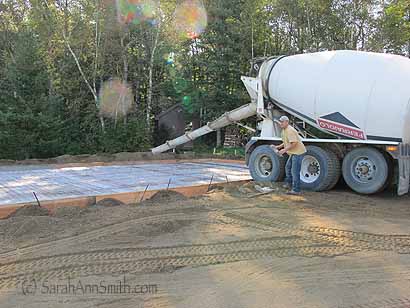
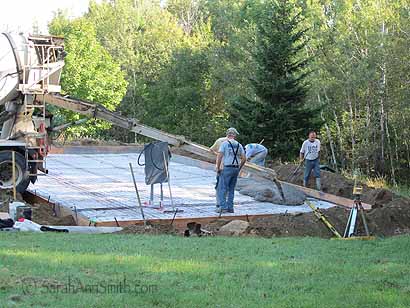
Then come the men to pour the slab.

The forms are ready and the cement truck has arrived.

The pour begins!

Then

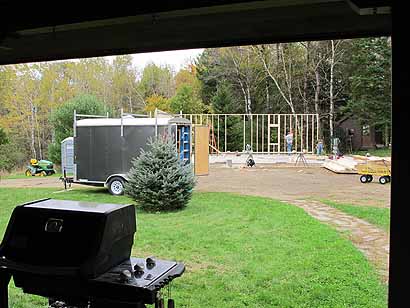
At the beginning of October, the builders arrived and started setting up. First there was a slab and a saw.

Next

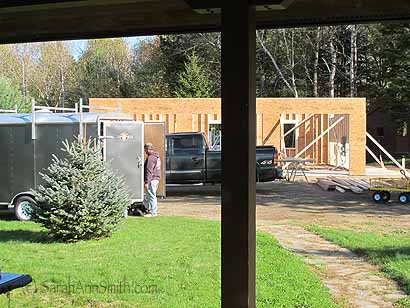
The framing goes up!

And as of Friday the 12th,

The plywood starts to go on. We will have three garage bays: two for cars, one for the tractor mower and other assorted Stuff. To the right the roof will overhang the last six feet of slab. This will be for storing wood. Each late spring/early summer we get a delivery of logs which a local young man cuts and splits for firewood. We season it outside for a year, then the following summer it comes indoors to the wood storage area in the basement to use in the woodstove which provides our winter heat. Now, that wood will season and store under a roof instead of under the pine trees or a tarp.

I’ll keep you posted as the building continues.

Autumn is here

Sunday, October 14th, 2012

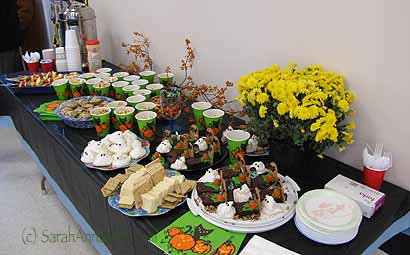
Halloween Refreshments at Coastal Quilters yesterday, Oct. 13

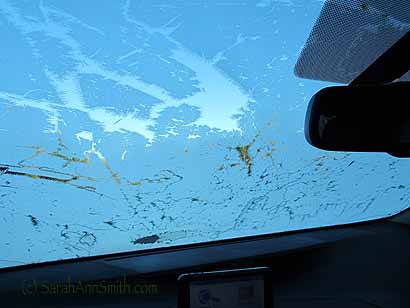
Yesterday was glorious and crisp, this morning is gray, misty and dreary… a perfect day for catching up on blogging, reading, quilting, eating.  Well… I guess I don’t need to catch up on eating but I like the idea anyway!  It’s potato and turkey kielbasa soup in the slow cooker today.   Anyway, when I went to get in the car yesterday morning to head to quilting, there was the first frost on the window!

First frosty windshield of the season…time to turn on the defroster and the seat warmer!

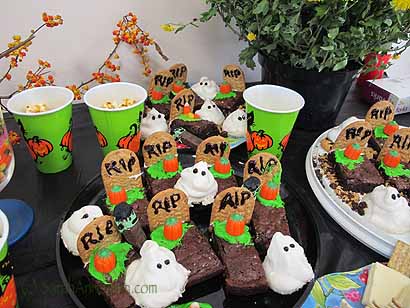
It was a lovely meeting with a great speaker, Mim Bird, owner of the new Over the Rainbow Yarns in Rockland (here…GREAT shop!), great friends, and it was Kathy’s and my turn to do refreshments.  I don’t know what got into me.  I don’t do much holiday decoration other than Christmas, and never do much for Halloween.  Must’ve been possessed by the spirits over on Pinterest or suffering from a need to create…. Kathy fixed the food that tasted good!  I fixed stuff I could play with…yes, I played with my food, and boy did I have fun!  That’s the whole table at the start of the blogpost.

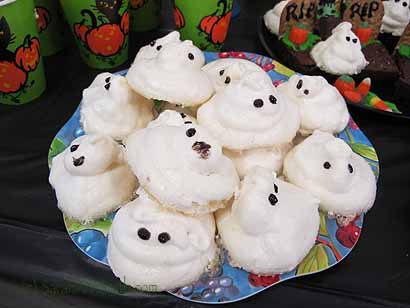
Thanks to Ashley, older son’s girlfriend, for the lovely mums for my birthday that I shared (and promptly returned to our porch).  And we have some bittersweet in the yard, and this piece had already broken off….    and Kath brought great Halloween cups and napkins and made her own caramel popcorn…YUM!  I made brownie graves, Frankensteins and meringue ghosts….

Brownies, tombstones, ghosts, Kathy’s caramel popcorn, and  in there somewhere a Frankenstein (KitKat or other chocolate-coated wafer cookie with frosting to make the head)–see if you can spot him leaning somewhat drunkenly against one of the tombstones

Meringue ghosts were surprisingly easy to make. Mine were a bit short and fat… I guess I’m going to have to break down and buy a pastry cone/funnel/tube thingy…whatever that thing is called that you use to pipe frosting! With a wide tip it would have been easier to make taller ghosts than my squat with-a-spoon fellows

A foray into Metalworking

Wednesday, October 10th, 2012

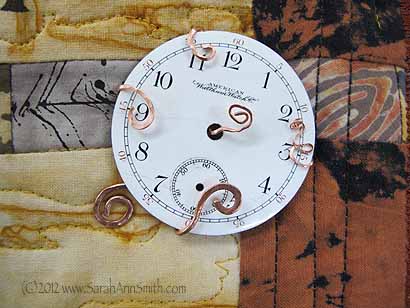
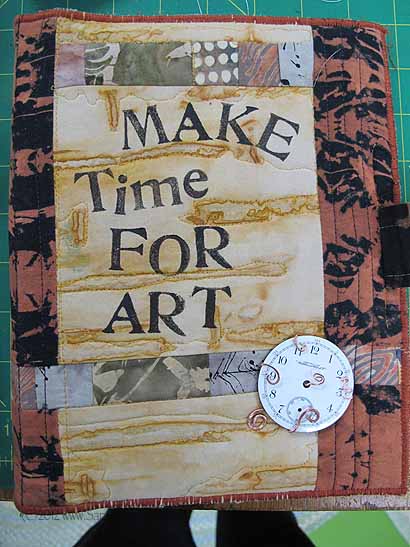
Copper tendrils hold the watch face onto my sketchbook cover.

Oh what FUN!  For a number of years now I have been inspired by New Zealander Claire Prebble’s wirework in her art-to-wear costumes (her website is here), and have wanted to mess around with wire.  Then last summer I took the first of three online classes with Jane LaFazio.  In one of them, I “met” Janice Berkebile and several other wonderful women.  After the second of the classes with Jane, we decided to set up our own sketching group online (we are globally dispersed from the San Francisco Bay area to northern California to near Seattle, Ontario Canada, Vermont and Maine and in the UK).  One day, Janice quietly said “Oh… my first book is just published.”  SAY WHAT?!!!!!!!   Here it is, and it is wonderful:

If you’d like to see Janice, click here and for the home page to their website, click here.

Well, I’m nowhere near starting on anything as awesomely intricate as Claire Prebble’s work, or even one of the simpler projects in the book, but I sure had a grand start today.  See several years ago, my Frayed Edges art quilt mini-group friends and I decided to do a journal-cover swap.   I got the lovely one made by Kate Cutko (queen of recycled and all things “green”…her blog is here) which has discharged and also rust-dyed fabric.  When she gave it to me, she told me she had wanted to find a watch face to sew to the cover.  Well, that year at Quilt Festival/Houston I found just the one!

After several years of use, the monofilament thread which I had used to attach the watch face had  broken, so I wanted to re-apply the watch face to the journal more securely.  At first I was going to sew beads to set it the way you would use seed beads to couch a cabochon (big flat stone/bead) to something.  Ugh. Hard.  Then I had a brainstorm–WIRE!   So this morning I started to play.

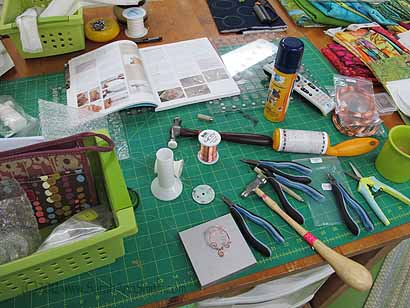
My work table this morning with hammers, pliers, cutters, wire (copper), more wire, and Janice’s book open to the appropriate page.

At first I was thinking of making a network of wire underneath with curlicues that extended to the front and intertwined with a circle of copper (since I bought that because it isn’t as expensive as silver!) on the top.  Then I thought…why a second circle on top?  How about “prongs” that wrap to the front and have them hold it?   SO….I made it!

Janice and Tracy’s book is great because it tells you what tools you need, which are nice-but-optional (especially when starting the cost of tools can be a bit frightening!).  I bought a larger bench block than you recommended (only slightly) in the book because I want  to eventually work on some larger pieces that may well include shapes cut from sheet metal…. They give all sorts of hints and tips, and have TONS of step-by-step pictures so you can follow along on your own.

Journal, with watch face attached with way more fun and creativity this time!

The tendrils that wrap to the front grip the watch face securely.  I sewed the copper “whatchamacallit” to the cover, then tucked the watch face into it, and pinched the tendrils down.

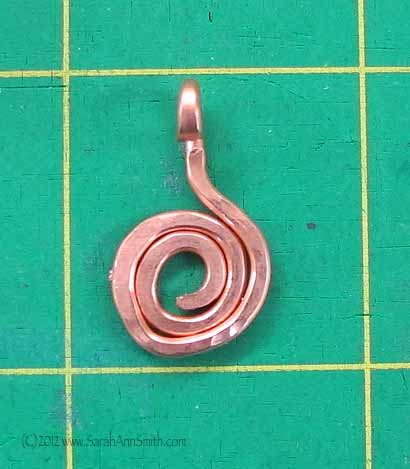
And then for fun I tried to make a spiral…while standing up and rushing.  Not the best, but at least it is a start!

Not quite round, but at least it is a tight spiral with a hanging loop!

So now I have their book back by my spot on the sofa and tonight will pore over it to see what I can adapt to use some beautiful beads made by ANOTHER internet friend that I got to meet in the real 4 years ago in Paducah (Caty are you out there?)!

Postmark’d Art

Tuesday, October 9th, 2012

Just a quick note to let you all know that I am the featured artist this week over  at Postmark’d Art, a website for a group of us involved in a postcard swap.  I’d like to invite you to visit here!   They interview me, show one of my cards and some of my favorites that I’ve received over the years, both in the swap and from other places.


Florida, #4, the Dry Tortugas

Sunday, October 7th, 2012

Seventy miles west of Key West, are a cluster of islands known now as the Dry Tortugas.  Part of the US National Park system, they are “dry” because they don’t have any source of potable fresh water on the islands other than rain.  Fort Jefferson, used during the civil war in fact, is the “home base” for the National Park.   The easiest way to get there is via the Park service ferry, which departs from Key West:

Ferry dock sign for our day out to the Dry Tortugas

The trip takes about 2 1/2 hours, which I passed reading, sketching and watching the passing view.  Before long you leave the smaller islands at the end of the Florida keys and are in open water.  70 miles later, you reach Fort Jefferson on Garden Key. Before boarding (early, at least for a vacation day), we stopped here:

Morning coffee from the Cuban Coffee Queen—lots of locals getting good, STRONG coffee and Cuban bread here. So did we…YUM!

The first photo I took on Garden Key was of this shore bird, which I have yet to identify. Perhaps a ??????  I checked the bird checklist for the Dry Tortugas and my two bird books (US Eastern/Peterson and another for the Caribbean), and am still unsure.

There are two former coal-off-loading piers near the island, and the piers are now roosts for brown noddies and sooty terns and brown pelicans. And LOOK at the colors in the sea and sky….SIGH….think I’ll paint our front door one of those blues! PS–that stuff you see just above the water is two snorkelers (fin and facemask)

There is a moat around the fort–saltwater. So nice of hubby to wear a perfect-for-a-photo red shirt! The sand was SO HOT I think I sunburned the bottom of my feet!

After about an hour snorkeling, we took a break for lunch on the ferry boat (included in the tour price) and then walked on the top of the fort.

And the view from the top of Fort Jefferson. How awesome are those colors…MY colors. I’ve said that like Winslow Homer, I went to the Caribbean (about 28 years ago) and was infected with color!

Close up of the brown noddies on one of the piers

One more shot of that glorious aqua water….sigh….

Heading back…Eli looks over the bow of the ferry as we prepare to head back to Key West