Behind the Scenes of a Web Seminar
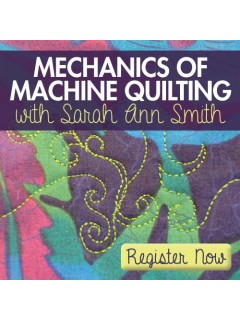
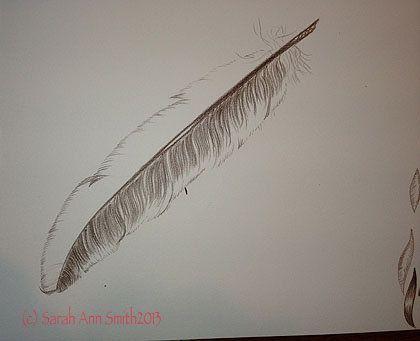
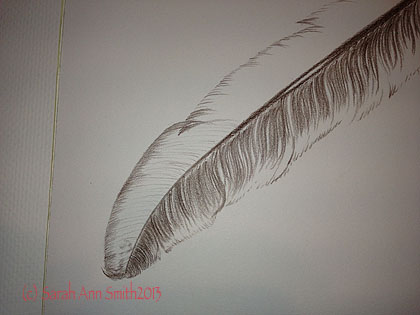
Thursday, September 5th, 2013Just for a giggle I thought I’d share some behind the scenes with you all. I can say that the dress and make-up (or rather, total lack of make-up) is rather different than when I usually teach! Here I am waiting for the web seminar on the Mechanics of Machine Quilting (at the interweavestore.com) to begin:

Sitting with my laptop, waiting for the web seminar to begin!
A web seminar is sort of like a live radio broadcast with some slides thrown in. I prepared the slides and notes, then share them via the internet with Laura at Interweave. She works magic on her end, and using the GoToMeeting process we have a broadcast. Each person gets an invitation to join the meeting (or seminar) via the internet. Just before the appointed hour, you click on the email link, and it opens up a viewer for each person: the Presenters, hosts and viewers.
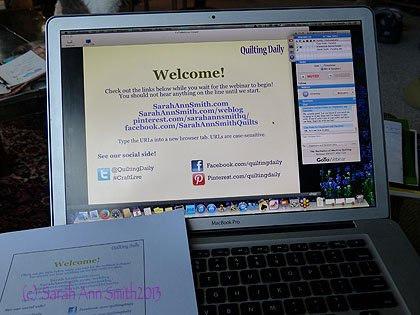
The other side of the laptop! (Think of the great and powerful Oz behind the curtain….)
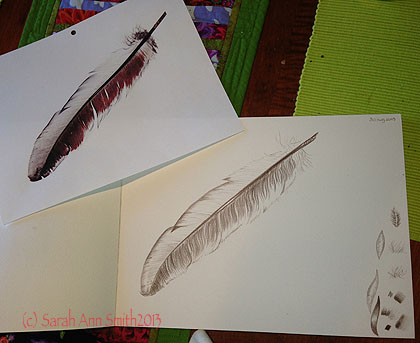
The Welcome screen is what was being displayed at that particular moment. On the left is a printout of the screens with my notes to myself in case I lost track of where I was. I will admit, I was more nervous than I thought I’d be—hope it didn’t show! at least not much. On the right is the Go To Meeting control panel, which showed Laura and Cate and me online; at the moment, I had my microphone muted while Cate did the intro. On the lower right is a section where Cate Laura and I could communicate by typing notes to each other without having to speak aloud for all to hear (like when I managed to not have the correct software open at the start…OOOOPS, Sarah!).
It went well, I had fun (even with the nerves), have now finally had lunch and am now ready for the rest of my day: raking dirt behind the garage, grocery shopping, picking up Eli after sports, and the usual evening stuff. I think I need a nap, chocolate, or both!