Eli 3rd at State Championships for wrestling, more snow, some quilting
Wednesday, February 19th, 2014Well, I can tell I’ve been really busy when I realize how long it has been since I’ve blogged! Maine’s Wrestling State tournaments were last weekend, and we are Class B. I am thrilled to say that Eli wrestled the best he has ever wrestled and came in Third! AND–massively huge and loud DRUM ROLL Please! The CAMDEN HILLS WRESTLING TEAM, well over half of which is Freshman and Sophomores (though Varsity is mostly Soph-Jr-Sr), WON STATES FOR THE THIRD TIME IN A ROW! (and you betcha I’m shouting!) For such a young team to do so well is just amazing. As usual, the rest of the state hates Camden, mostly because we keep winning. Everyone said we couldn’t win last year, but they squeaked through with a 3-point victory. This year it was a 24 point margin! And for Eli to do so well as a Sophomore! WOOT! More below…
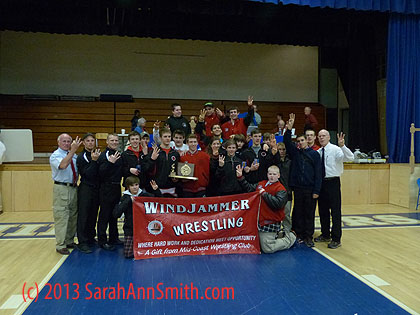
Camden Hills Wrestling gets a THREE-Peat, winning Class B Maine State Wrestling Championship! Well done lady and gentlemen!
There has also been snow, more snow, more snow, and more snow coming.

The view heading out with the dog this morning, looking north.
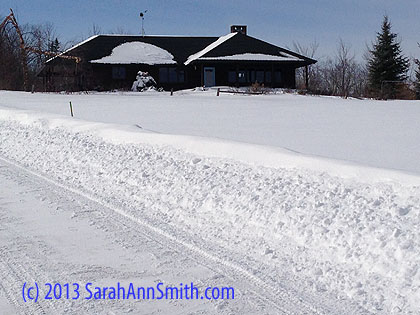
And on the way back up the driveway. Our house faces north, facing the prevailing winds, so not much left on this side of the roof. It is hard because of drifts to guess how much snow we’ve got, but I’m guessing an average of about 18 inches. At least it is warm–we’re up to 30 degrees!
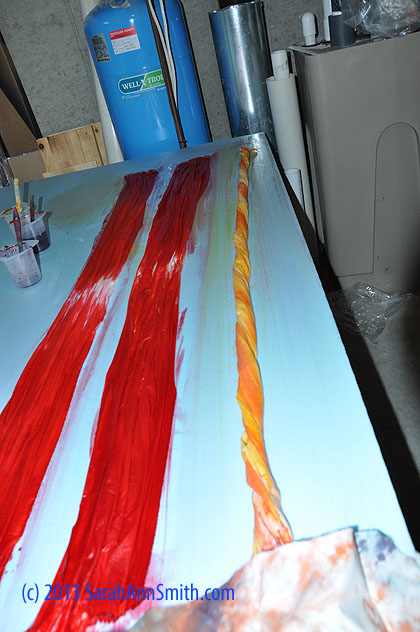
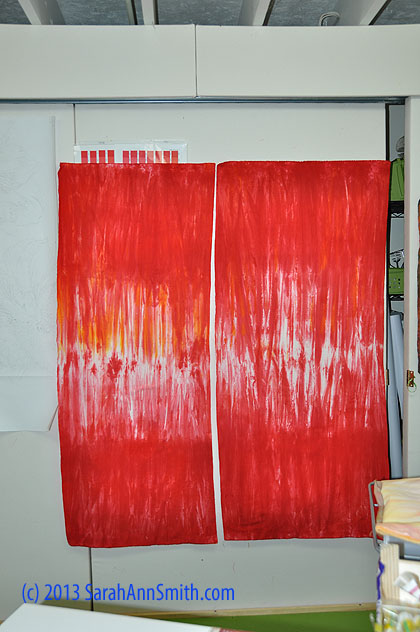
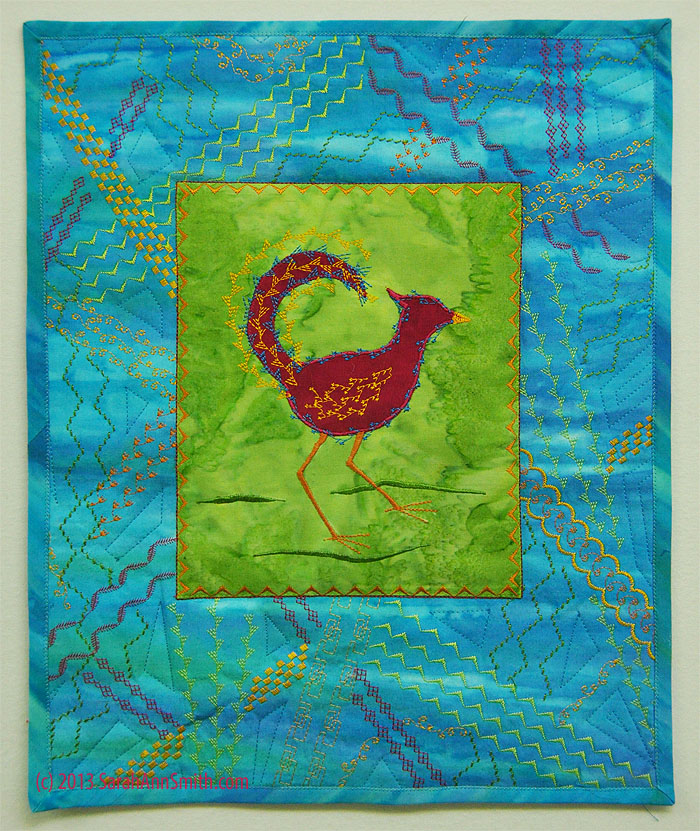
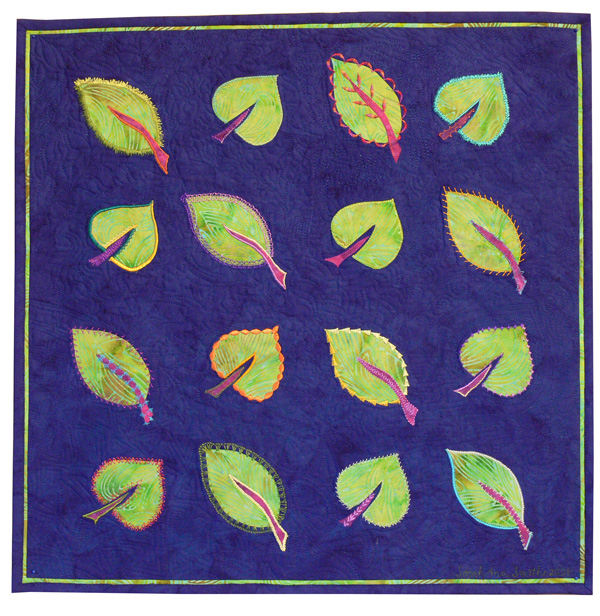
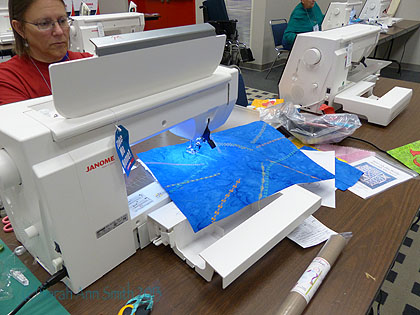
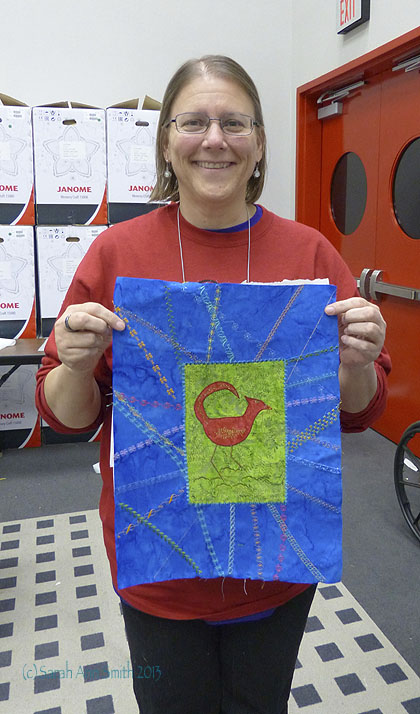
And I’ve been busy quilting, again, something I’m not at liberty to share until after jurying some time this summer. Sigh. It just pains me not to show in progress. Maybe I’ll take a photo of a heap of pre-fused fabric just to be a wicked tease? Anyway, here’s my week in pictures.
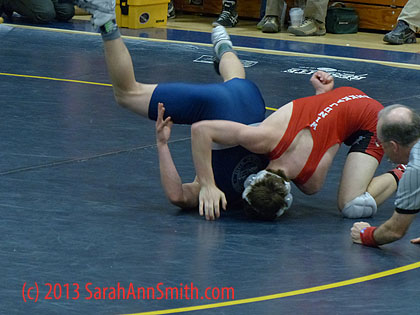
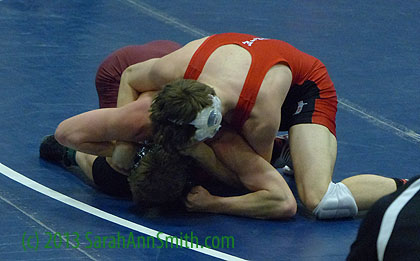
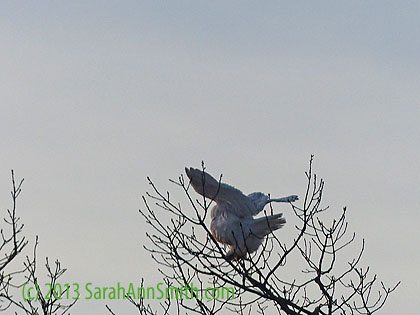
Eli pins a kid from Fryeburg (lovely town on the western border of the State) to get into the Consolation Finals (meaning he would place 3 or 4).
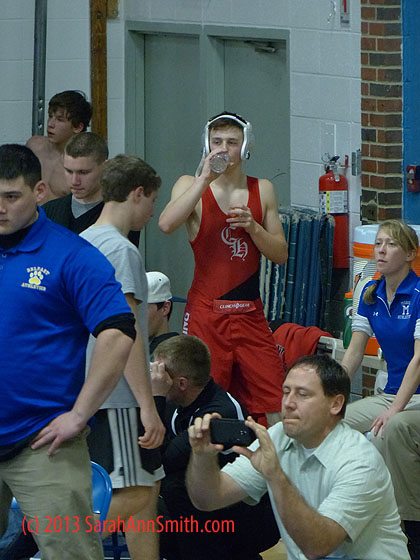
It seems all of us parents have good-luck things we do. I wear a C. Hills fleece vest to all his sports events, and I take photos of Eli warming up and getting ready for his next match. Most are totally worthy of being deleted–I just need to take the photo to have good juju! But here’s one of the kids and coaches on the sidelines (with the Belfast coach on the left).
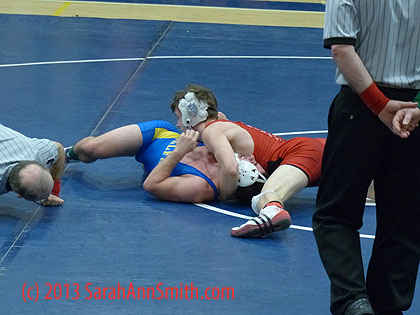
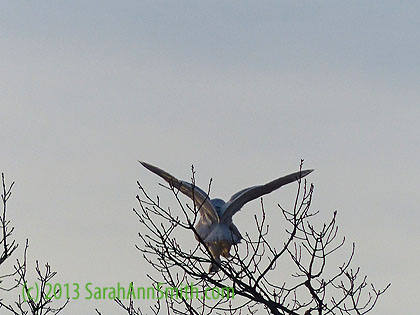
Eli wrestled Belfast’s (neighboring town) Michael Mcfadden for 3rd/4th. Eli (and many of the rest of us) are pretty sure that he had Michael pinned, but the ref didn’t call it.
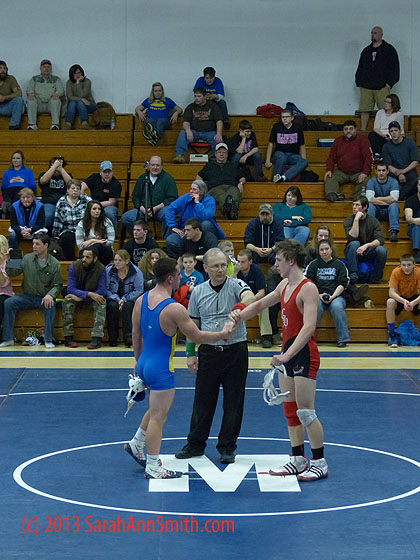
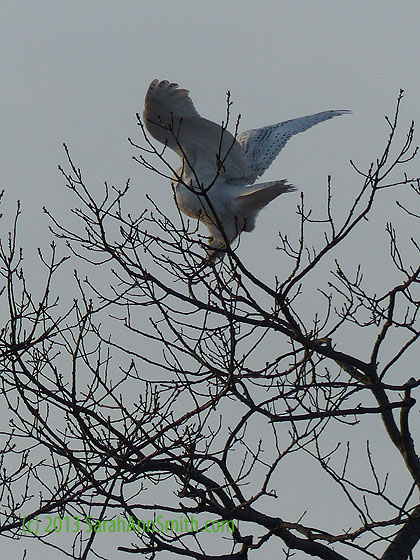
The customary shake before the ref raises Eli’s hand for the win. Still, Eli won by Major Decision (more than 8 points, I think final score was 15-4). Michael is a class act–told Eli he was glad his last high school match was against Eli. I didn’t get a chance to shake his hand at the meet so I Facebook messaged him (he and Eli are FB friends), to say congrats and he said the same thing to me. Let’s all wish Michael the best of life!
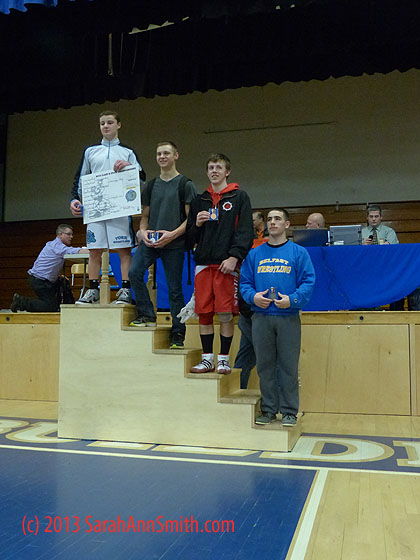
And on the podium–Eli doesn’t often smile this big even when he’s done well, so I’m really happy to see him SMILE!
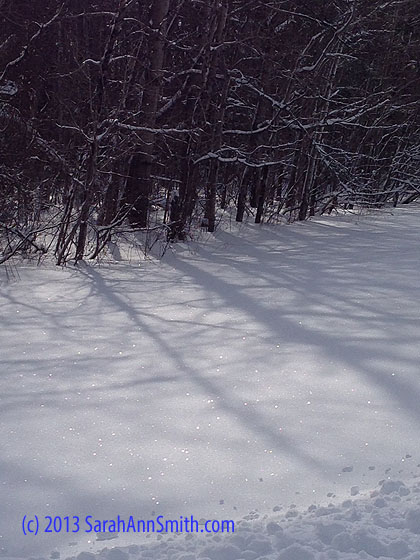
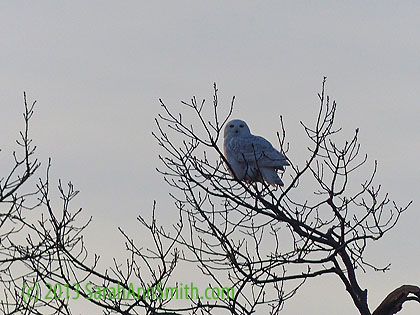
As for the other part of the week: Shadows on snow this morning. I need to do some “Winter” quilts…. I just love the season! So crisp and bright and beautiful!
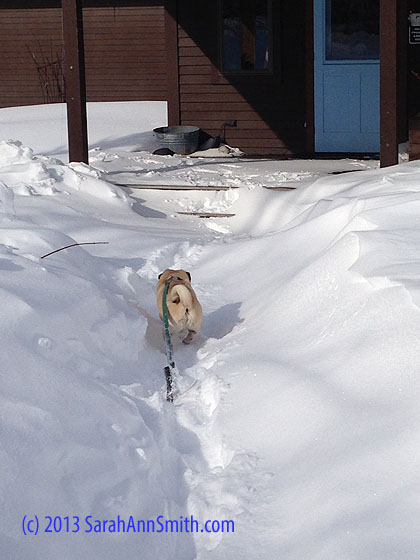
And the giggle moment, Pigwidgeon in snow after morning walkies. He could still walk it (not too deep, path not shoveled at the time), but definitely belly marks in the snow.
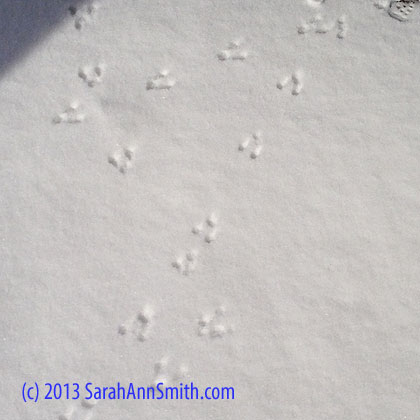
One of the things I love about winter is seeing critter tracks in the snow. Of course, these are likely mouse prints on our deck…which means we probably have at least one or a few additional residents. Hmmm…..
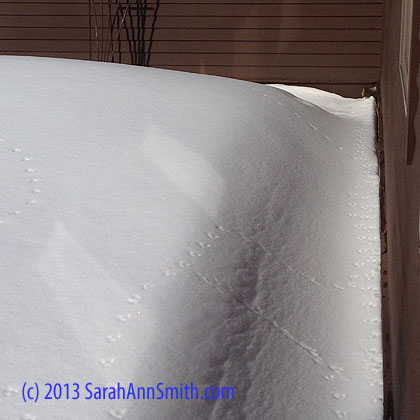
And more tracks on the snow heap in the corner between the kitchen/Eli’s bedroom and the master bedroom. I *think* they may be getting in the vent that is below the water spigot. Will deal with that in warmer weather!
Tomorrow we head off to All-States Wrestling Championship. This is a first in Maine. There are three “Classes” of schools (based mostly on size, though the logic of who is which class and how big the schools are and how a school can be Class A in one sport and Class B in another defies comprehension). Some years, the top two or three in one class could easily beat the champion in another class. But in the past the State Champion for each class would go to the New England Championships. This year there will be a “king of the mountain” wrestle-off of the top four finishers in each weight class in all three classes. Eli is a long shot to qualify for New Englands, but it should be a good tournament with the best wrestlers in the state. And on Friday, Eli finally gets WAFFLES for breakfast! It’s been a long season without our Sunday treat!