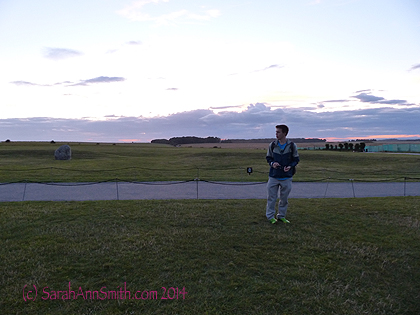
Thursday was a travel day for us, with the morning spent in London at the National Gallery, Trafalgar Square, and wending our way to East Anglia for our week on the road with our BritRail passes. The trains are lacking in quaintness now (no more compartments with sliding / slamming doors and wrought iron overhead luggage racks), but they are modern, clean and fast, and go nearly EVERYwhere!
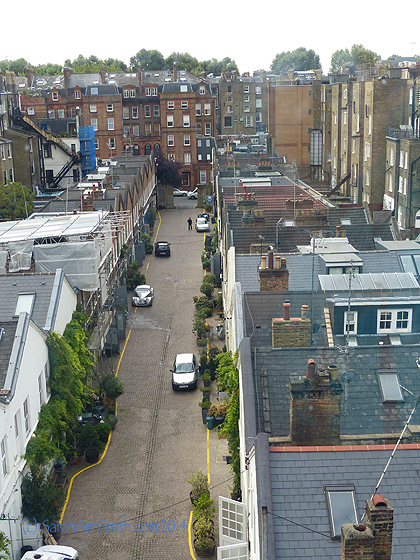
The view of the alley behind our hotel in the Gloucester Road/South Kensington part of London. Notice the silver car on the left. The cool funky one.
So we went down to see what it was. It’s a Morgan, a make I’d never heard of before. I now know why: I could save every penny I earn for the next two decades and I’d still not be able to afford one. It is a new car made to look old–really cool, roadster old.
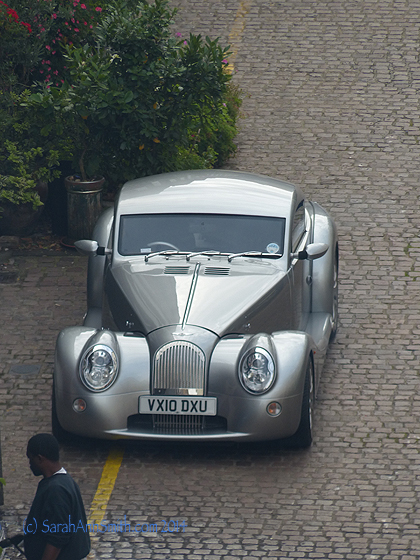
The Morgan. Oh my. Beautiful REAL wood dashboard, leather everywhere, oh my. I remember the ferries to San Juan Island…so low-slung it probably couldn’t get on/off the ferry! Made by hand. I’m not sure Tom Cruise could even afford one of these! According to Wikipedia there is a six month waiting list to buy one, but has been measured in years at some points! We chatted a bit with the guy in the photo who worked there…if I recall, they start around 200,000 pounds sterling. Start at that price. As I shall never be a Saudi prince, I don’t think I can afford one.

Next we went on to the National Gallery. Eli was enchanted with the street artists. This shot is from the entrance to the gallery which overlooks Trafalgar Square. Though it doesn’t look too crowded, it was. An English friend had been the day before and said the crowds in London were as thick as she had seen in some 70 years! I love England, I love London, but I think if/when I return it will be in early February to avoid the hordes of tourists.
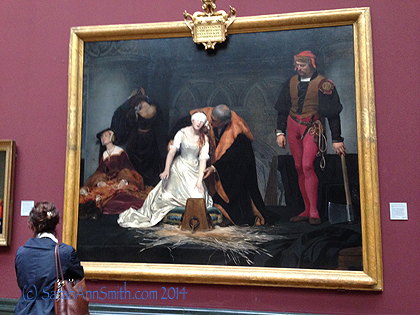
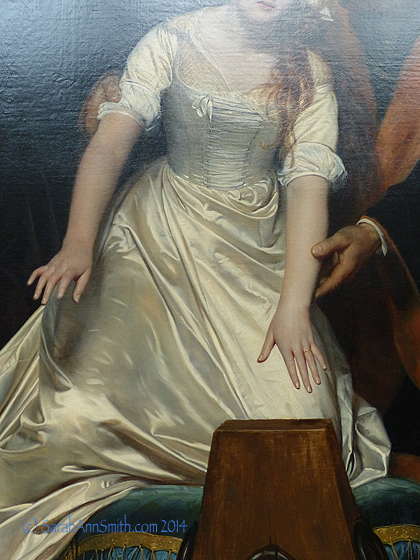
It’s not the best photo, but I have always been captured by this painting of the Execution of Lady Jane Gray. The silk of her gown glows.
Just look at the mastery in the painting!
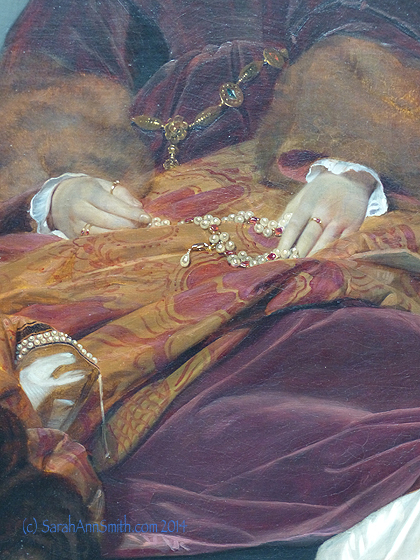
And a close up of the velvet gown of Lady Gray’s lady in waiting. It was fascinating to see what bits were in exquisite detail, and which were less finely detailed, like the straw (see first photo), causing your eye to focus on the sharply defined items. The luster of the pearls, too, in the rosary she holds here.
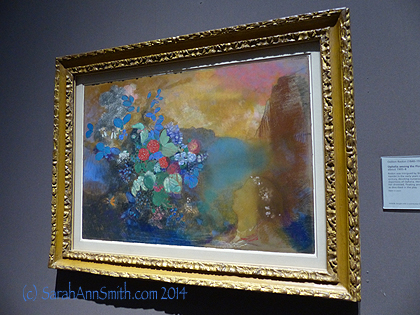
An Odilon Redon…look at that seductive color. The face in the lower right, the soft and crisp edges.
Eli, of course, wasn’t as enchanted with the art, but humored me. He is a good traveling companion. He grasps the concept of Mom needs to see some stuff, Eli gets to see some stuff. We allow for the other person’s interests. What a concept!
As I was whizzing through one of the galleries when Eli had temporarily disappeared (it turns out to find a men’s room, which of course is located in the distant basement reached by stairs at the end of the building so it takes forever to get there and back), I snapped these two photos while searching for my disappeared son:
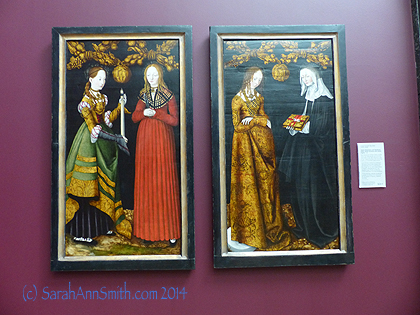
I think this was one of the Cranachs, yep, Cranach the Elder.
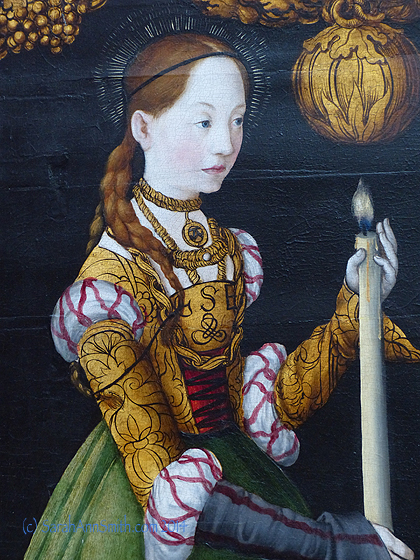
Look at the detail on the textiles! Think quilt designs!
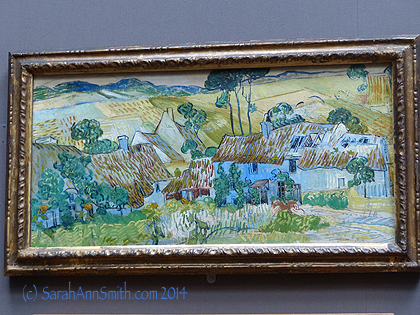
Back in the Impressionist rooms were a couple Van Gogh paintings. Love this humble village.
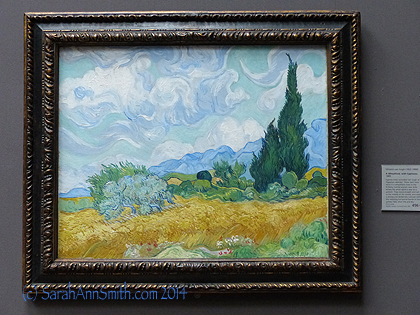
Does this Van Gogh look vaguely familiar? Add a night sky with sworls of gold and you’ve got Starry Night….I LOVE being able to go up close and see the brush strokes. I may need to try to do a sky like that in a landscape quilt.
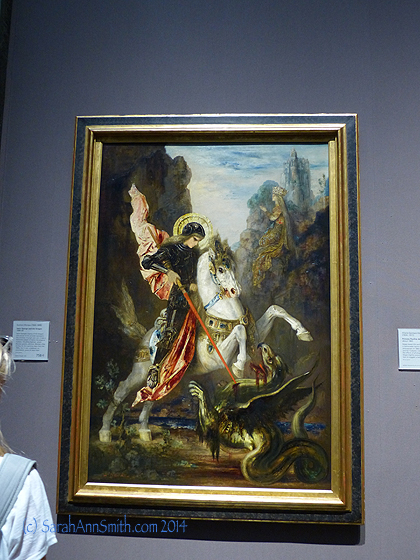
And of course I had to take a picture of St. George slaying the dragon, though I prefer my dragons friendly and alive, thank you veddy much. By Gustave Moreau.
And how can you not LOVE a nation that has a sense of humor. There were some wonderful mosaic floors in the National Gallery (so many people forget to look UP and then look DOWN):
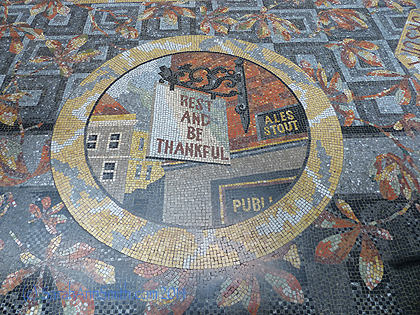
A pub sign that says Rest and be thankful in the mosaic floor.
And my very favorite of the mosaics: MUD PIES!
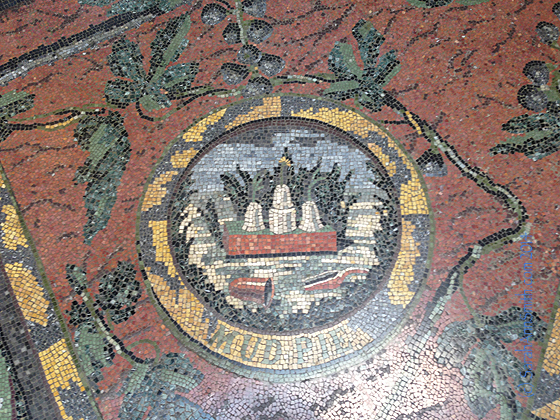
Mud Pies mosaic floor, UK National Gallery, London, England. And I’m sorry this is sideways–Photoshop Elements and whatever are NOT cooperating with letting me turn it right side up. Anyway, ya gotta love a nation that will made a mudpie mosaic!
In the afternoon, we took the train to east of London to Woodbridge, because the next day we were going to the site of the Sutton Hoo burial ships. I shared photos of some of the phenomenal artifacts that are housed in the British Museum earlier, here.
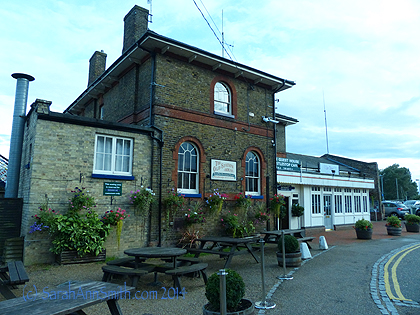
We stayed in a small B&B at the Station House, and our room was literally on top of the train station in Woodbridge, in East Anglia / Sussex.
Our view looked over the train tracks to the river. Apart from a group of 30 or so inebriated 20 somethings heading to the last train at about 10 pm, it was lovely!
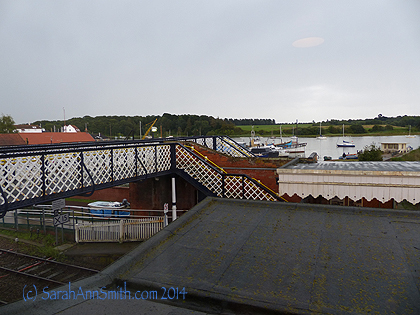
The view from our room to the river, across the tracks.
There is beauty everywhere:
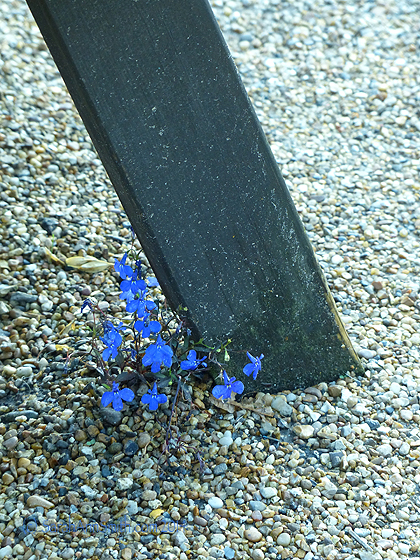
Flowers popping up by the picnic table
We wandered about the small town, which Eli and I decided was about the same size as Belfast, Maine, just north of us. Eli found a shirt and pullover jacket for school! And I spotted this pillow in the window of a shop–so want to pull out my paints and play and sketch!
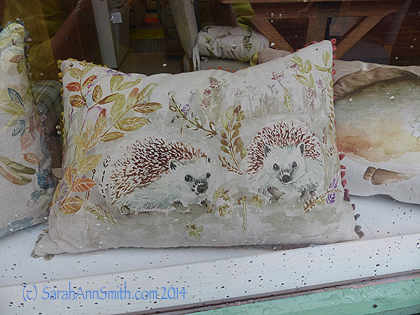
Don’t you just love hedgehogs? If you do, you’ll like what we did a week later. Stay tuned!
And we had the most scrumptious dinner–one of the best I’ve ever had. I think it was called the Table restaurant.

Dinner–Eli had salmon, I had massuman (?) curry. SLURP. I was well behaved and did NOT lick the plate.
And since dinner was so good, we had dessert.
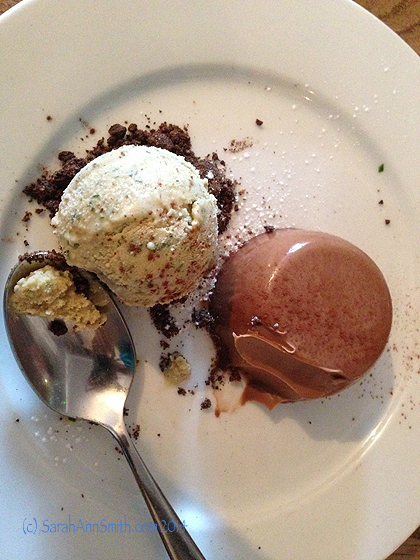
Chocolate mocha creme anglaise with fresh mint (homemade) ice cream, with crushed chocolate cookie bits. At least I thought to snap a picture after just the first bite. Because it went as slowly as I could manage, which wasn’t too slow at all. SLURP.

As you can see, I continued to exercise Herculean restraint in not licking the plate, but managed quite well with my spoon.
Next trip when I get to London, I shall schedule some alone time so I can dawdle to my heart’s content in the art galleries, but it was a wonderful day. I got to see the painting I most wanted to see again (Jane Gray) as well as more. And finish with a top notch supper in a very pleasant small town.