Janome never ceases to amaze me with the quality of its machines. The Janome Skyline S7 is a more modestly priced machine than what I have used for the past decade, but it has features straight from the top of the line 15000 (click on the link to open a new tab to Janome’s page with all the features). If your budget or preferences don’t run to expensive machines, this machine may have all the versatility and dependability that you need with the right sticker price. I am, quite bluntly, surprised and pleased at the wide array of features and outstanding performance of the S7.
Here’s the nice photo of the S7 from Janome’s site (NOTE: photos are mostly clickable to view larger):
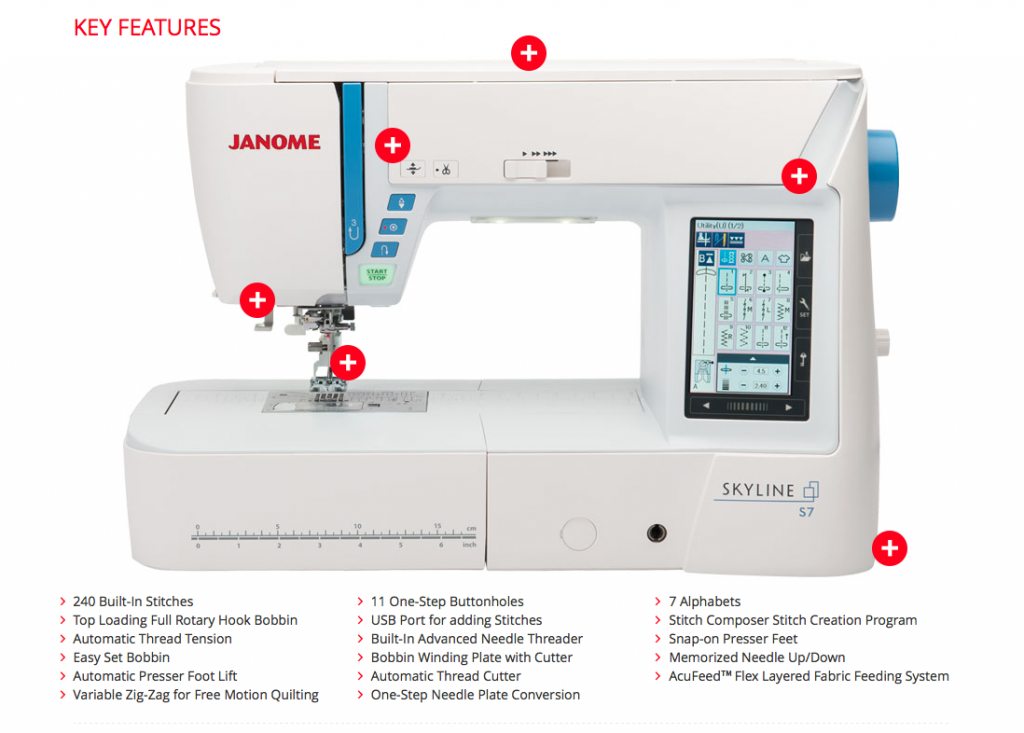
A screen capture from the Janome America website. To link to the site, go S7 and scroll down.

Also from the Janome site, the included parts. Pretty much everything you need for routine sewing.
And much less fancy shot of the S7 in my studio:
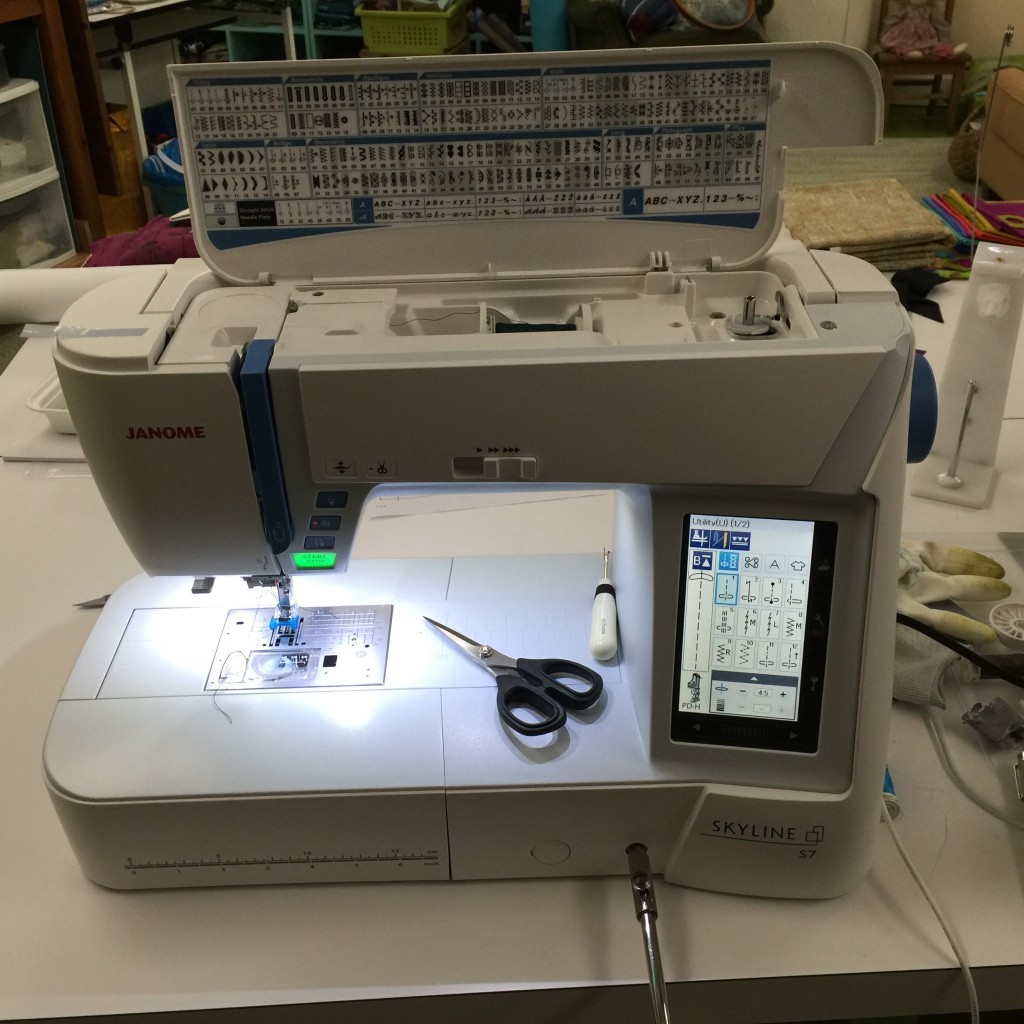
The Janome Skyline S7 in my studio. Notice the wonderful knee-lift in place!
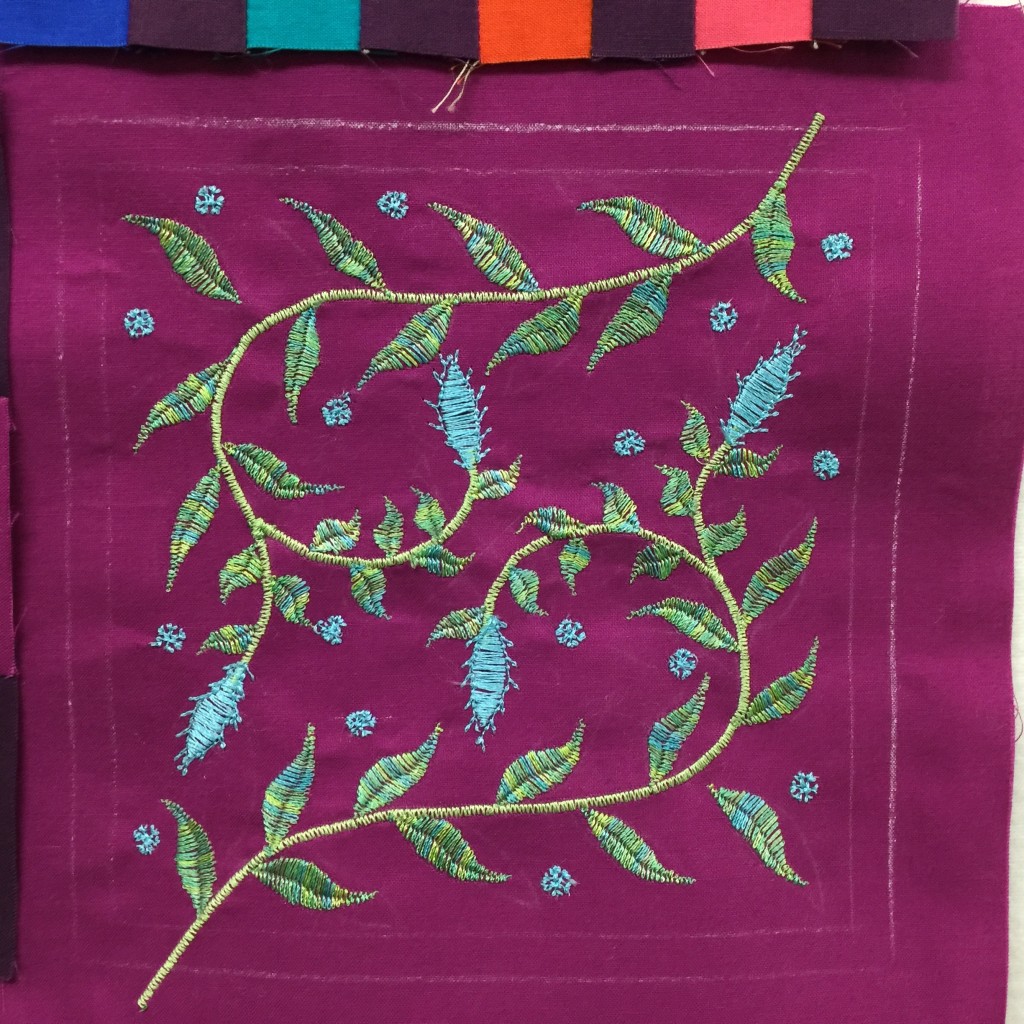
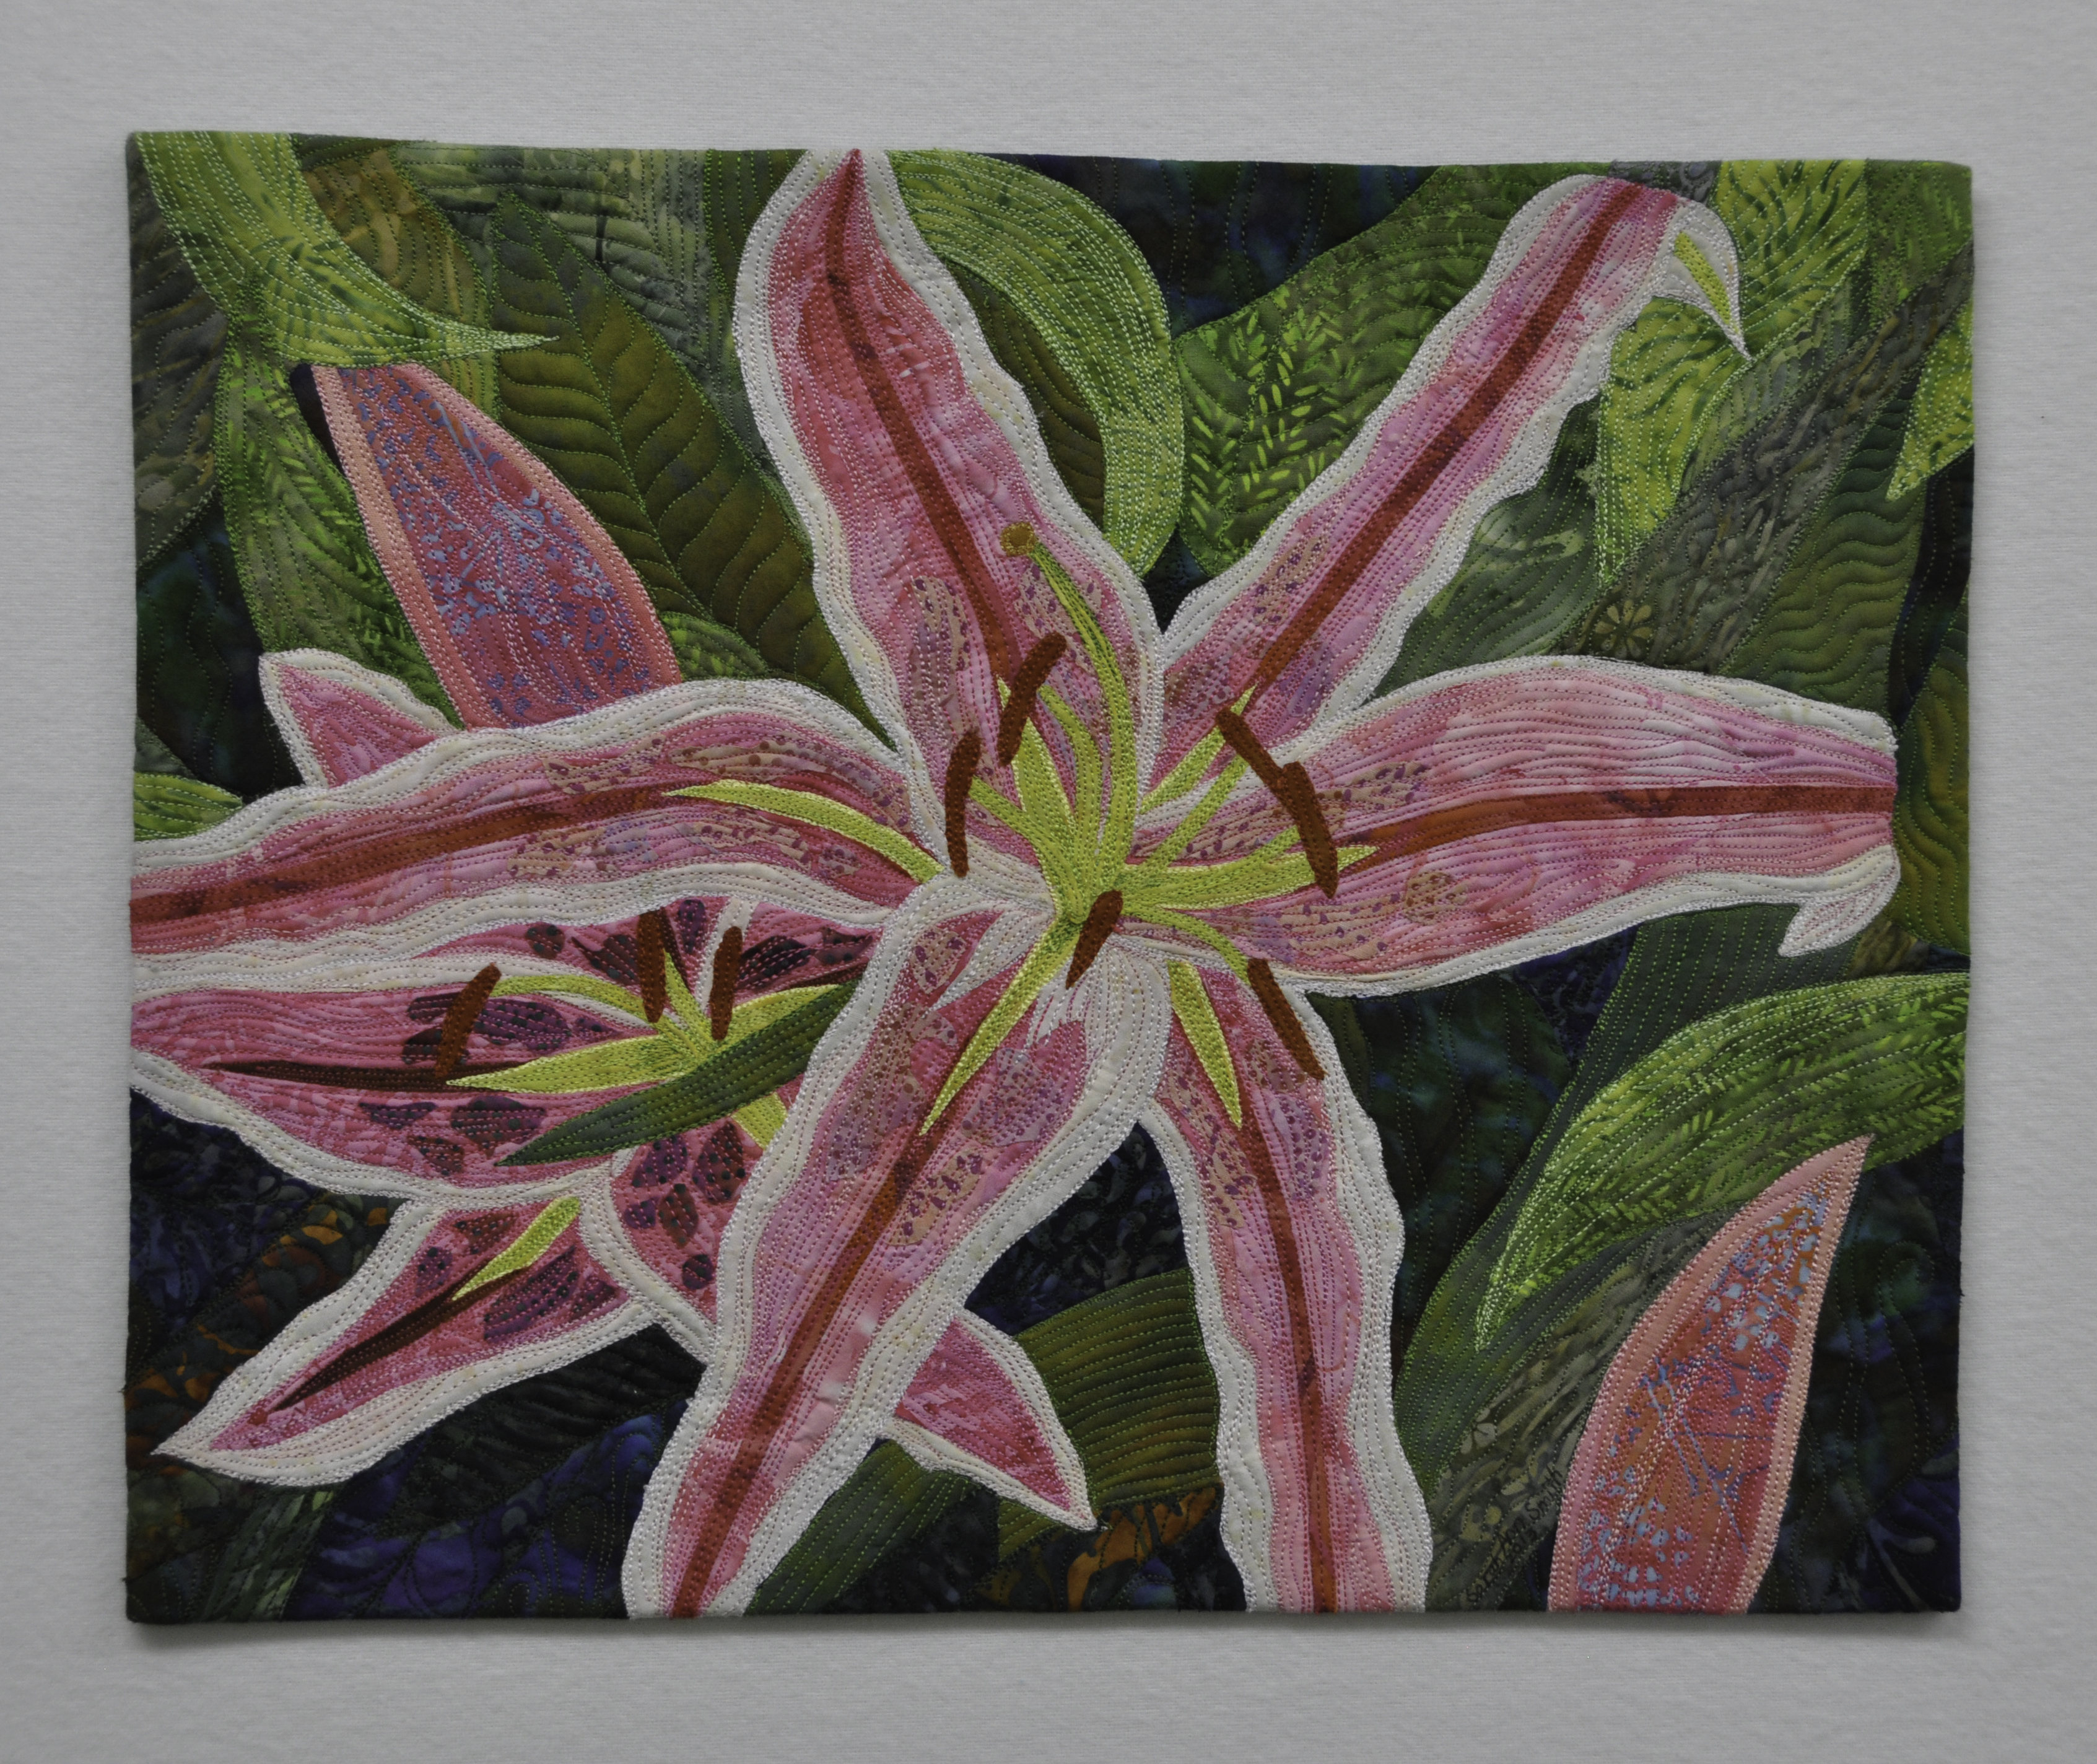
I prepared a variety of projects to work on during my brief loan period for the Skyline S7, which Janome introduced/debuted at Janome Institute late this August and is now arriving at Janome dealers. I had piecing for quilting, mending and repairs, sewing a new top, free-motion quilting, and decorative stitching. The machine handled every task like a champ. Here’s a teaser…keep reading to find out more about this block:
For free instructions on how to use the built-in stitches to create this block, see below. This block will work with Janome’s ongoing 100 blocks in 50 days project; read more about the 100-Blocks Janome 100 Blocks.
Now…back to the regular review (I just wanted to tuck the pretty block up top!)

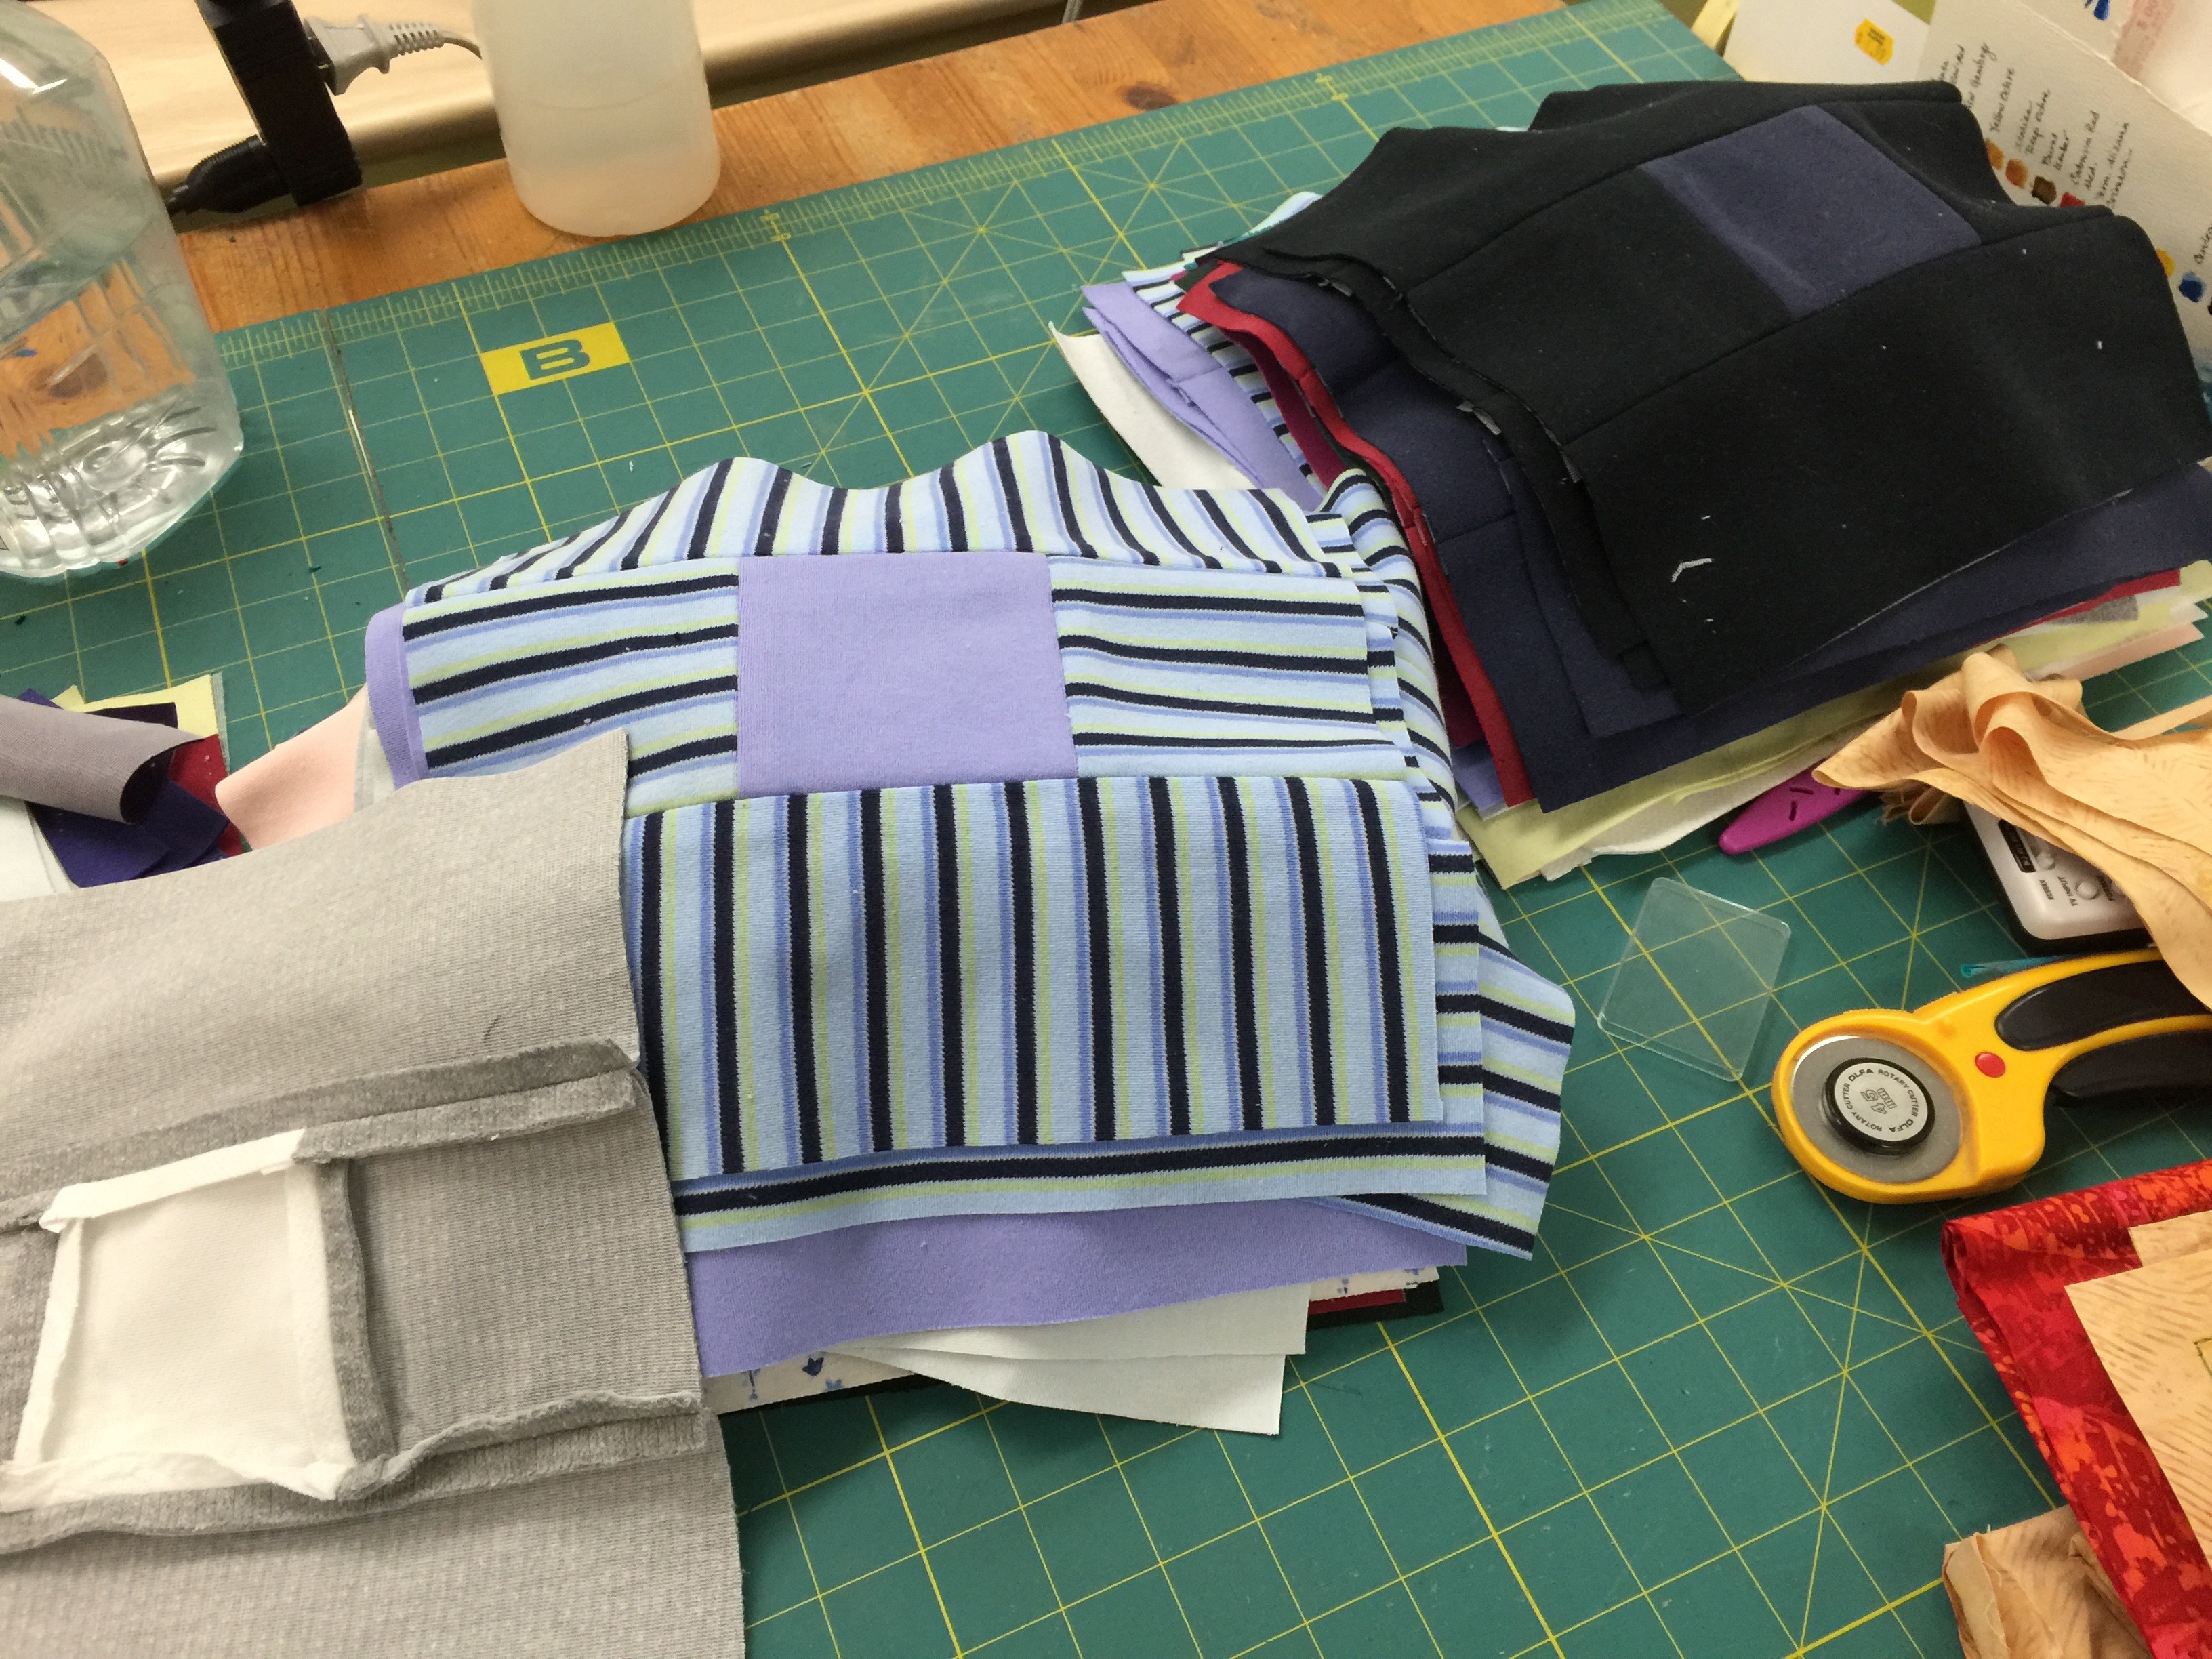
I’ve been piecing some blocks (who me?): made of turtleneck shirts. Eek! I had to stabilize all of them with interfacing (gray one in lower left corner). As expected, the machine breezed through without nary a burp. Because of the thickness of the fabric, I did find using a leader/ender so the stretchy fabric didn’t get pushed into the opening was a good thing. Of course, I could have (and should have) used the straight stitch plate instead!
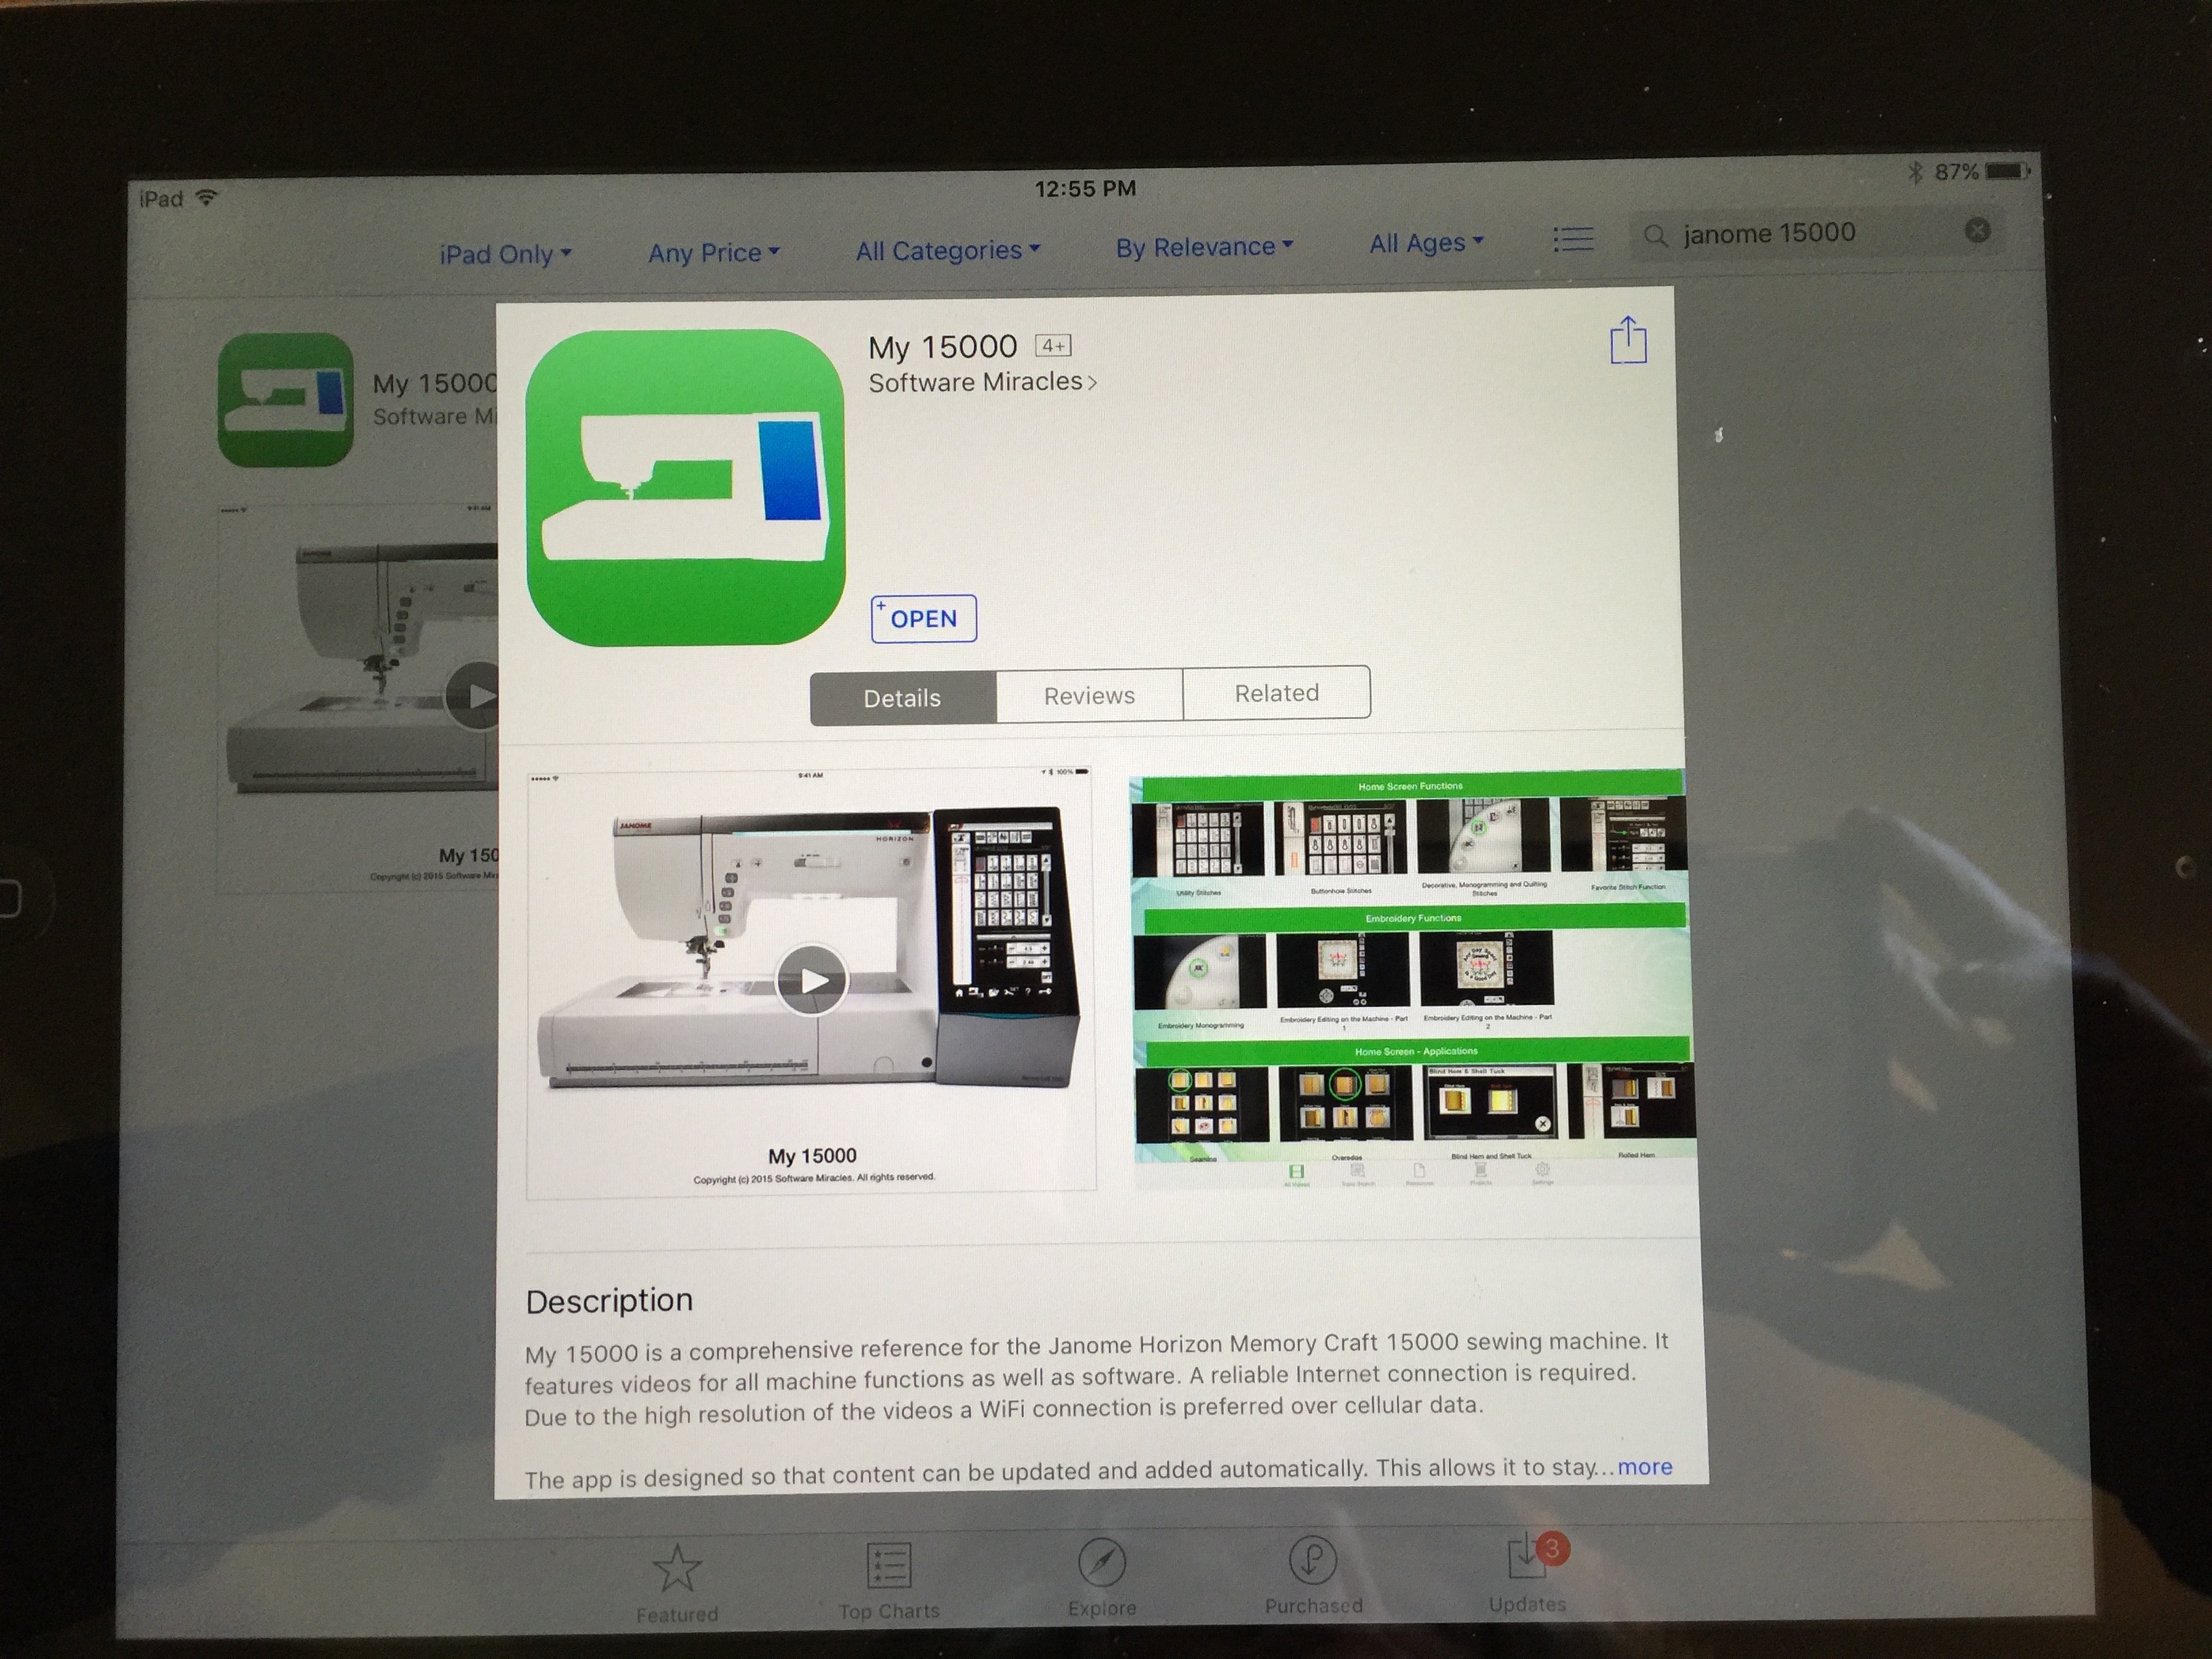
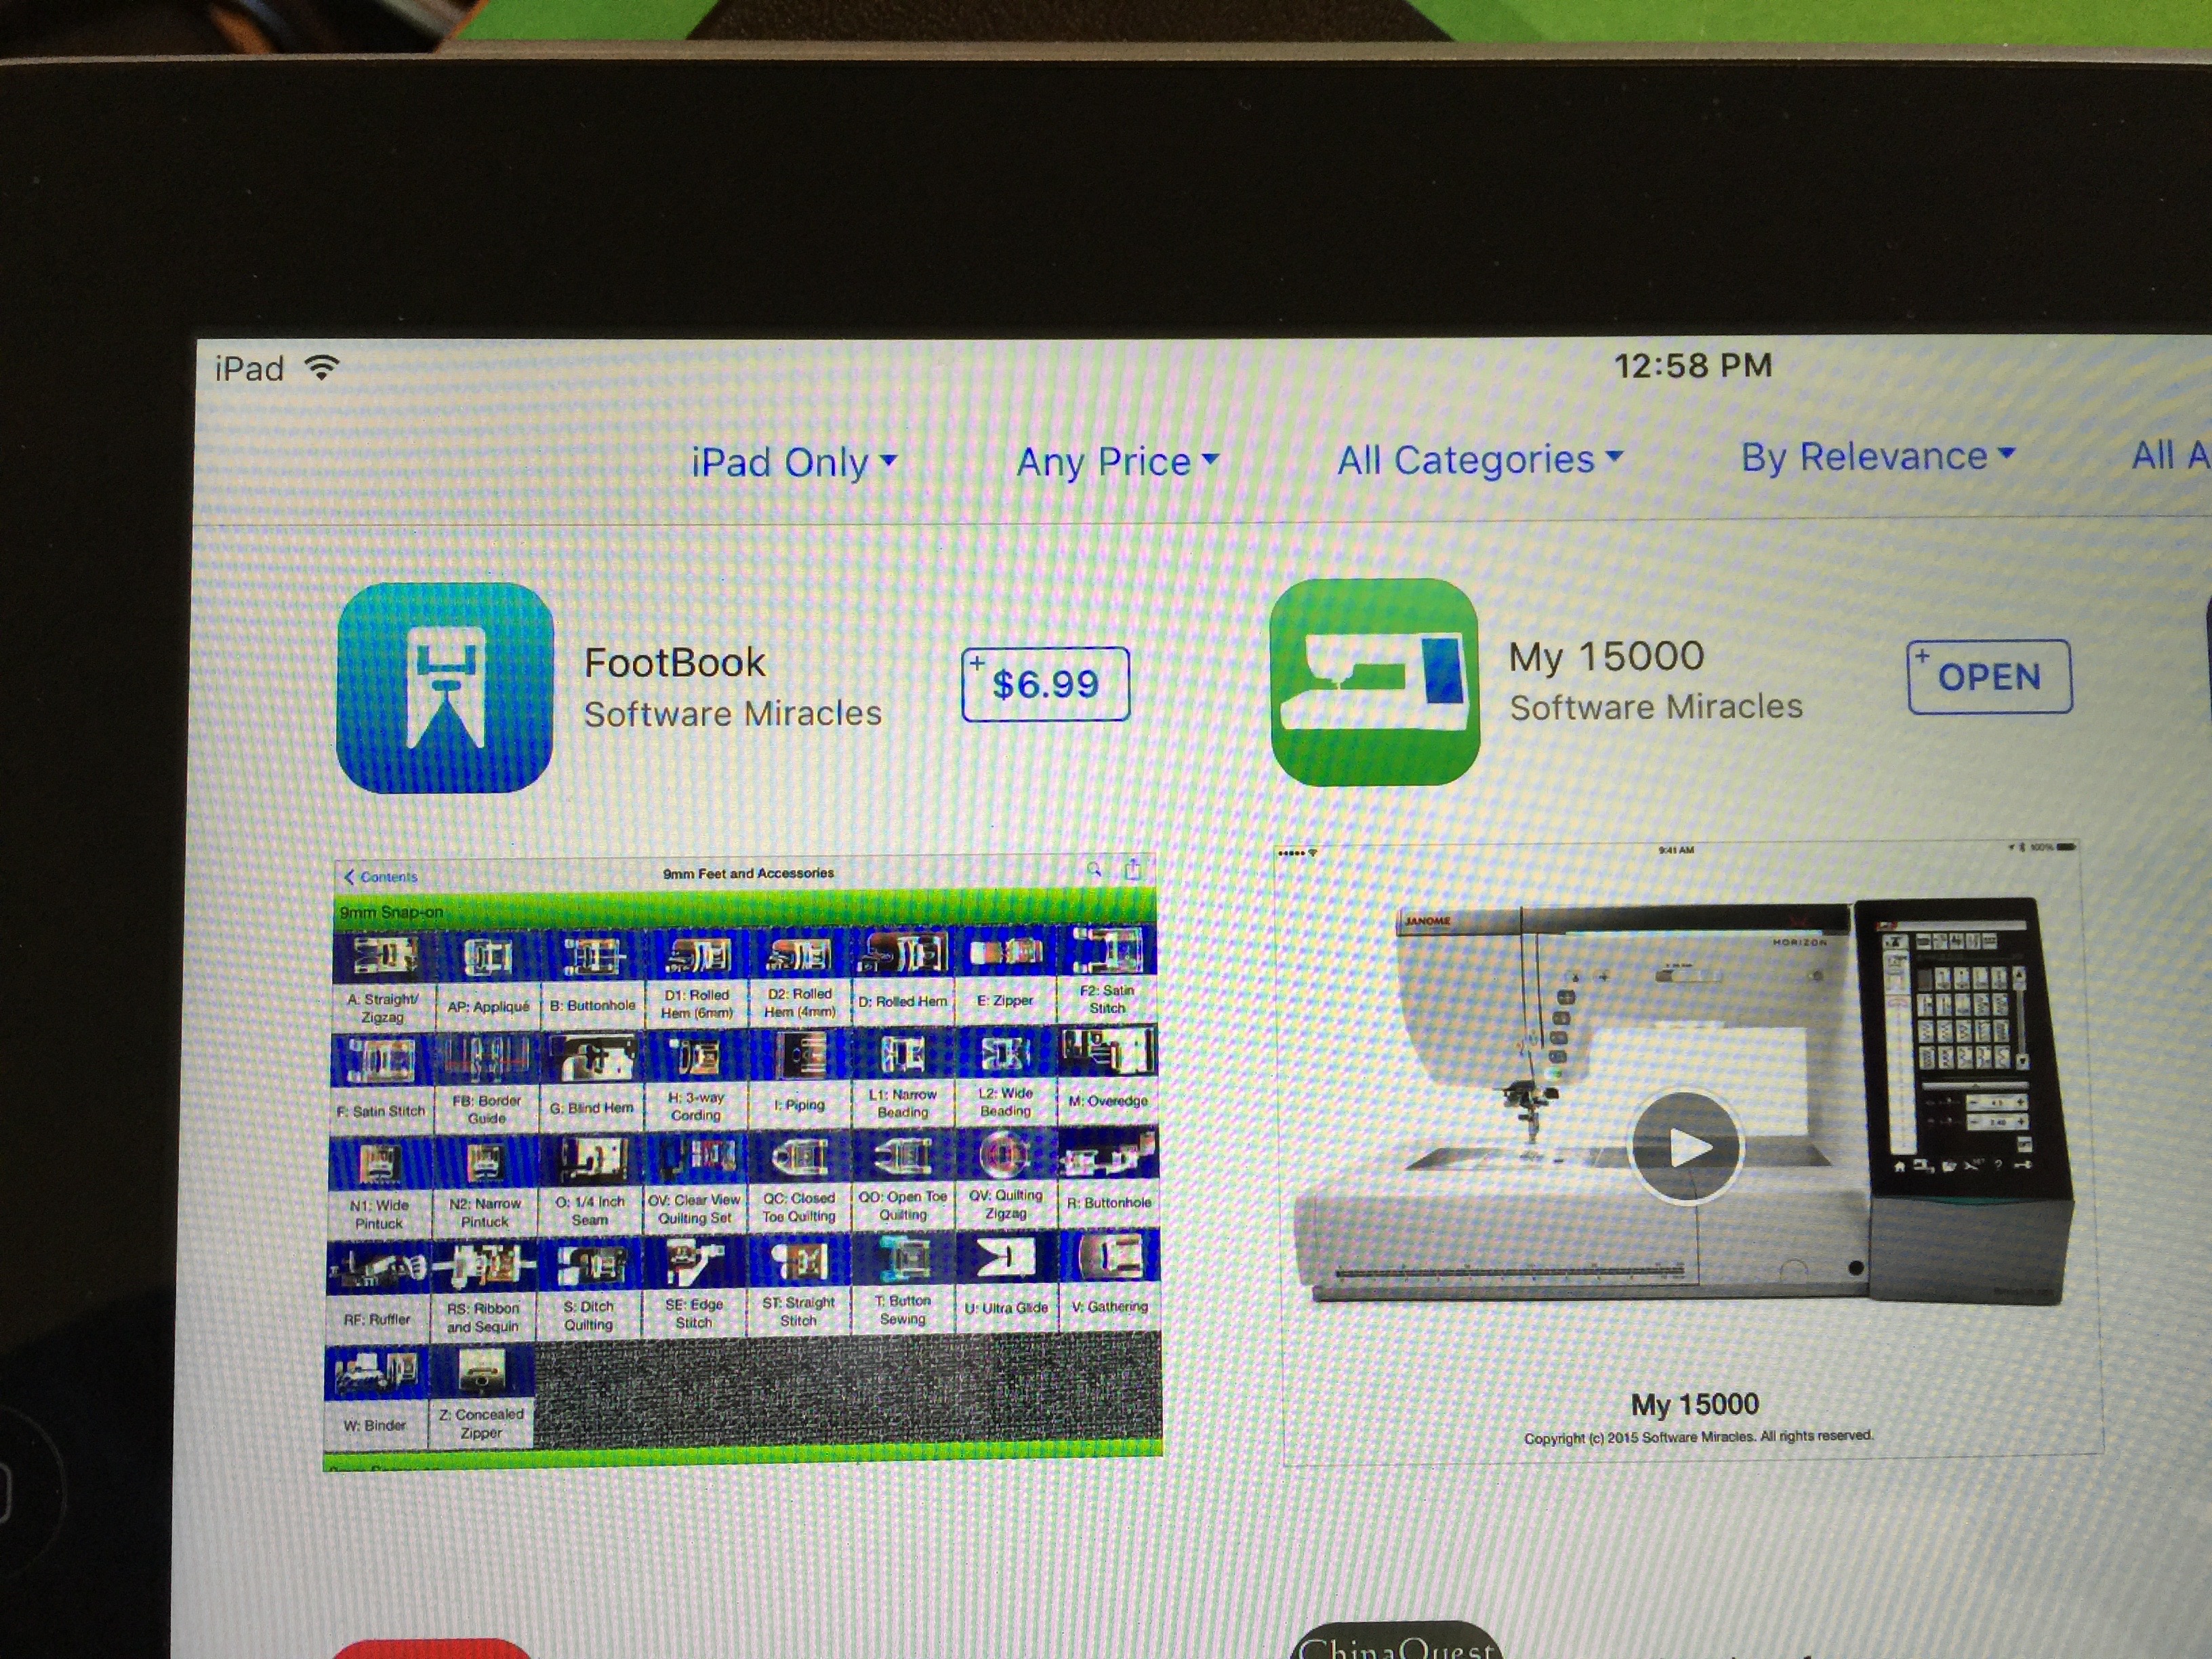
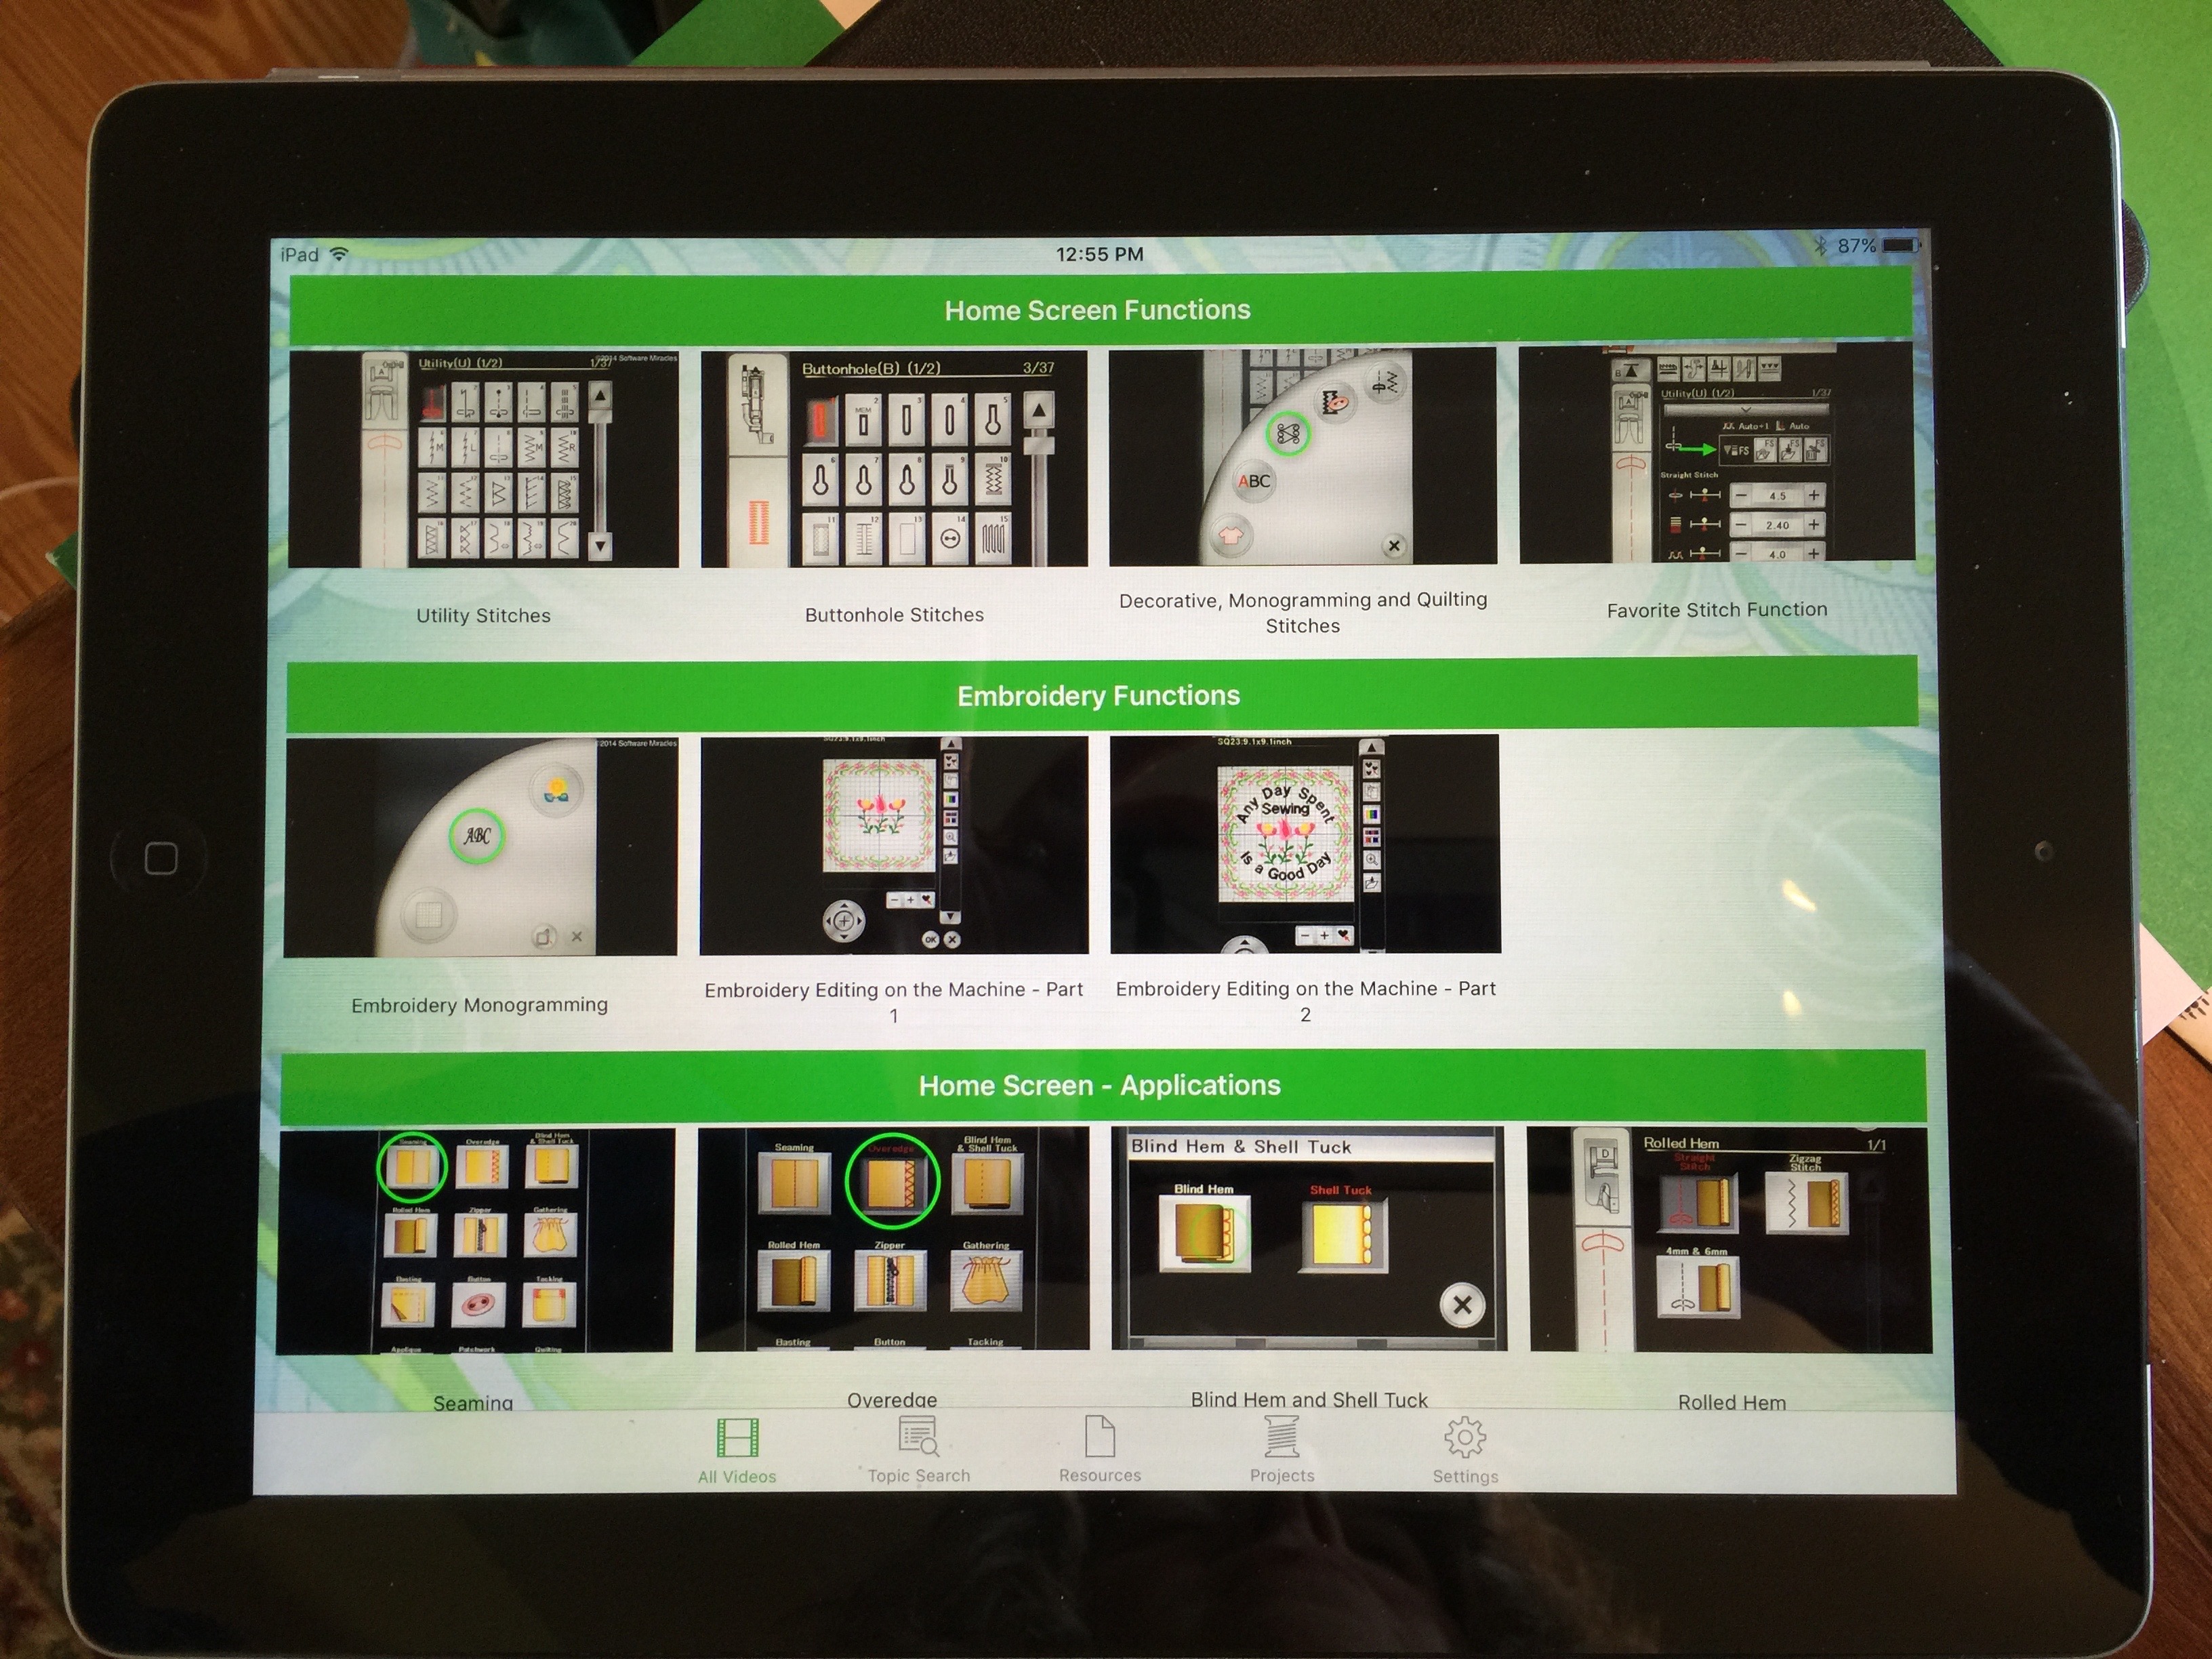
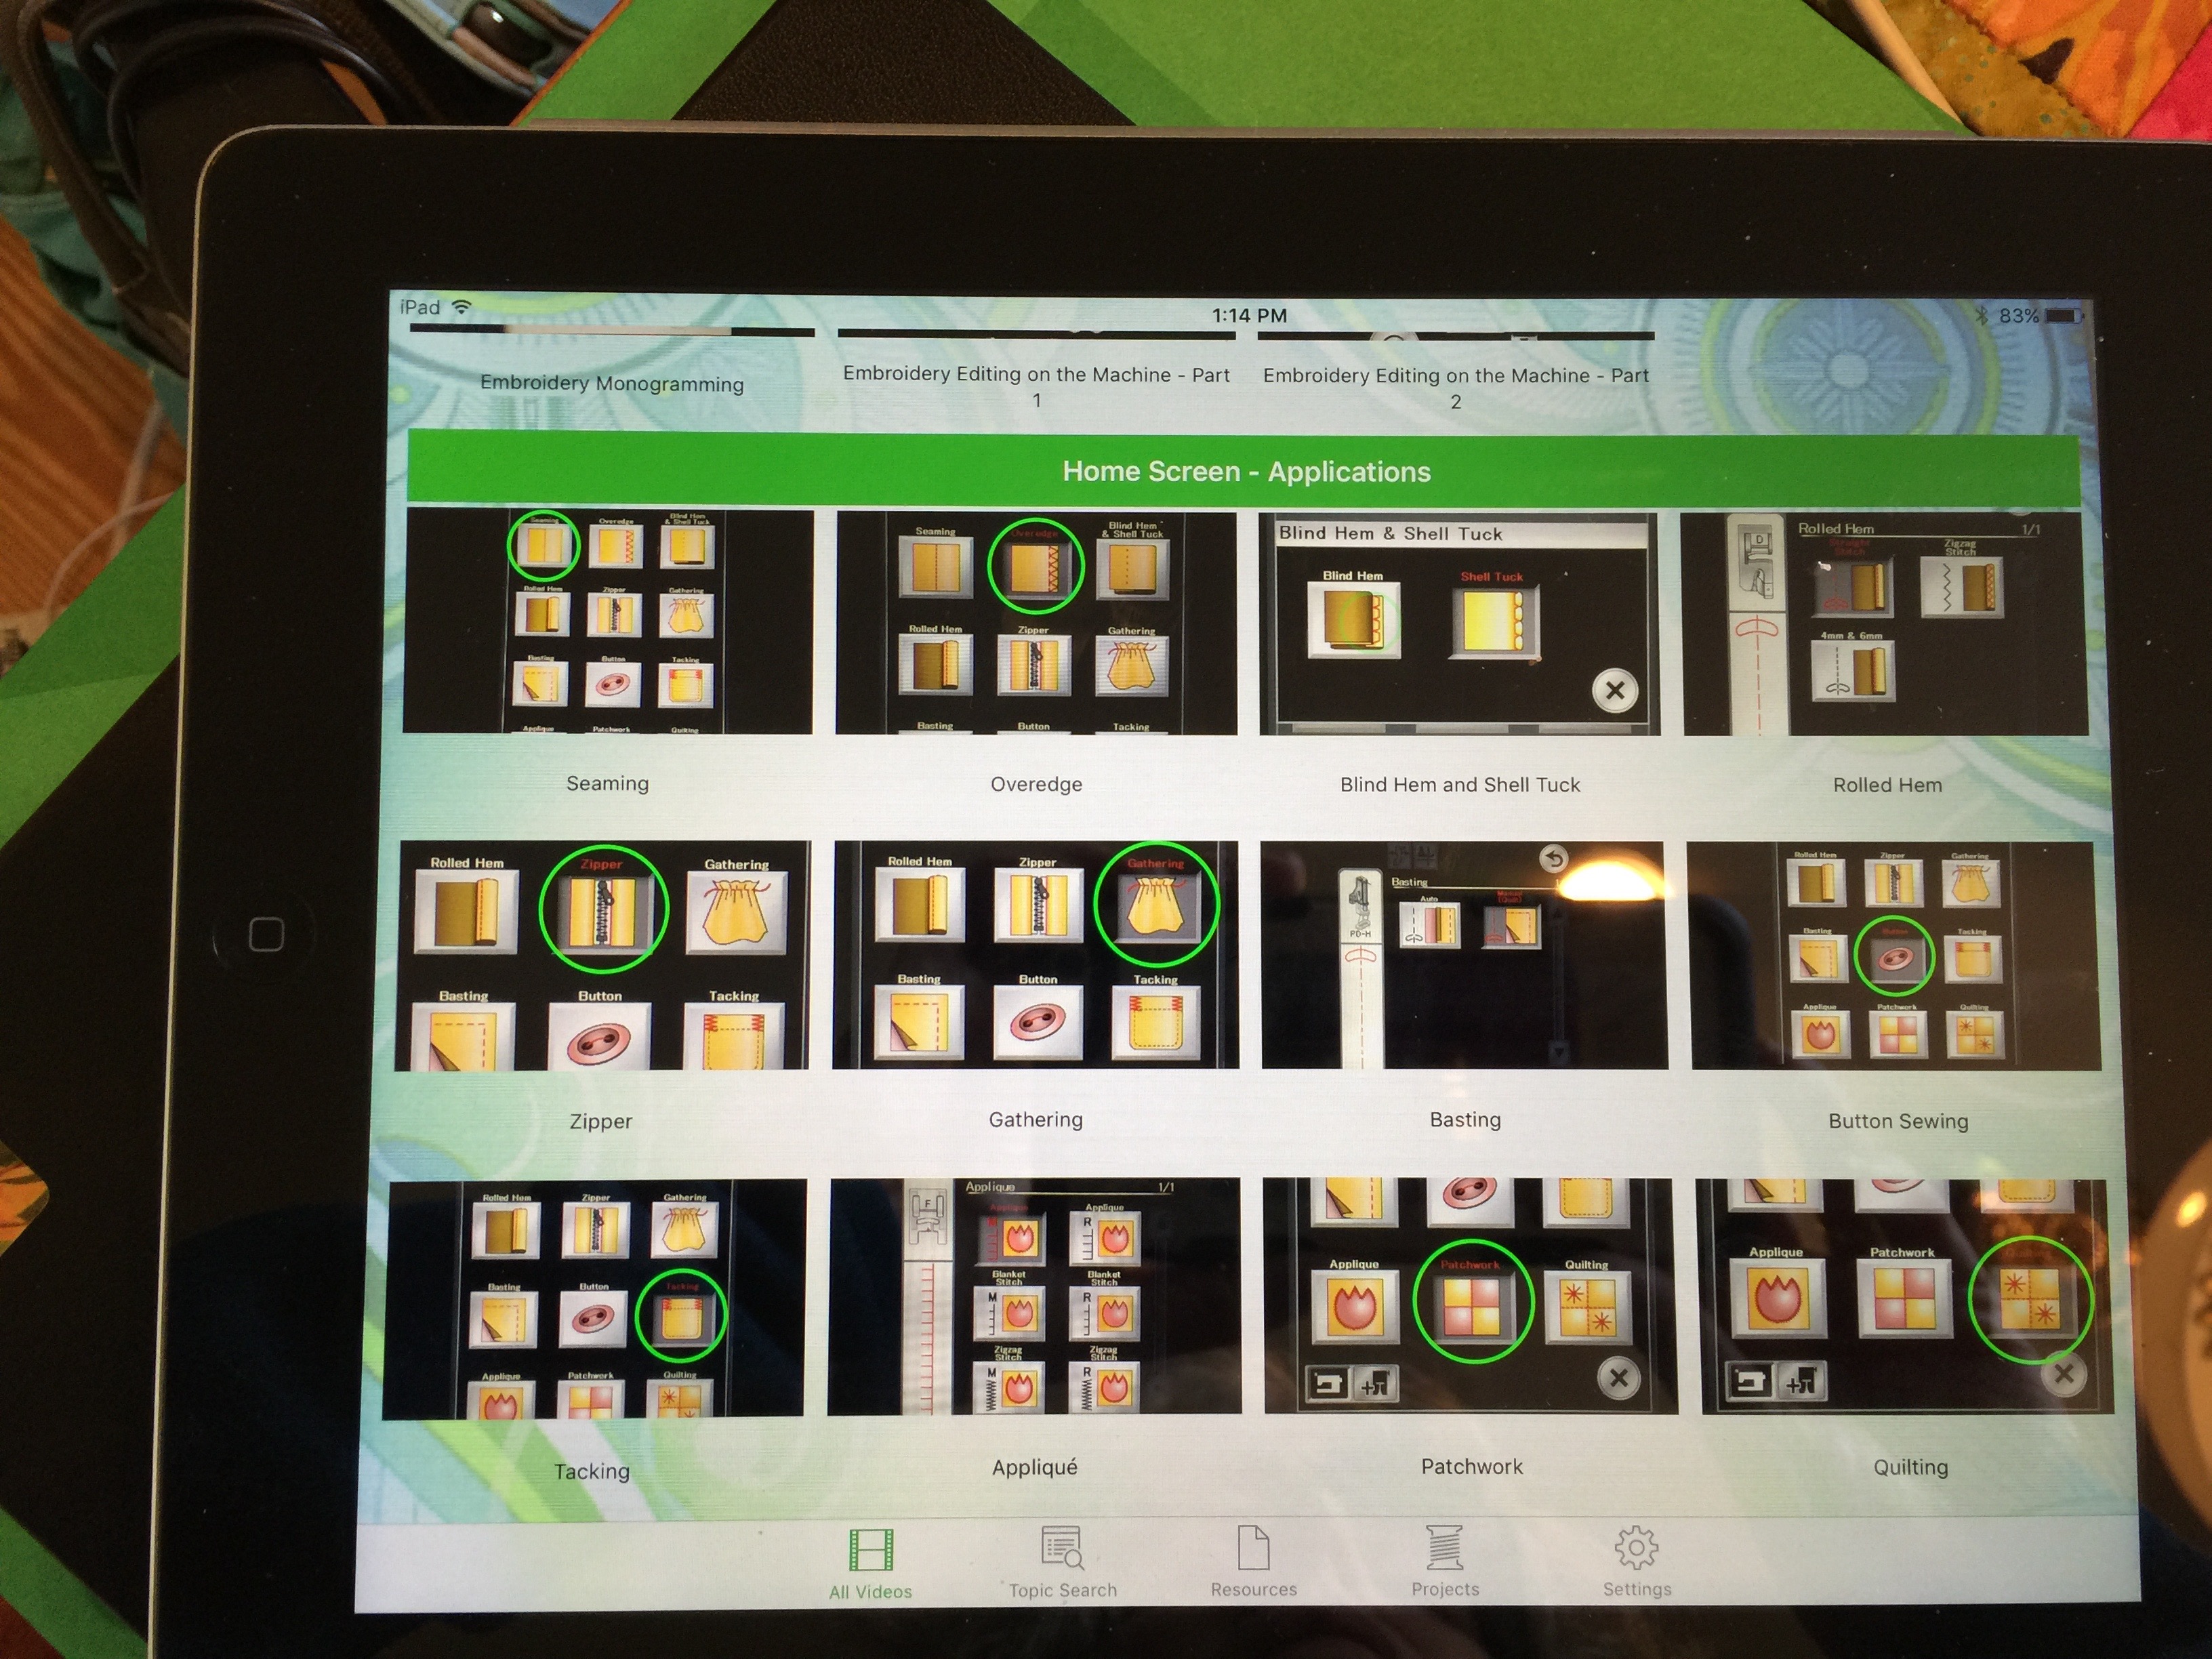
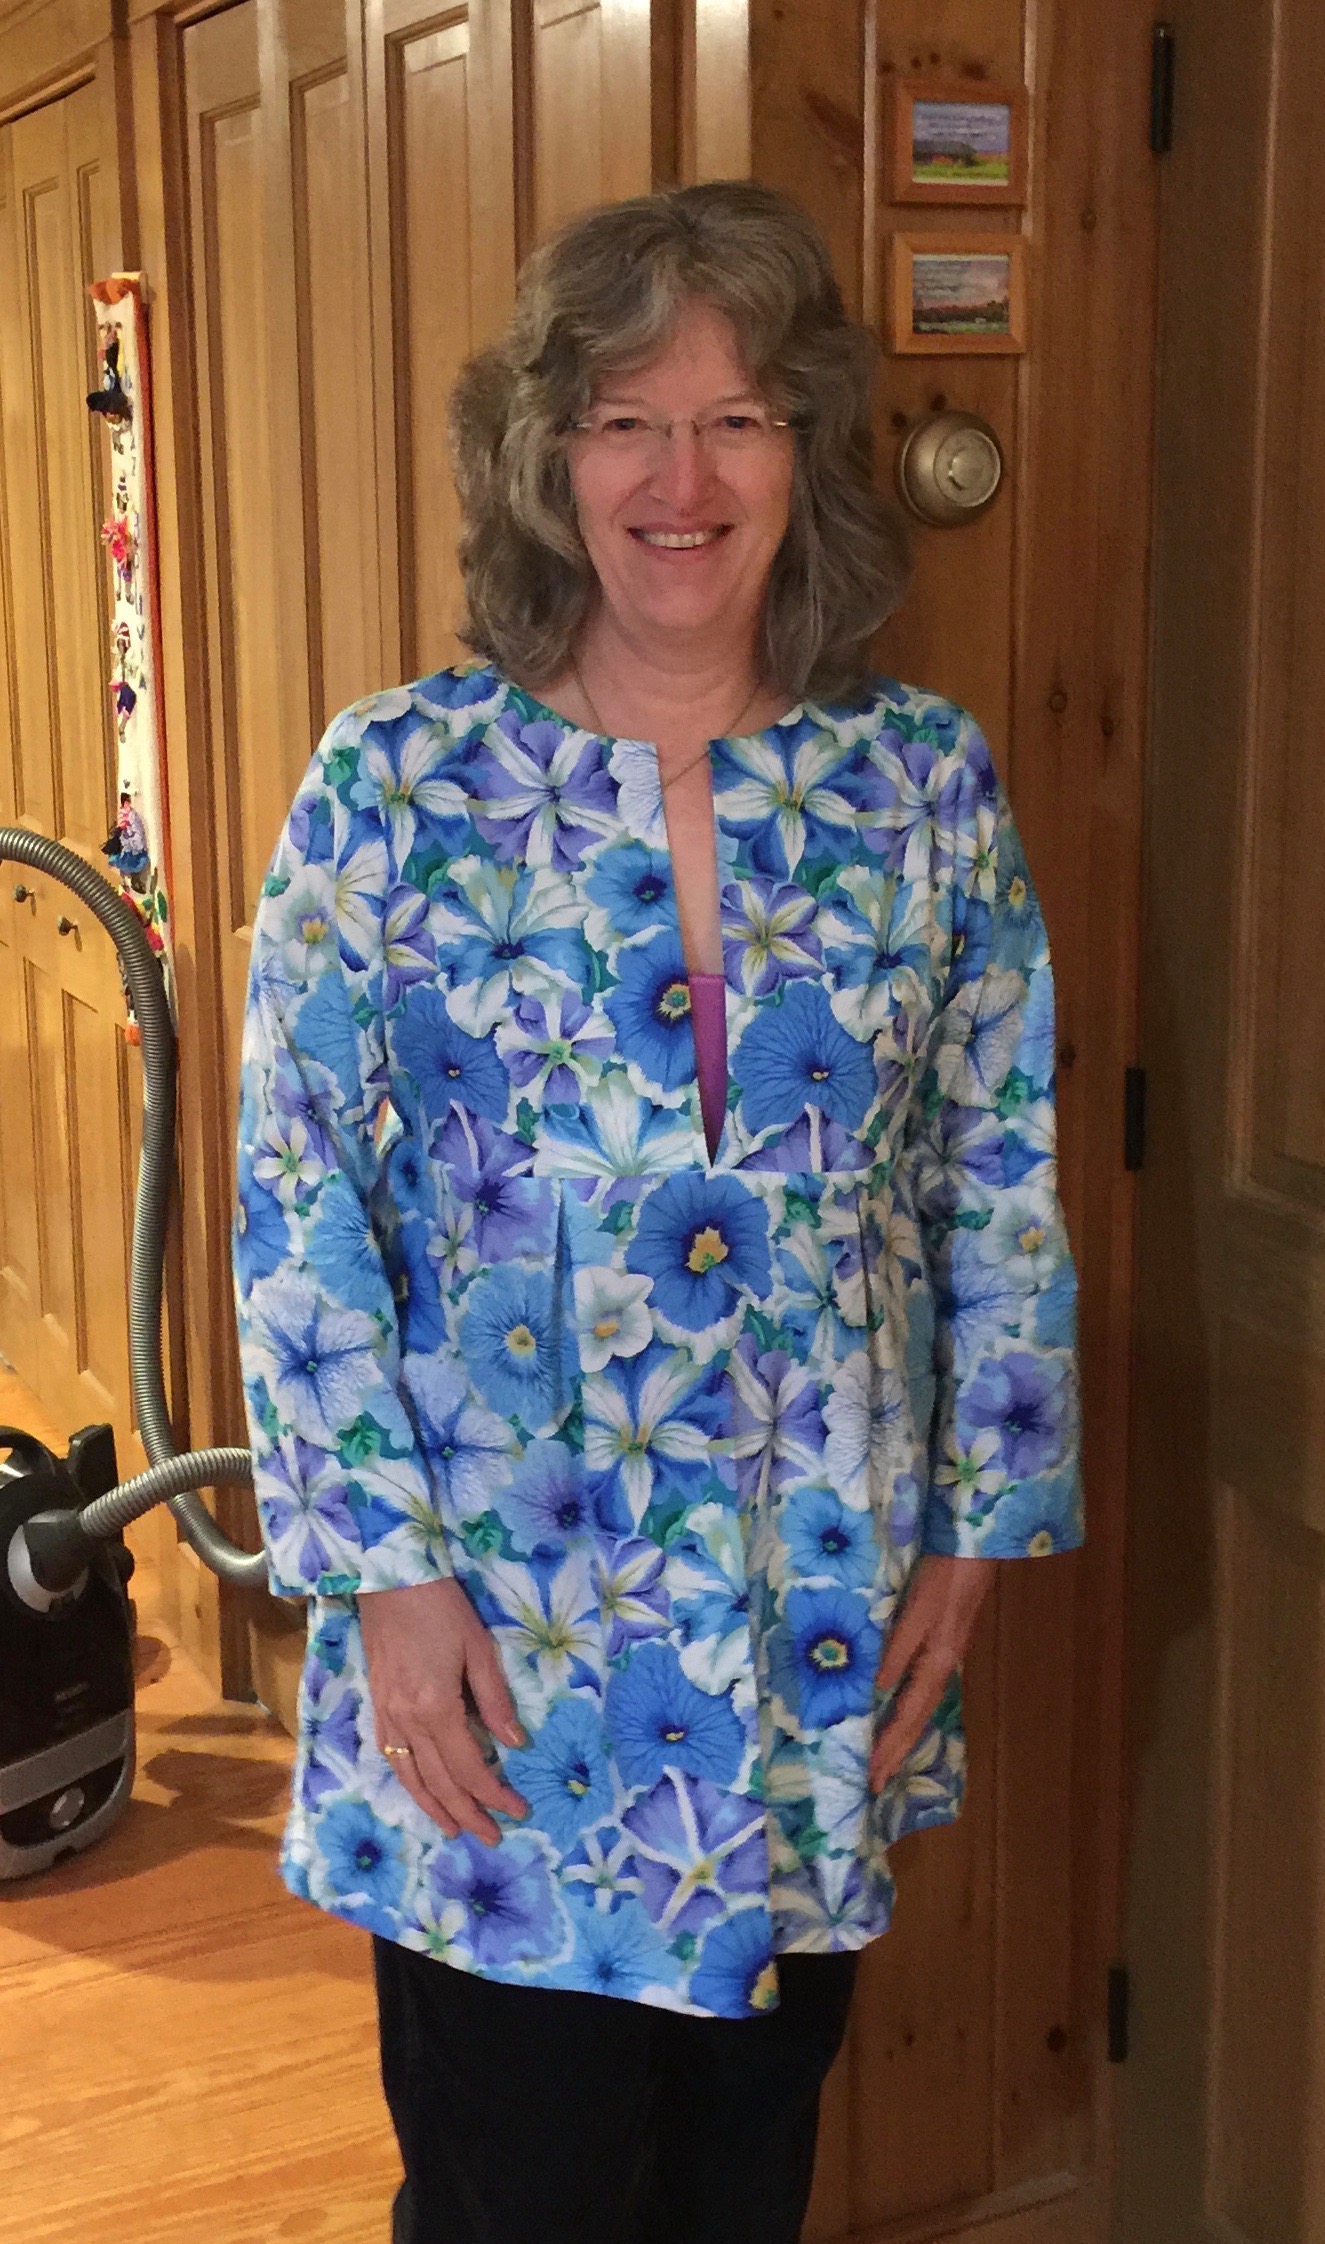
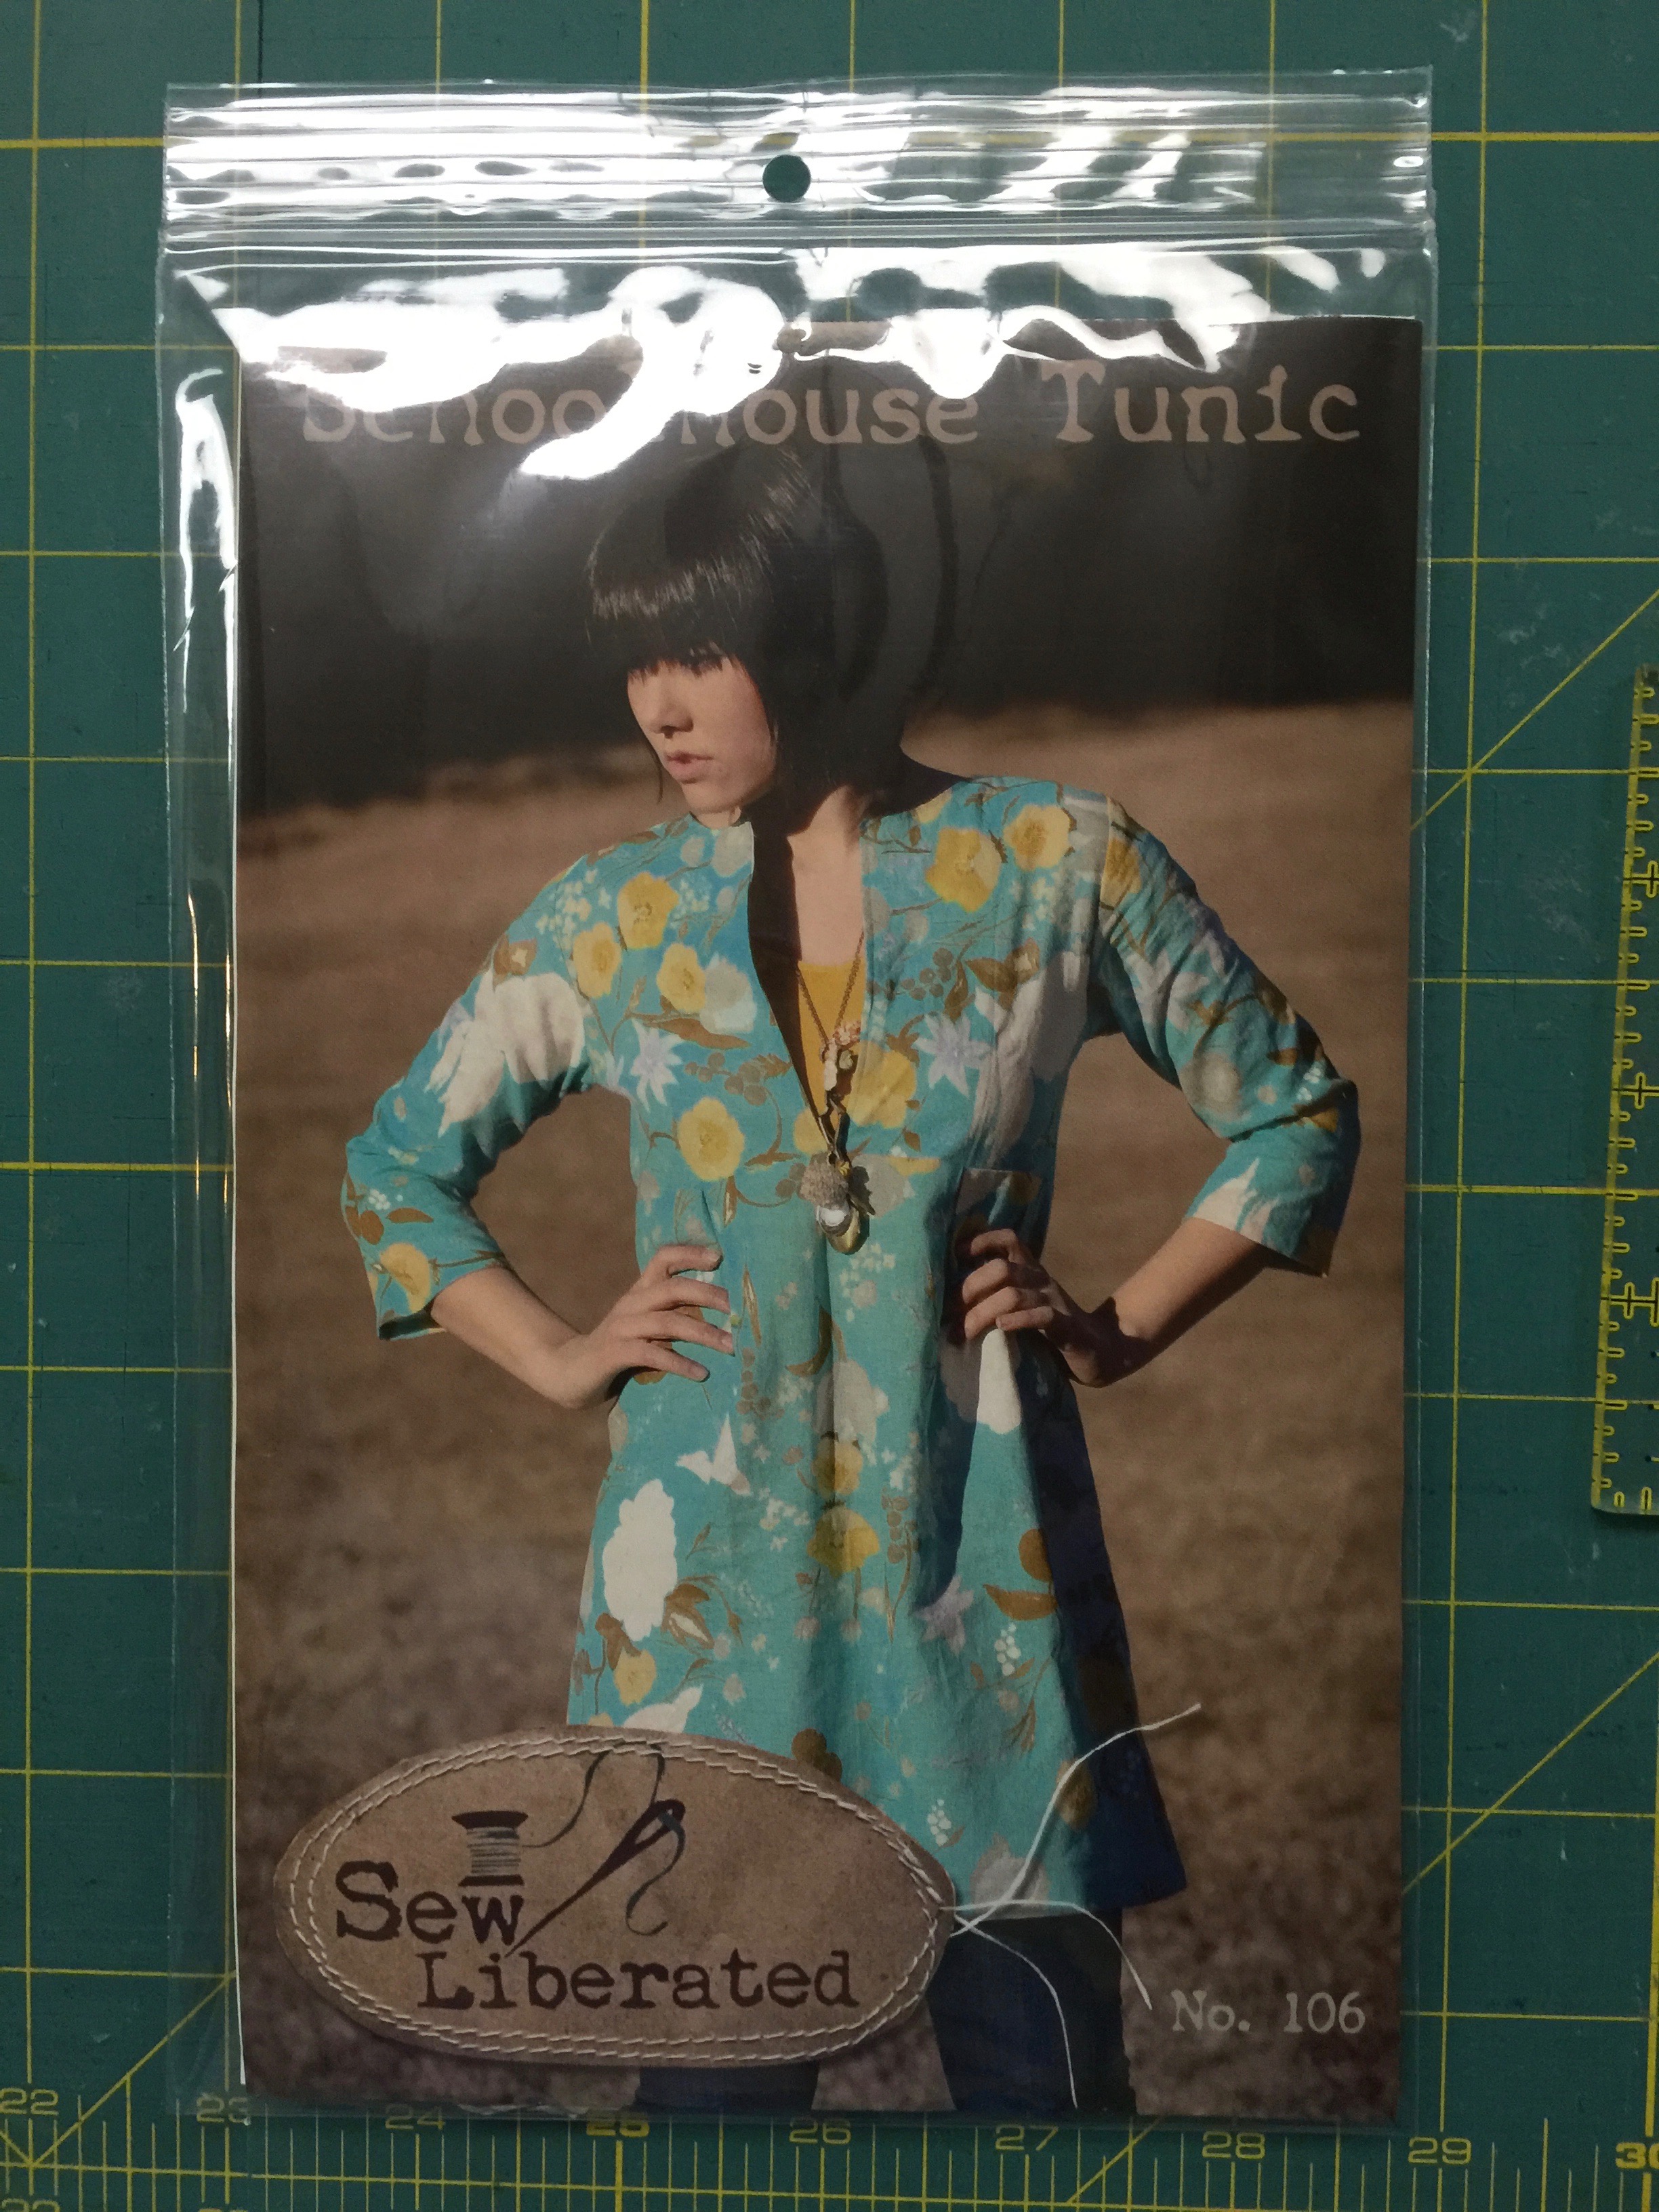
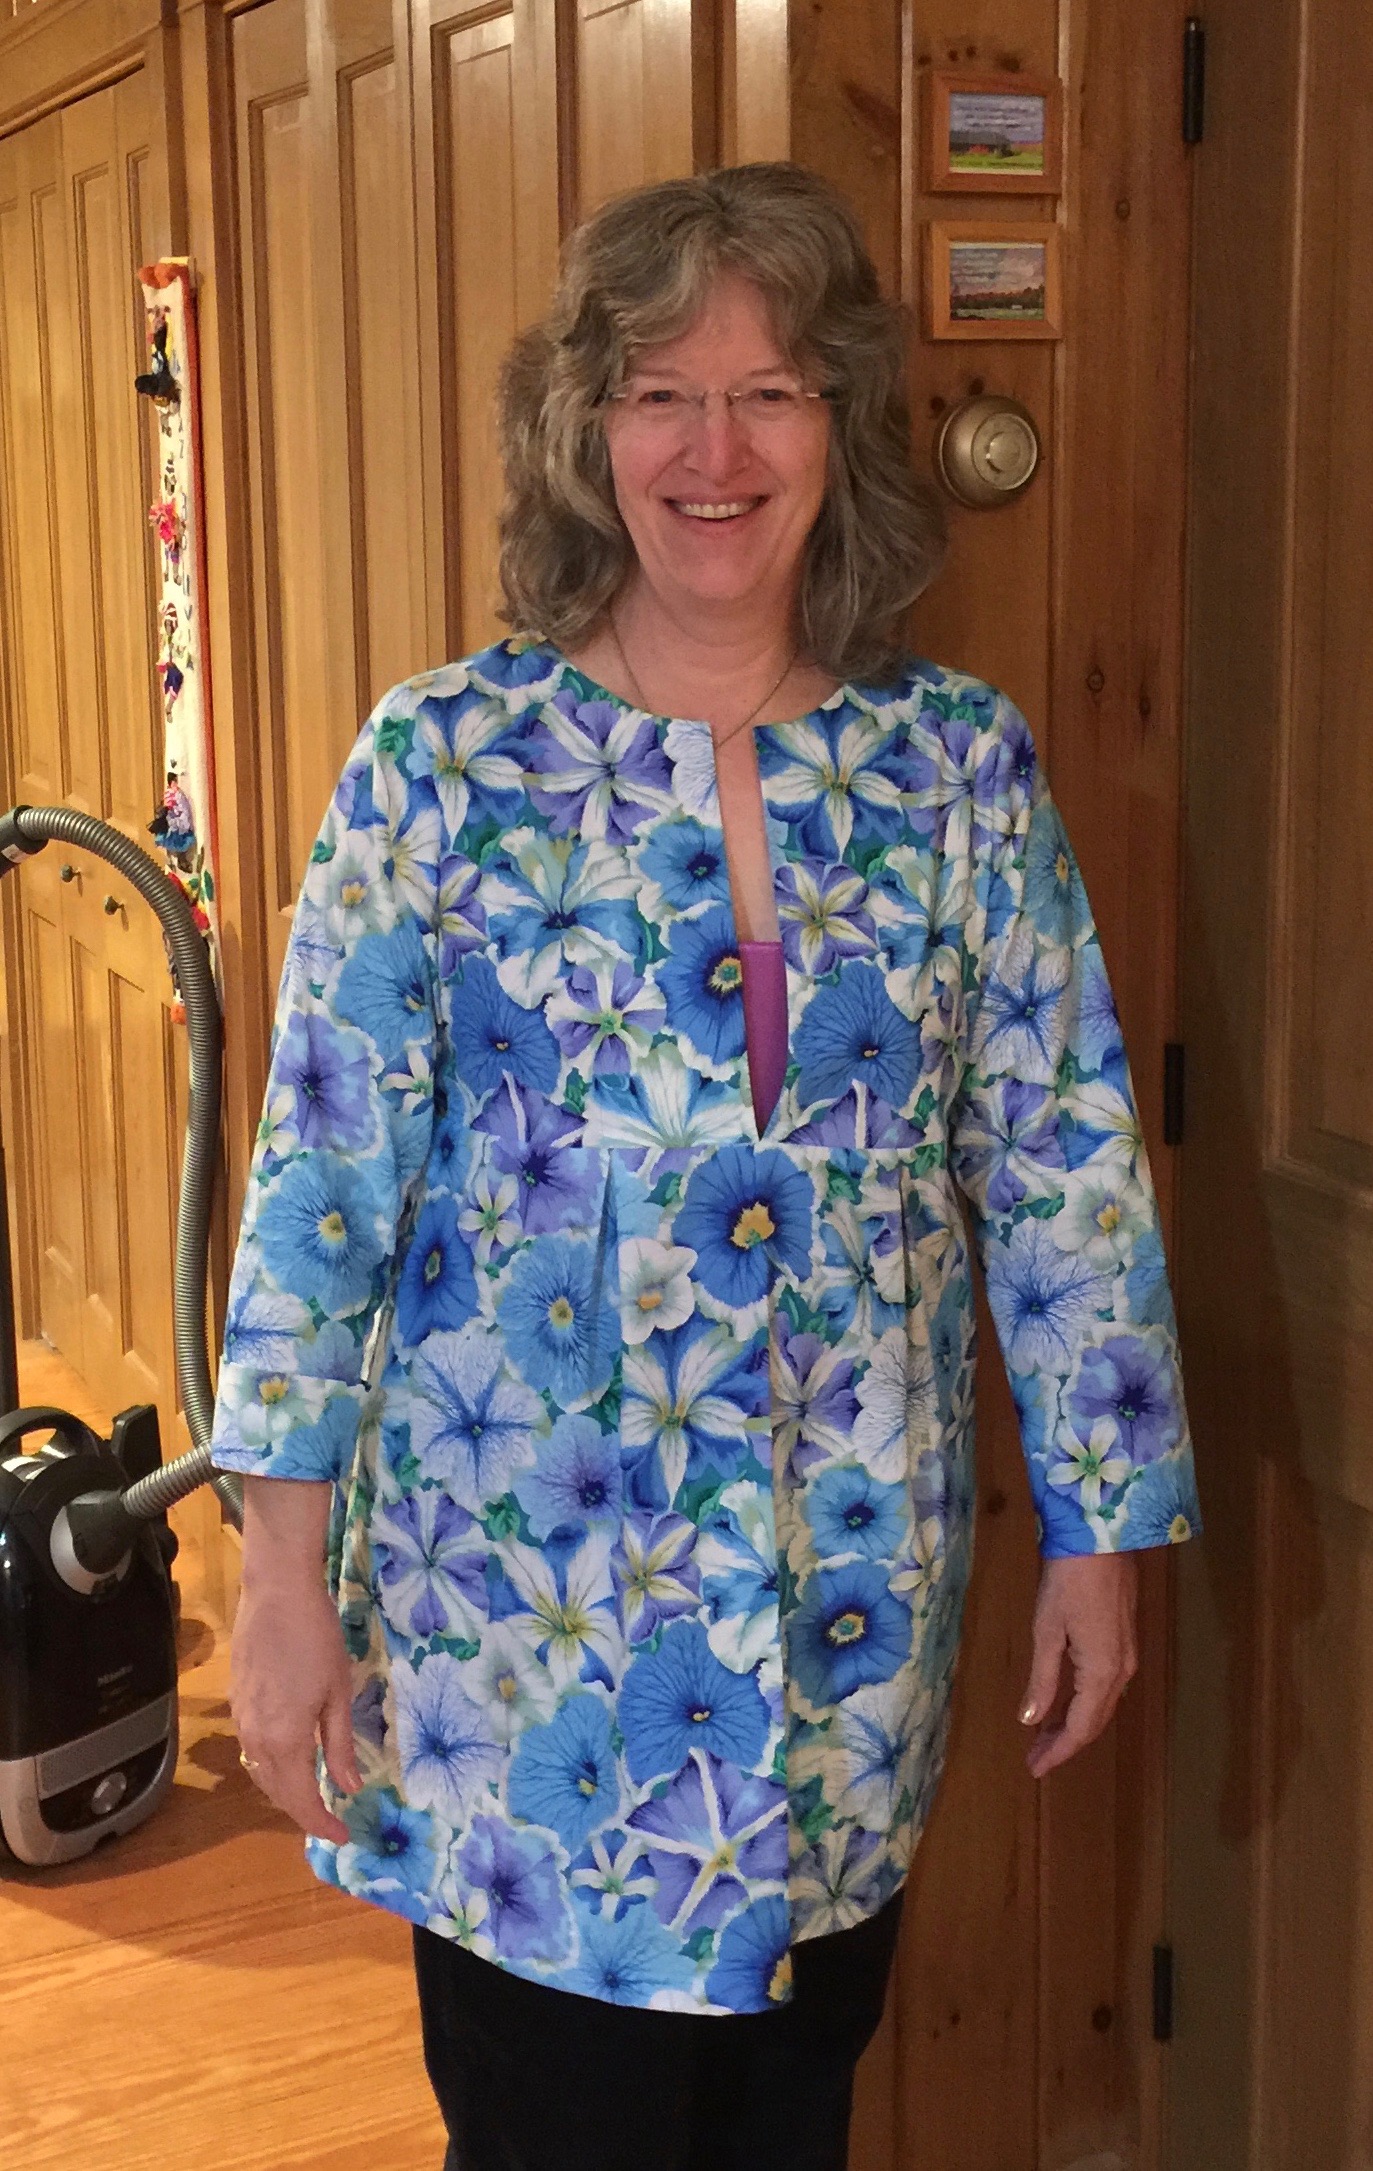
I had a tunic top cut out to make on this machine (see blogpost here or just scroll down two posts–and take a look at the review of the Janome15000 App while on your way). I like a nice, clean finish. So I used French seams (center vertical), overcast (using one of the utility stitches), and a bias edge as you can see in the next photo.
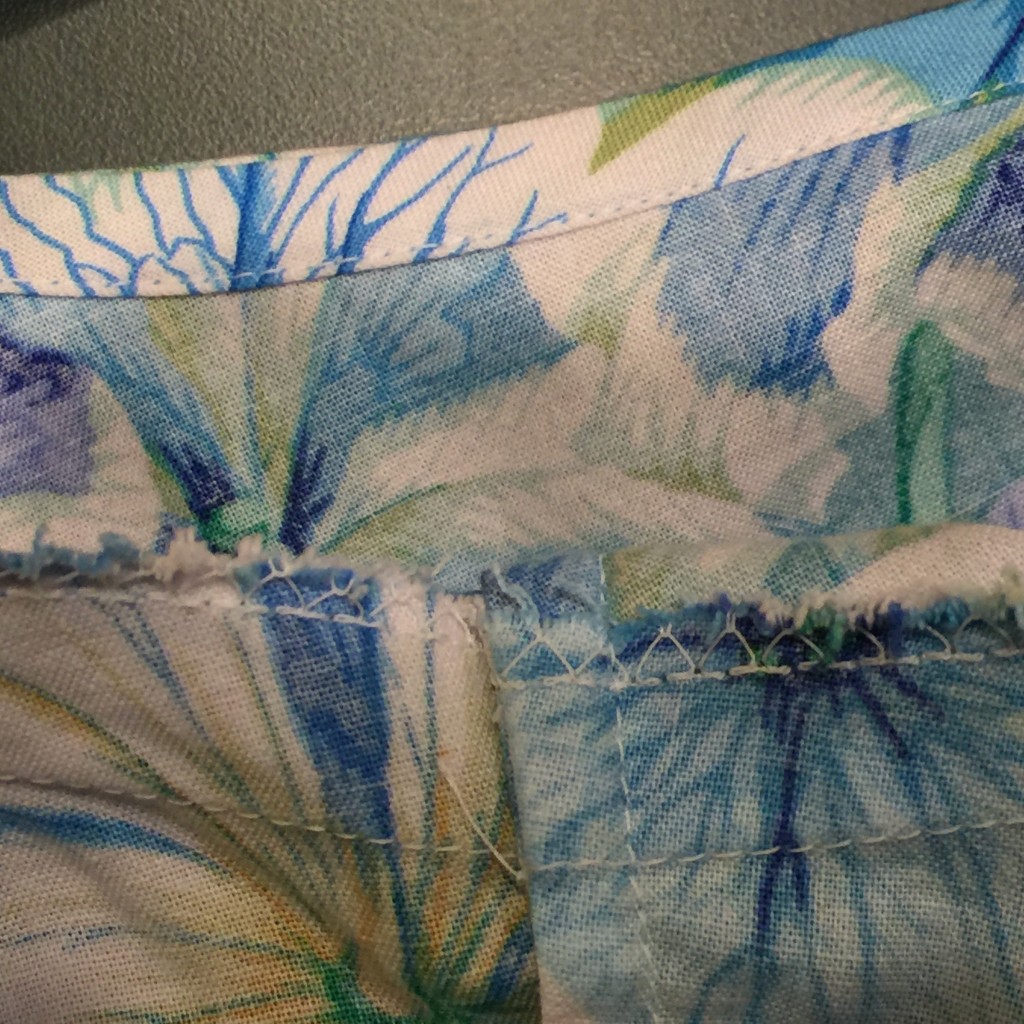
Seam finishes in my tunic: bias facing, on the top, overcast edge at the armscye (set in sleeve seam) and French seam (enclosed raw edges) on the side seam.
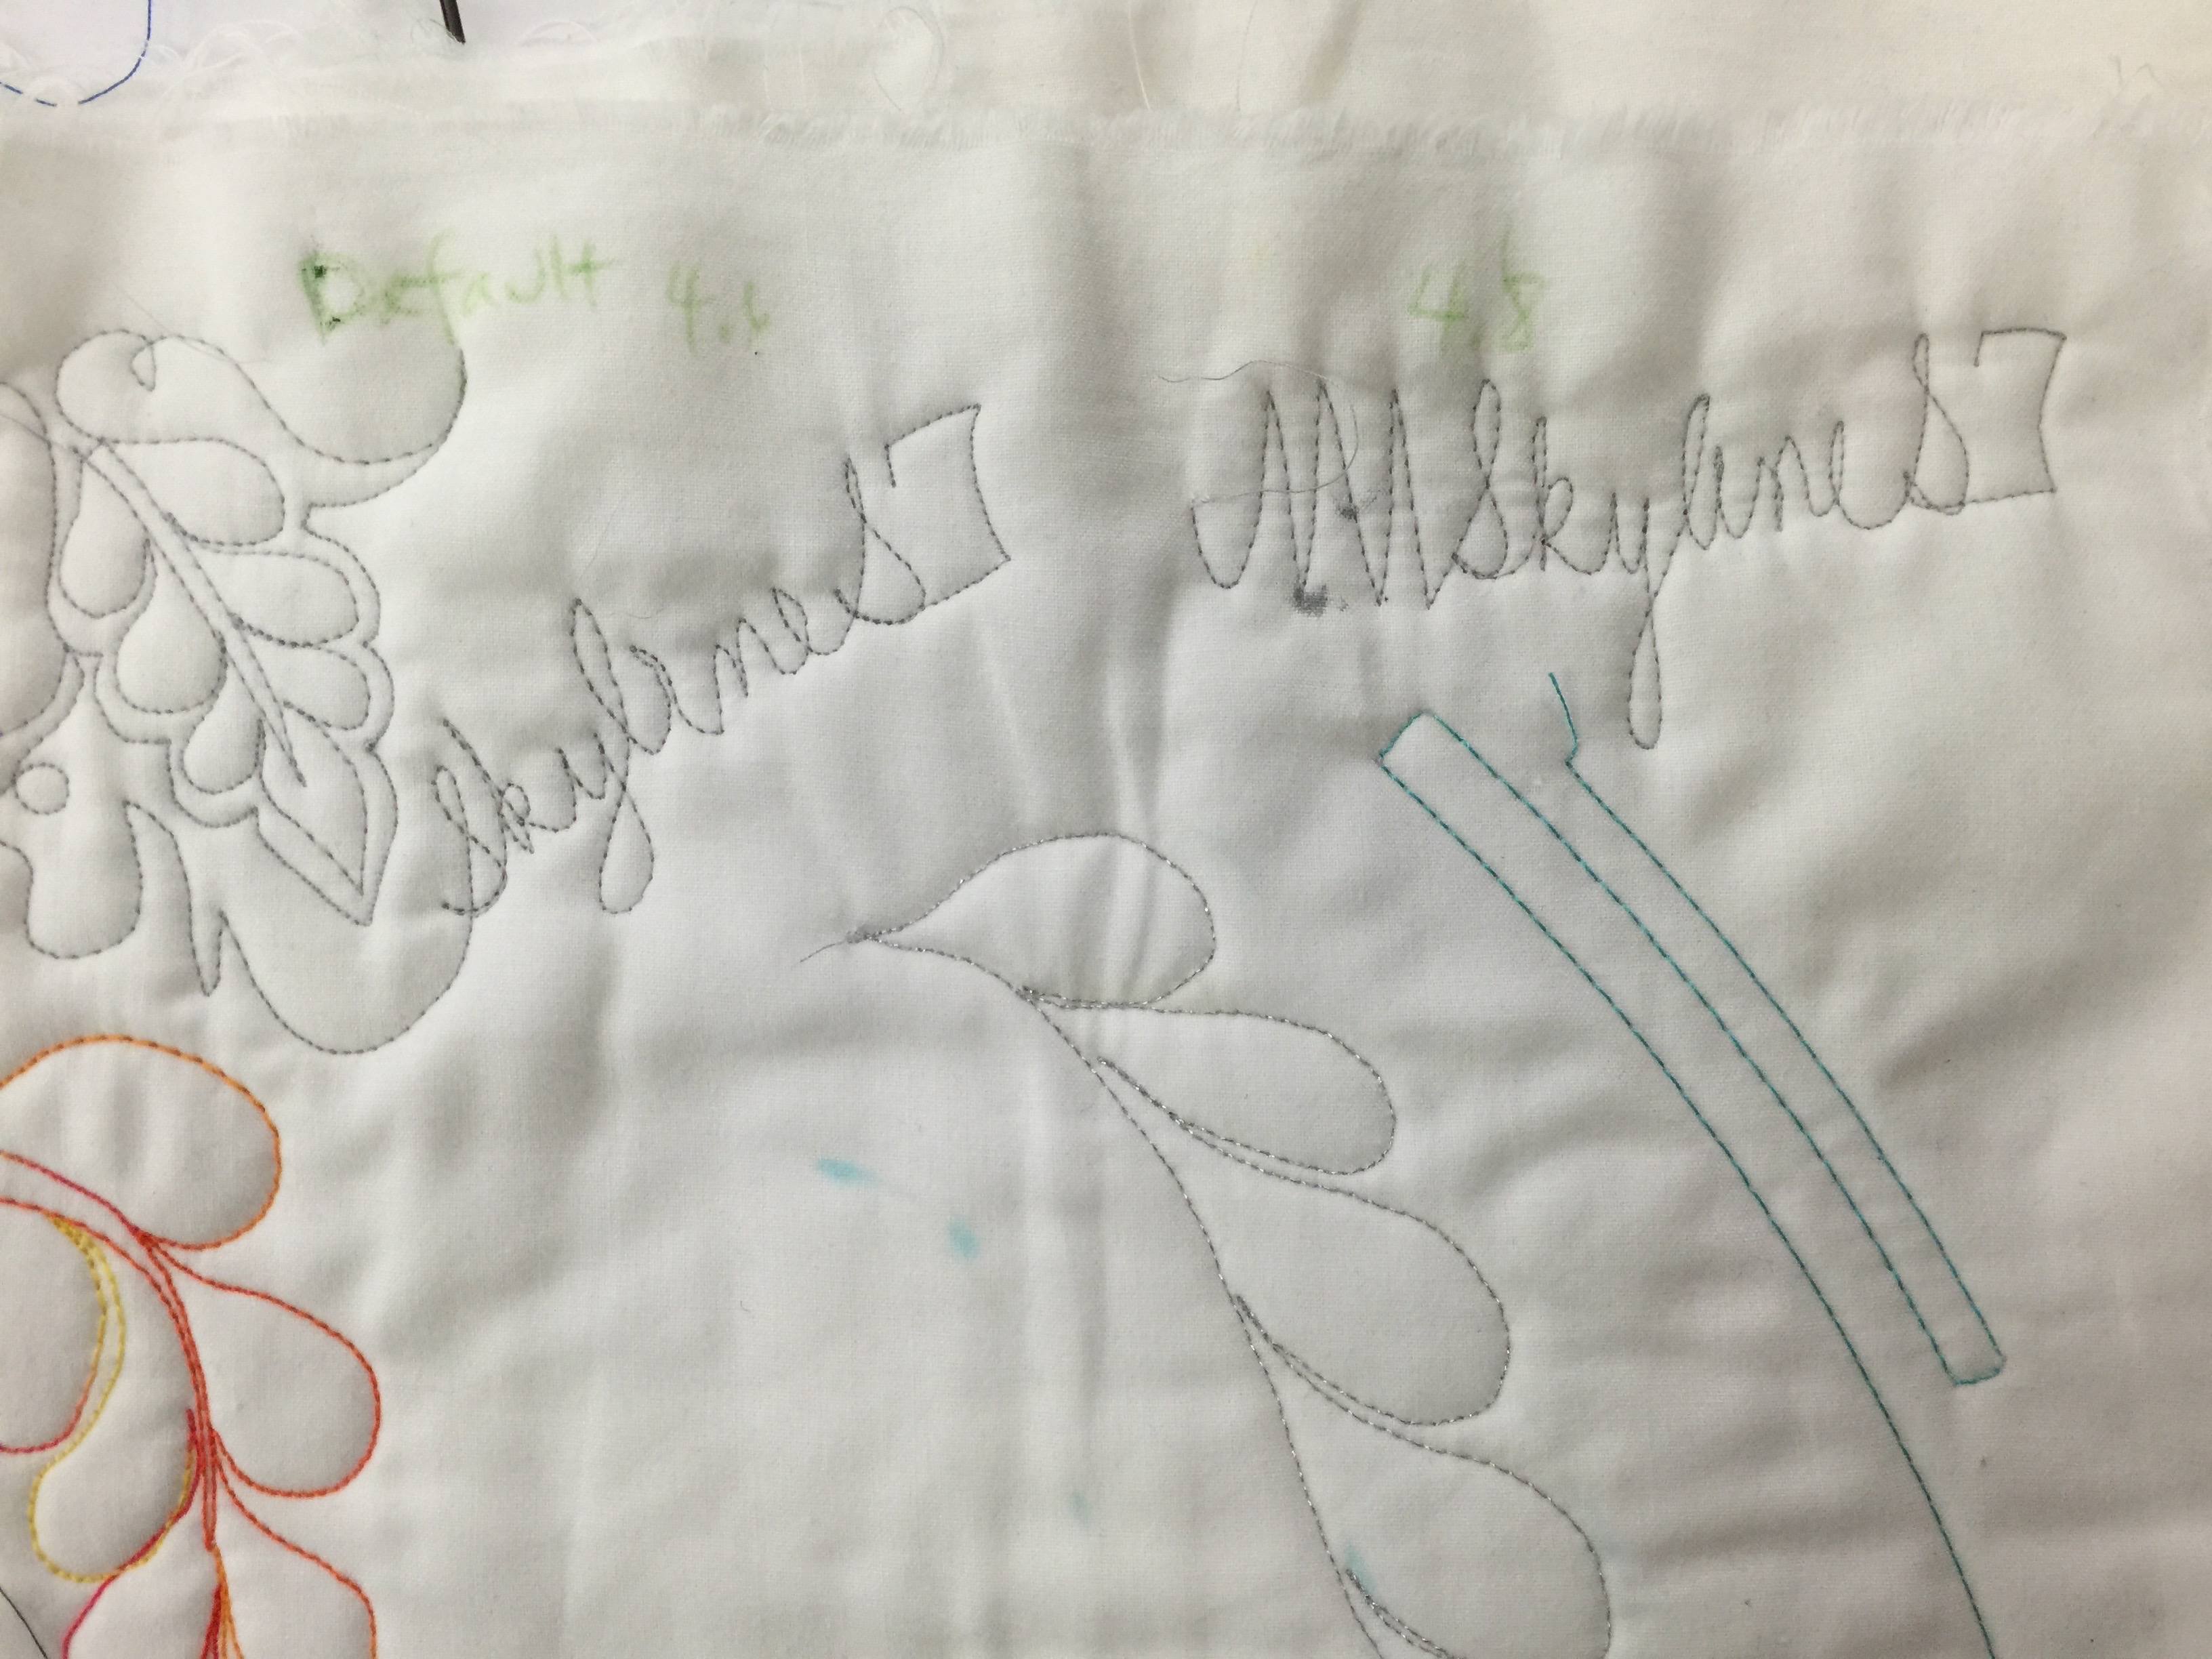
I did a quick free-motion quilting practice using the open toe foot skimming foot. The default setting with my preferred threads, a 40-wt shiny poly in the needle and a 60-wt fine poly in the bobbin, wasn’t quite perfectly balanced for that thread combination, so I adjusted the balance by one notch and it looks excellent. This is a common adjustment when using threads that are not identical. Why do I use a thinner thread in the bobbin? For art quilts, durability for wear and washing isn’t an issue. And with the density of my stitching, the finer bobbin thread means less thread-build up, not as stiff, and more miles of thread to the bobbin! ALWAYS test a potential new machine with the fabrics, batting and thread combinations that are your favorites–not whatever the sewing machine store has on hand!
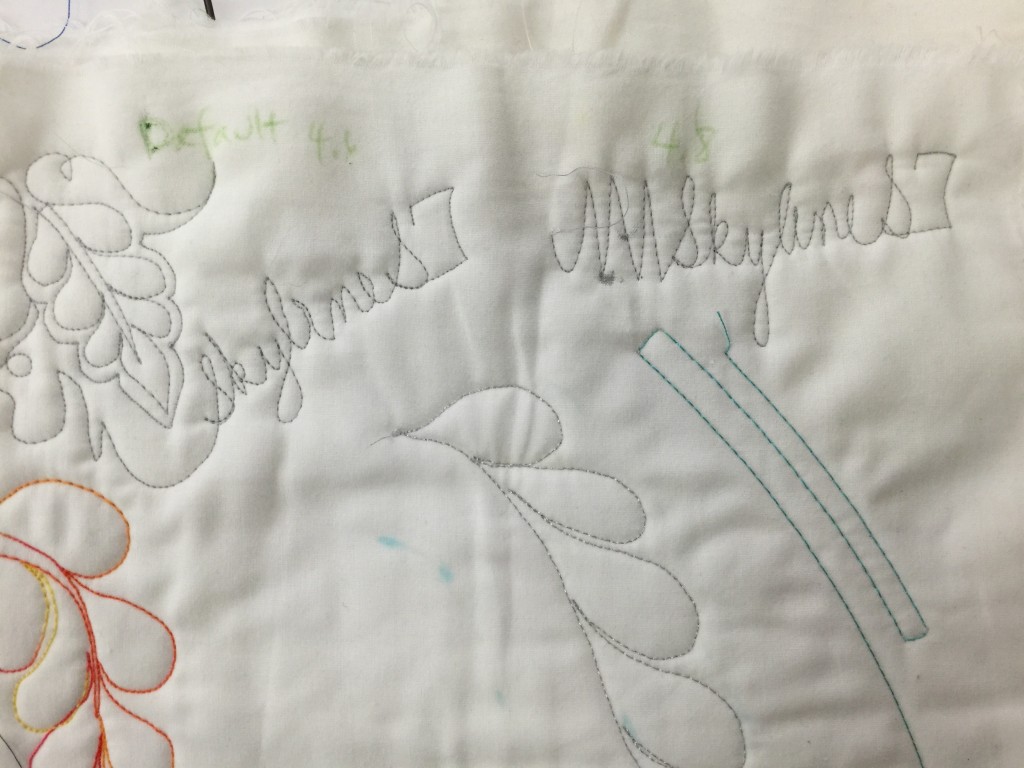
Test free-motion stitching on the S7. You can see my note that says “Default 4.6” and “4.8.” After looking at the back having stitched the first feather and name, I decided I wanted to have the balance adjusted slightly. I always test for stitch balance with two contrasting colors so I can see what is happening.
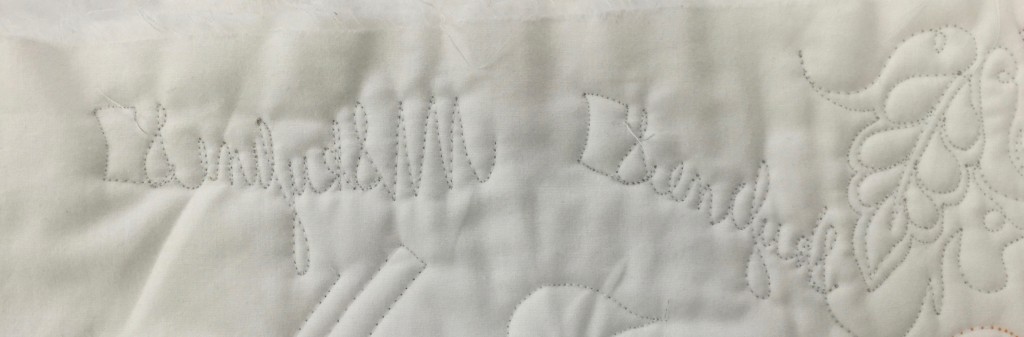
Reverse of FMQ. The stitching on the right is the default setting. I was seeing a TINY bit too much of the needle thread on the back, so I loosened the top tension one notch. The second stitch out, on the left in the photo above, is better. The tiny bit of dark you see is the shadow inside the needle hole. A bit of moisture/steam or just time will close up those needle holes. (Click for larger view)
The drawbacks to the S7 were VERY few and minor: the harp, the space between the needle and the housing on the right, is that of a standard sewing machine. I’ve been sewing on the machines with a longer harp area for a decade now. However, I have also quilted a king-sized quilt (carefully) on a machine with a smaller harp than this one. If you want to quilt king-sized quilts at home you might want to consider a longer harp, otherwise, you’ll be fine with this machine. Also, the machine does not come with an extension table included. These are minor quibbles: this is a great machine for someone doing garment and home dec work, and for someone who is newer to quilting and doesn’t want to spend the bigger bucks for the larger machine.
Note: one commenter told me “a regular sewing machine has a harp area of 6″-7″ and the S7 has a harp area of 8.25″ That makes it even more of a real winner (I hope you correct this on your S7 evaluation.)” OK, I don’t have a measuring tape or the time to check this out (plus the machine is back at Janome), but let’s just go with “the harp area is smaller rather than larger.” You can still quilt on it! <grin!>
Janome makes a “Quilting Kit” to go with it that includes an extension table and my most-favorite-in-the-world convertible free-motion quilting foot. The Skyline quilting kit part number is (according my lovely Janome contact) 003863402005, and comes with an extension table, appliqué foot, clear view quilting foot, ditch quilting foot, open toe satin stitch foot and (drum roll please!) the convertible free motion quilting foot set that is my fave!
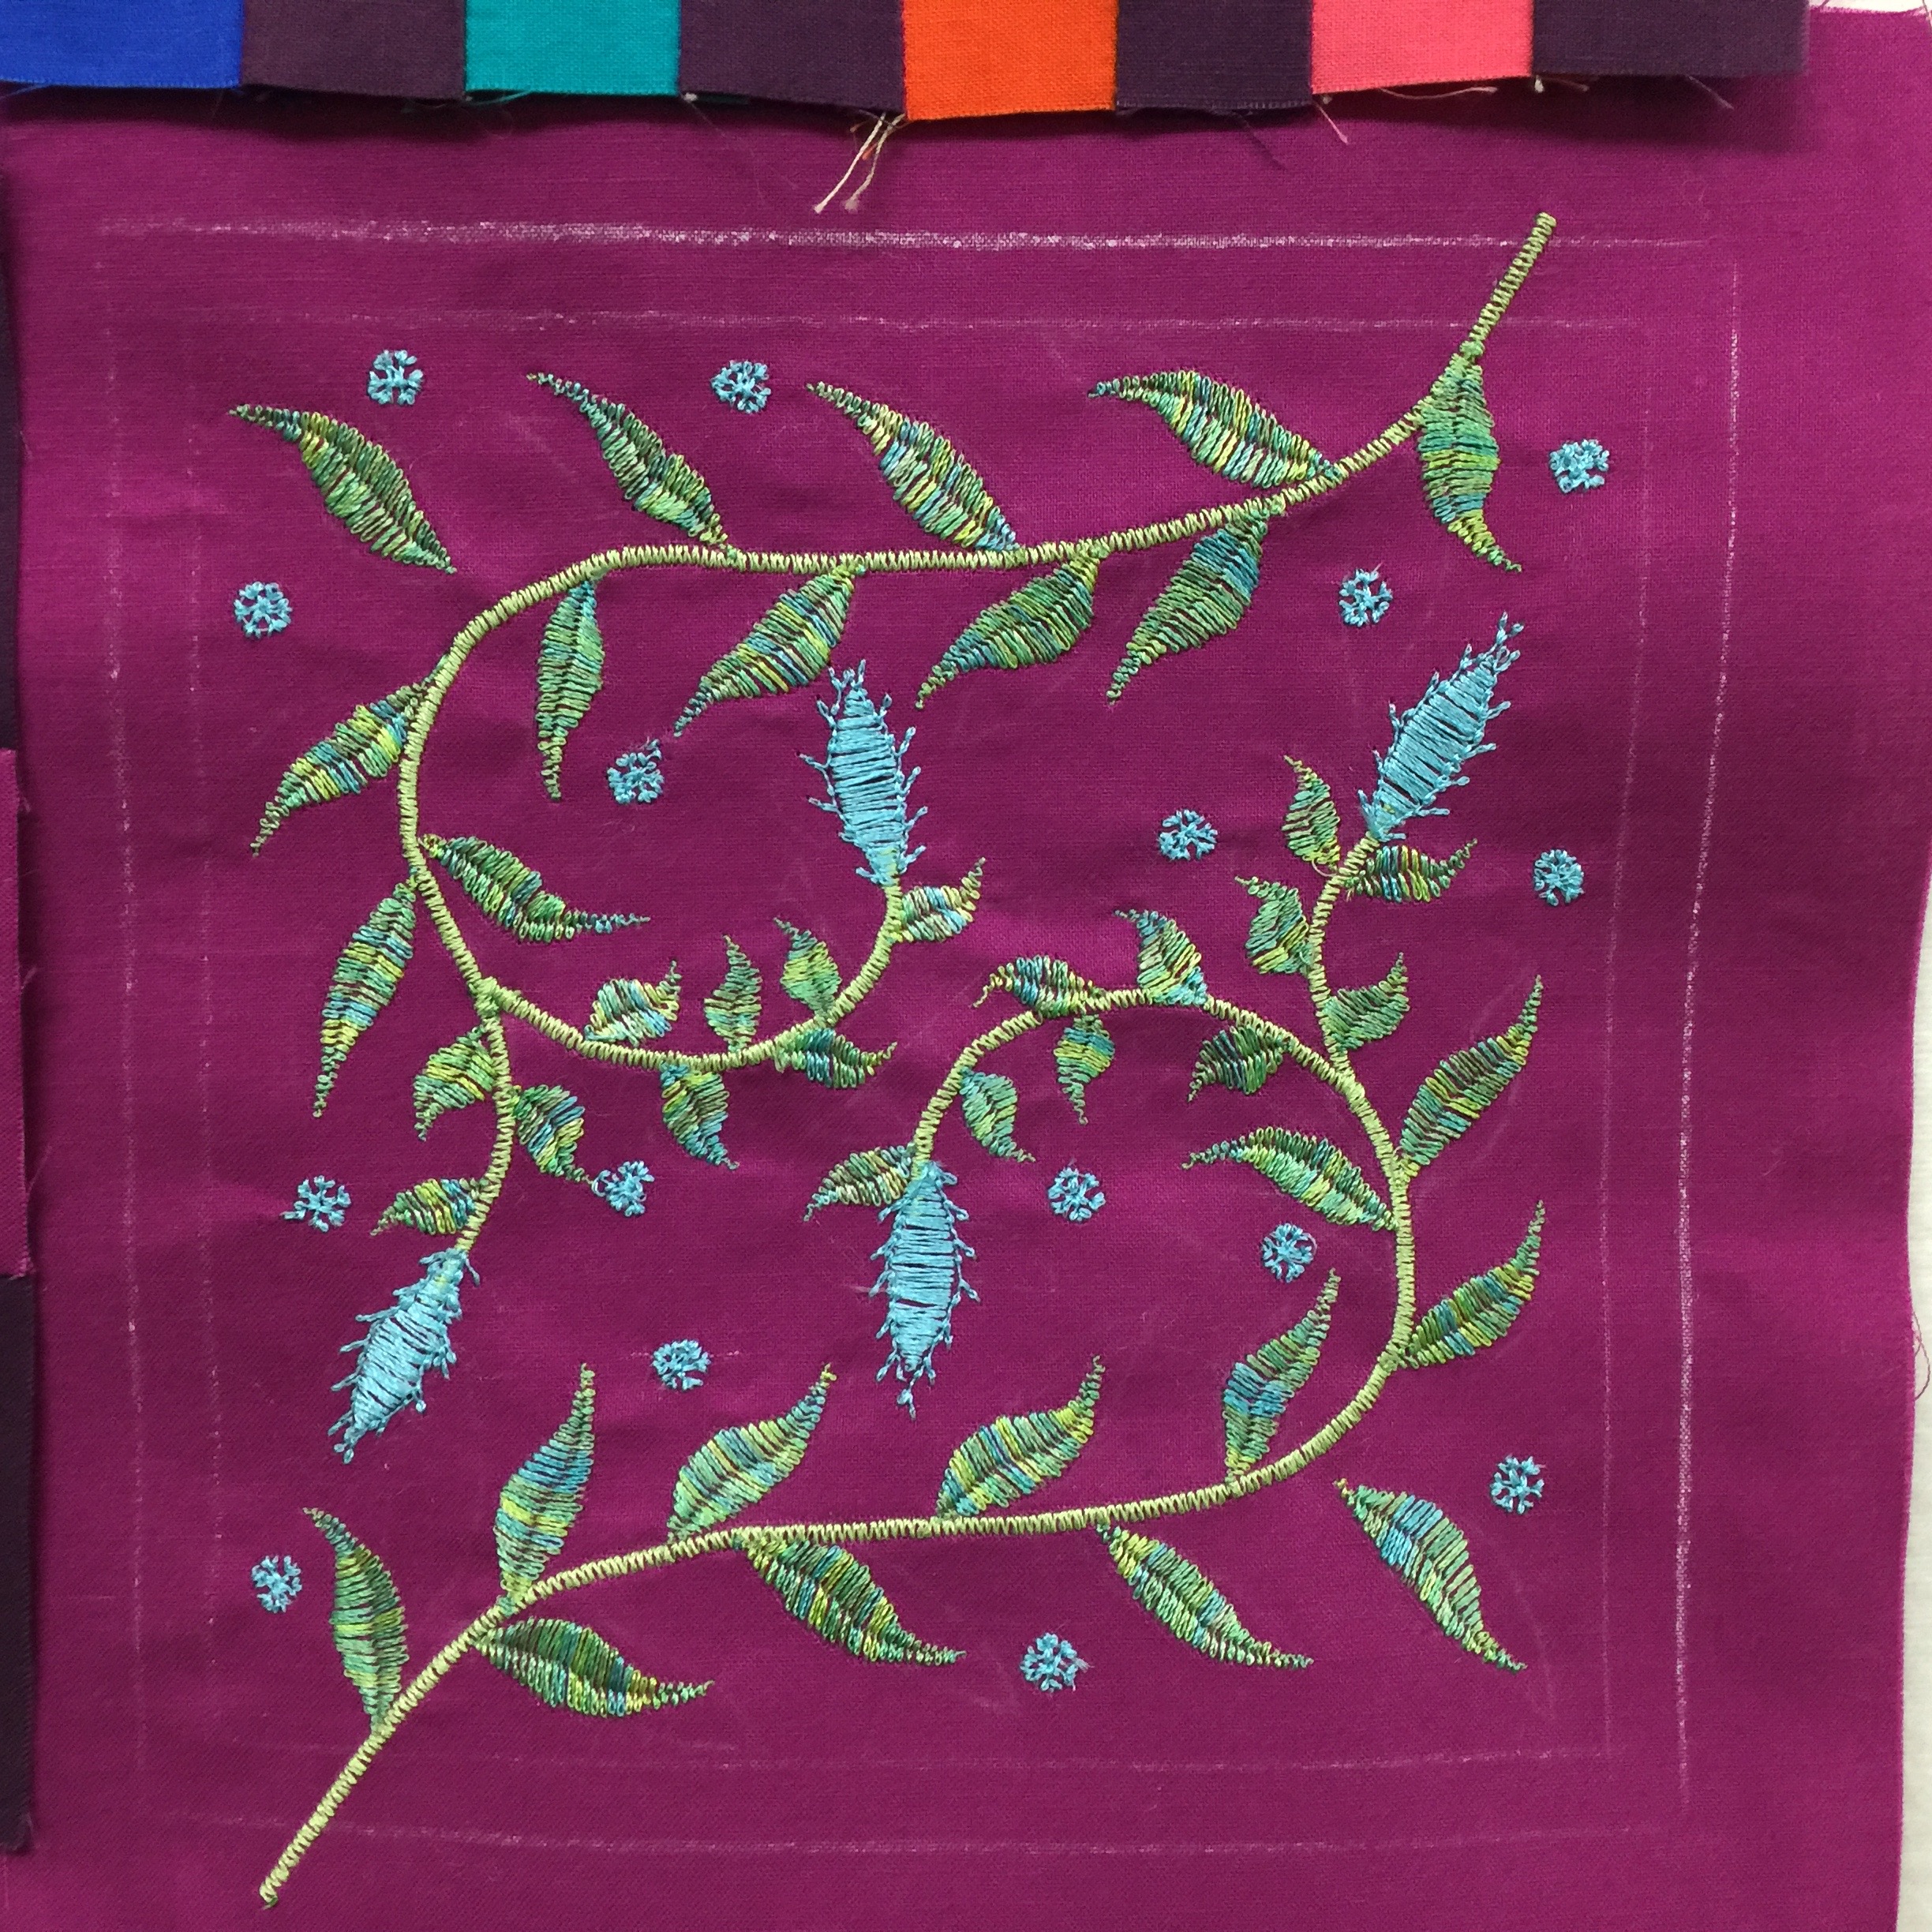
My final test was the decorative stitches. I’ve been able to be a part of Janome’s 100 blocks in 50 days project (ongoing now, here). I liked the Michael Miller Cotton Couture fabric SO MUCH (silky, soft, glorious) that I made extra blocks for myself, and designed this embroidered block to go with mine. Here is the PDF for my Janome Embroidered Block . Basically, start with a 7 inch block and stabilizer suitable for the weight of your cloth; you want to cut large because stitching can shrink a block a bit. Basically, cut it big and trim to exact size when done. Use a satin stitch (a short length zigzag) to create two stems coming in from opposite corners of the block. Use the Satin Stitch leaf (built in on the S7–similar stitches on other machines) and adjust the stitch length (doubled on some) following the instructions in the manual, width and stitch density (refer to the PDF) to stitch out the leaves using my block as a general guide for placement–you don’t have to be exact. I outlined the leaves with an overcast stitch from the basic utility stitches menu. Then use the snowflake stitch, reduced in size, to make the “dots” in the background. When complete, trim to 6 1/2 inches to match your other “100 Blocks” project.
Notice that I chalk marked a 6 inch square and a 5 1/2 inch square inside it. I needed to know the edges of the finished block, and wanted to leave a bit of clearance around the design so none of the decorative stitching accidentally ended up in the seam allowance.
 I so miss being in Houston…. enjoy it all of you who are there! I’ll see you next year!