email Youtube

Home
Galleries
Blog
Workshops & Calendar
Store
Resources
About
Contact

Author Archive

Foto Friday, Week 42 (out of order): HDR = High Dynamic Range

Friday, November 6th, 2015

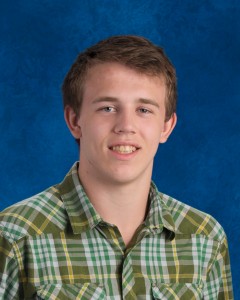
To my utter astonishment, our younger son (who at best tolerates grimly my taking photos of him), ASKED me to take a photo–his Senior Yearbook Photo!  Knock me down with a feather!   I had thought he would use his school pictures photo:

Eli's annual school photo. The usual.

Eli’s annual school photo. The usual. Boring.

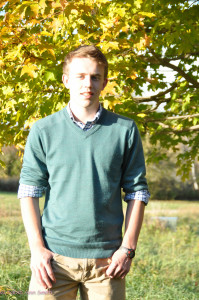
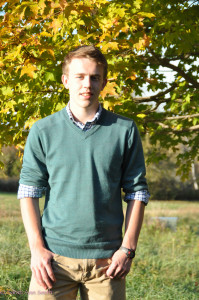
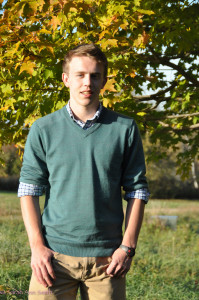
So while I was at taking the senior/yearbook photo, I knew it would be a crazy-busy week so I took a series of photos to do an assignment called “High Dynamic Range” where you merge 3-5 (or more) photos to account for the fact that there is strong light and strong shadow in one place.

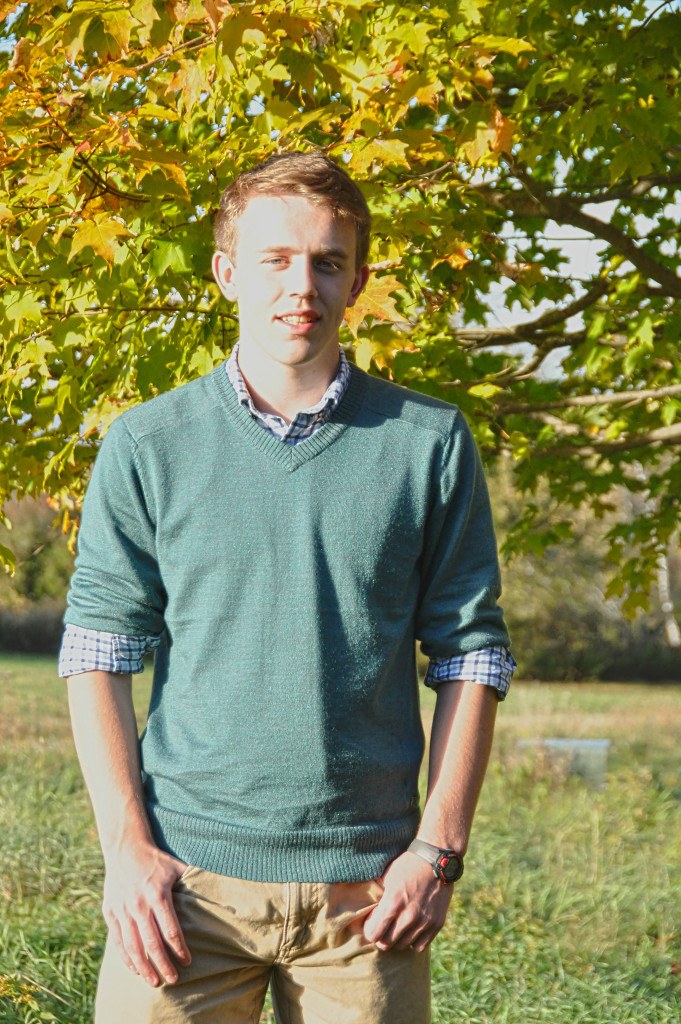
This is the photo I ended up submitting for the class. I is a "merge" of four photos. Can I say Photoshop is remarkable?

This is the photo I ended up submitting for the class. I is a “merge” of four photos. Can I say Photoshop is remarkable?

The above photo is “composed” of these four photos (which despite my attempts to place them are going where they want…sigh):

(c)2015-SarahAnnSmith.com-5895

First image, very over-exposed so you can get detail on the right side

Second image/exposure

Second image/exposure

Third Exposure, darker. Not as blown out on the left, but the right side of his face is hard to see.

Third Exposure, darker. Not as blown out on the left, but the right side of his face is hard to see.

Fourth exposure: right side detail is very hard to see.

Fourth exposure: right side detail is very hard to see.


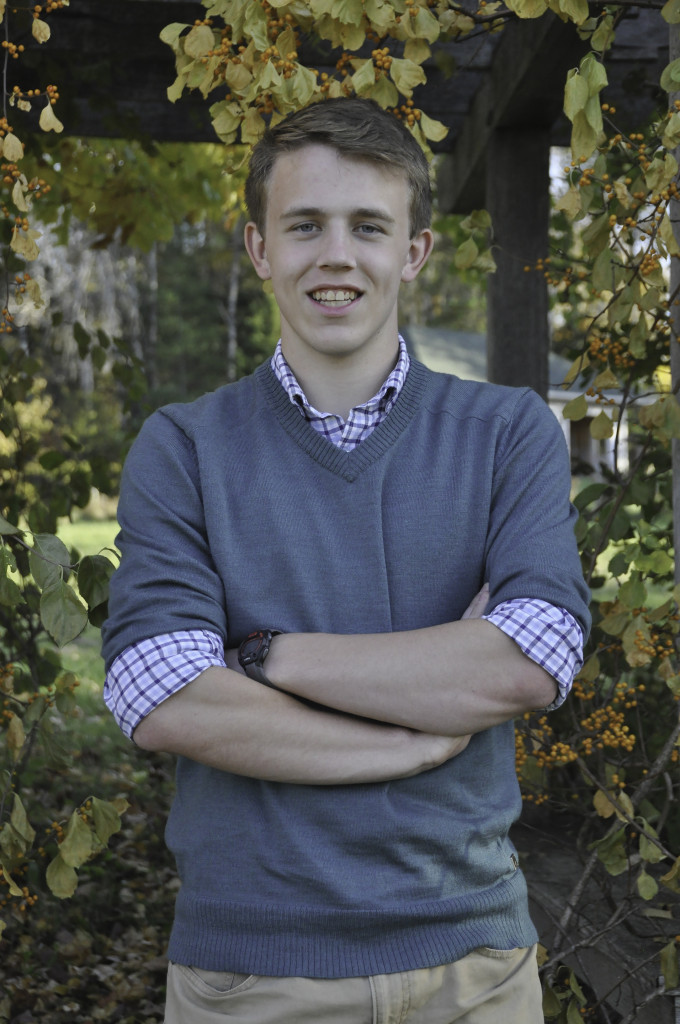
We decided that as lovely a backdrop as the maple tree was, the light was simply too harsh.  Eli suggested we go down by the arbor/cut-through to the big meadow.  He thought he could lean up against the post and it would look more natural.  Turns out there is too much bittersweet, but the photo turned out great!

Eli selected this shot, which used a fairly shallow depth of field (to blur the background) and was taken from a tripod.  I can confidently say there is NO WAY I could have gotten such a good shot (with minor post-production/editing work) when I began this class in January.   YEAH!  I’m learning!   And Eli is happy.  And will now return to grumbling when I take photos of him.  <<grin!!!!>>>

Eli's choice for his yearbook photo. They also do something utterly cool...see next photo....

Eli’s choice for his yearbook photo. They also do something utterly cool…see next photo….

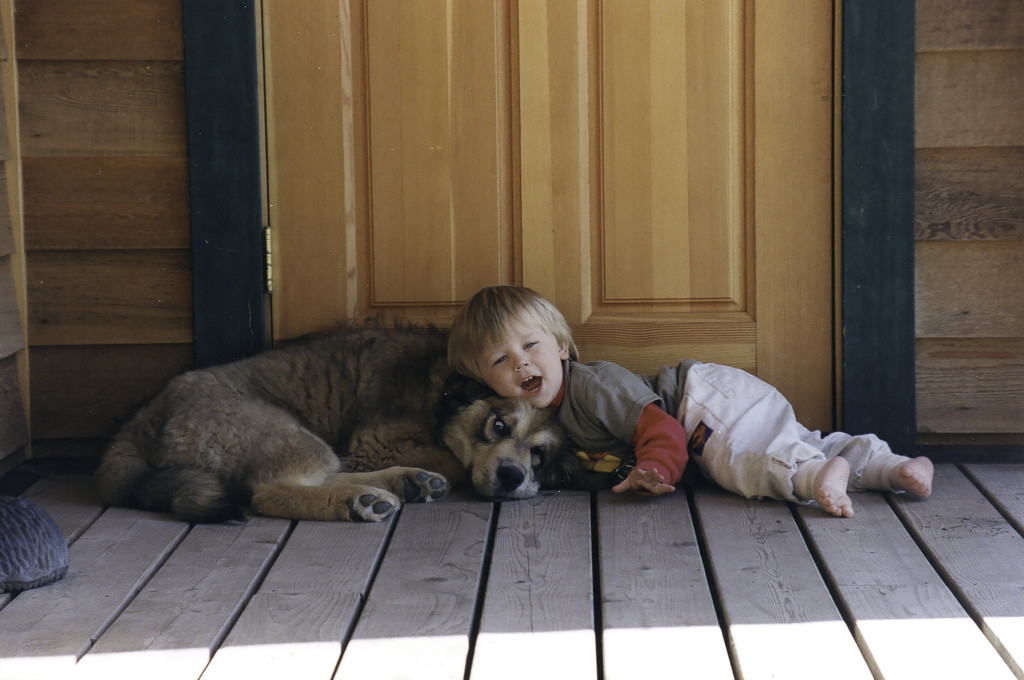
Happy boy, happy dog!

Happy boy, happy dog!


That’s it for now!


Janome’s 100 Blocks in 50 Days project!

Saturday, October 31st, 2015

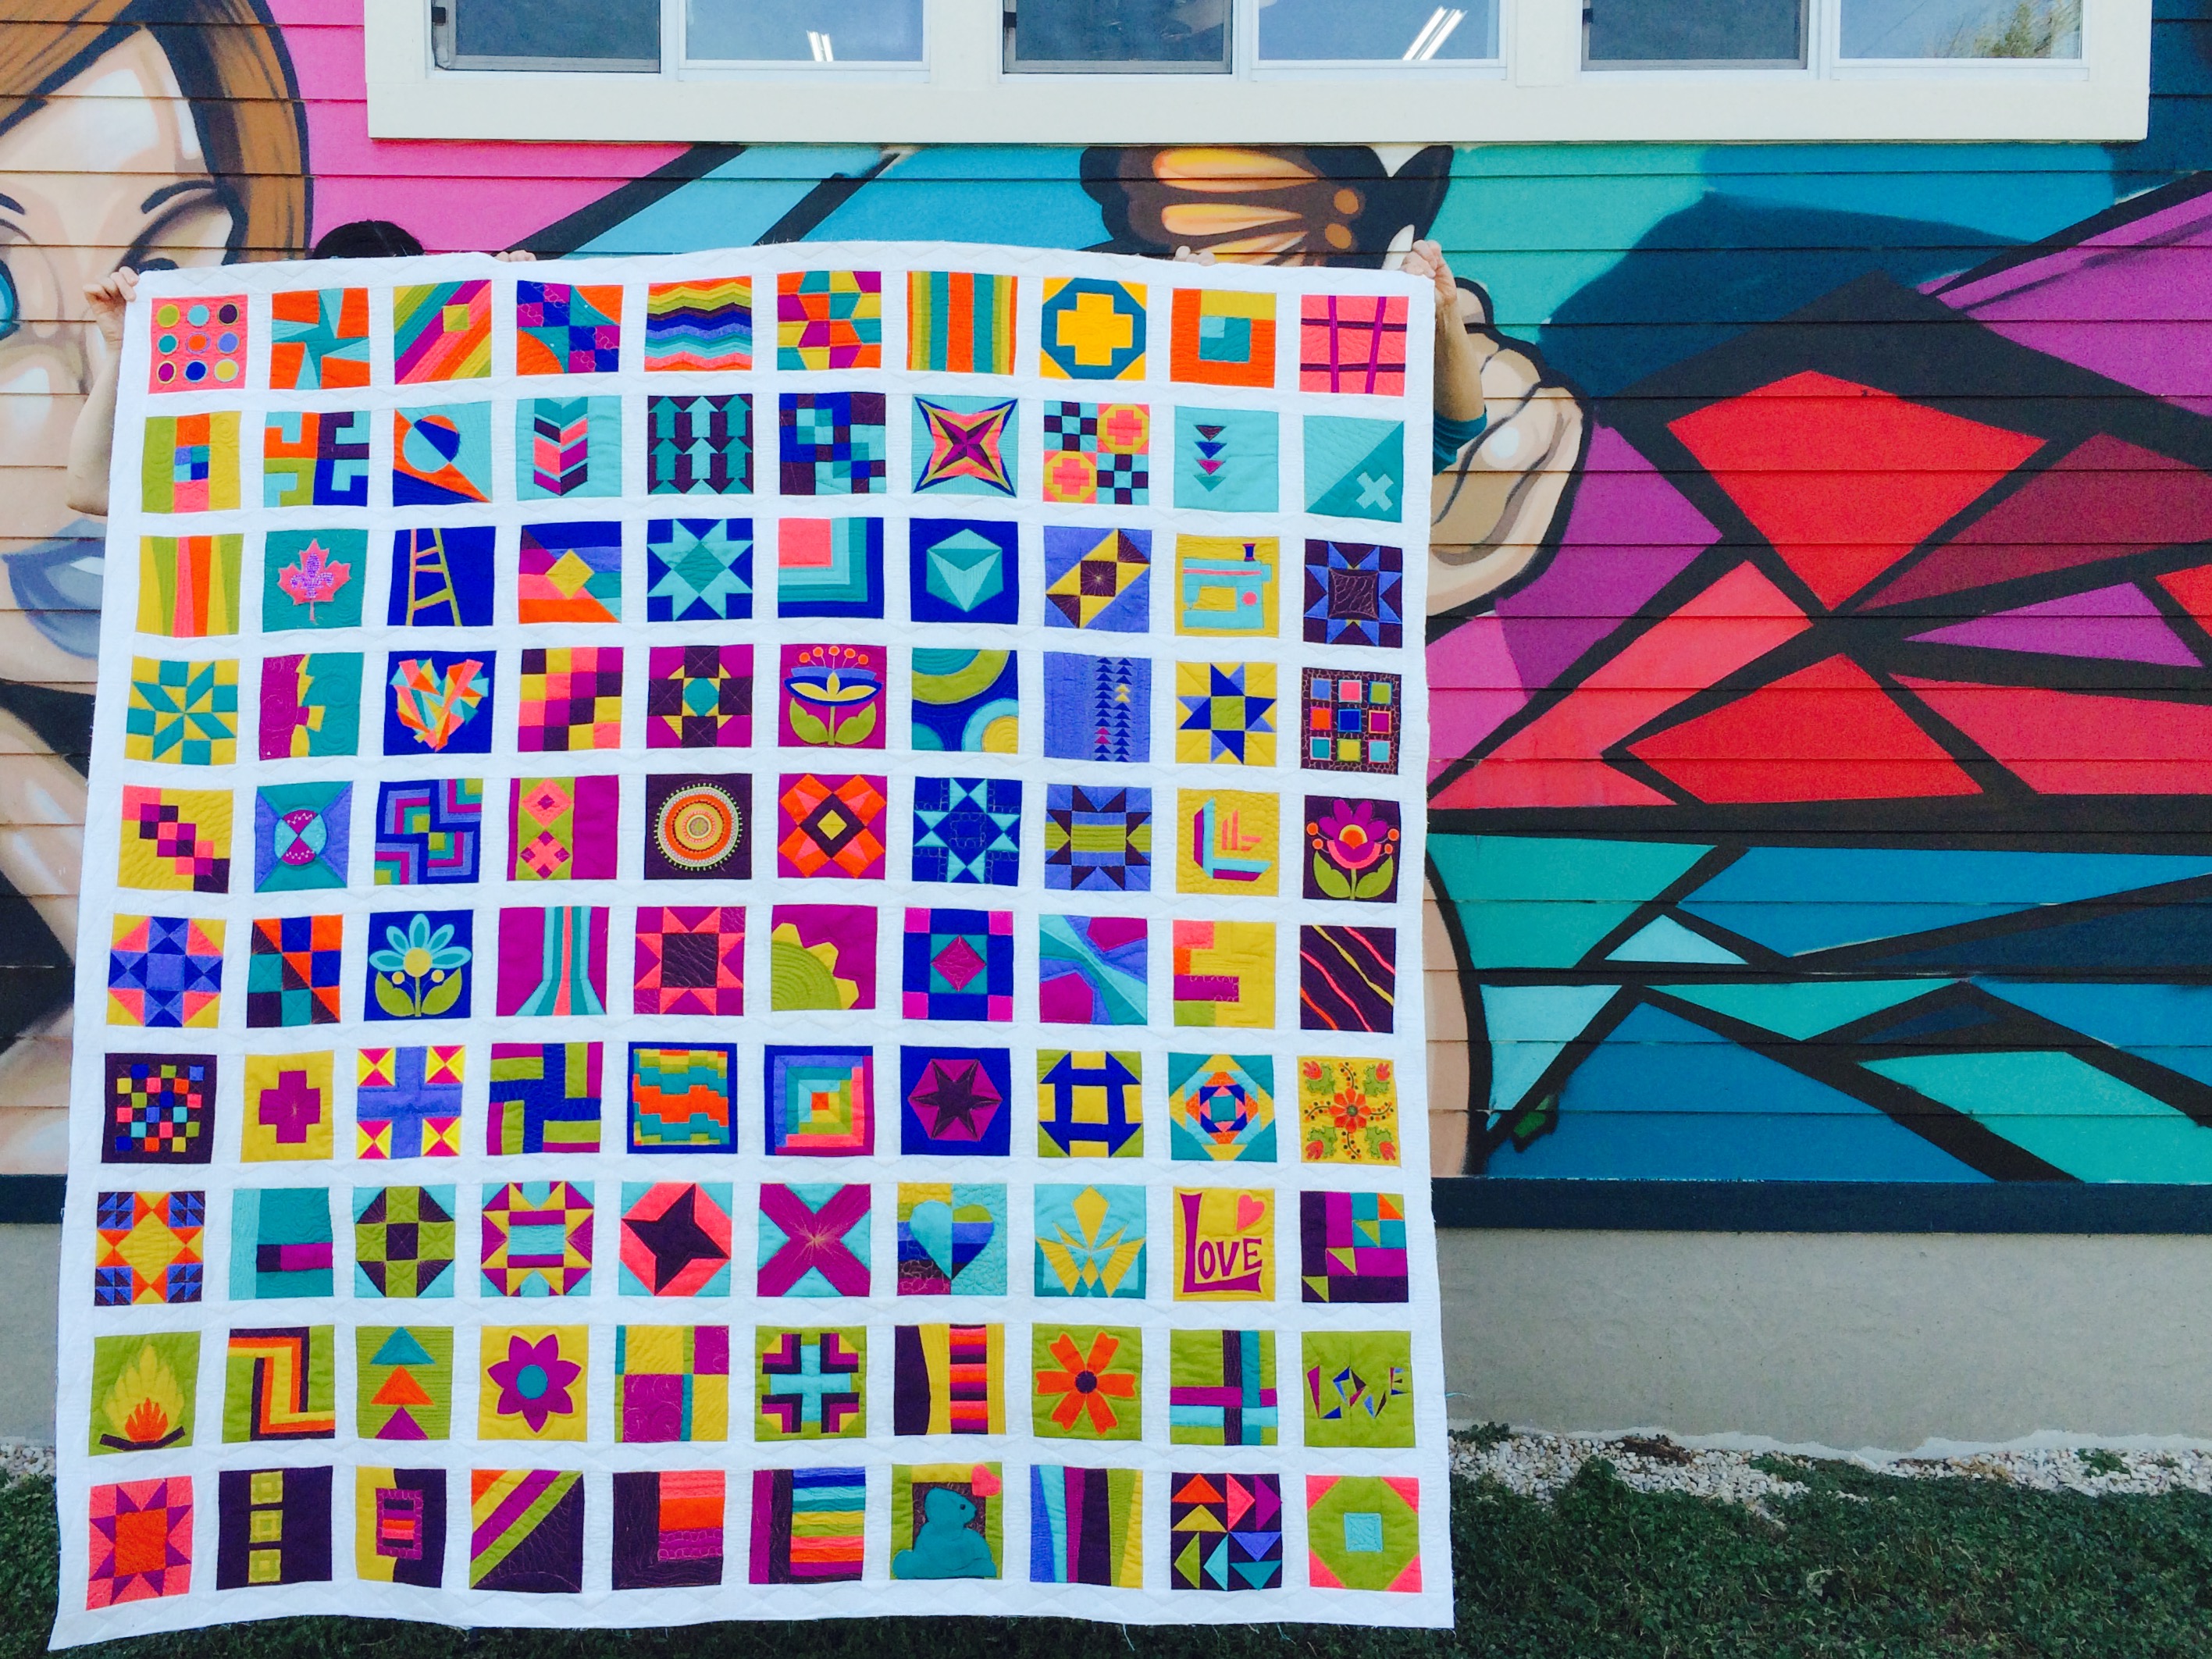
Oh what fun!  Janome teamed up with Michael Miller and asked the folks in their Artists/Teachers loaner program as well as staff and educators to make 100 Blocks in 50 Days for a free online quilt project that debuted this past week.  You can sign up for free daily reminders from Janome so you can download PDFs of all the patterns (or just the ones you want).  I had so much fun,  asked if I could make extra blocks (ended up making six), then made doubles of each so I could have my own set, and as you may have read in my lengthy Skyline S7 review (here), made yet another block that will fit with these projects.  I’m sharing that block below (again) since it was at the end of such a long post.  I’ll have five more blocks which I will share as Janome publishes the links to them.  Some are easy peasy, some involve a lot of fun stuff with thread!

Michael Miller and Janome selected a set range of colors from Moda’s unbelievably silky-soft-delectable-heavenly Cotton Couture solids line.   Each participant got fat quarters in each of the colors.  I am planning to make even more blocks, then quilt them up into a wall hanging to use when teaching decorative stitching.   Or just to be pretty and colorful on the wall!

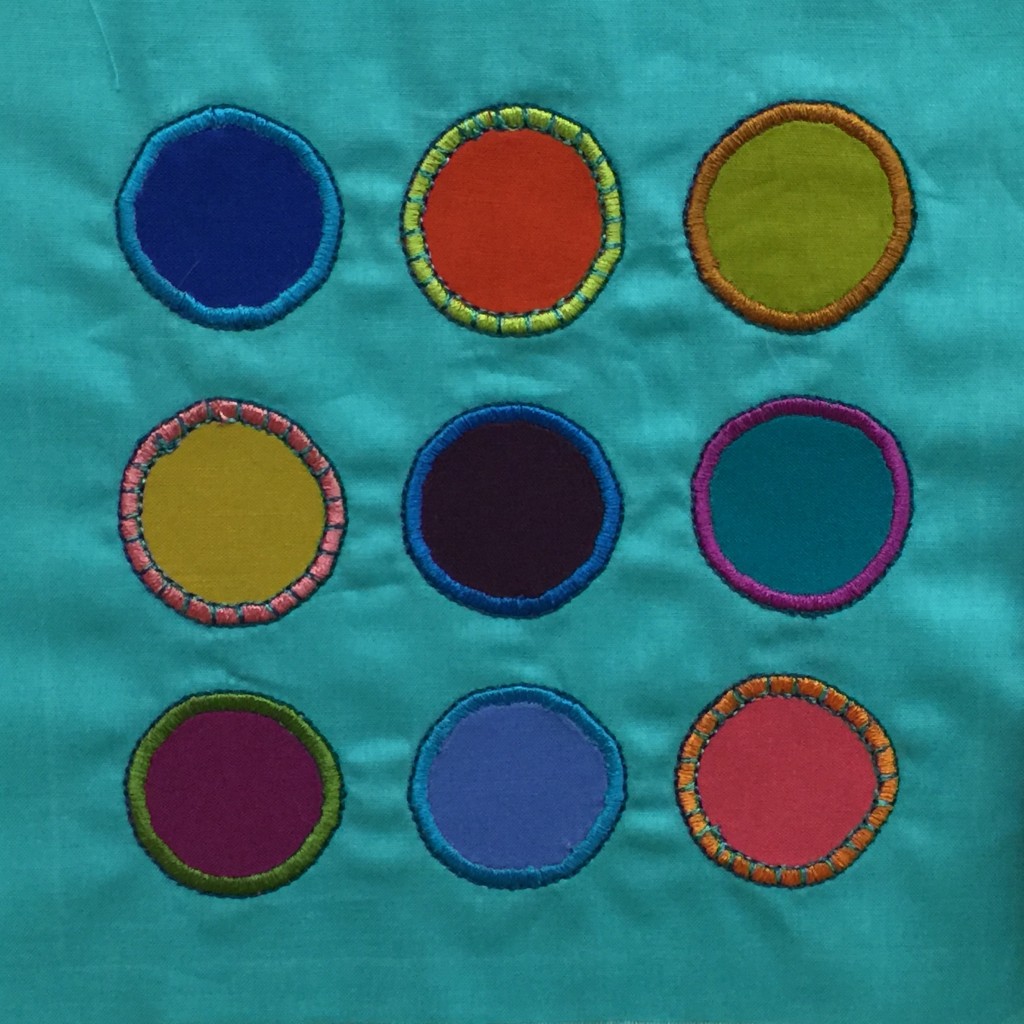
I was thrilled when my embroidered circles was one of the first two blocks featured!    Here’s a picture and a hotlink for the circles block which has the PDF (from Janome’s website):

IMG_6185

Circles block (c) Sarah Ann Smith

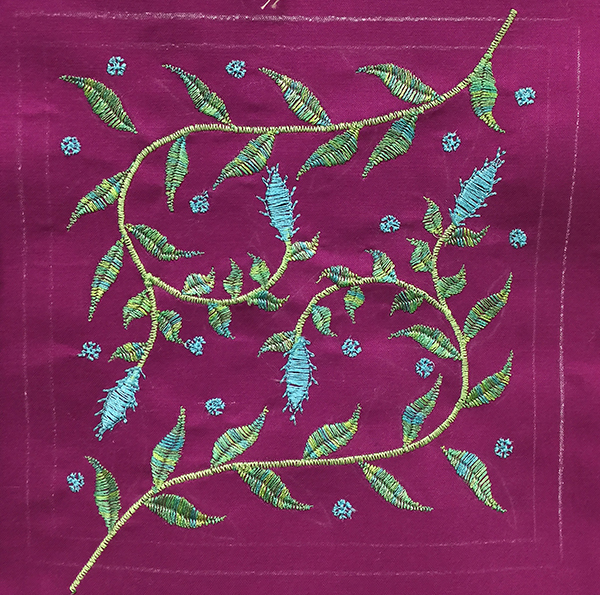
The second block I will share with you is an “extra” which came from the Skyline S7 test-drive.  I’m calling it Embroidered Leaves (guess why…duh Sarah!):

Using the built in stitches on the Skyline S7, I made this block.

Using the built in stitches on the Skyline S7, I made this block.

You can find a PDF by clicking on this link or visiting my Resources page (here or use the link on the menu bar above).  Once on the resources page, scroll down to Tutorials and find Embroidered Leaves in alphabetical order.  There’s lots of other fun free stuff there, so browse around!


Foto Friday, Week 43 (out of order): Halloween

Friday, October 30th, 2015
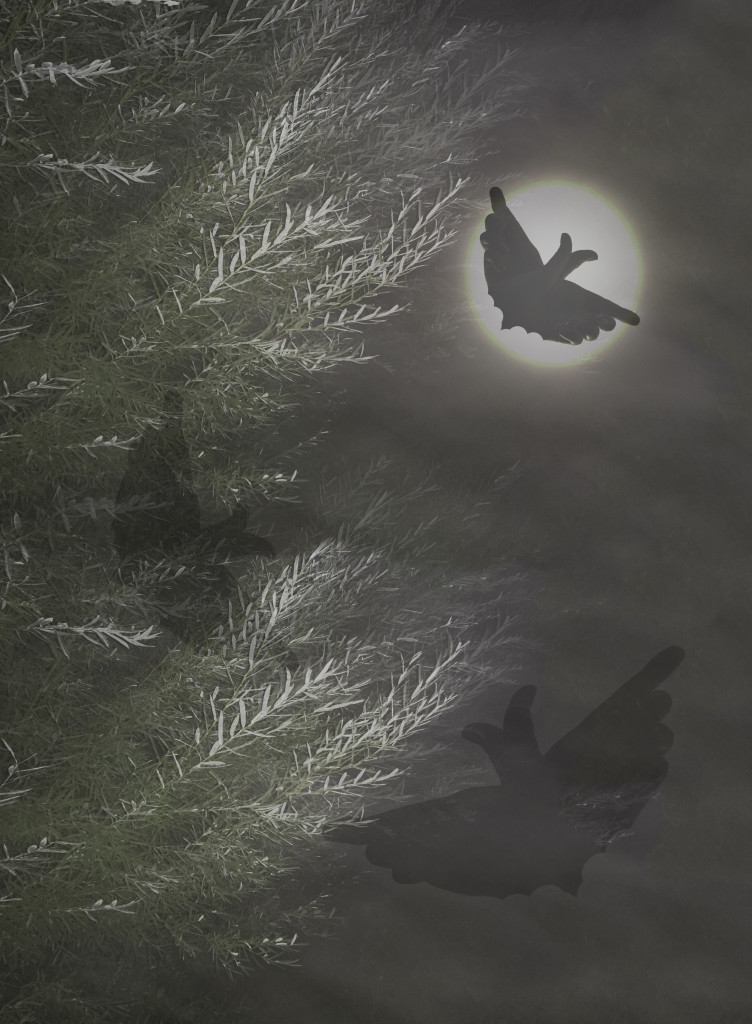
The image of a thousand edits!  I combined four images:  a photo of the moon, two different photos on my iPhone of the willows shot on a misty dog-walkies and the flash fired, and the bats are from a silhouette of my hands, seriously edited.  I’ll post more info below including a link to the orignal images in my Flickr November album.

The image of a thousand edits! I combined four images: a photo of the moon, two different photos on my iPhone of the willows shot on a misty dog-walkies and the flash fired, and the bats are from a silhouette of my hands, seriously edited. I’ll post more info below including a link to the orignal images in my Flickr November album.

Normally it doesn’t matter if I post my photo a week late, but since the theme was Halloween, and since I’ve actually done this at not-the-last-day, I’m doing week 43 today and I’ll fill in with week 42 next week!    And oh…if you haven’t been around, this is part of the year-long 52-Week Photography Challenge class I’m taking online with Ricky Tims.  This composite image was something that I would NEVER have been able to do at the start of this class! I used four photos (two of the widows, one of my hands, one of the moon).For anyone interested in how I did it, here you go (Long!)

This week’s theme was Halloween.   Apparently Ricky had planned on Hands, then changed it to Halloween.  But the “use hands” didn’t get edited out (until someone asked about it and he said typo!).  By that time I had this hare-brained idea for my weekly submission.  Our challenge was to do something creepy for Halloween (or otherwise Halloween-y) using what we’ve learned.   This may be one of those instances that Ricky refers to as “Just because you can, doesn’t mean you should.”   Oh well!  It was a fun flight of bat-ful fancy!

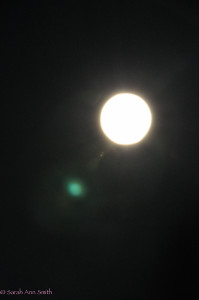
1. Darken photo of moon. Select to the right of the moon extending area quite a bit to the right. Use content aware fill to “reposition” the moon.
(c)2015-SarahAnnSmith.com-6148

Bottom layer. Photo of moon. NO idea why I’ve got those odd spots–the moon equivalent of a sun flare?

2. Take first of the two willows in the night mist photos (shot on iPhone, which used last and showed those cool streaks in the mist). Since the photo was square, add a layer and paste. Add another layer and paste again, so that the two images overlap. Use soft-edge eraser brush to blend the two photos. Some Dodge and Burn to even out the overlap. Flip horizontally.
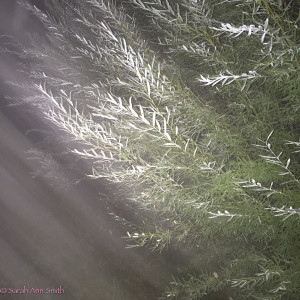
First of two photos taken on my iPhone a couple months ago.

First of two photos taken on my iPhone a couple months ago.

3. Take the second of the two willows-in-the-night-mist and repeat the above process in Step 2.
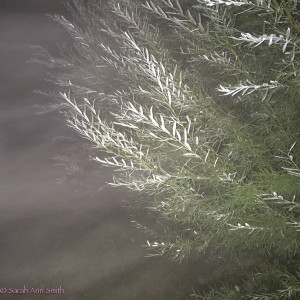
Second willows photo.  The mist is going a different direction, and I like the layering that happened.

Second willows photo. The mist is going a different direction, and I like the layering that happened.  Notice I flipped the photos horizontally to have the weight of the willows balancing the brightness of the moon.

4. Reduce opacity to about 30-35 on both willows layers.
5. Merge down layers so the four willow layers end up as one (or was it two) layer(s).
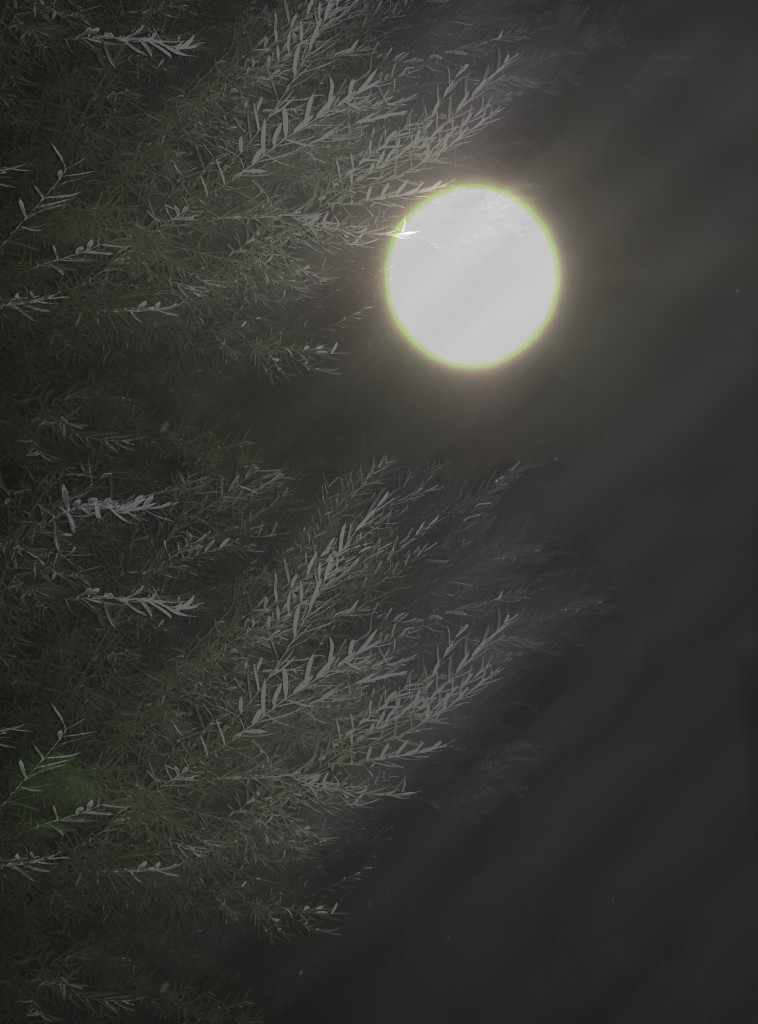
MoonMist

The first layer of montaged willows over the moon.

6. Spend a ridiculous amount of time trying to make assorted masks work to let the moon shine through without overlaying leaves. Give up and use an enormous, soft-edge dodge brush to lighten the layers over the moon.
7. Dragoon hubby into taking shots of my hands as a bat (after google searching). Set up light and tripod/camera etc first.
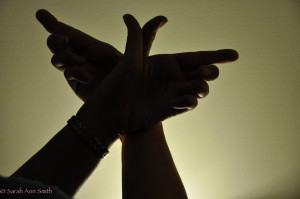
The original photo of my hands.  Had a photography (for quilts) light shining up to get a sharp silhouette.

The original photo of my hands. Had a photography (for quilts) light shining up to get a sharp silhouette.

8. Remove background around hands. Reduce opacity, use burn tool to knock back highlights on my fingers.

Background removed.

Background removed.

Edit out arms using a large hard-edged eraser brush to create wing scallops.
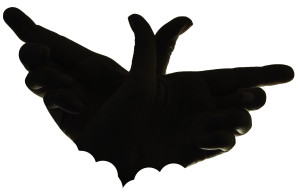
Presto chango, let there be a bat.

Presto chango, let there be a bat.

9. Create multiple layers, using “transform” to scale and rotate to edit the “bat.” Mull over whether to have one or three bats. This is seriously one of those “just because you can, doesn’t mean you should” moments. Still not sure about one versus three. But after HOURS of edits, I’m going with three!
Time for lunch and other work!

The image of a thousand edits!  I combined four images:  a photo of the moon, two different photos on my iPhone of the willows shot on a misty dog-walkies and the flash fired, and the bats are from a silhouette of my hands, seriously edited.  I’ll post more info below including a link to the orignal images in my Flickr November album.

The image of a thousand edits! I combined four images: a photo of the moon, two different photos on my iPhone of the willows shot on a misty dog-walkies and the flash fired, and the bats are from a silhouette of my hands, seriously edited. I’ll post more info below including a link to the original images in my Flickr November album.

So that’s it!  My Flickr album for November is here, and for the page with all my albums is here.
My DVD on sale!

Friday, October 30th, 2015

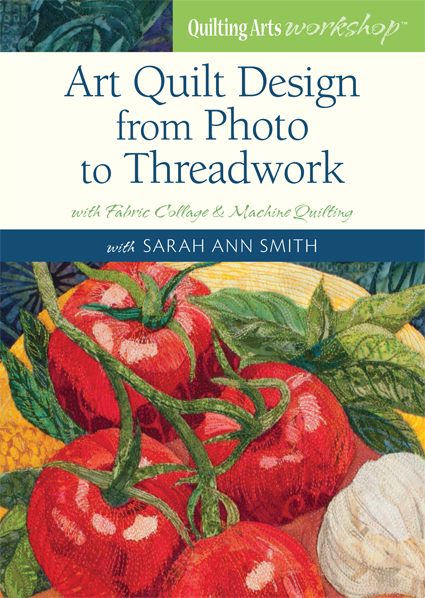
Hey, I just got a note that my DVD, Art Quilt Design From Photo to Threadwork is on sale!   Here’s the info:  This is the link to the video: https://www.craftdaily.com/courses/art-quilt-design-from-photo-to-threadwork

my video workshop that takes you from your photo to a finished art quilt

my video workshop that takes you from your photo to a finished art quilt

And if you use the code BLOGLOVE, they’ll get 20% off a subscription.

Thanks!

See my work in Houston!

Thursday, October 29th, 2015

I’m thrilled to share that I have three works on display in Houston–in the juried show, the Dinner@8 Exhibit, and the National Parks exhibit.

In Miniature art quilts, you’ll find my Pink Lilies (if anyone takes a photo of it…of the entire ‘neighborhood’ not just the quilt, please do share!):

SASmith.PinkLilies.Full-0842 copy

In Dinner@8’s Affinity exhibit, is Descended from the Stars, my most recent major piece:

(c)Sarah Ann Smith 2015; quote (c) Mirza Khan, used with permission

(c)Sarah Ann Smith 2015; quote (c) Mirza Khan, used with permission


And, SOB, I STILL can’t share a photo of my Snowy Owl quilt for Acadia National Park in the National Parks exhibit.  I’m so sorry about that!   The book won’t be out until next spring and even though the exhibit is on display (with no photographs allowed signage) we’ve still been asked to NOT share pictures.  I’m so sorry–but it is 20×20 and mostly white (as befits a snowy owl in winter).   But here is the photo I took on Clarry Hill ridge in Union that was my main reference photo:

P1030533cropI so miss being in Houston…. enjoy it all of you who are there!  I’ll see you next year!