A snuggle quilt
I honestly don’t know how long I had the fabric for the two lap quilts I just made. Maybe 18 months ago (?) Joshua’s sweetie Ashley asked if I could make a lap quilt from some of her Grandmother’s clothes. Of course I said yes! Her gramma had died recently, and Ashley’s mom, Sue, was really missing her. I looked up some quilts on the internet, hoping for a pieced pattern that would work for a scrappy quilt, look good, yet not take a ton of time to assemble.
When Thanksgiving rolled around and her mom came up to Maine for the holiday, she brought with her….gulp…three white kitchen garbage bags FULL of clothes: turtlenecks, sweatshirts, fleece tops, a fleece bathrobe and a couple of nighties. Oh. My. Not a single woven anything. Wish I had taken pictures before I began the deconstruction process!
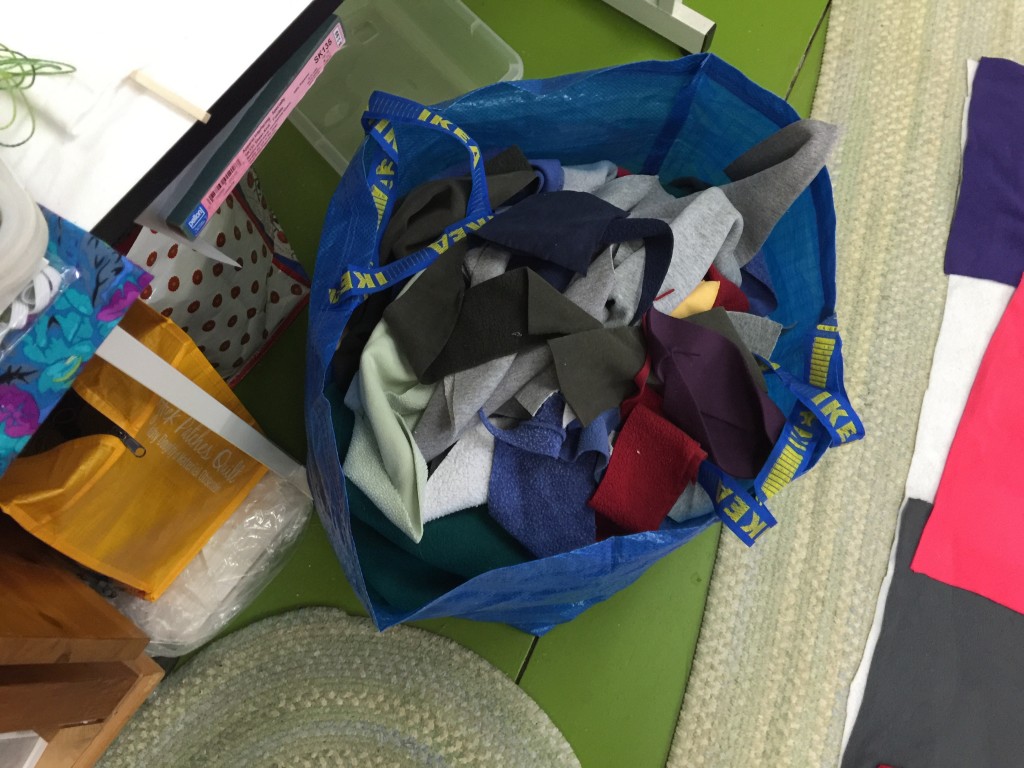
These are just a few of the leftovers!!!! Yes, that is one of those huge IKEA bags. I started with the equivalent of three of those!
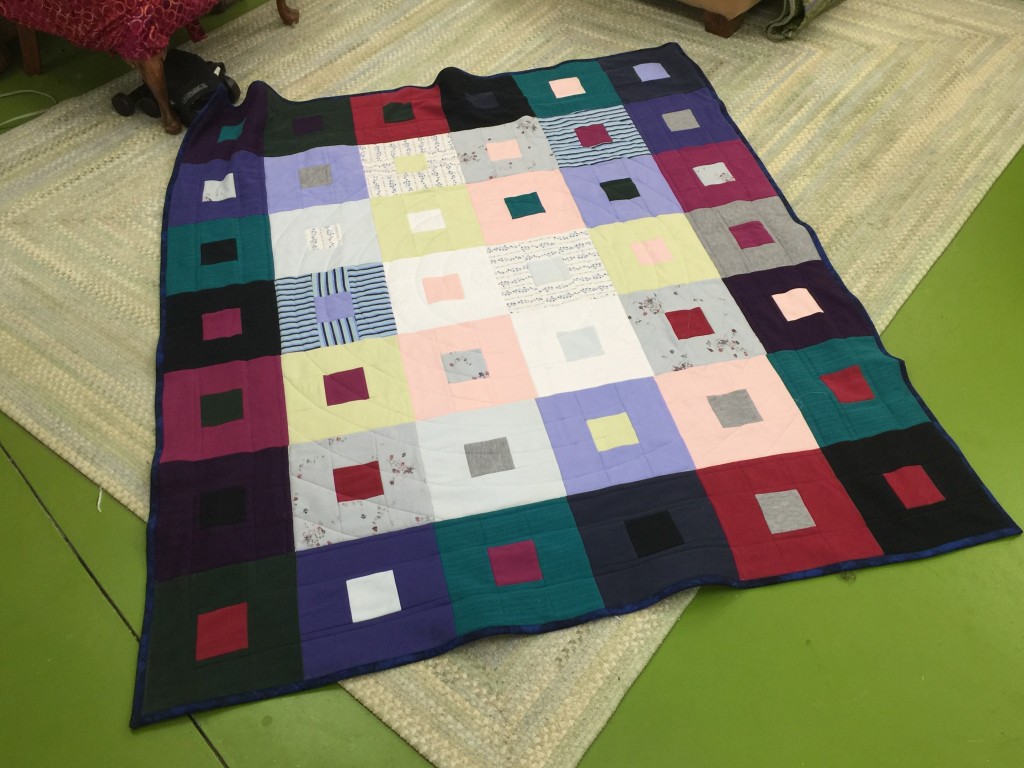
And Sue asked if I could make two quilts, not one–one for her and one for her brother. Sure! I showed Sue the images of quilts I’d found and she picked the square in a square design you see above. The original was quite scrappy, and went from lights in the center to mediums to darks, with a half-drop on the columns. Alas, I seem to have deleted the original photo, plus I don’t know where I saw it anyway!
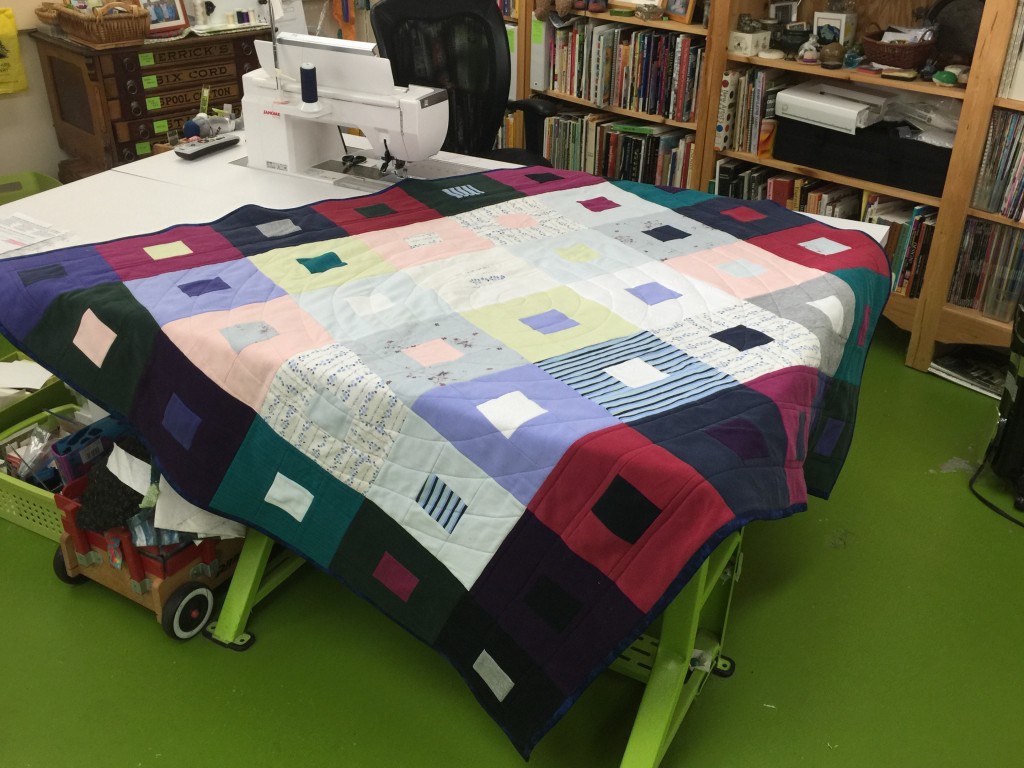
The second quit, on my sewing table. It is about 60×66 inches finished.
Well, let me tell you–the lesson is to make sure FIRST what the fabrics are. Then see if you can ask (I didn’t) if you could buy and use something woven for the back. I didn’t fully realize how much time it was going to take to prepare the fabrics. First I had to cut apart the shirts and sweatshirts and nighties. Then I figured out how I could maximize the fabric in the body and sleeves. I cut those bits a bit oversized and, having made a trip to Joann’s Fabrics with a fifty percent off coupon to buy a bolt of tricot interfacing, I starting fusing the interfacing to the stretchy turtleneck fabric. Then I made another trip to Joann’s and bought another bolt (almost used up).
FINALLY, I could start cutting out the pieces. I decided given the fabric, it would be best if I used a 3/8″ seam (from needle to edge of walking foot) and pressed the seams open. And I decided to use only turtlenecks and nighties for the top, leaving the sweatshirts I had deconstructed for the backs. I sorted and stacked. I sewed blocks, trying not to duplicate any pairing of fabric. I realized that I had lights and darks, but no mediums. OK, the point of this quilt is love and family, not duplicating a picture from the internet. Mental adjustment.
Once I got to sewing, it went fairly quickly: sewing the blocks for and assembling the two tops took less time (by quite a bit) than prepping the fabric! I divided the blocks into two pretty equal piles and started plopping them on the design wall. Turned out I had enough for two very similar quilt tops six by seven blocks (they are about 9.5 inches finished).
Next: backing. I laid out the sweatshirt fabric: enough for one backing. So I also cut apart the fleece tops. I decided to make one quilt with only sweatshirt fabric, the other with only fleece, to avoid “bad behavior” on the part of the fabrics.
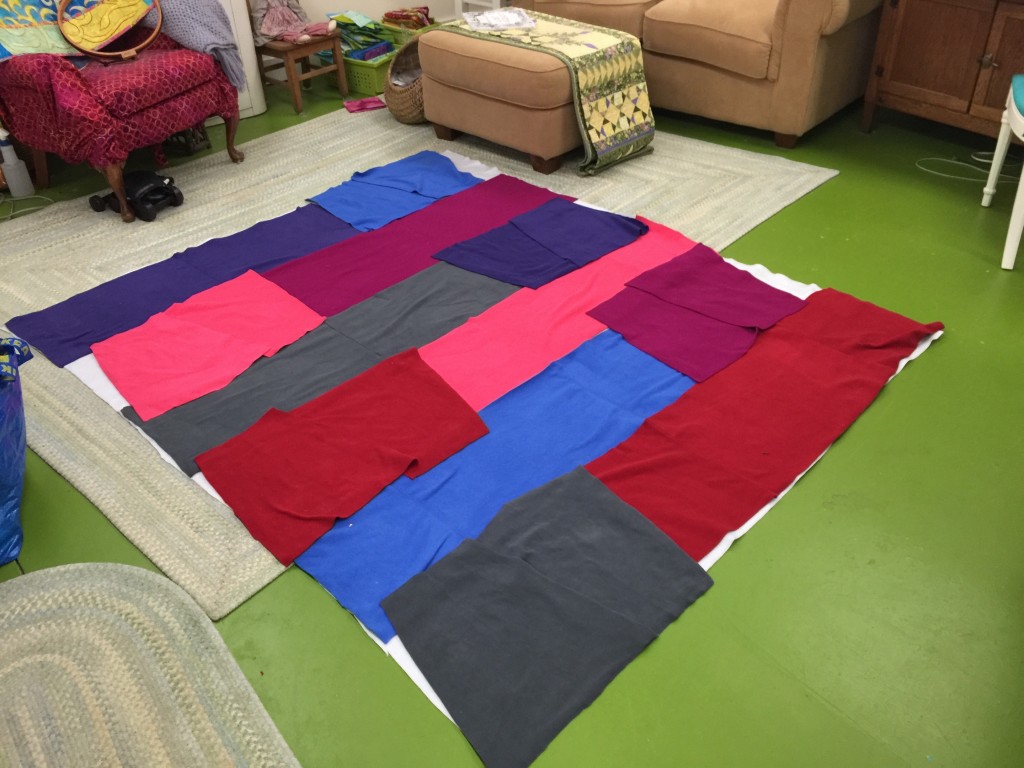
Laying out the fleece for the second backing
I cut batting (poly needle punched from Quilters Dream) a little larger than I needed. Then I sewed the larger squares to the batting batting by overlapping the edges and using a zigzag to join the “seam” and attach it to the more stable batting. Regular seams would have been ridiculously bulky and stiff. I didn’t interface the backing as the quilt was going to weigh a ton already, plus I didn’t think the interfacing would stay stuck long enough to do any good.
I used the walking foot (thank heavens) on my Janome 15000 (thank you again to Janome America for their support and the loan of this phenomenal machine) to quilt a spiral from the center out, then switching to straight lines in the dark border. I used a variegated light color for the center, and a purplish variegated for the outside (Superior Threads).
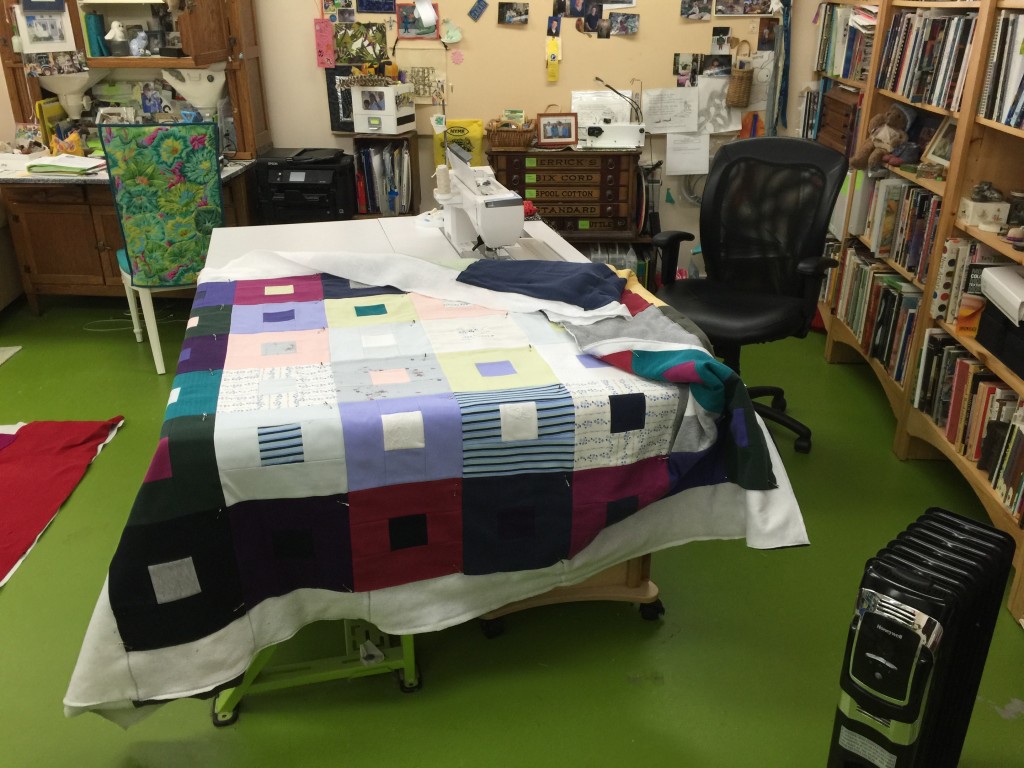
Quilting in progress….it was a workout
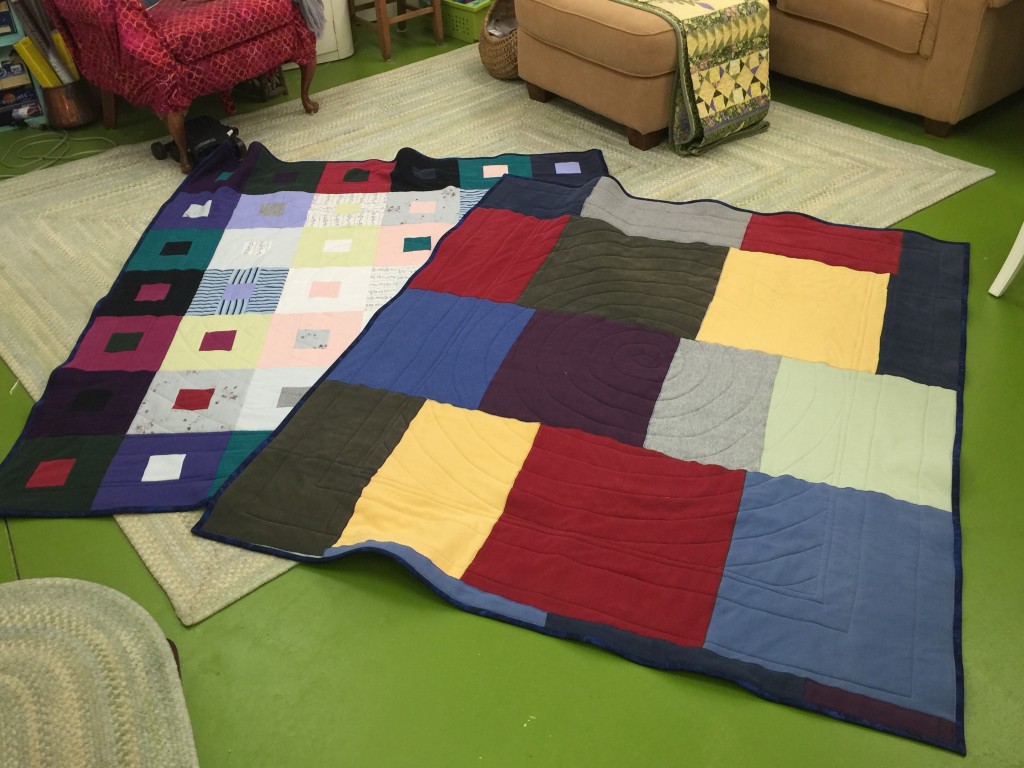
The two lap quilts, the one with the sweatshirts on the back is on the right, back side up. Can I just say it weighs a flipping TON!
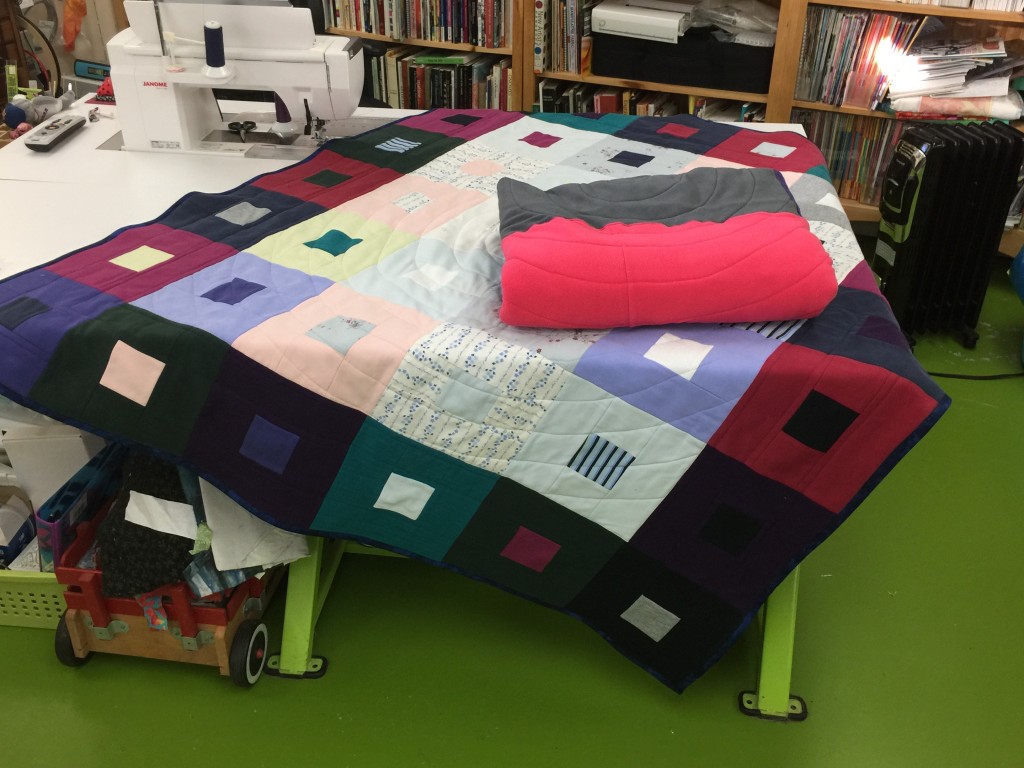
The two quilts, the one with fleece on the back folded and on top of the other one.
The only thing from those three big bags I did not use was the green fleece bathrobe! I have a few sorta larger pieces of fleece left, and then stuff like the cuffs and top of shirts left. And oh….I used a dark blue solid for the binding. Done!
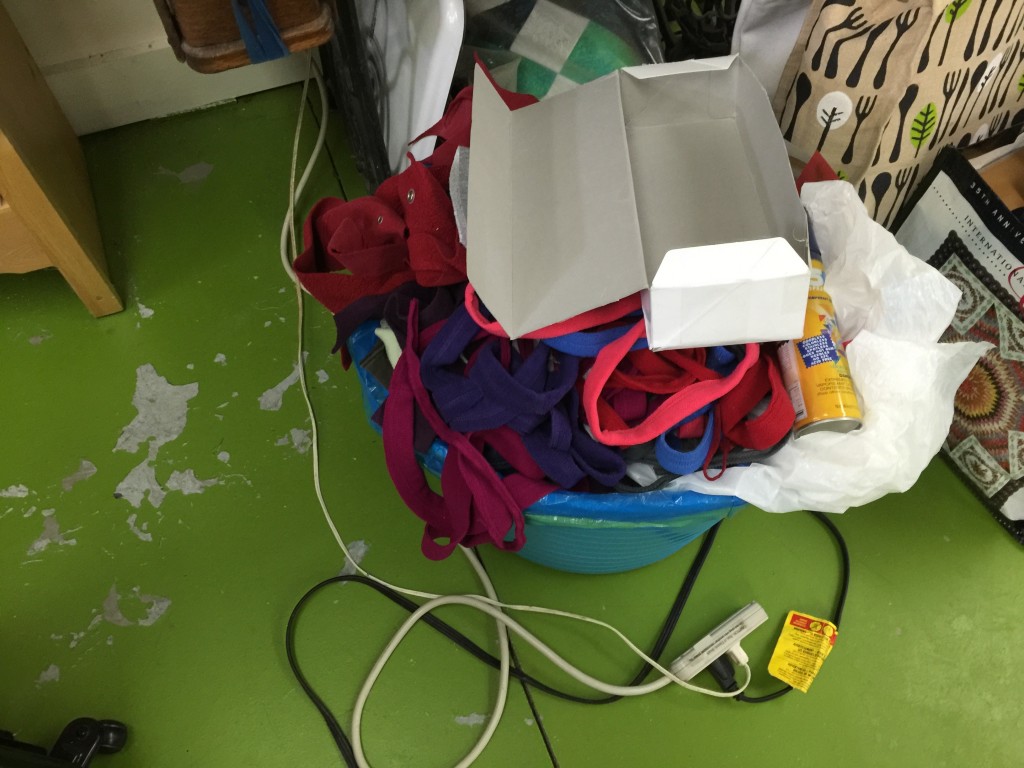
The slivery bits too small to use for anything else–yes, my garbage in my studio is one of those big garden tubs!
I’m so glad they are done, and so glad I was able to make them. It will be a while, though, until I do another something like this–I may need to lift weights to be ready for the quilting process! Eli may want a t-shirt quilt for college, but I’ve already told him, it must have woven cotton sashing on the front and a regular quilting cotton on the back! I’m really looking forward to being able to give these to Sue (or have the kids take them down to Connecticut to her) and really, really hope she and her brother like them and enjoy being snuggled in a “hug” from their mom / mom’s quilt!