Christmas Quilts, Christmas Memories
Tuesday, December 27th, 2016Christmas may be over officially for 2016, but it will come around again. And now that the recipients (except for Kate C.–don’t read this post Kate!) have received and opened their gifts, I can share. I’d love for you all to know about Christmas Quilts, Christmas Memories, edited by Karey Patterson Bresenhan and Nancy O’Bryant Puentes, the cousins who were half of the four (along with their mothers) who founded quilter’s Mecca, the International Quilt Festival. This petite square book (my iPhone 6plus is a tiny bit taller) is a holiday gem of antique quilts and Christmas memories — and to my utter astonishment, including yours truly!
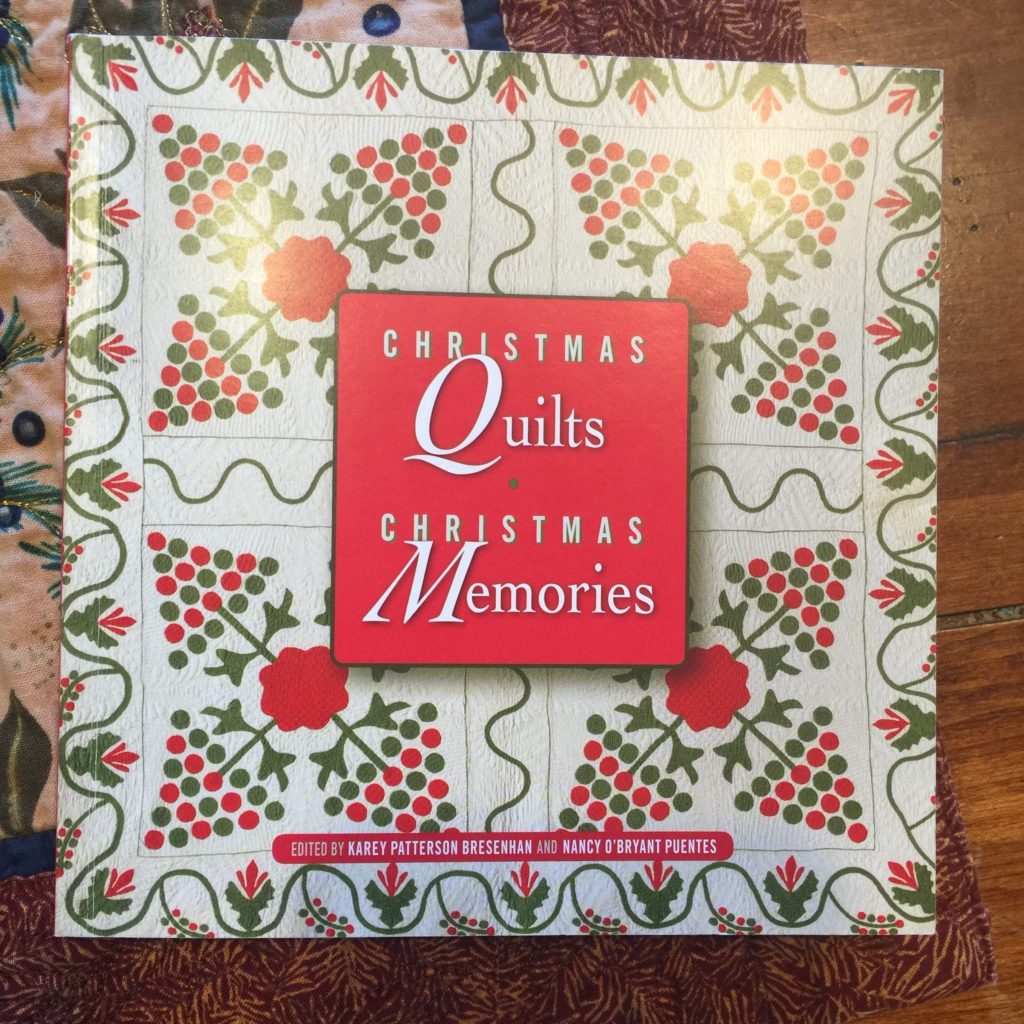
Christmas Quilts, Christmas Memories, Ed. Karey P. Bresenhan and Nancy O’B. Puentes, available from the Texas Quilt Museum
As a contributor, we received a complimentary copy at Quilt Festival this year. I **devoured** the book on my flight home–literally read it cover to cover between Houston and Boston. Well known folks from the quilt community and members of Karey and Nancy’s families shared special Christmas Memories with an antique quilt on the left page. I was astonished that I know of or actually know most of the quilty folks in the book, and I just cherish that they shared their memories. I knew I would order many copies to give before I got off the flight! I gave copies to my sons hoping that they will eventually read the book and maybe find traditions they would like to start for their families and lives.
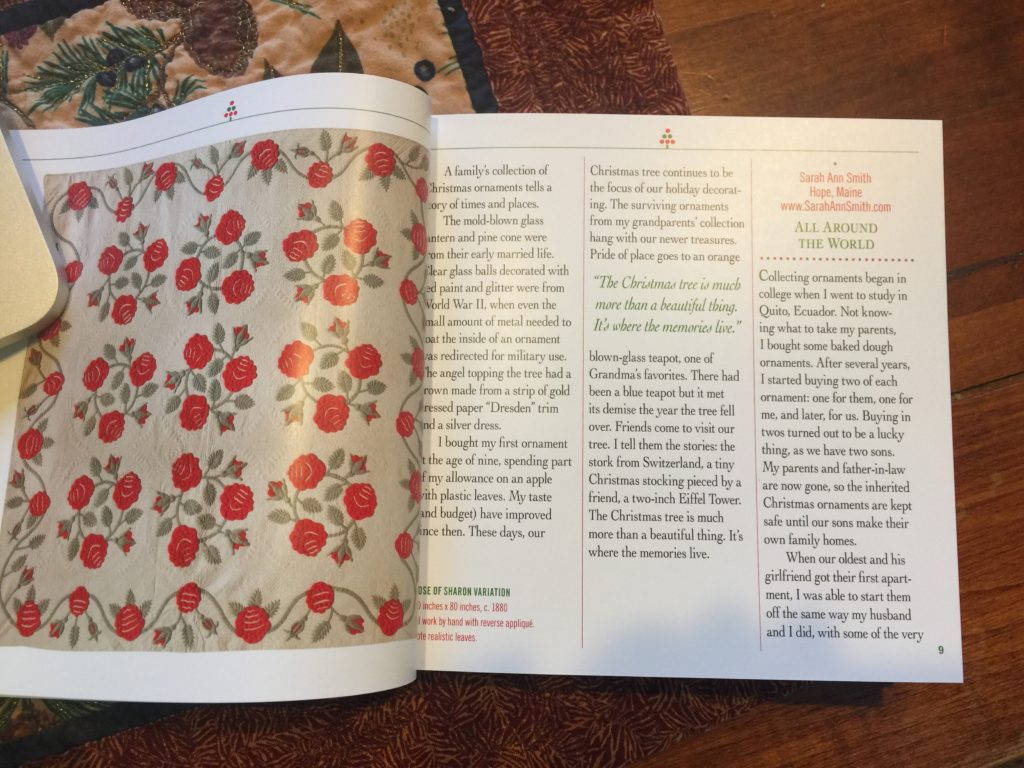
Here’s the start of my memory, about collecting ornaments from around the world, first as gifts for my parents, then as an annual tradition. What’s this year’s ornament going to be?
As I read through the book, I was more and more astounded that I was selected to have my memory included given who else is in the book. As I read, I felt closer to those I know for their quilt pursuits, loved the glimpse into their every day lives and memories. Here’s the stories and the contributors:
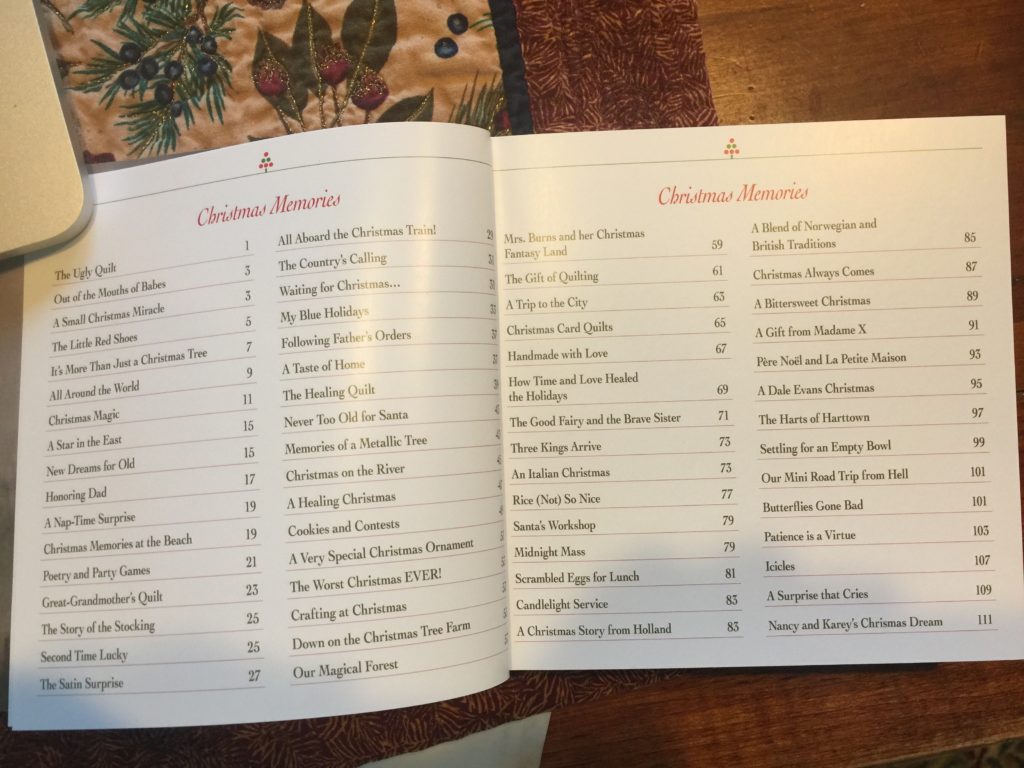
The Christmas Memories table of contents
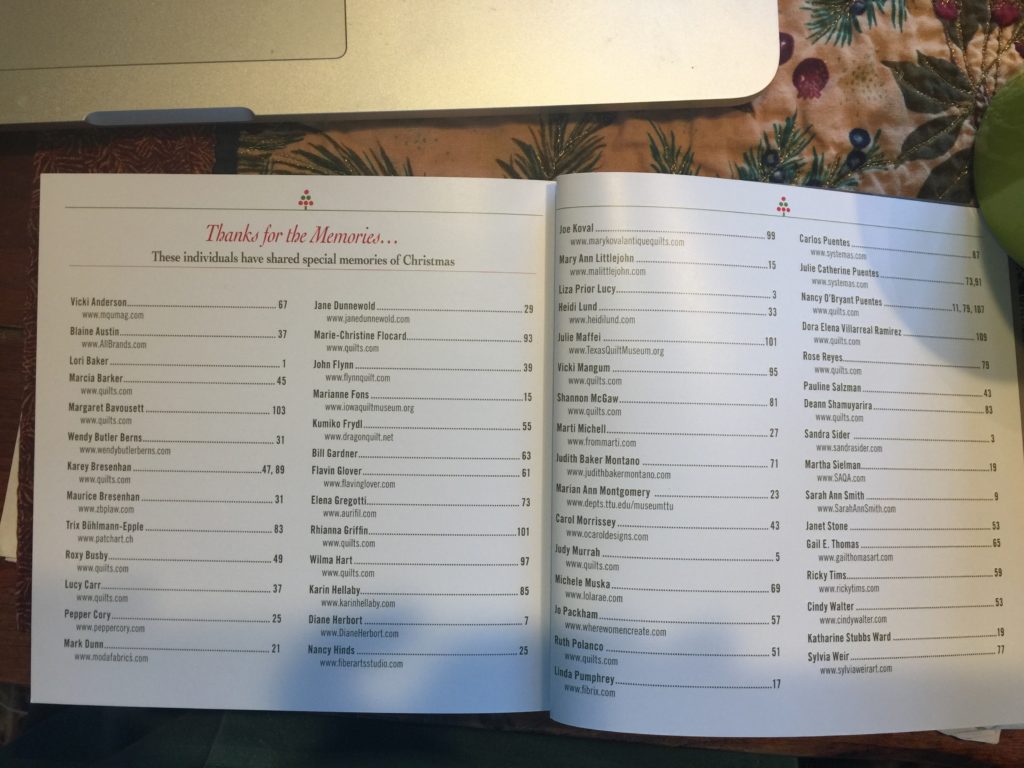
and the contributors to the book
This book is small but delightful beyond all proportion to its size. It is beautifully printed, fits nicely in your hands, and I’m so happy to have it, and still a bit gobsmacked to be in it! You can order it from the Texas Quilt Museum website, here.
And what was this year’s ornament? Well, one of the reasons our tree is groaning with stuff is that we added FOUR this year. In my defense, the two blown glass ones were gifts for the boys to be taken to their own places when they are settled. I am actually looking forward to sharing the bounty with them and not having quite so much to put on (and take off and put away) each year, but love sharing the story that goes with every ornament on the tree.
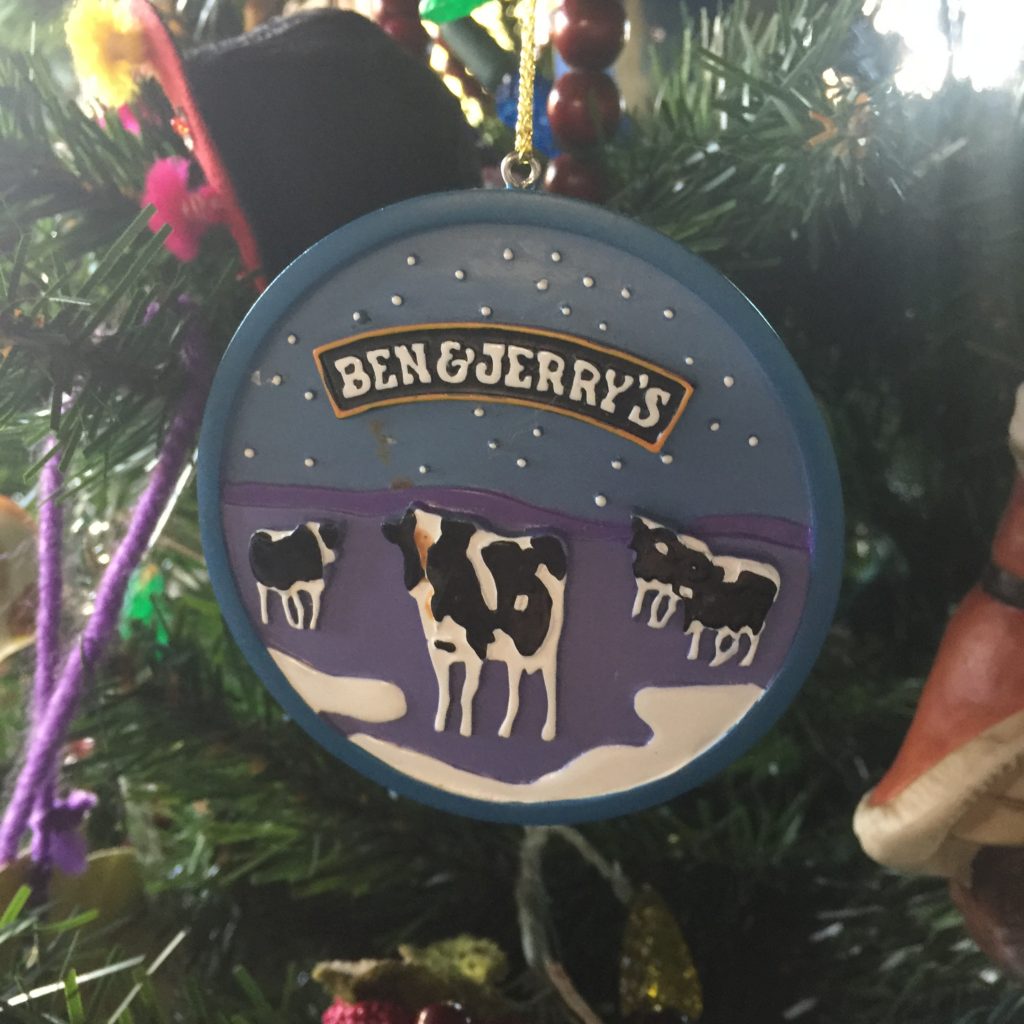
After Eli was accepted to F&M, we went on a college visit and took the long way home via Vermont and the requisite trip to Ben & Jerry’s factory (the original one) and tour. Of course I had to add an ornament–I navigate the world by ice cream stores!
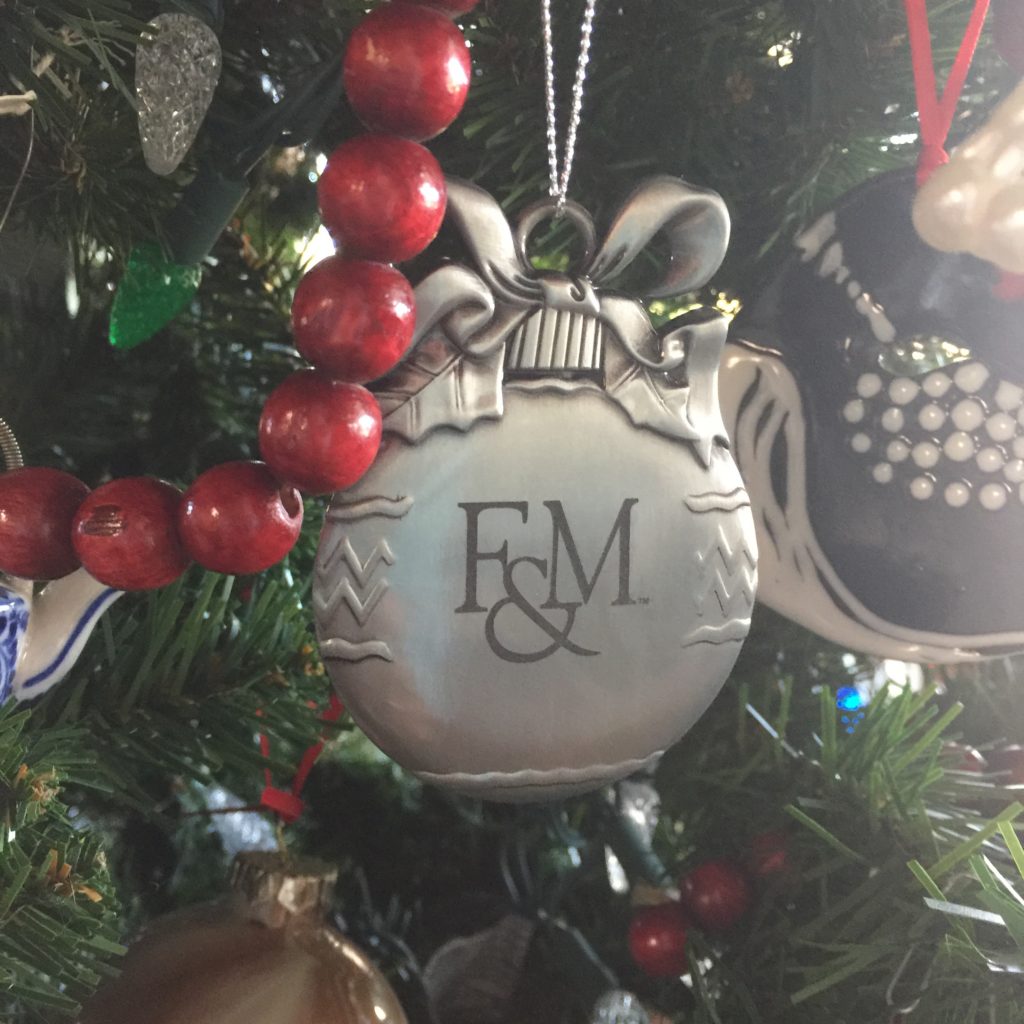
To commemorate Eli’s first year in college, a Franklin & Marshall ornament. Thanks to Eli for adding it to the tree.
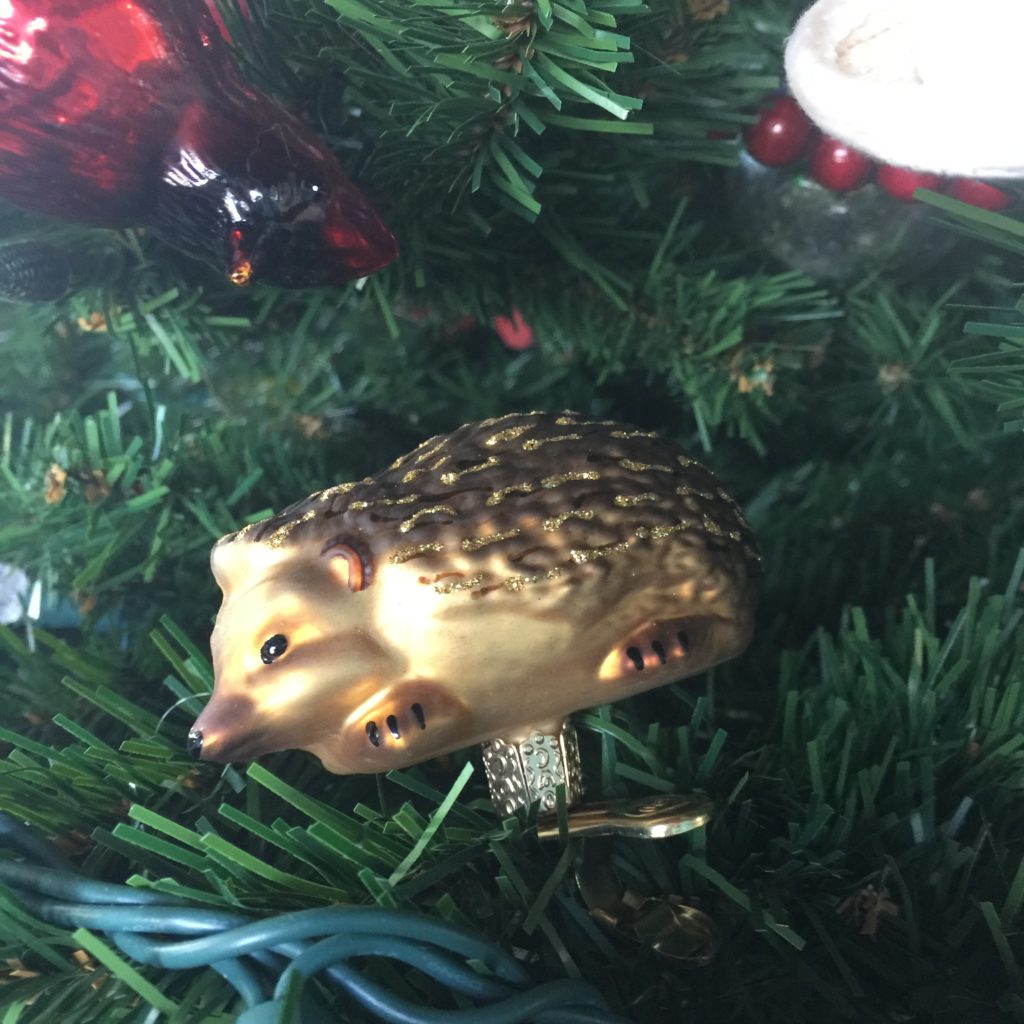
When Eli and I visited England 2 years ago, we went to St. Tiggywinkle’s hedgehog (and now other wildlife too) rescue, about an hour west of London. This one is for him.
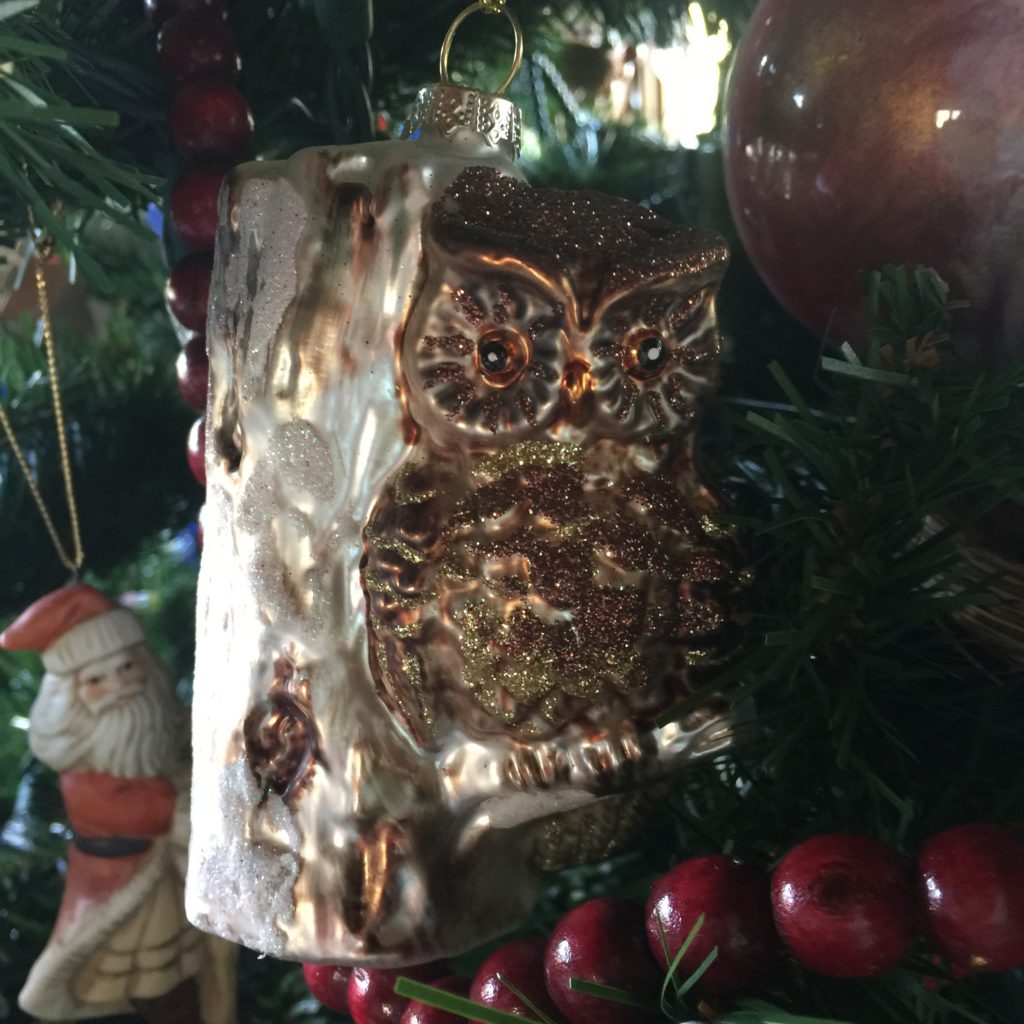
When we lived on San Juan Island when the boys were little, a great horned owl would perch in the fir tree beside our driveway, silhouetted against the night sky. Joshua remembers the owl and we were talking about it not long ago, so this one is for him.
And here’s the groaning tree….honestly, I just LOVE IT! And this year was beyond delightful because all three of the kids, Joshua & Ashley and Eli, helped trim the tree!
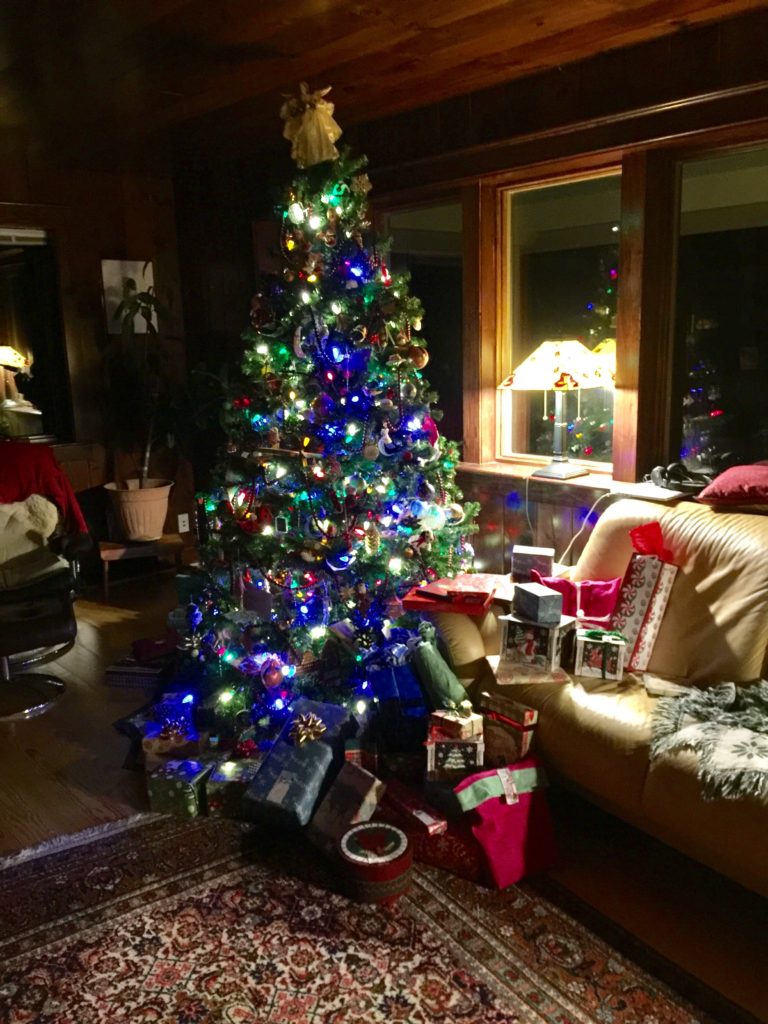
The tree on Christmas Eve after Santa arrived. It was a particularly bountiful year!