Tamara Kate of Kayajoy Designs, Janome Education Summit 2018, Post #4
Friday, July 6th, 2018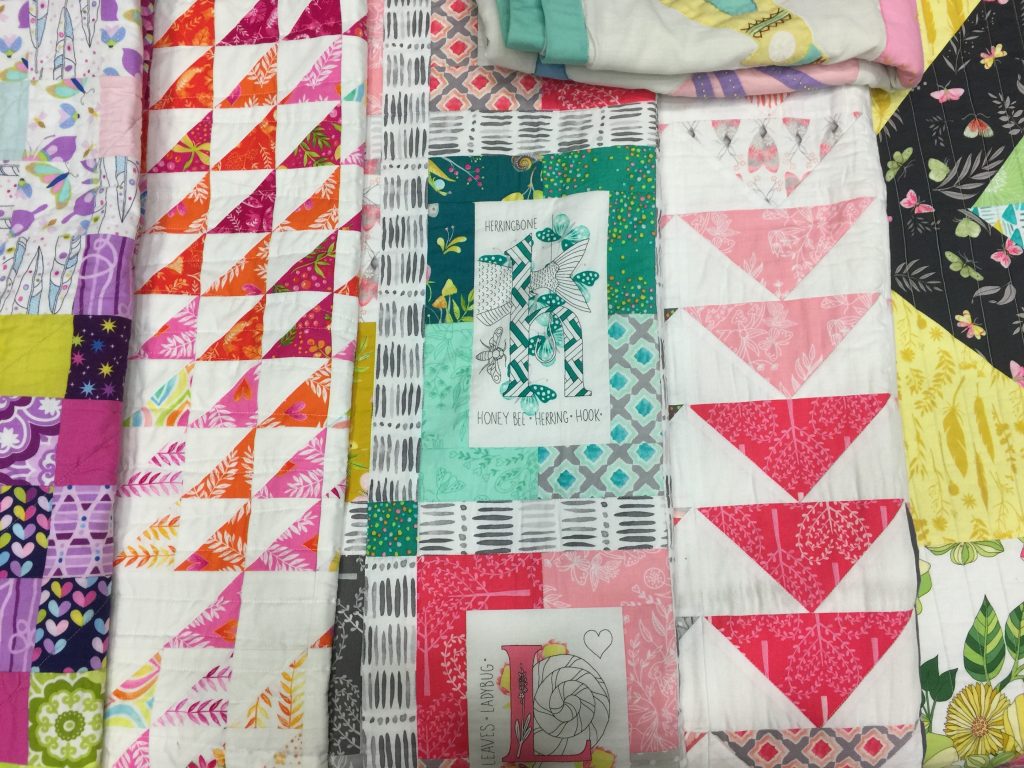
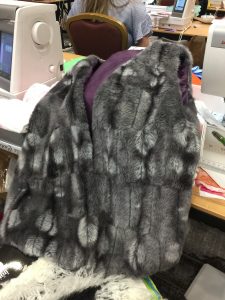
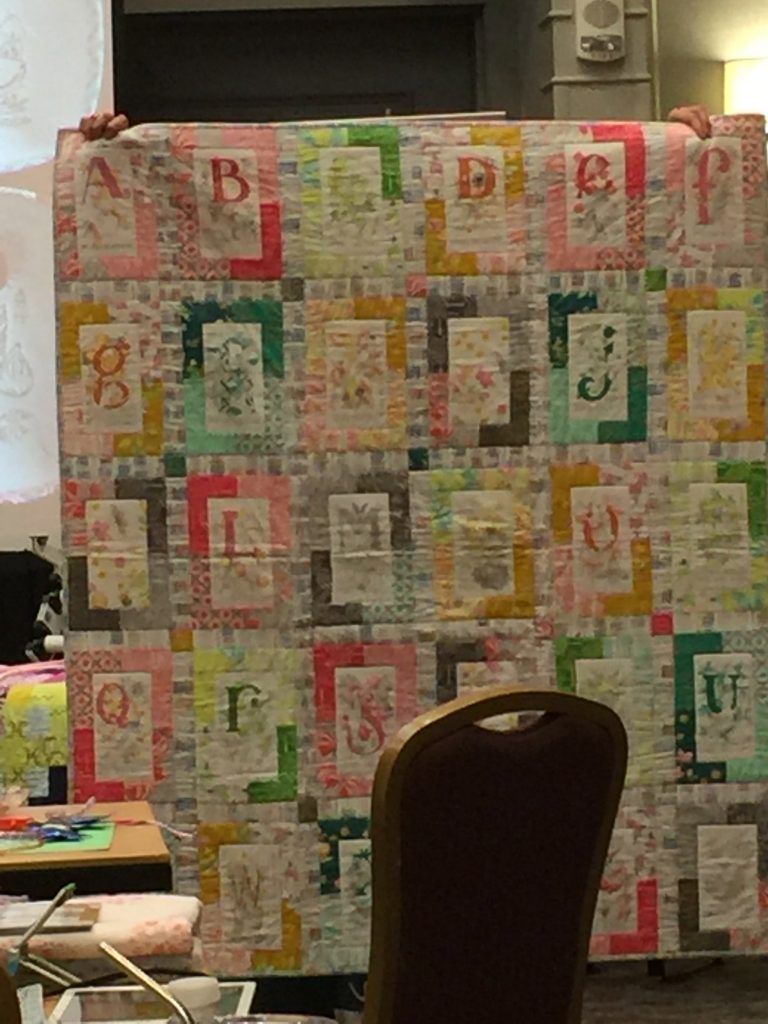
An enticing bit of Tamara Kate’s beautiful quilts and style. These are made with her fabrics, and the “h” and “L” are her embroidery and printed fabric designs. I absolutely love her color palette!
Hi everyone…thought I’d rap up my posts on the Janome Education Summit in late May before they are ancient history. One the first day, I noticed what this woman was doing across the aisle from me with Kimberly Einmo’s flying geese units and fabric, and was smitten instantly. Turns out it is Tamara Kate Serrao of Kayajoy Designs. Her quilts, embroidery and fabrics are so inspiring…if she had had yardage there I would have gone home with a whole bunch! You can find her on FB as well as her website.
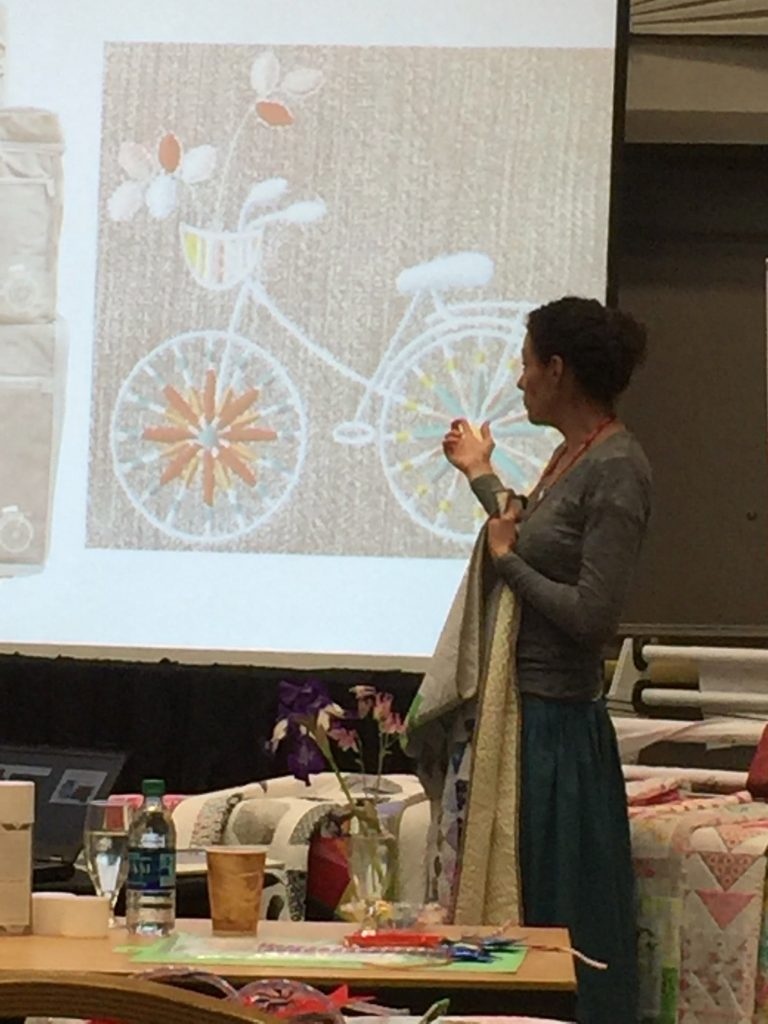
Here is Tamara Kate showing one of her embroidery designs (that was on a tote we got in our swag!)
Tamara Kate has a fascinating background, being from both Nova Scotia and Trinidad. She is the Janome Canada spokesperson, and designed a phenomenal Maple Leaf Quilt as well as a special (gosh I wish I’d known about it) Janome machine for Canada’s 150th anniversary a couple years ago.
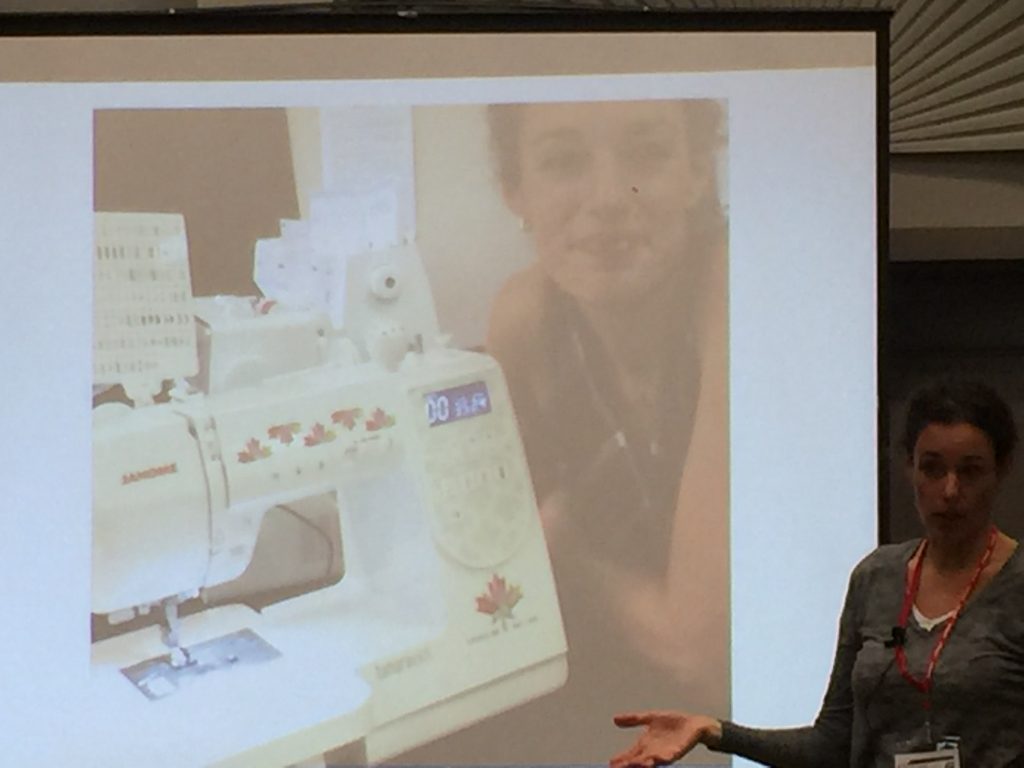
Tamara Kate showing an advert with the machine she designed, complete with maple leaf.
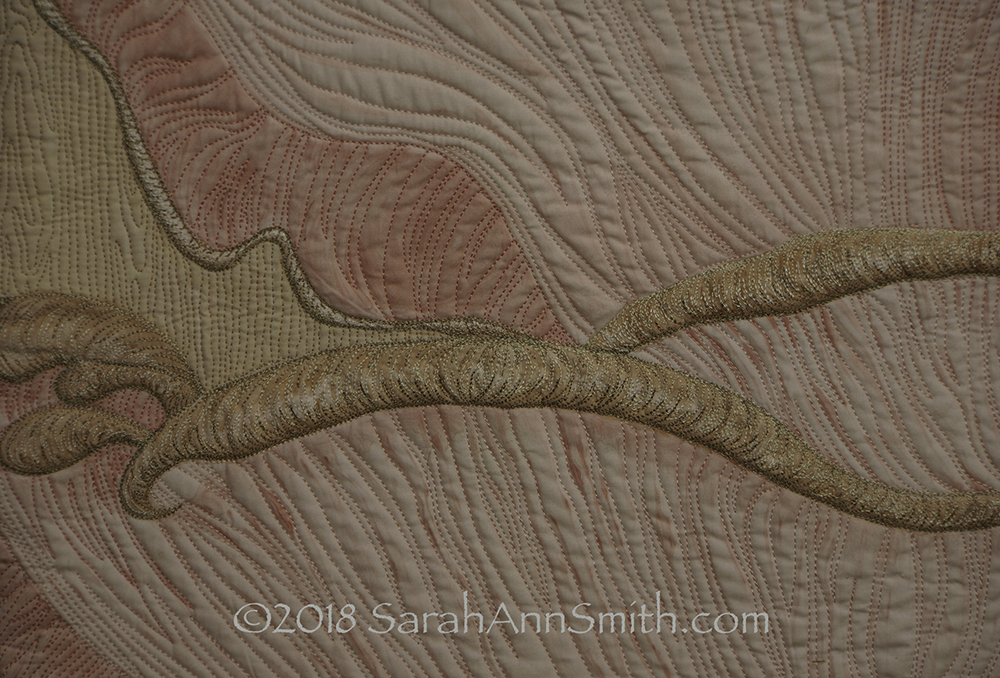
And here is that QUILT….her work is very much in the Modern Quilt aesthetic, but it also is infused with this like watercolor-y feel, palette and fresh vibe that still pays homage to our quilting history.
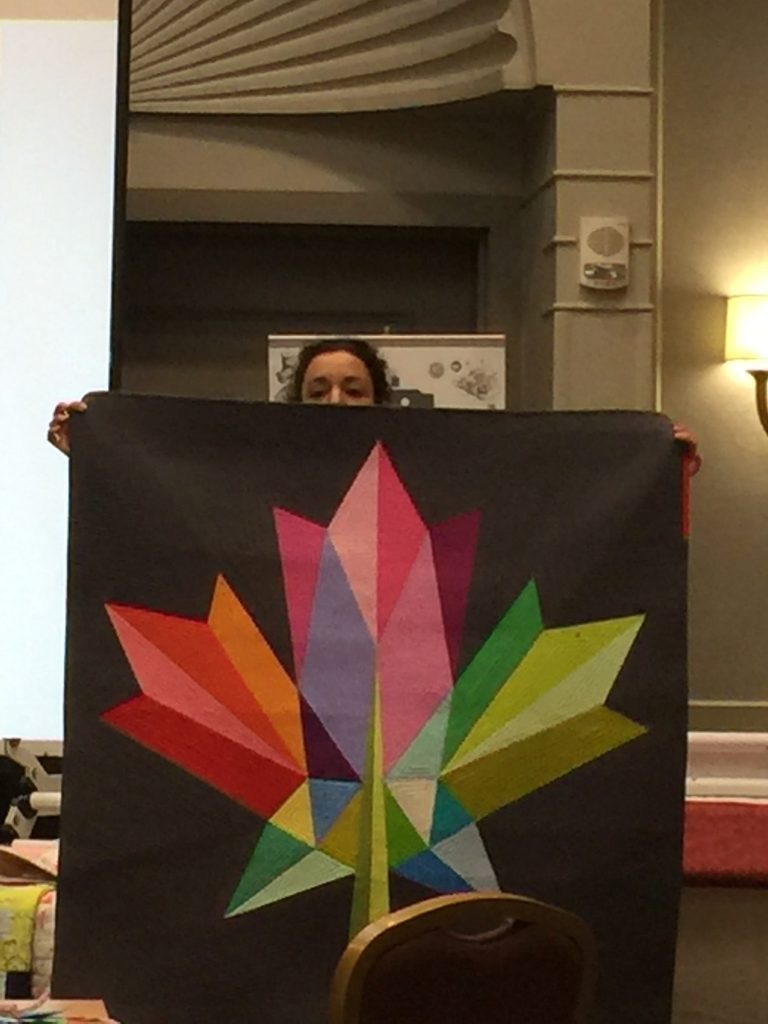
Tamara Kate Serrao’s phenomenal and inspiring Maple leaf quilt. Pattern available here.
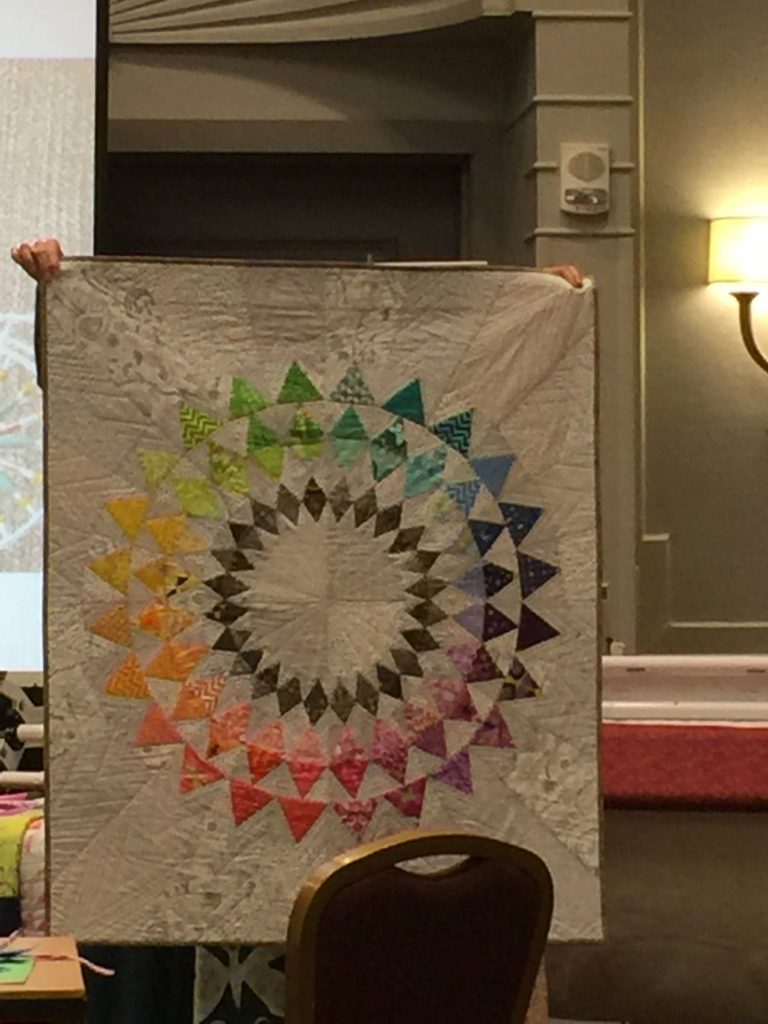
You can see this quilt on her website and find the first of several blogposts at JanomeLife.com with instructions on making this quilt here: https://janomelife.wordpress.com/2016/09/07/tamara-kate-quilt-along-part-1/ Have I mentioned recently how much I love her colors?
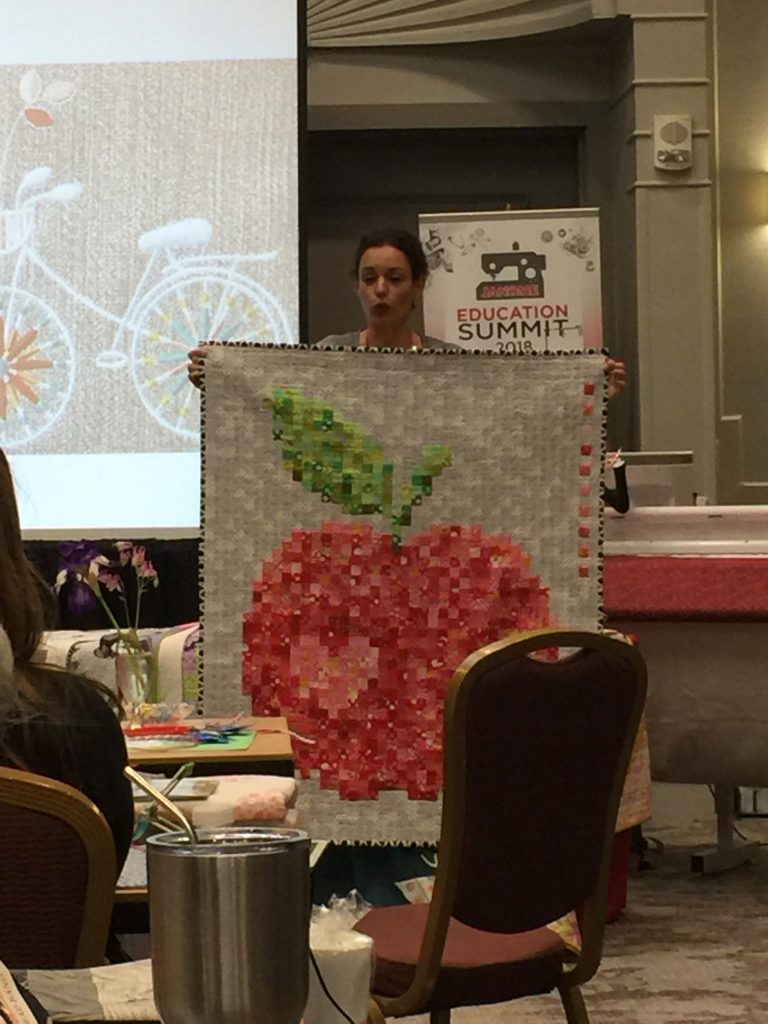
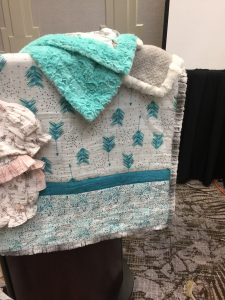
More wonderfulness from Tamara Kate; check her Quilt Tutorials page for info on the quilt above and the one below: https://www.kayajoydesigns.com/tutorials/quilts/
I WISH I had seen the fabric and whatnot when it was available… i love the joyfulness of this quilt.
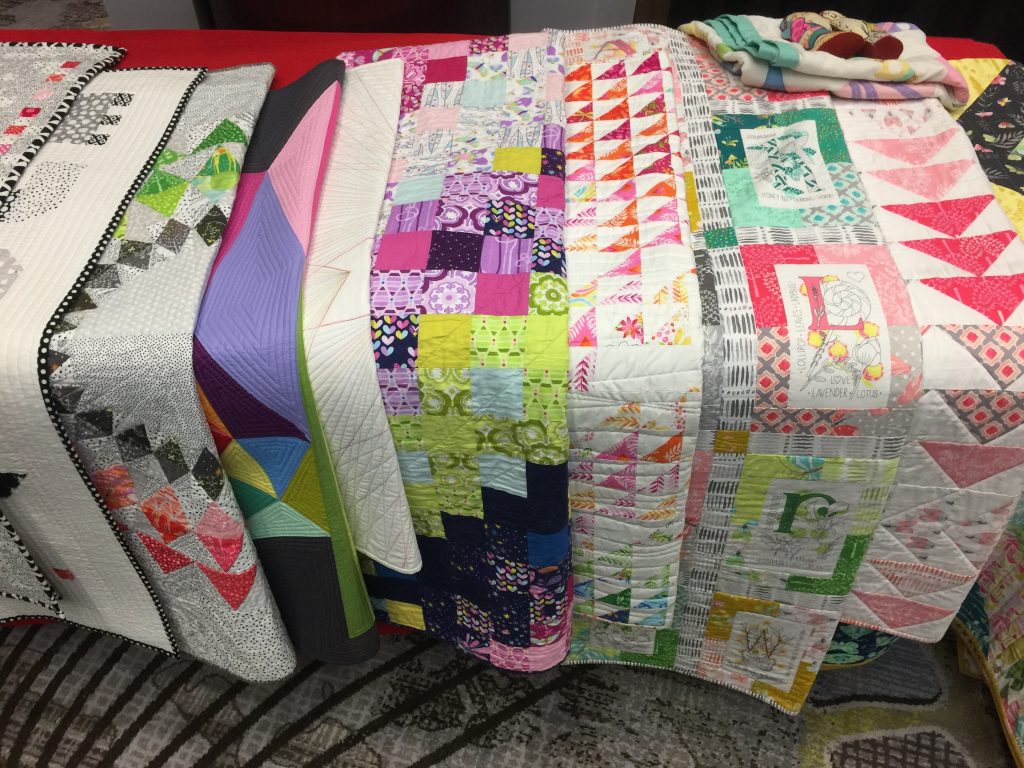
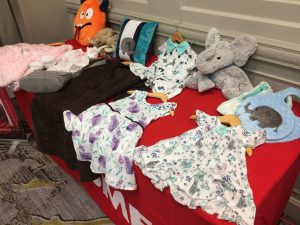
One more chance to enjoy her quilts…..Makes me want to not do the things I am supposed to be doing and just cut fabric and sew something joyful!
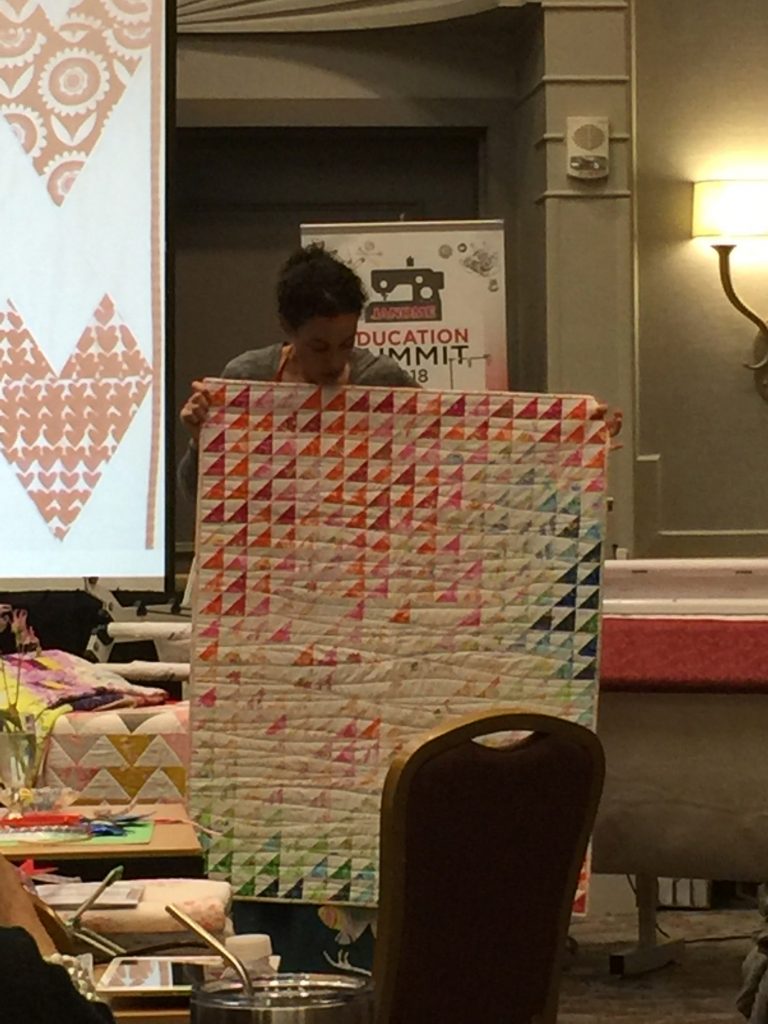
A fresh approach to half square triangles
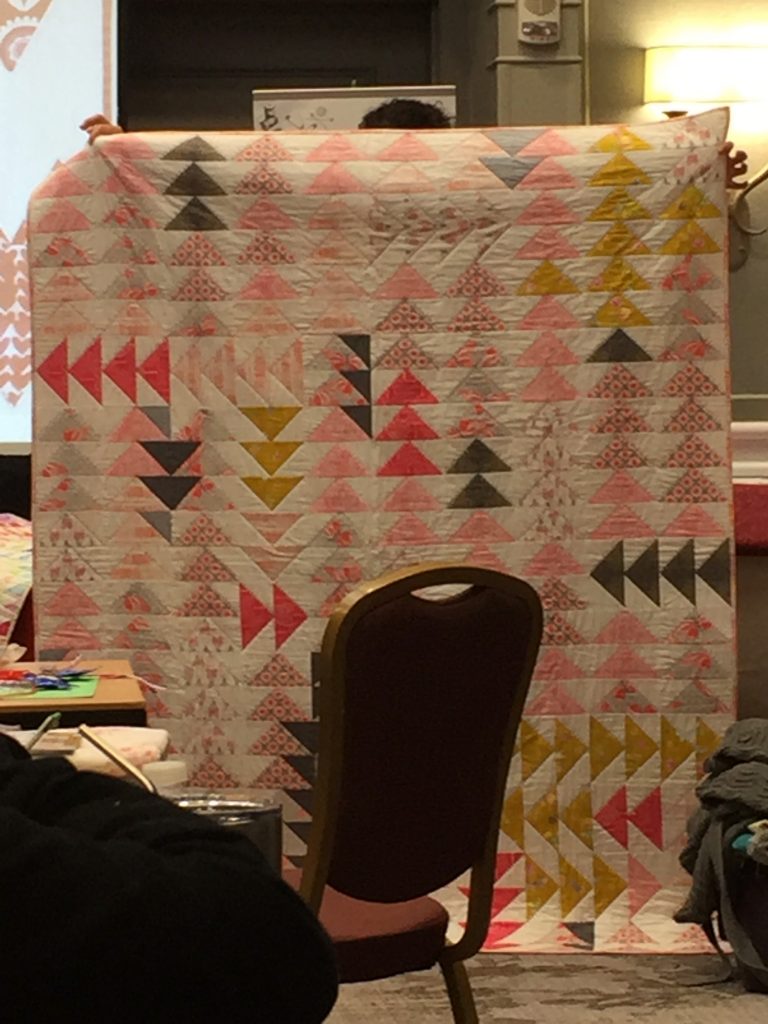
Be still my beating heart…THIS is flying geese quilt!
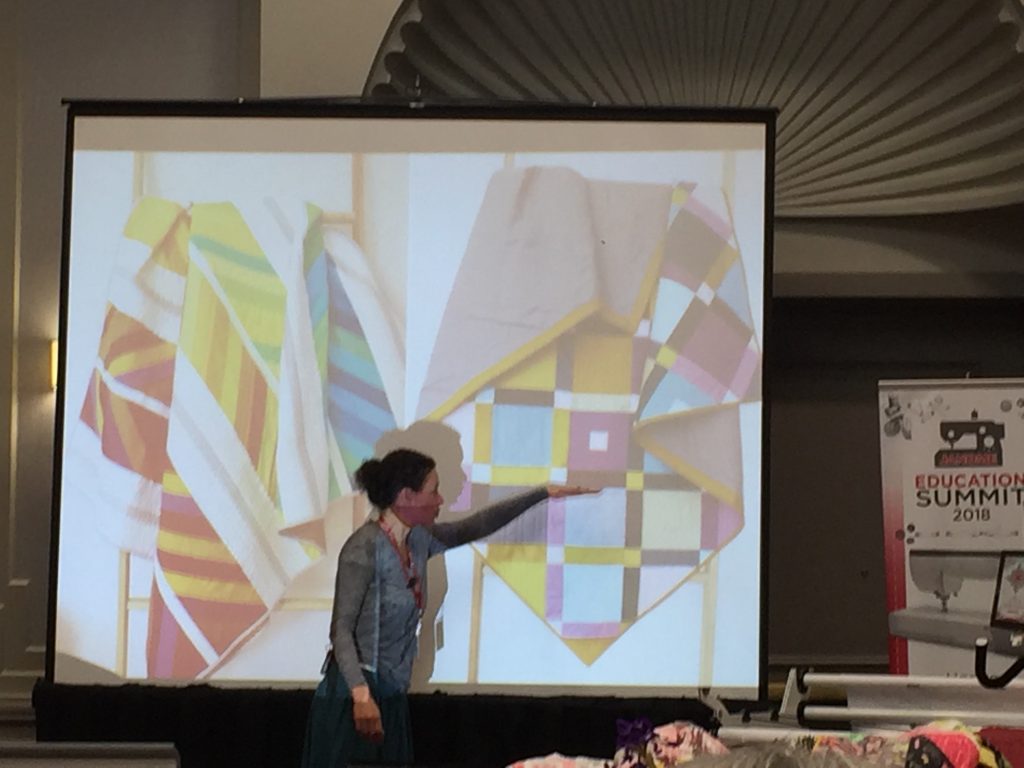
And Tamara Kate showing a few more of her quilts
And the last pic…Janome had brought in their top of the line 15000 machines and iPads and stylus for us all to try sketching our own designs. Due to slow wifi, we did a test-quilt (in a hoop using the embroidery module) using a pre-loaded design. But of course I had to do a quick (and wobbly) sketch of the Flying Pug!
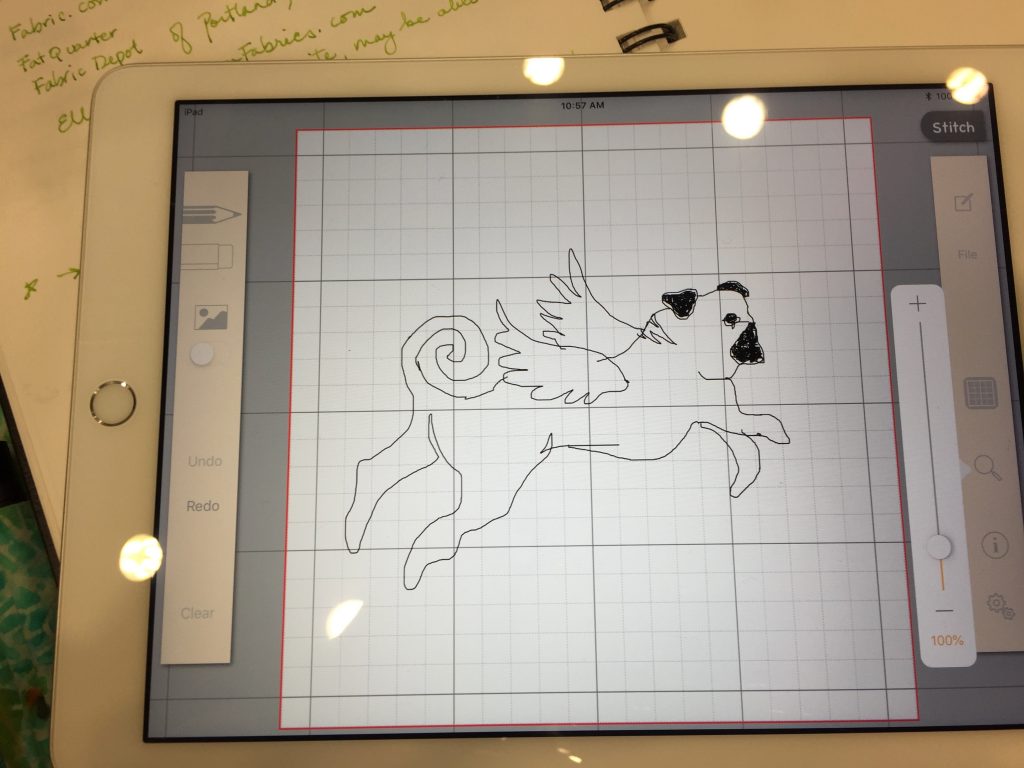
It was really quite easy to create a design…this was done in a rush. I’m thinking with even a little practice one could get quite fun results easily. I had a loaner 15000 machine. I’m not an embroidery person, but the machine was easy to use without special instruction and the table runner I made using it is one of my favorites.
Yep, I think I have to confess to being a total fan-girl! More fun stuff from the Education Summit in the coming days.