Dinner Cruise to Statue of Liberty, Janome Education Summit Post #8
Sunday, July 15th, 2018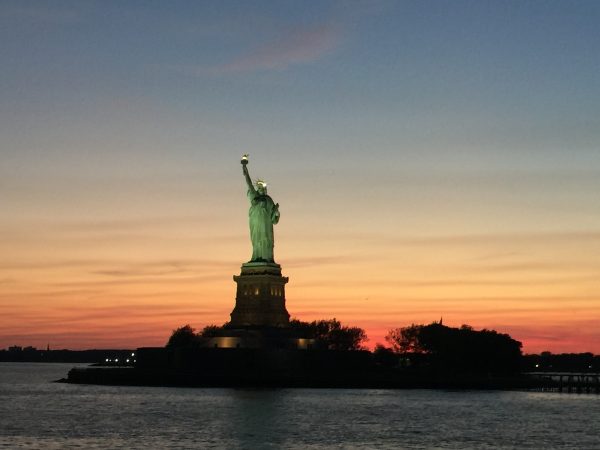
OH MY….let’s just say every single person on the boat was snapping pics like mad!
Though this was the evening before the last session, it needs to go last as a spectacular wrap-up to a fun and informative week at the first ever Janome Educational Summit. We had Artisans and Makers from the US and Canada, members of Janome America and Janome Canada staff, so many generous and inspiring sponsors, worked on the Janome 15000, 9400, Serger, Cover-stitch machines, did piecing, quilting, Acu-design work, worked on garments, fleece, double gauze, knits, learned about industry trends and upcoming machines and campaigns, and most of all had a blast getting to know each other. It is amazing how quickly a community of like minded souls can meld into a group that sticks together even after you go home.
At the last minute, just the Friday before the summit (we arrived Monday afternoon), Shin Yamamoto the President of Janome America, decided they needed to lay on something special for our last evening. OH MY did they ever! A dinner cruise on the Hudson from NJ down to the Statue of Liberty and back. The rain of the earlier week had vanished, the temperature was perfect, the humidity low. Traffic en from Park Ridge to up by the Hudson and back was something else again for this Maine Mom (more cars in the 90 minutes it took to get there, there were more cars on that route than I think in the entire state of Maine), but what a treat.

At the dock waiting to depart
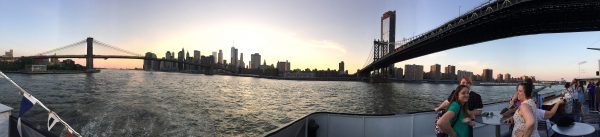
Sailing under the bridges…arches that I recognized from photos of NYC and some of the Janome crowd, including my main contact Erin S.
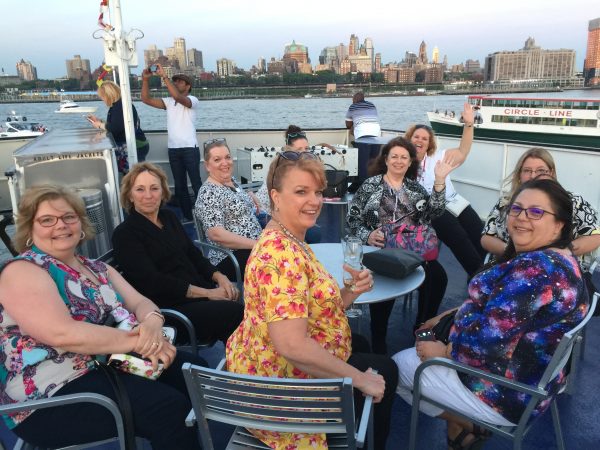
After dinner up on deck, the Janome crowd enjoying the perfect weather…gosh what a FUN group. The collective skill level in that room was beyond amazing!
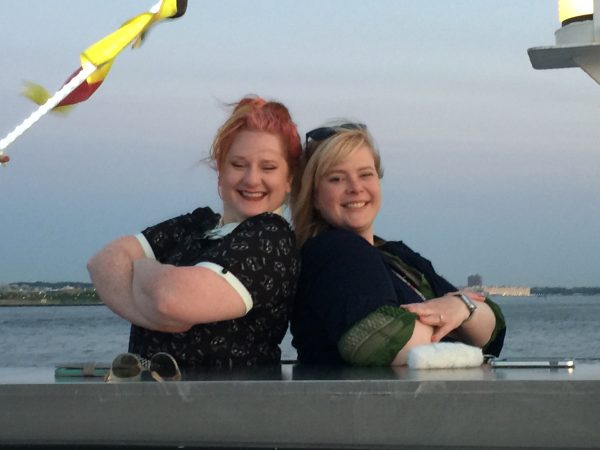
Miriam and Karen….what a fantastic photo!
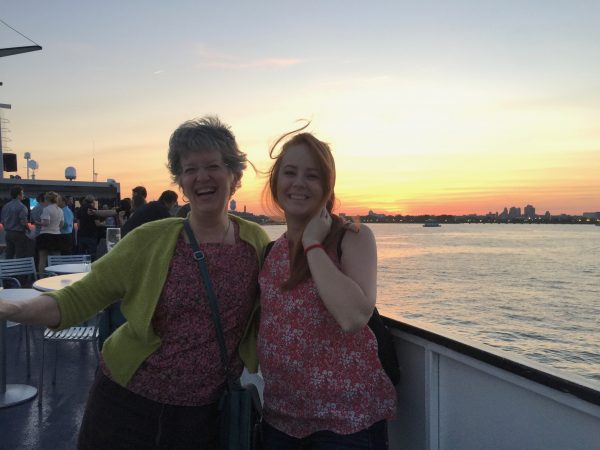
Me and Meredith–can you tell we were having fun?
Terry, Sam, Meredith and the sunset, Liz, Miriam and Karen behind the pole
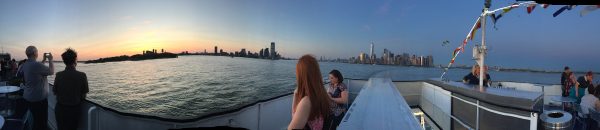
MORE sunset, Statue of Liberty at far left
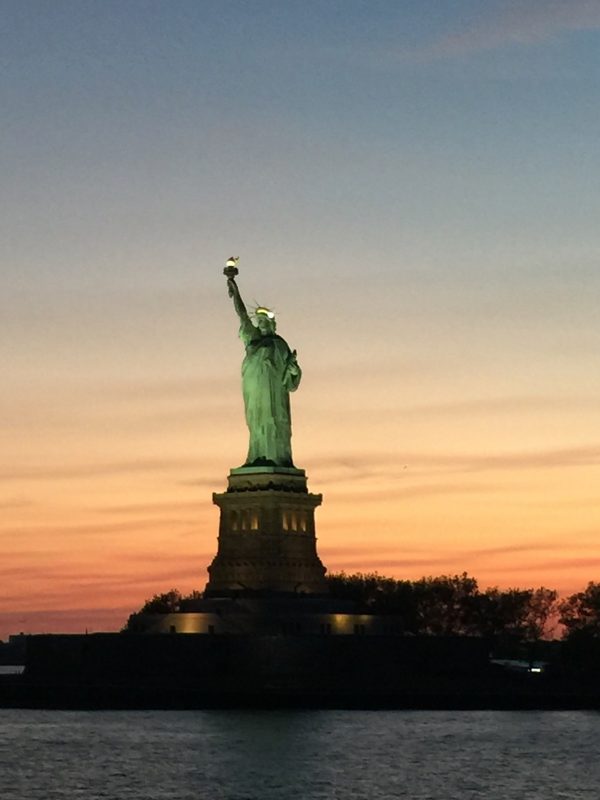
Lady Liberty, as the Star Spangled Banner and God Bless America / Land That I Love (cue Kate Smith!) played. Utter. Complete. Perfection!
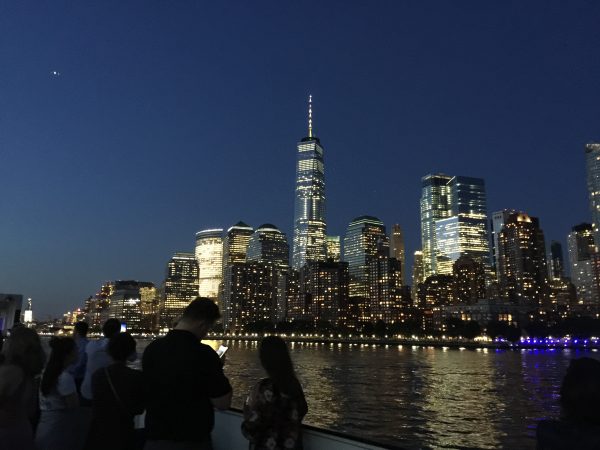
After the Statue of Liberty we turned around to head back to the dock, as night fell and the lights came up. Magical!
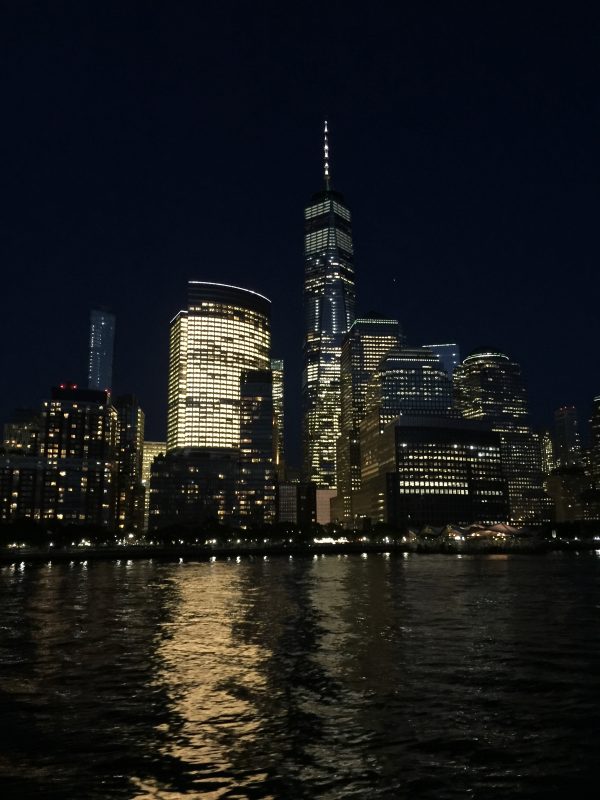
I’m so not a city girl, but if you’re gonna do city, this is pretty spectacular. Look at those reflections in the water!
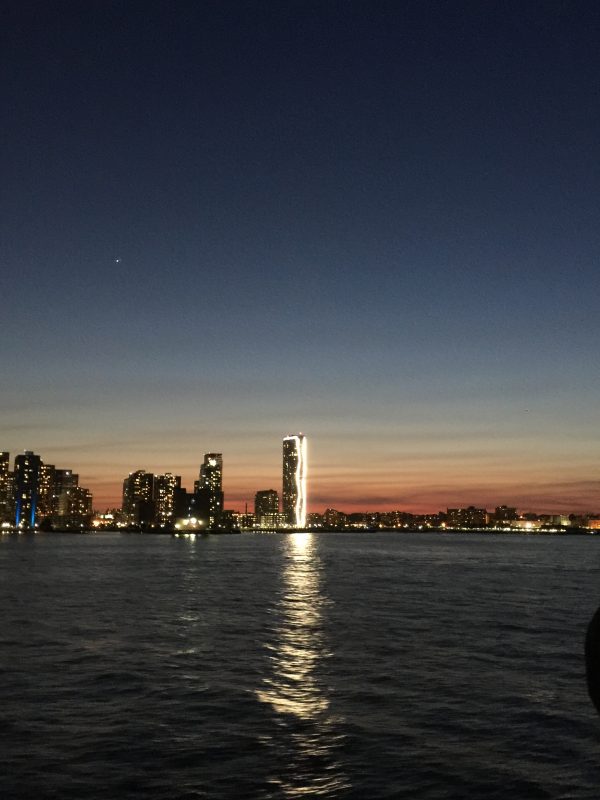
The NJ side of the Hudson as we headed back…loved the light falling light water down the side of that skyscraper.
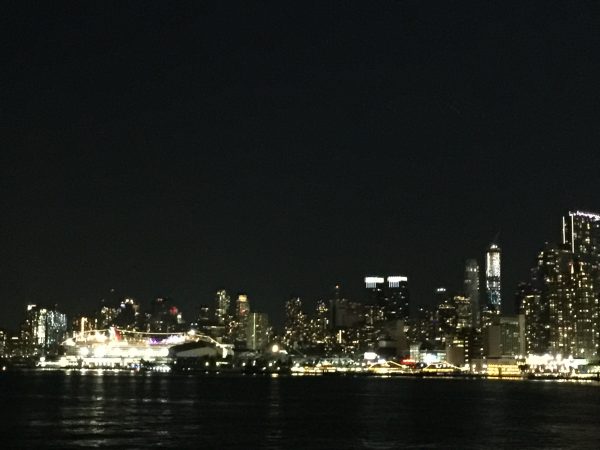
The end of the trip. WOW. THANK YOU JANOME AMERICA, and you betcha I’m shouting!
Thank you Shin Yamamoto and David Manierka for being such good advocates for Janome, Janome users, and all the folks at Janome, and for such a phenomenal week. It was such a treat to be able to meet in person folks from shipping to marketing to headquarters whose names I have known these past fifteen years. THANK YOU Regena Carvelaro for putting together a Summit that has to rival the best of these events anywhere, any time. Thank you Erin Schlosser, for being a great contact, for supporting the makers and artisans that work with Janome, for all you did to make this event such a success. And thank you to the sponsors/presenters, Educators, Makers and Artisans who were the lively, inspiring heart and soul of this event. Let’s do it again!
SaveSave