International Quilt Festival #1: Tuesday, Birch Pond Seasons
Wednesday, November 21st, 2018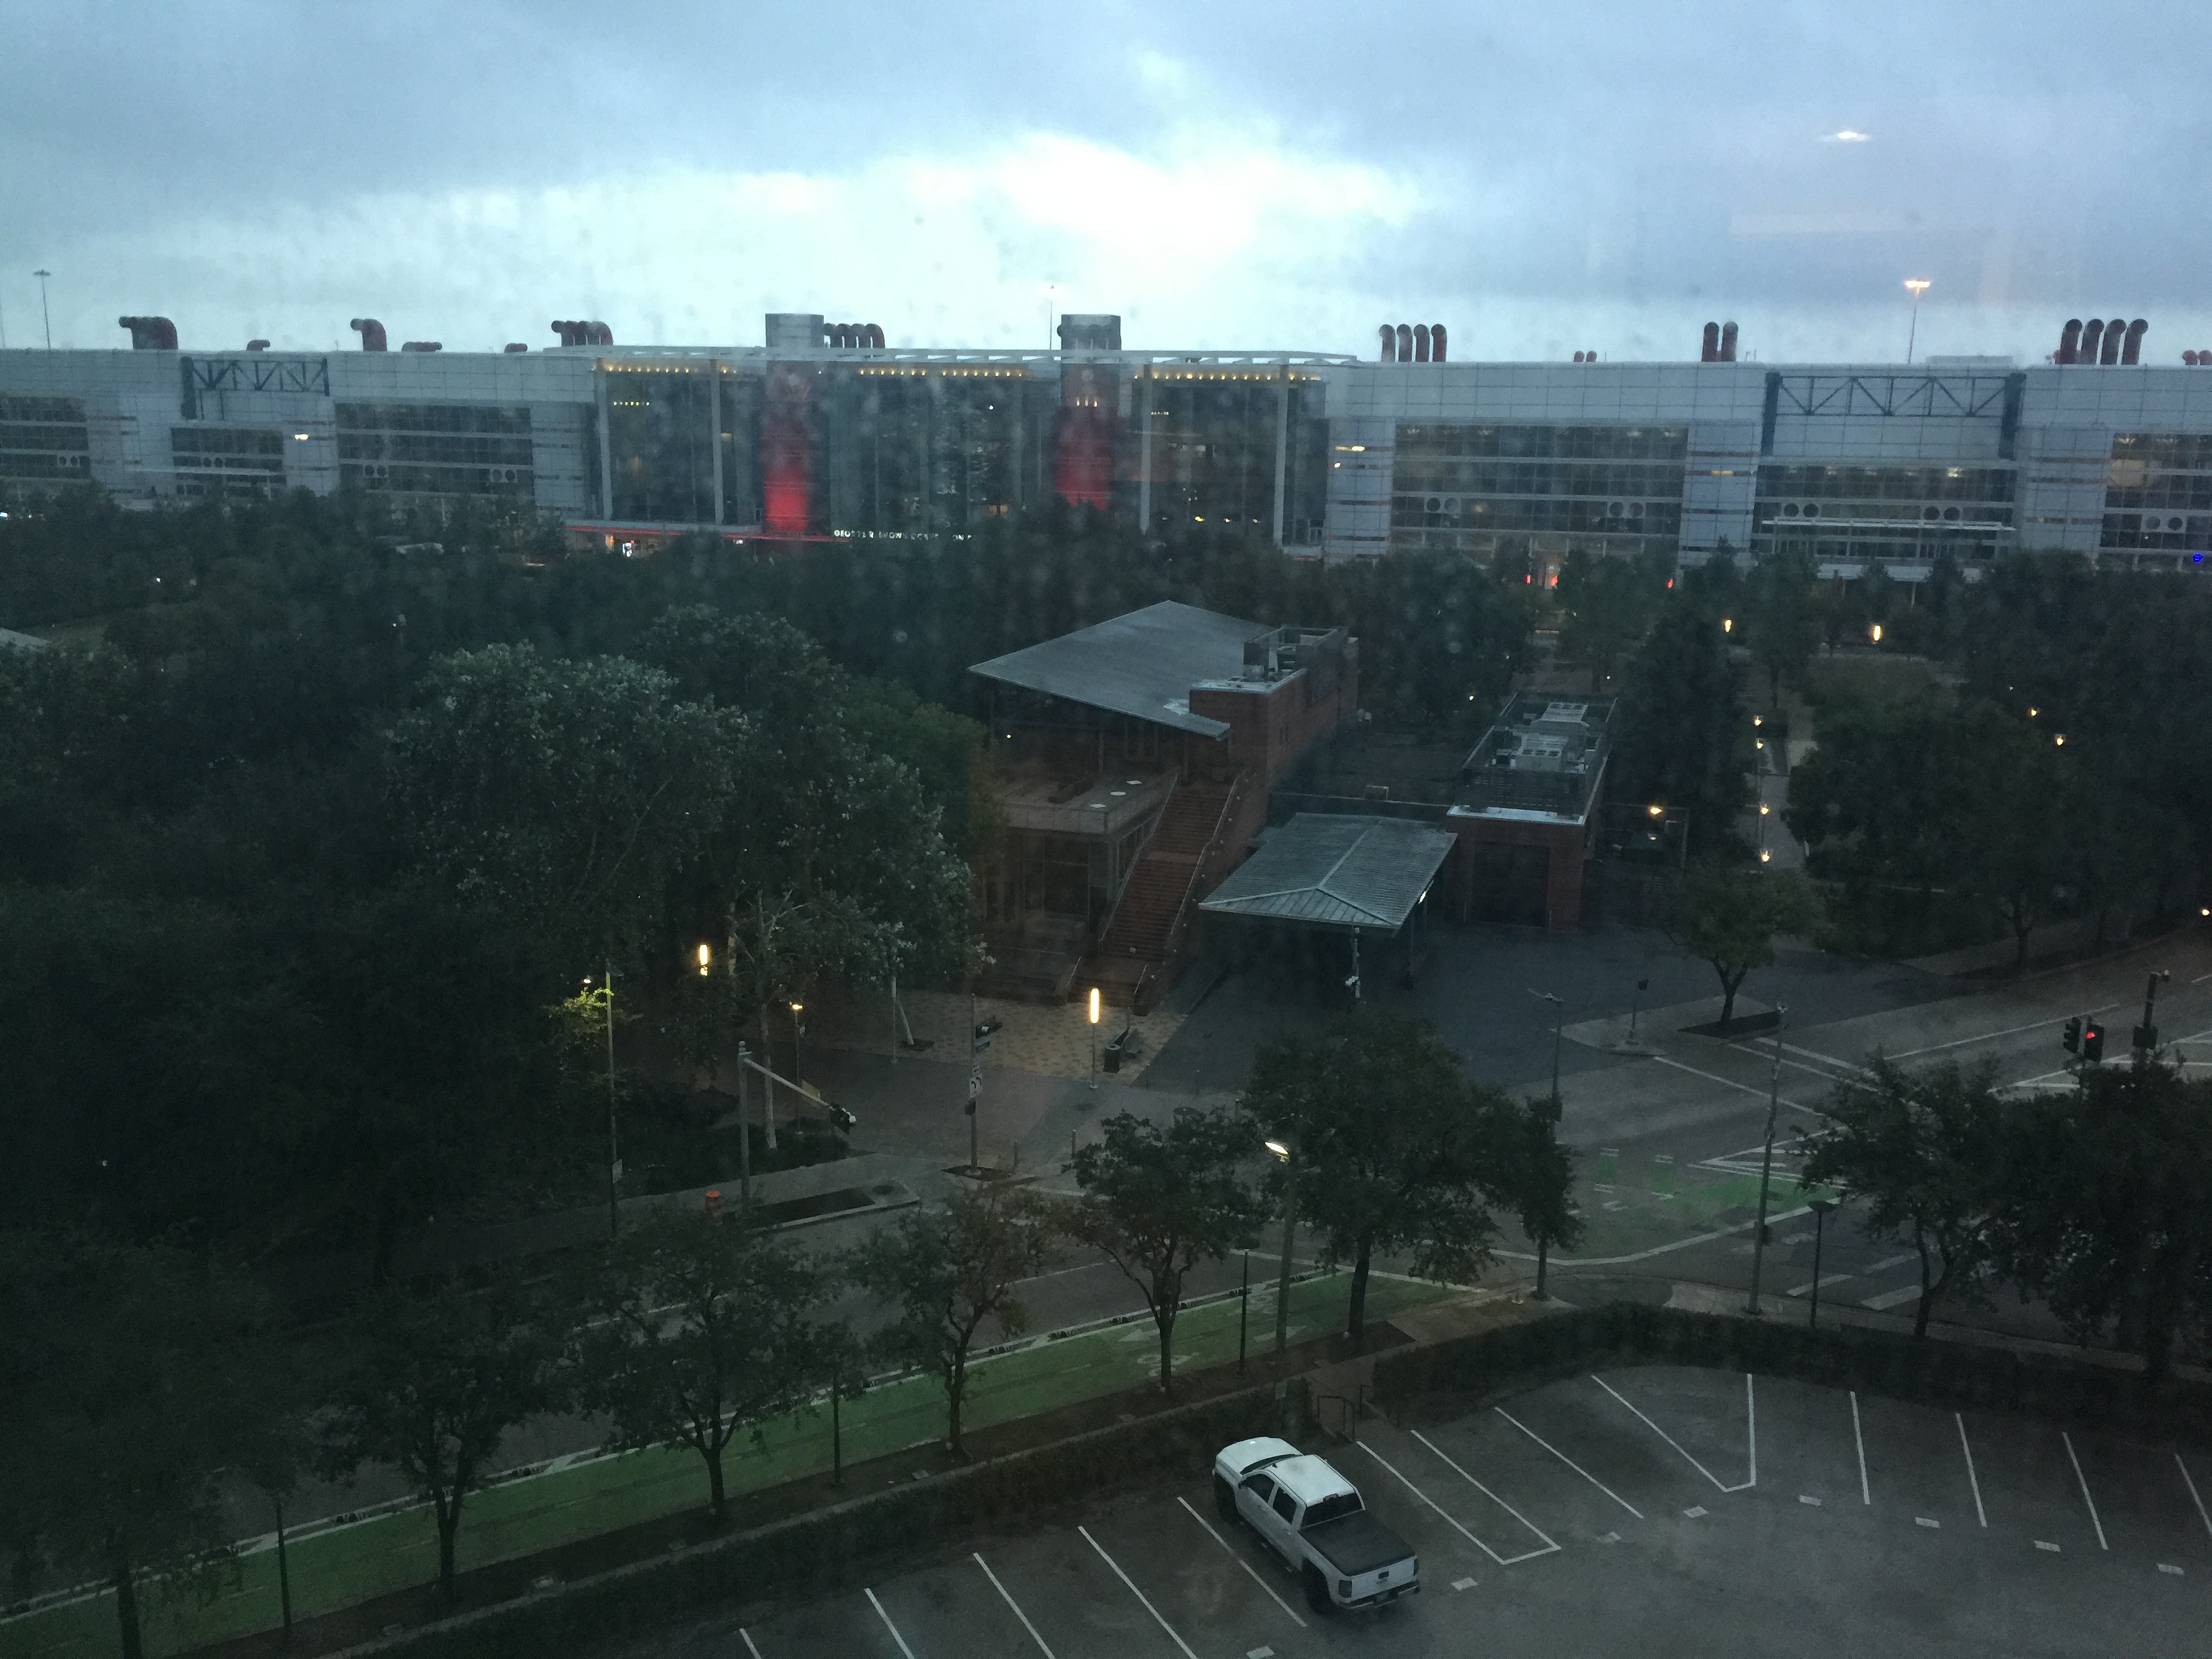
Tuesday Morning looking at the George R. Brown Convention center from my hotel room, ready for the first day of teaching!
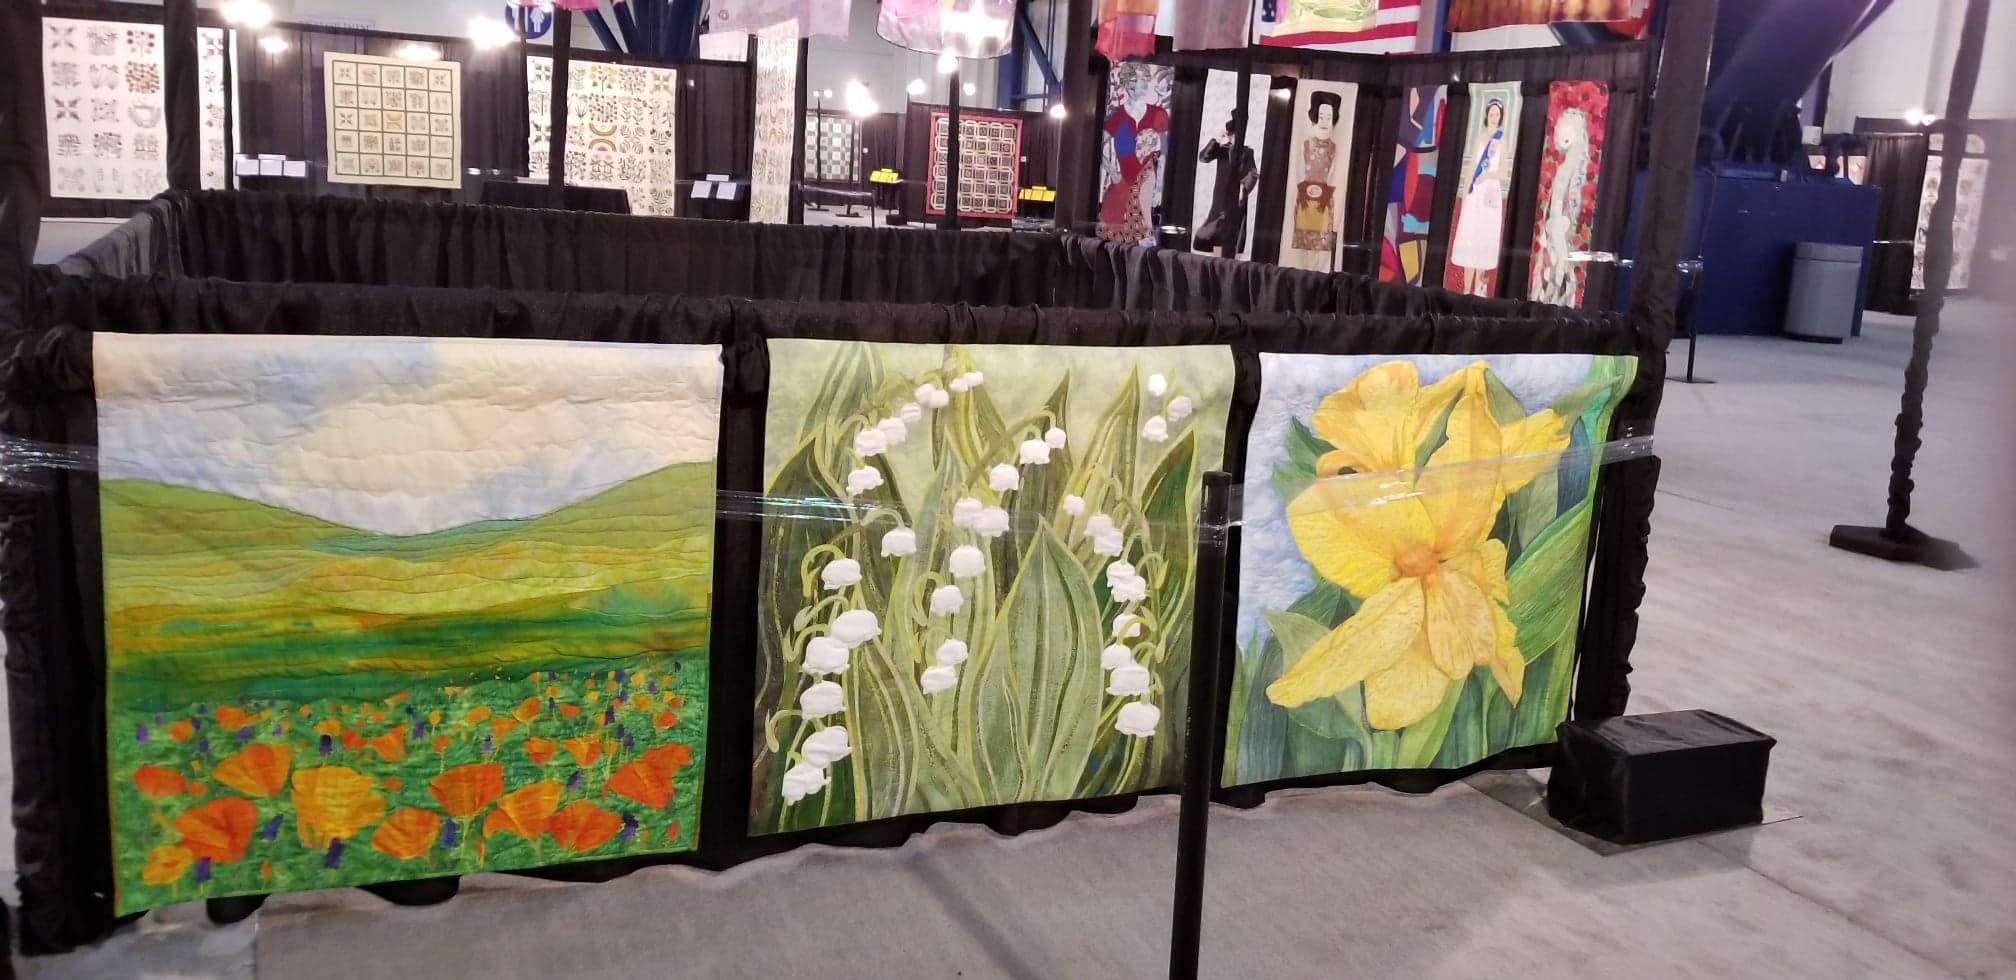
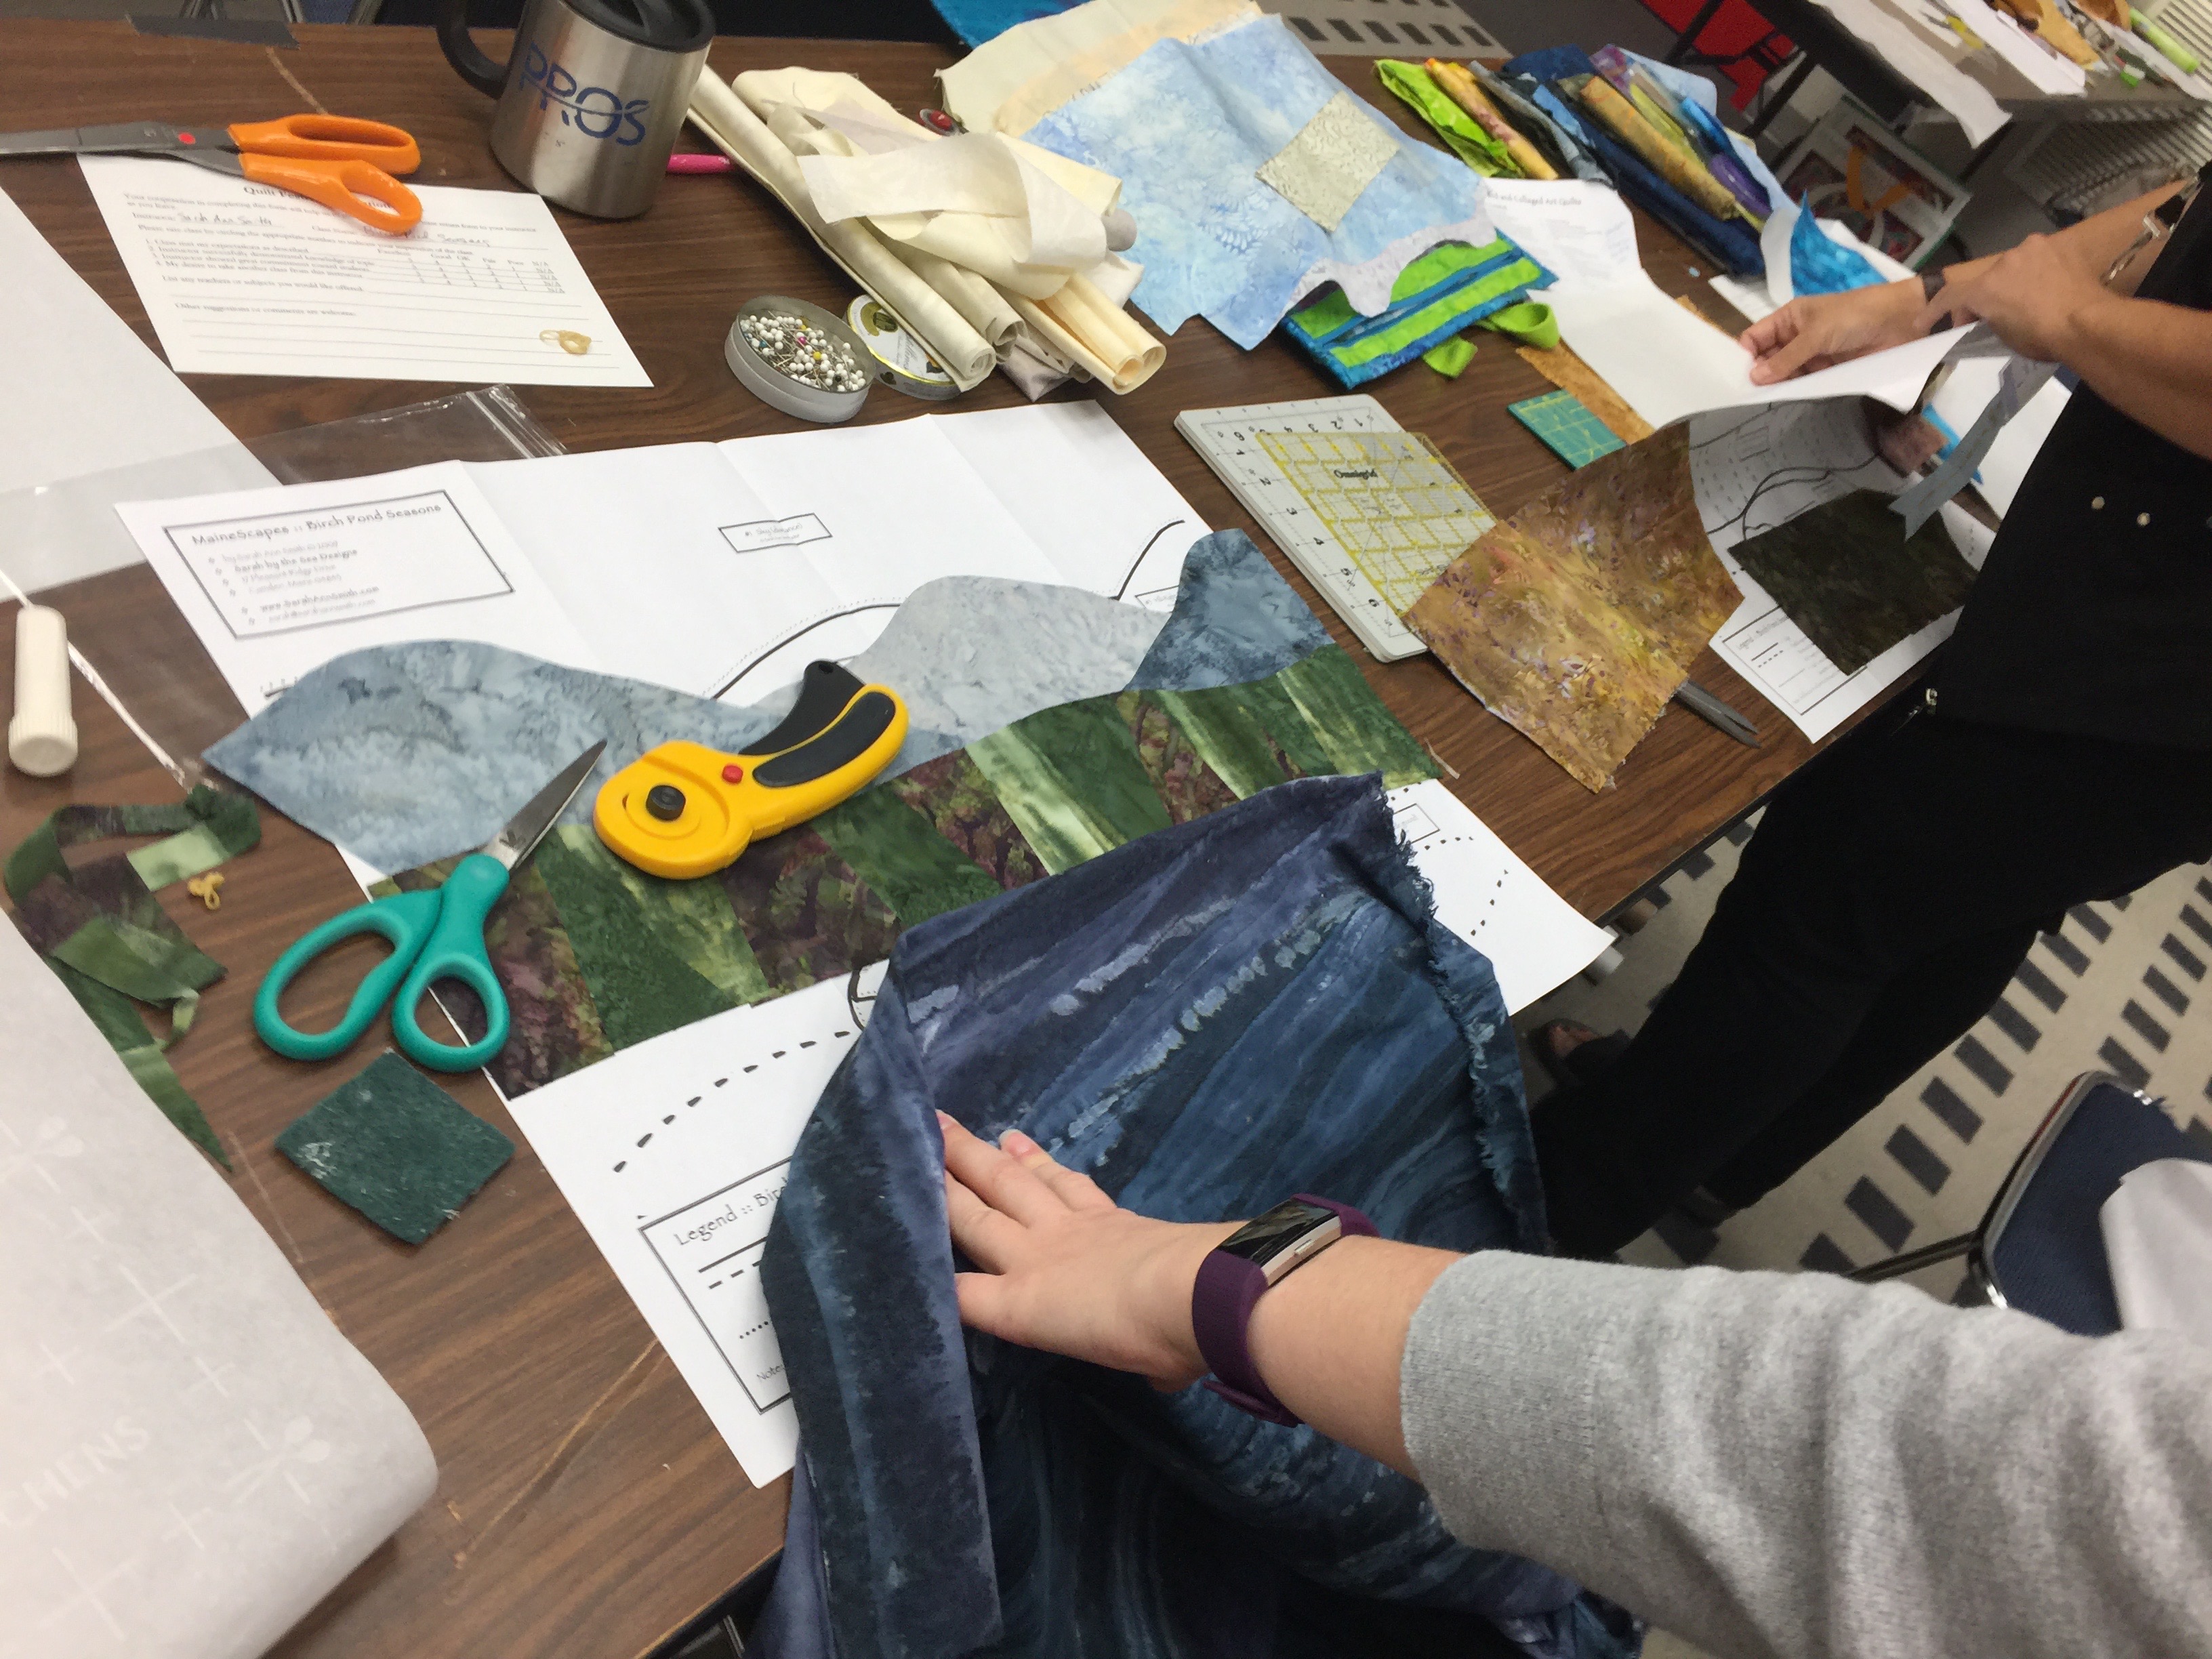
Before any more time elapses, it is time to blog about a wonderful International Quilt Festival 2018. Since I have a billion photos, I’ll just insert images with little verbiage. On Tuesday, I taught my Birch Pond Seasons class–because it was the day between Market and Festival, the class was smaller but that meant students had plenty of space to spread out and work, which is great for this class. I love what my students did! If you put Birch Pond Seasons in the search box for this blog, you can find one or two other posts about previous classes.
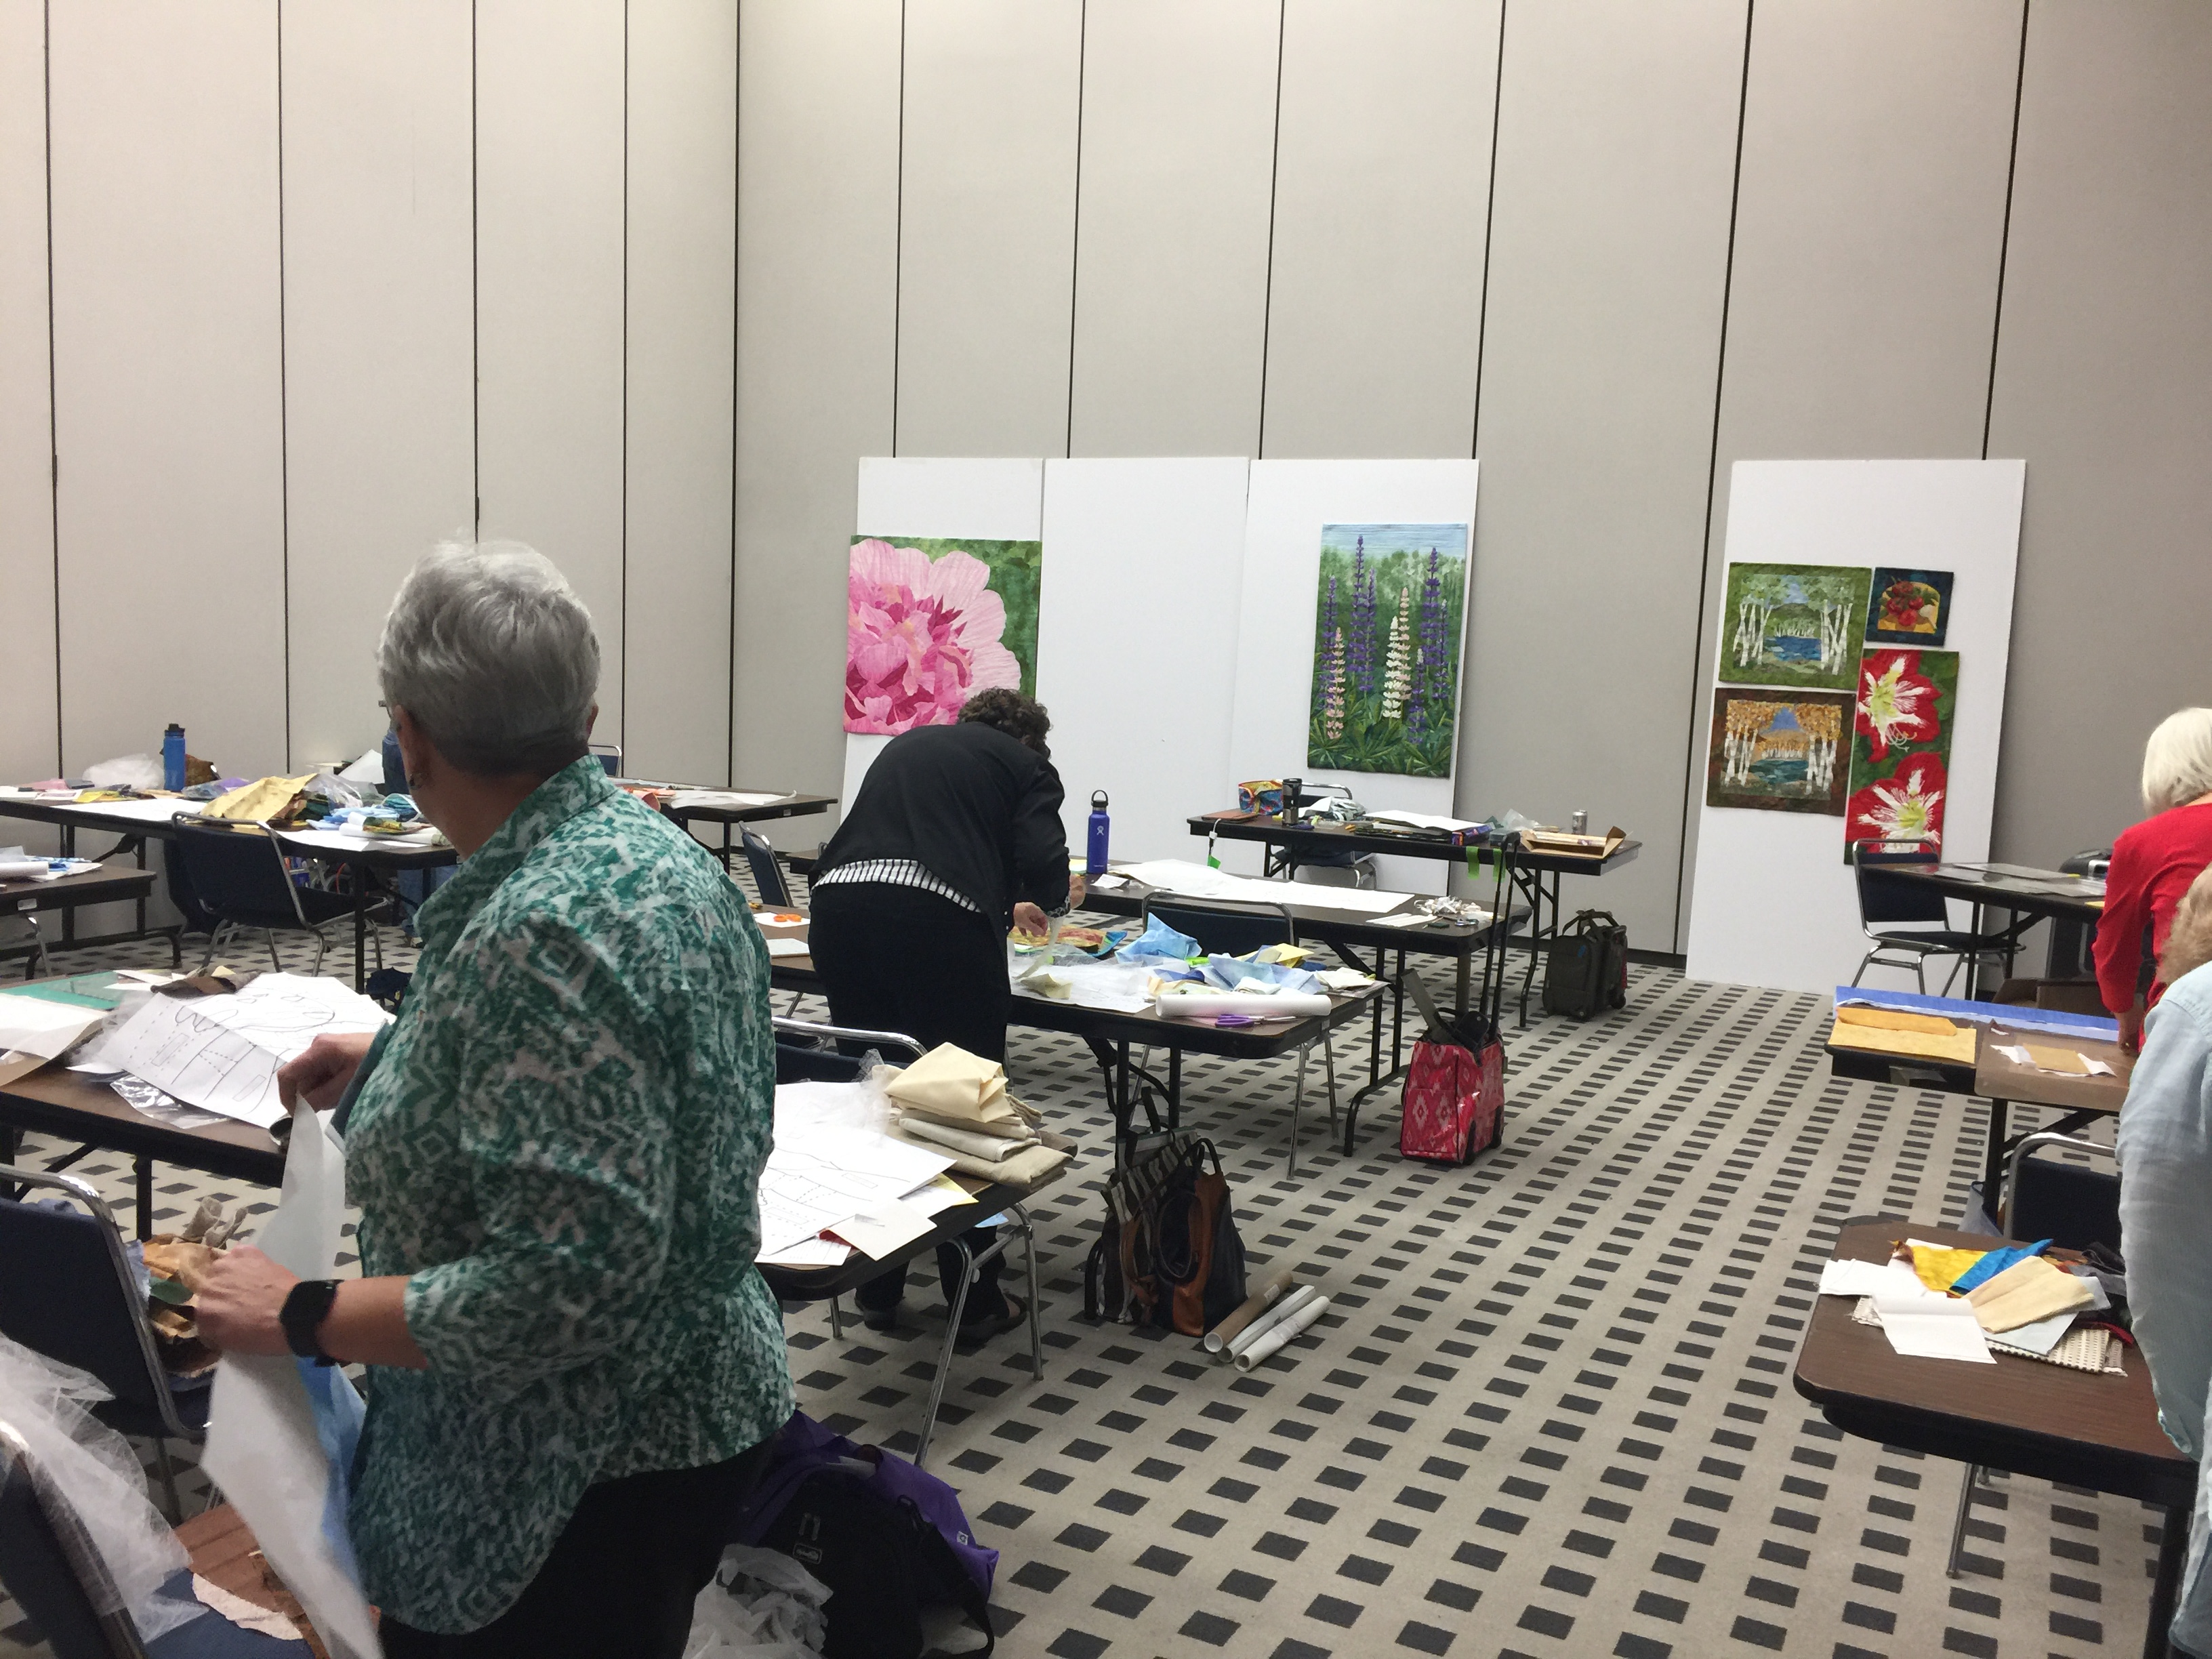
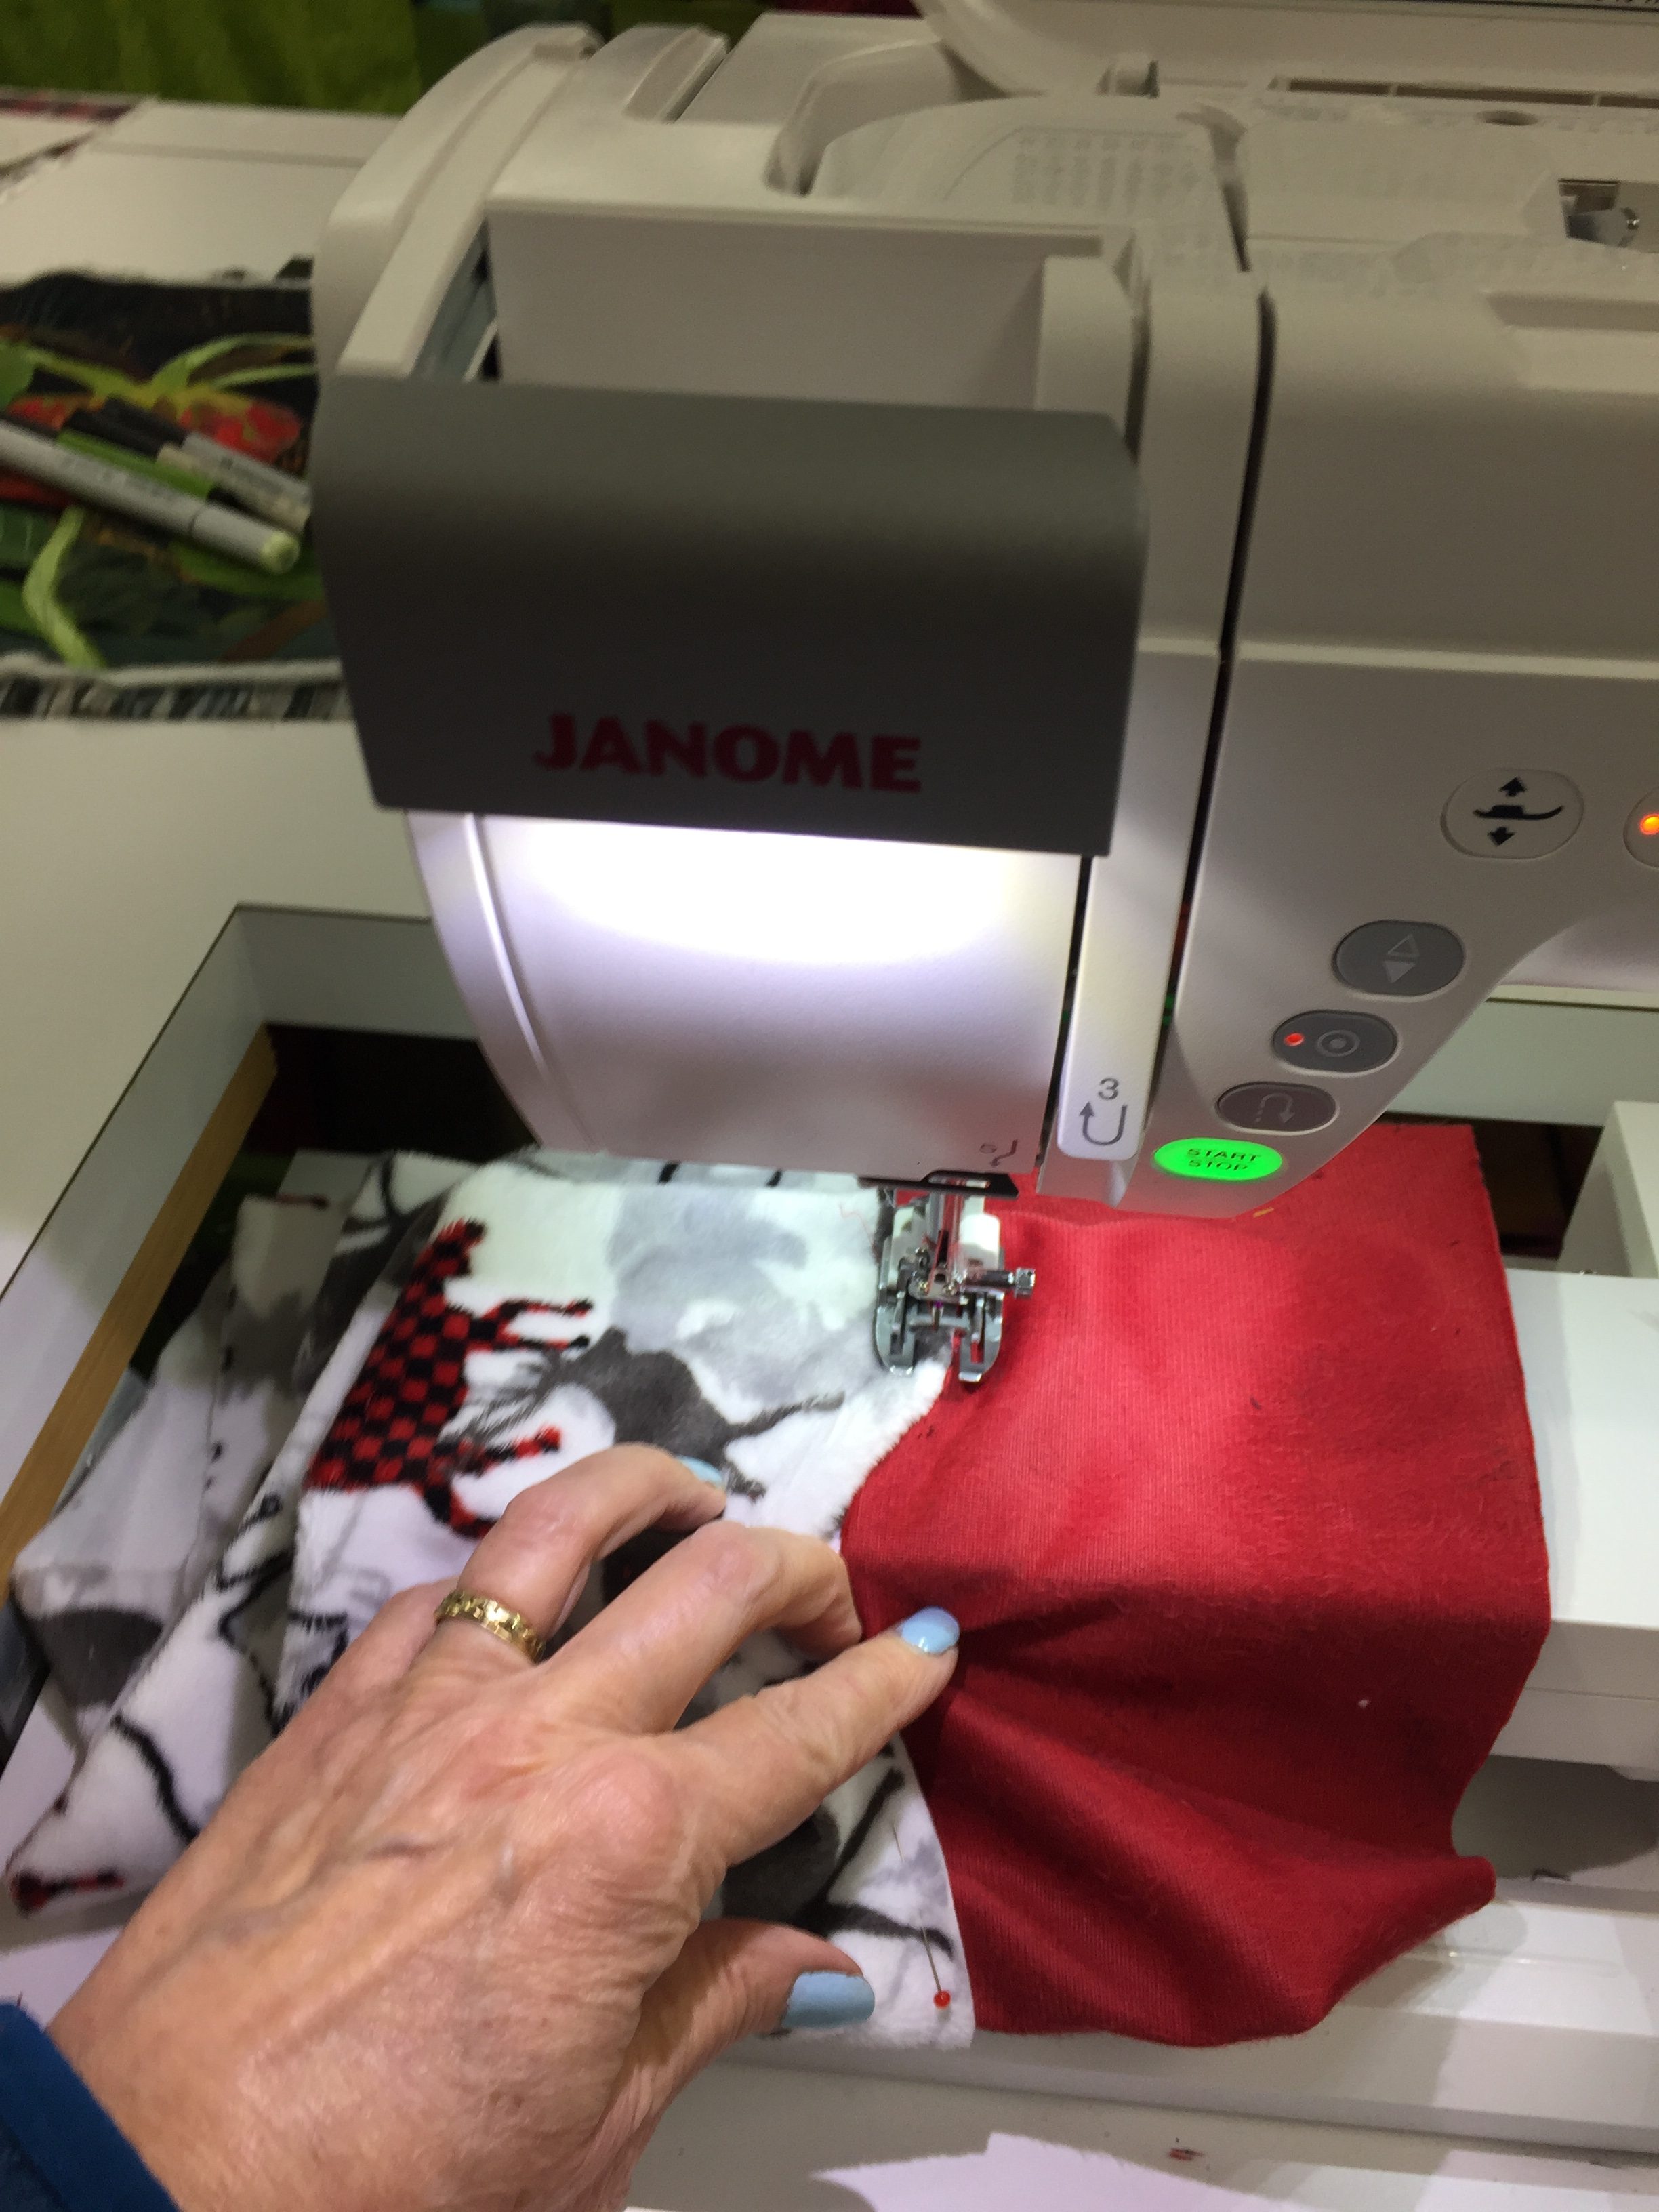
My stuff up on the foam core at the f front and students composing their quilts! The two class samples are on the right hand board, a summer and an autumn version.
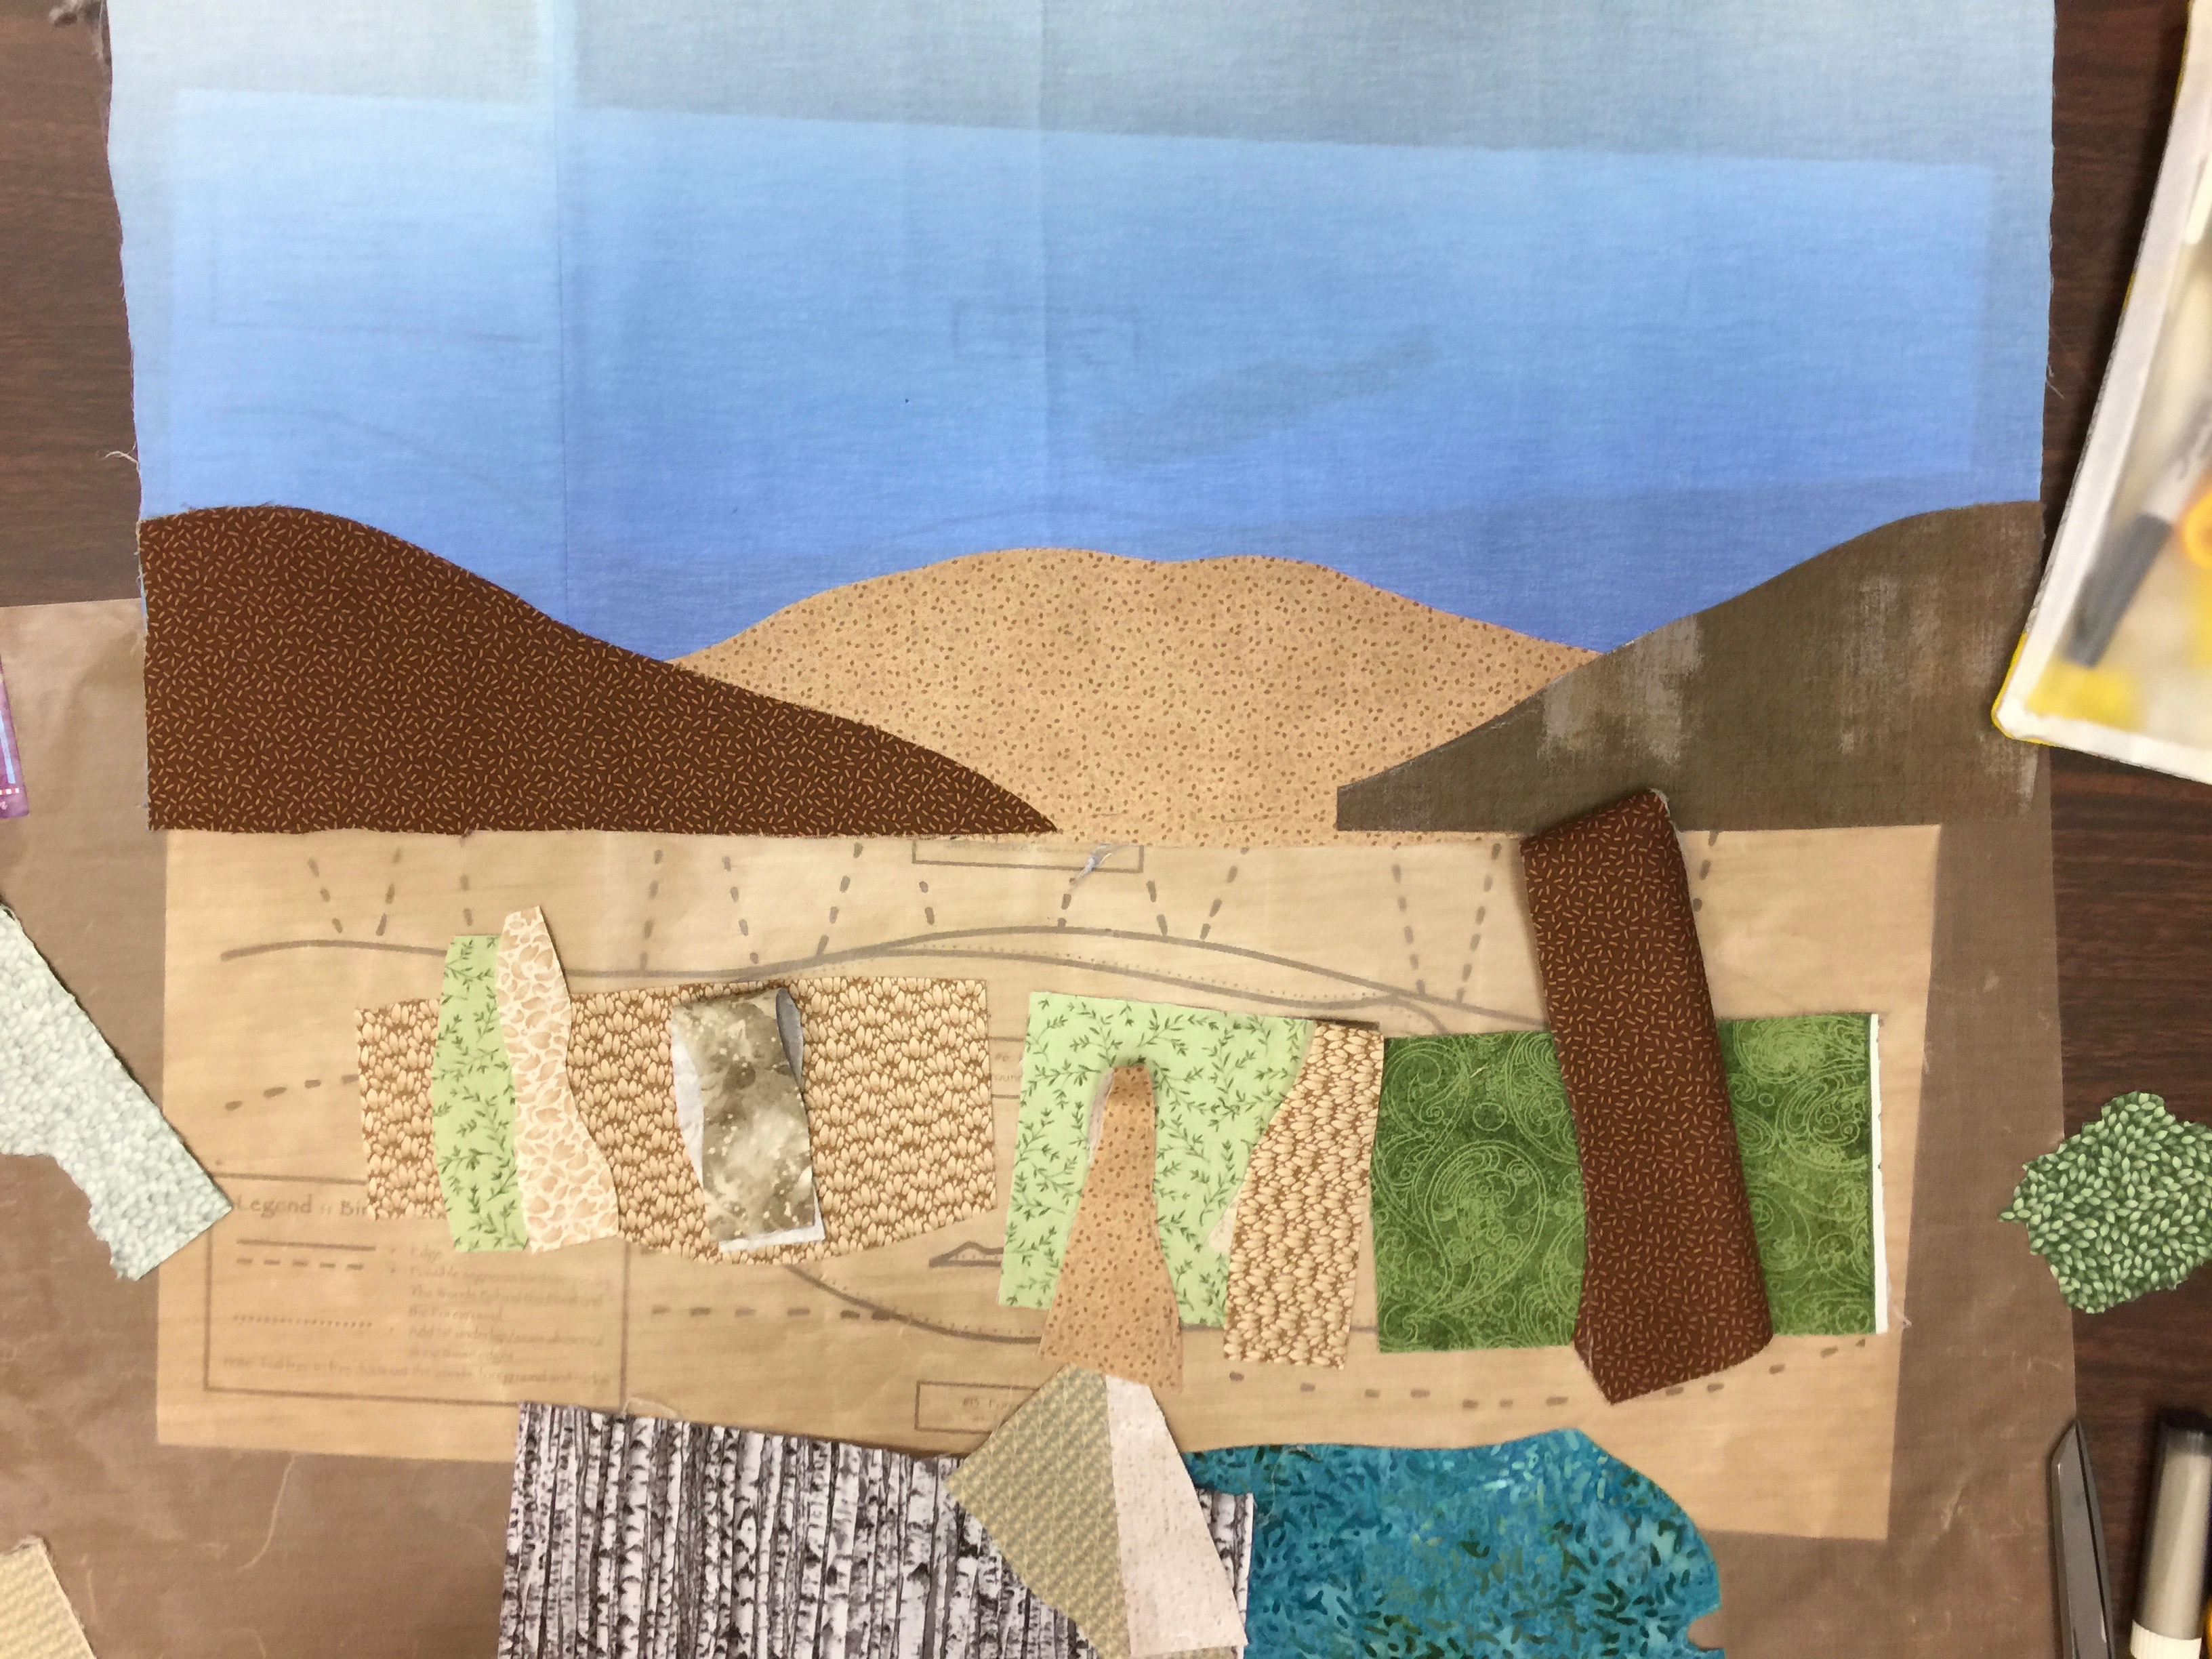
Love how Cathryn Sullivan of Pipe Creek, TX, cut the ridge line with the shape of trees–her ridge is closer to the viewer than the hills in my quilts. See below for this quilt as she worked on it more.
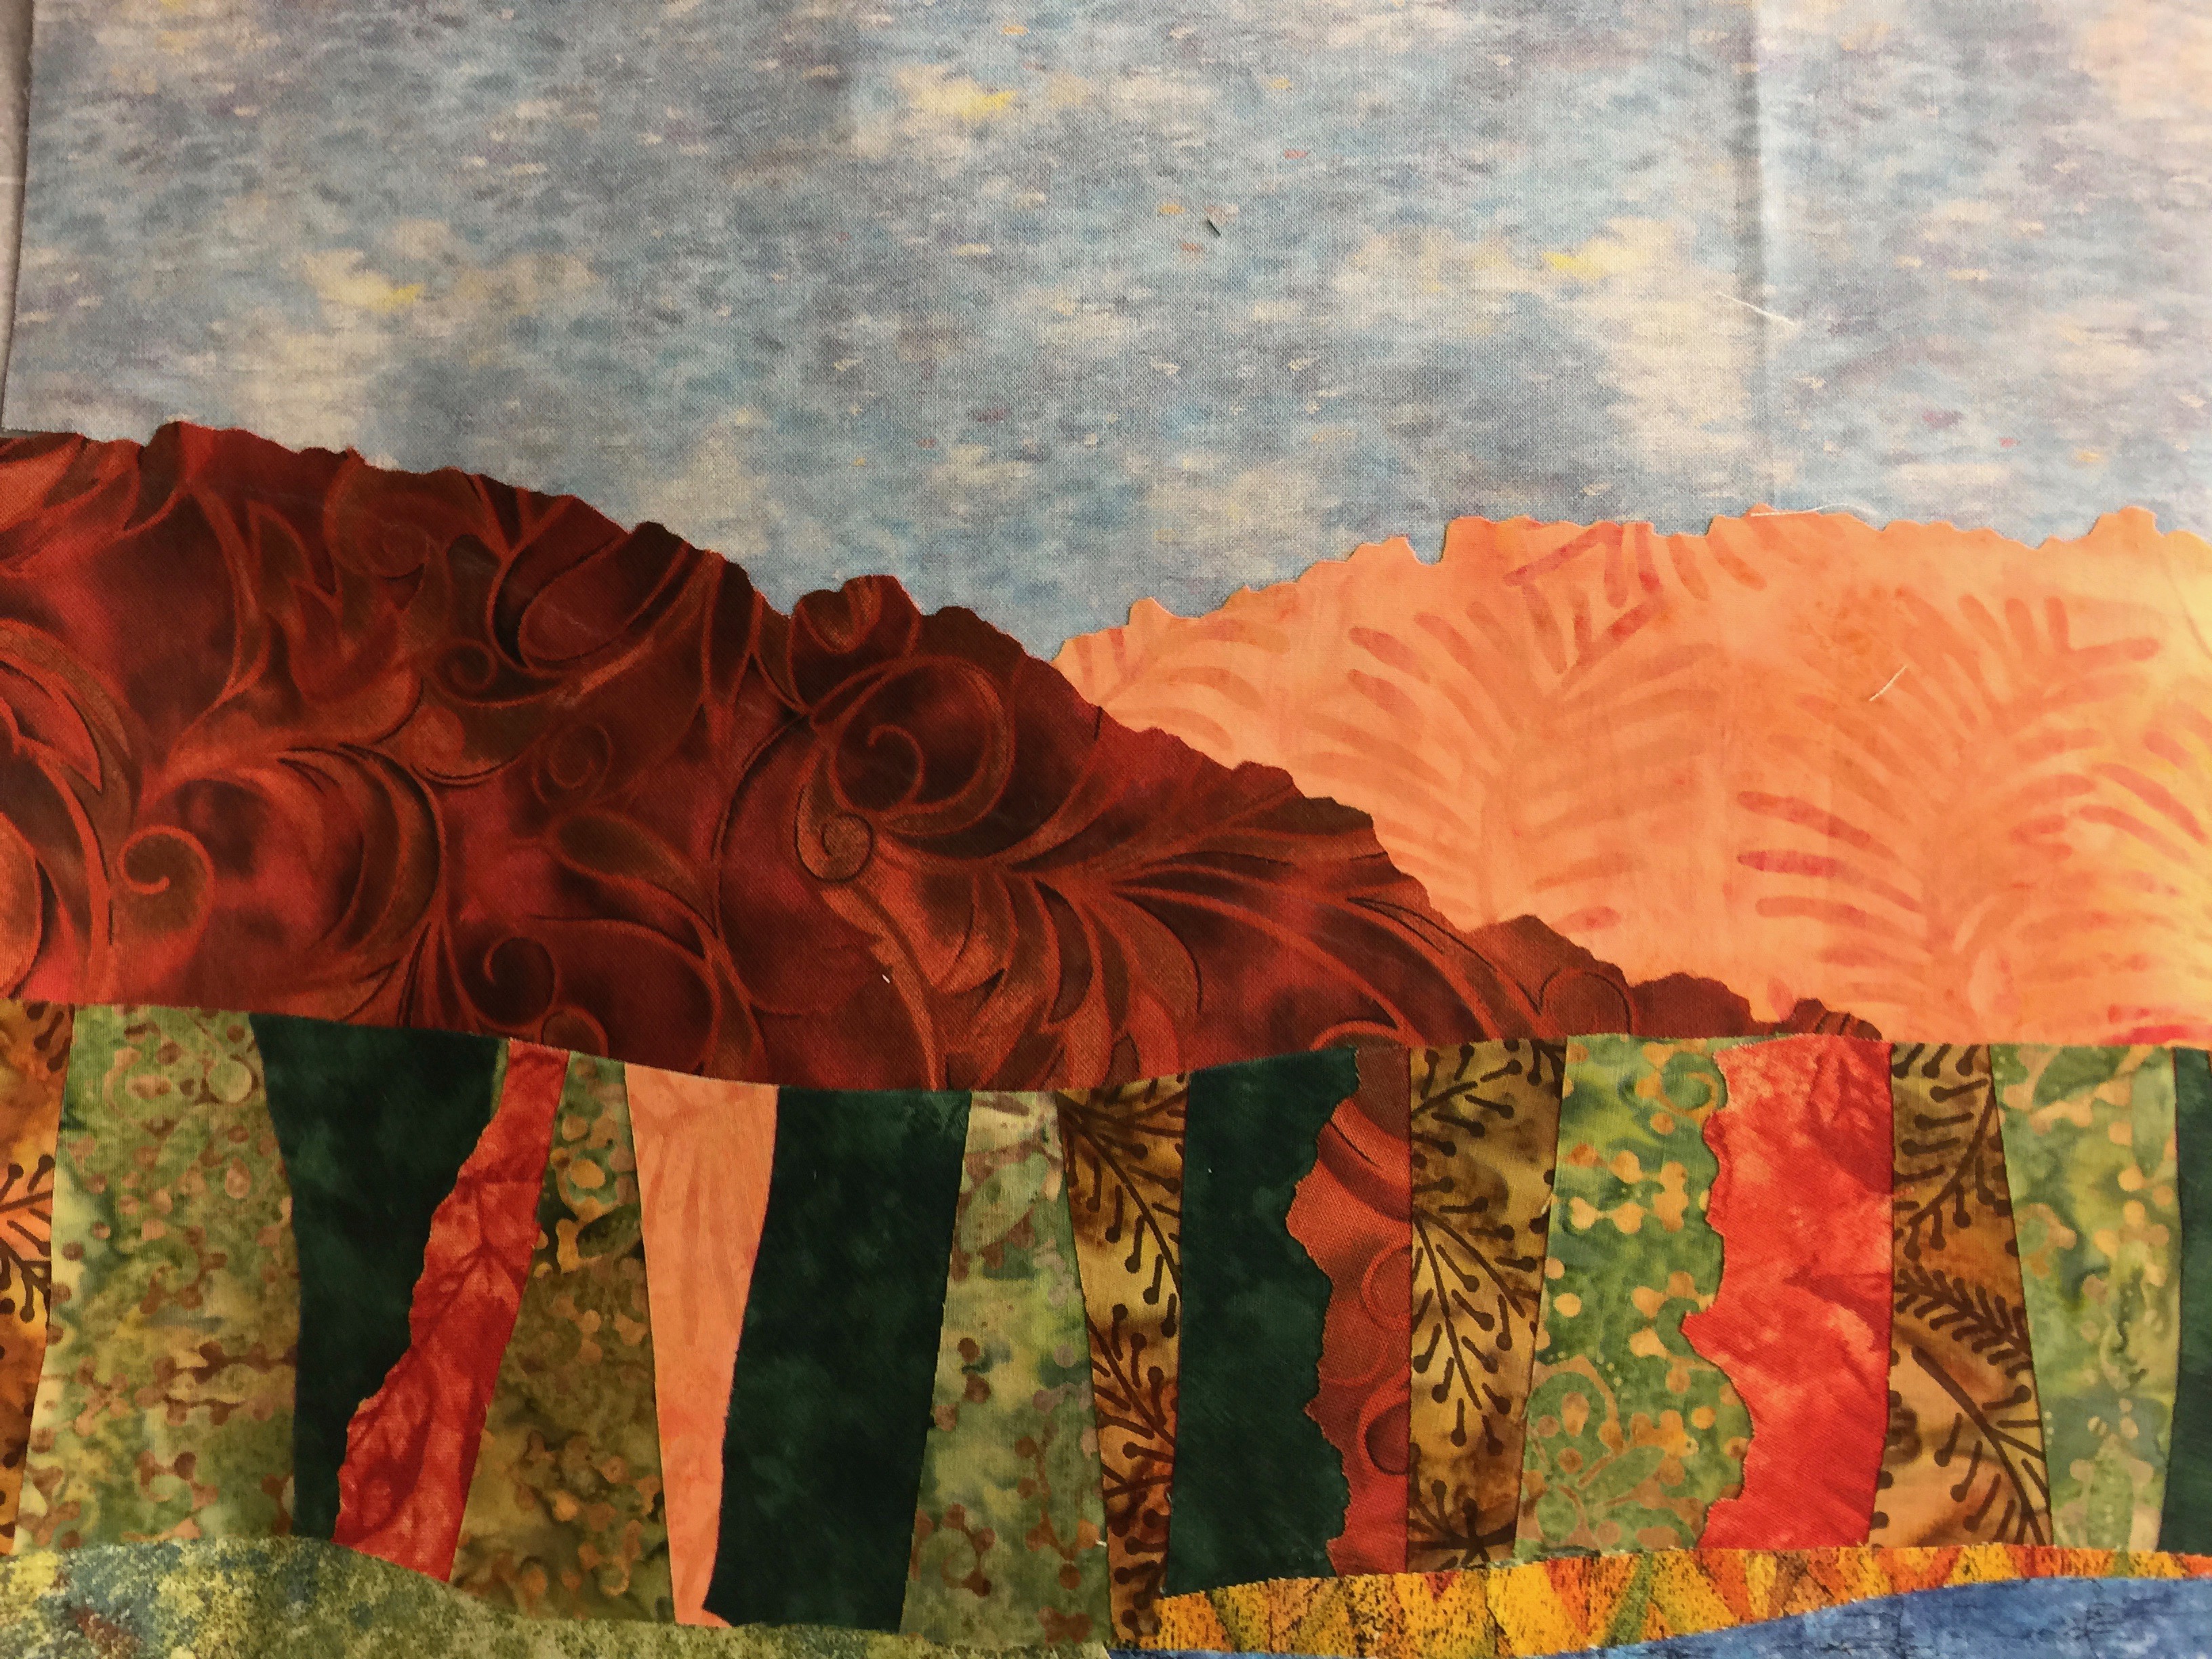
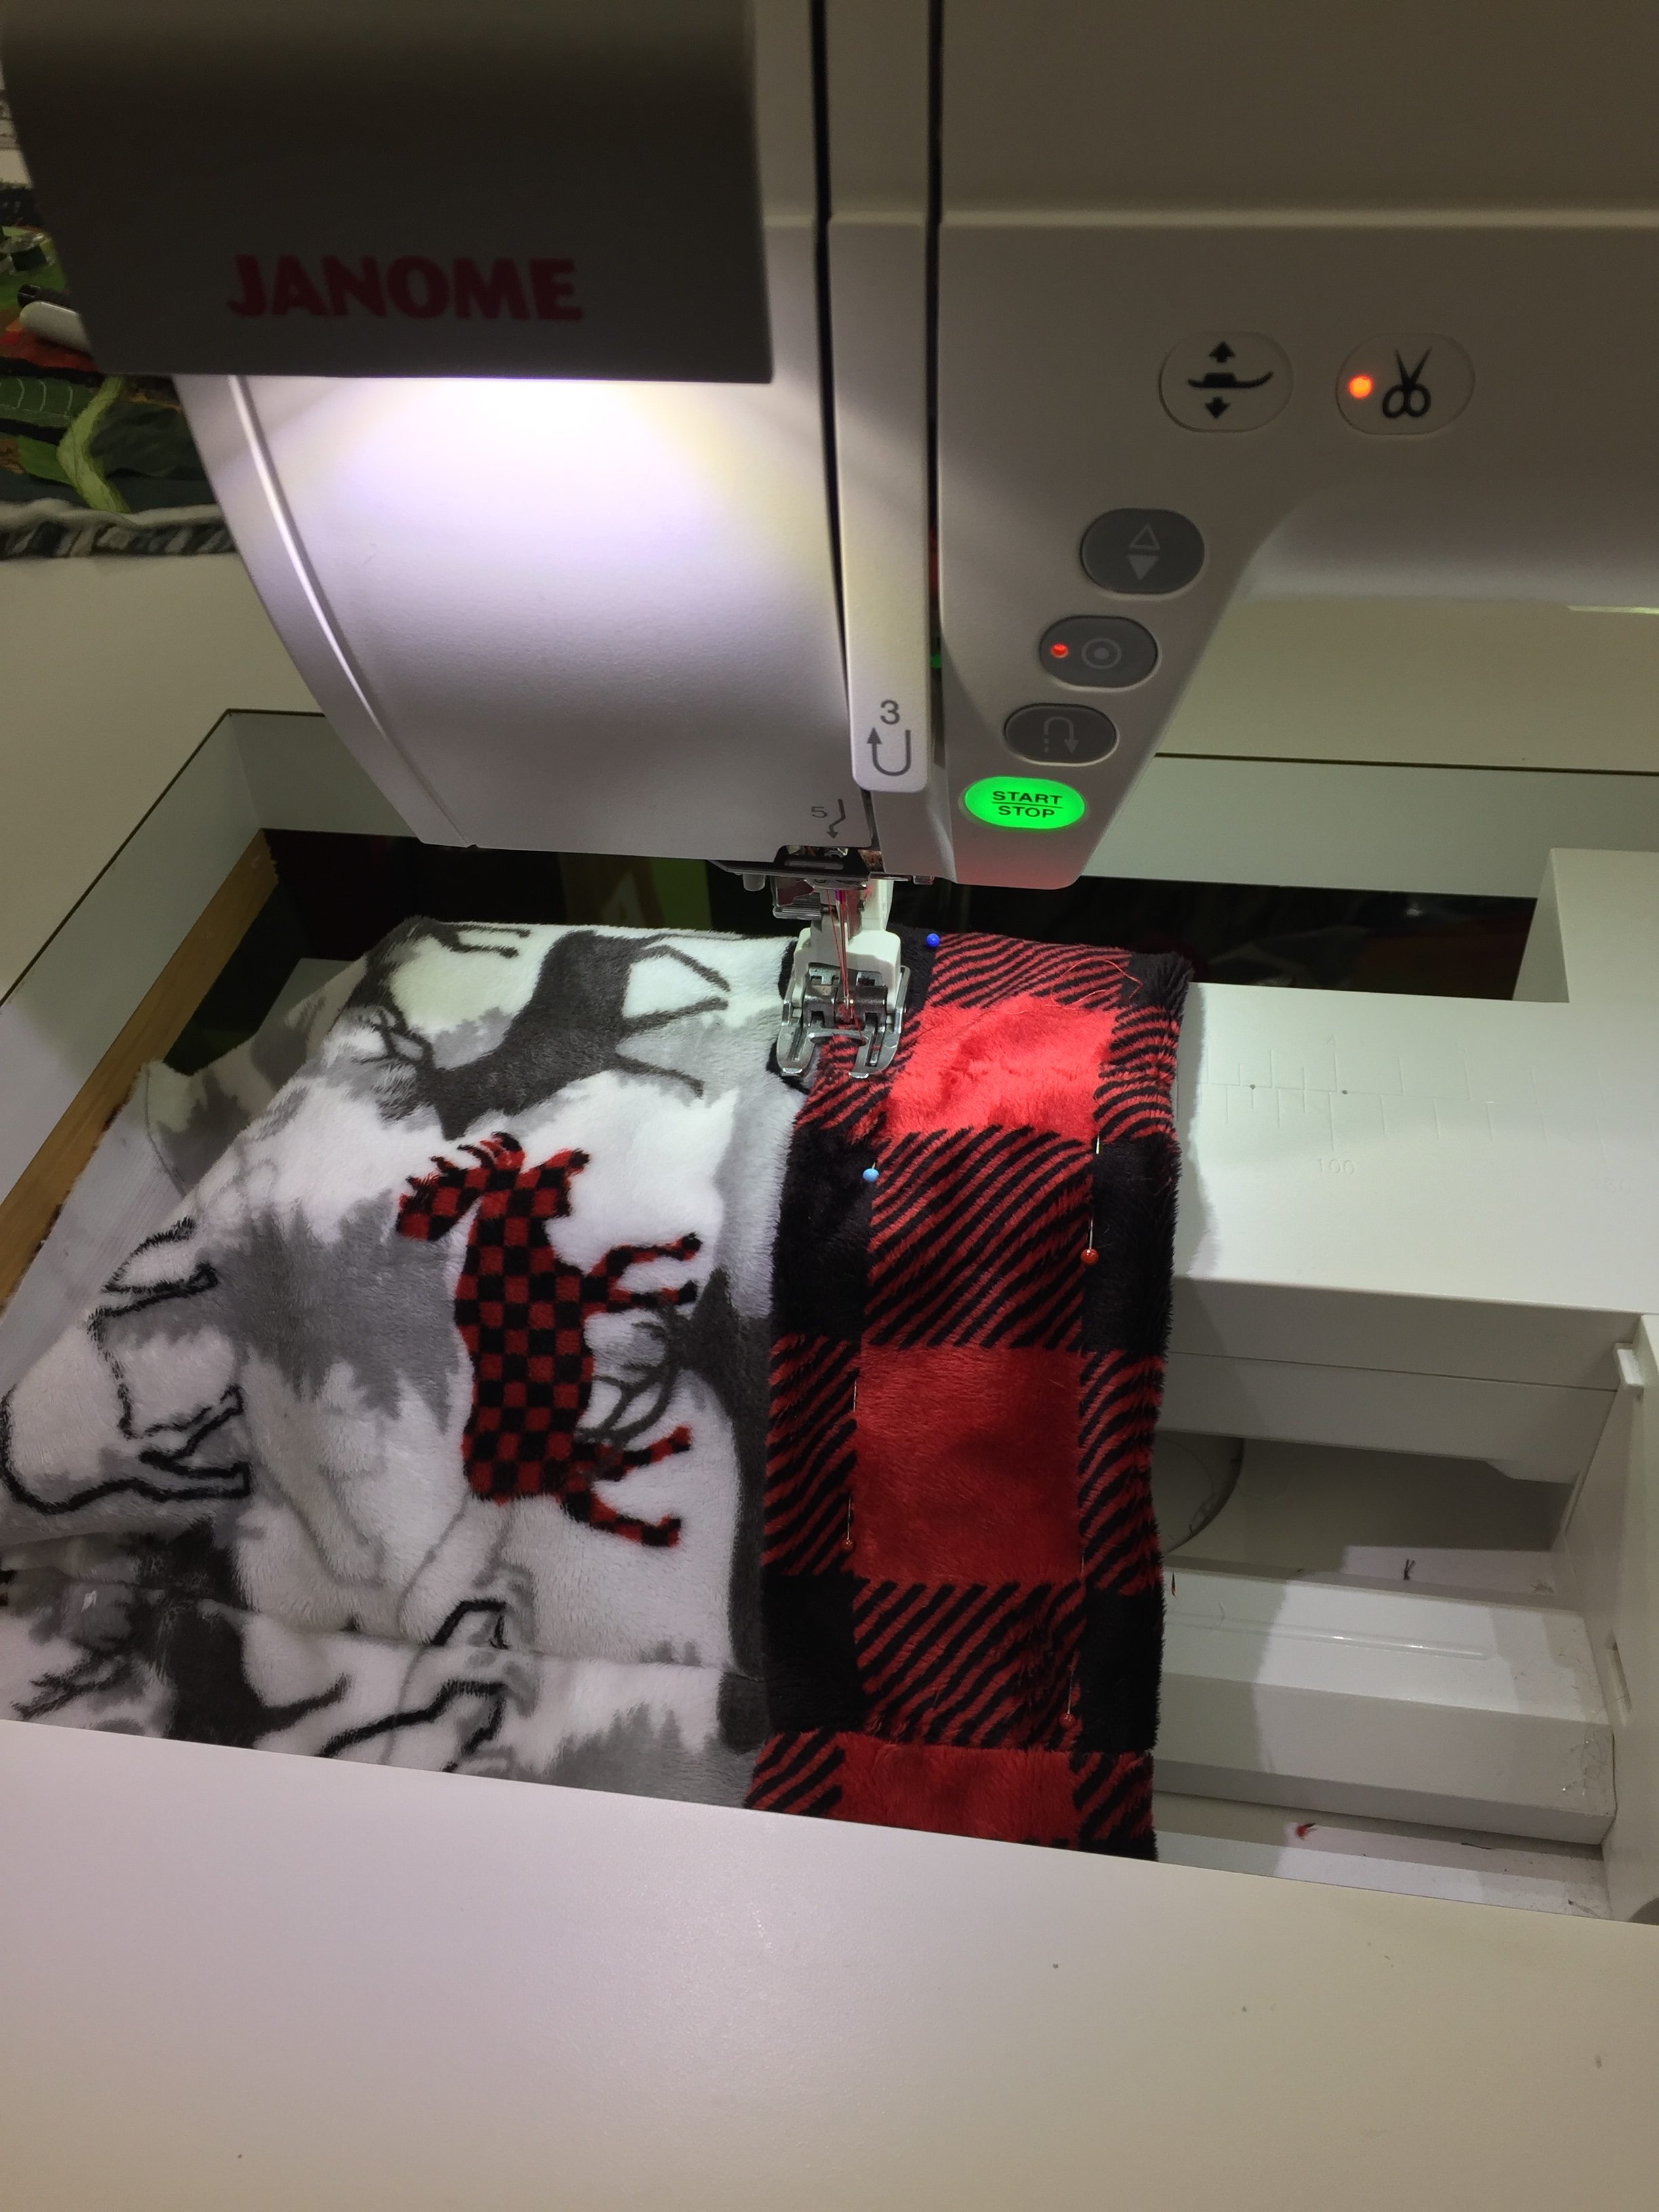
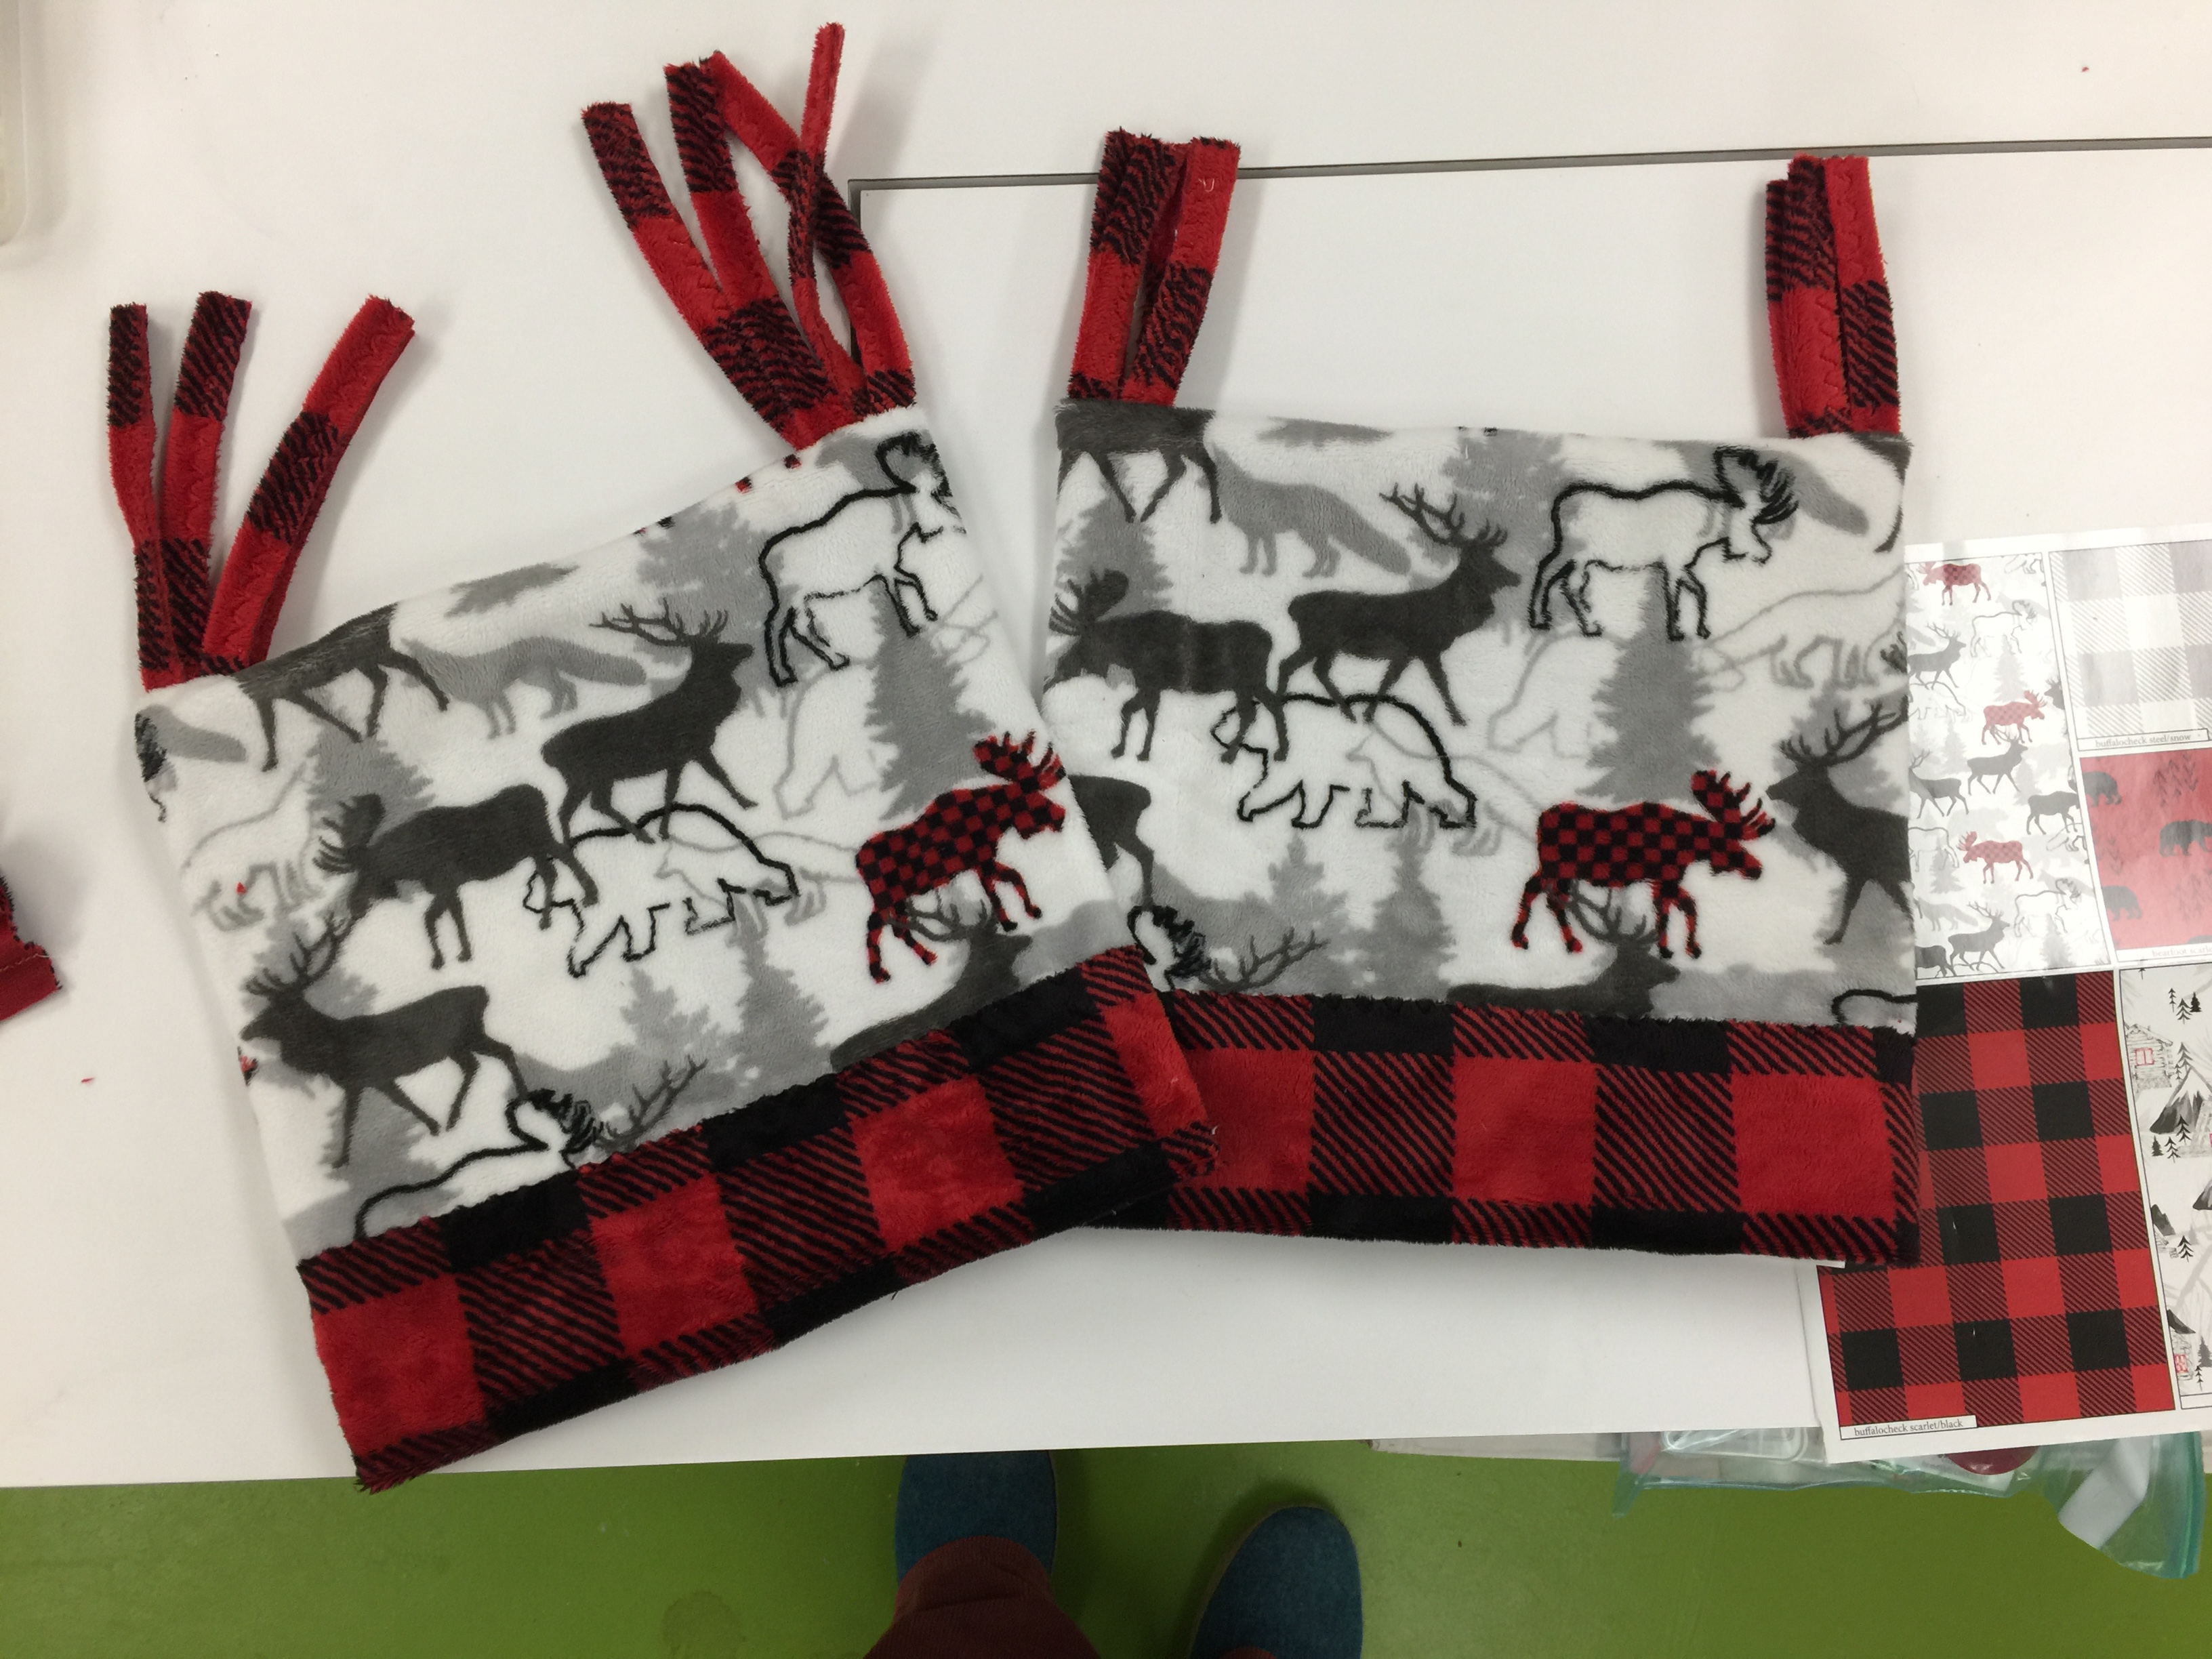
And Kathryn’s piece with the closer hills and “woods behind the pond” added. LOVE the silhouette of the treetops!
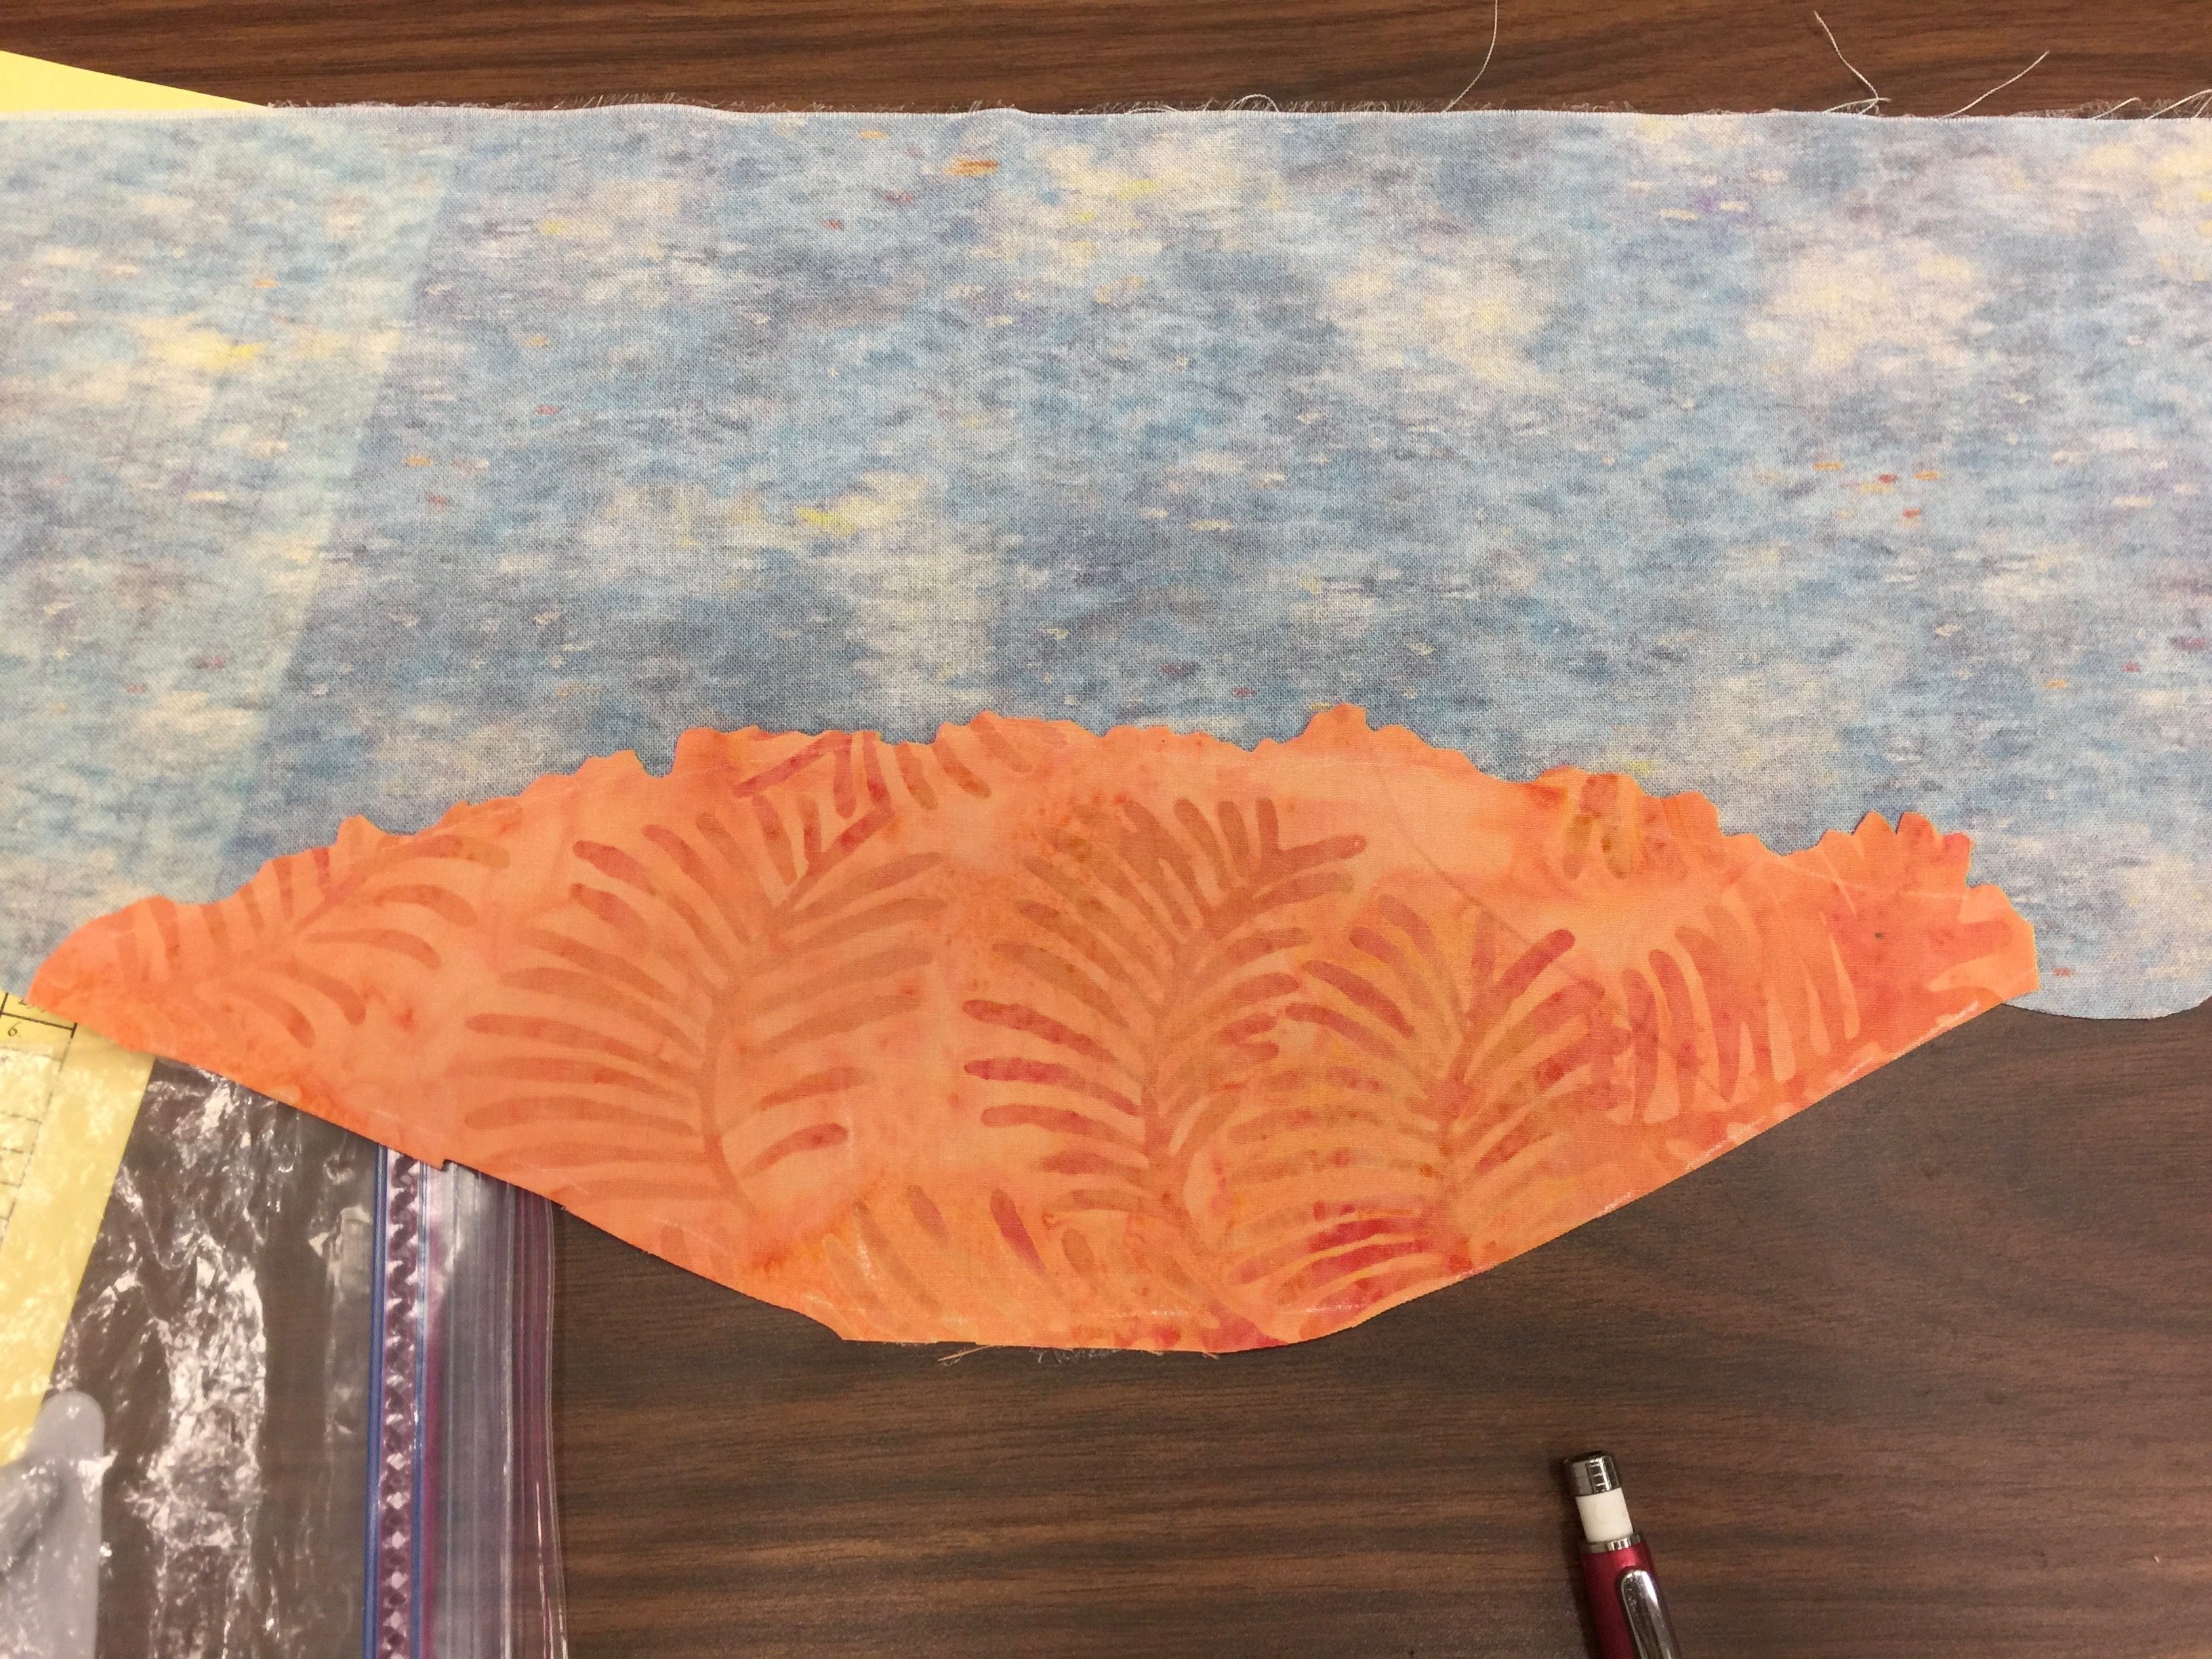
I love when students use fabrics that aren’t in my wheelhouse and make it their own
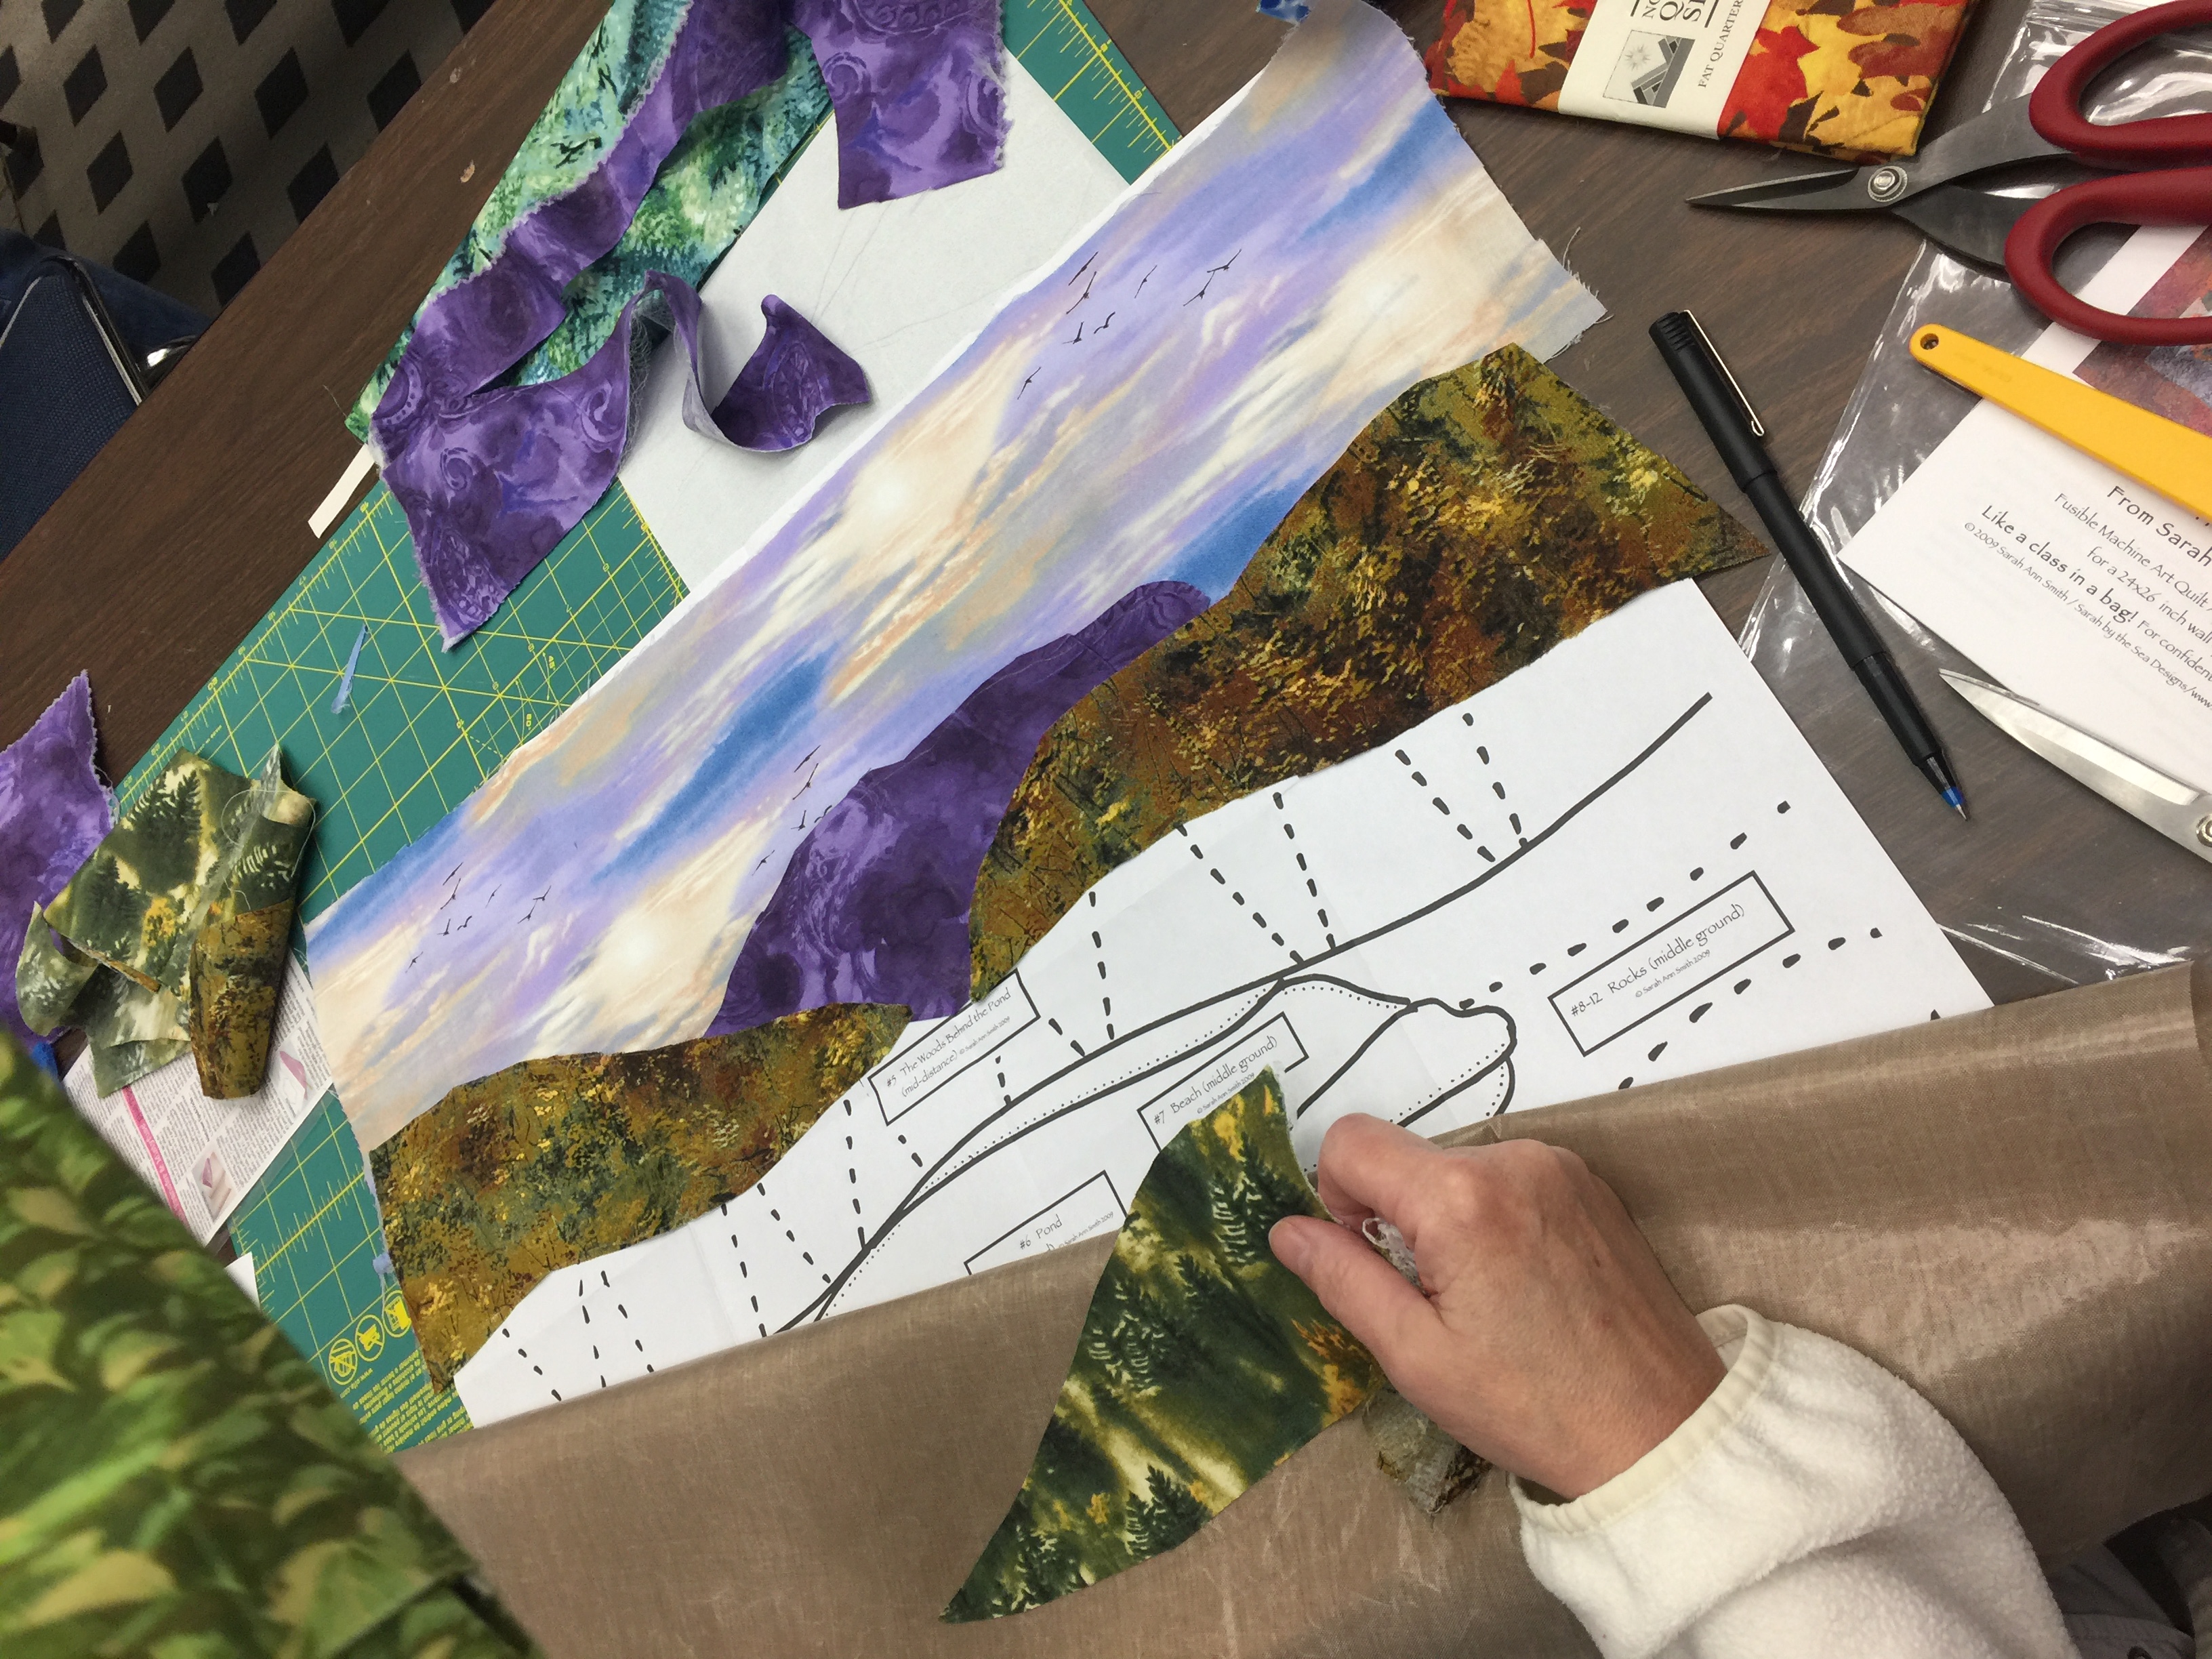
The sky fabric was inspired! Love that she used purple for the distant hill. See her progress in the next photos.
She had this great watery fabric for the pond, but it just didn’t sit well for either of us
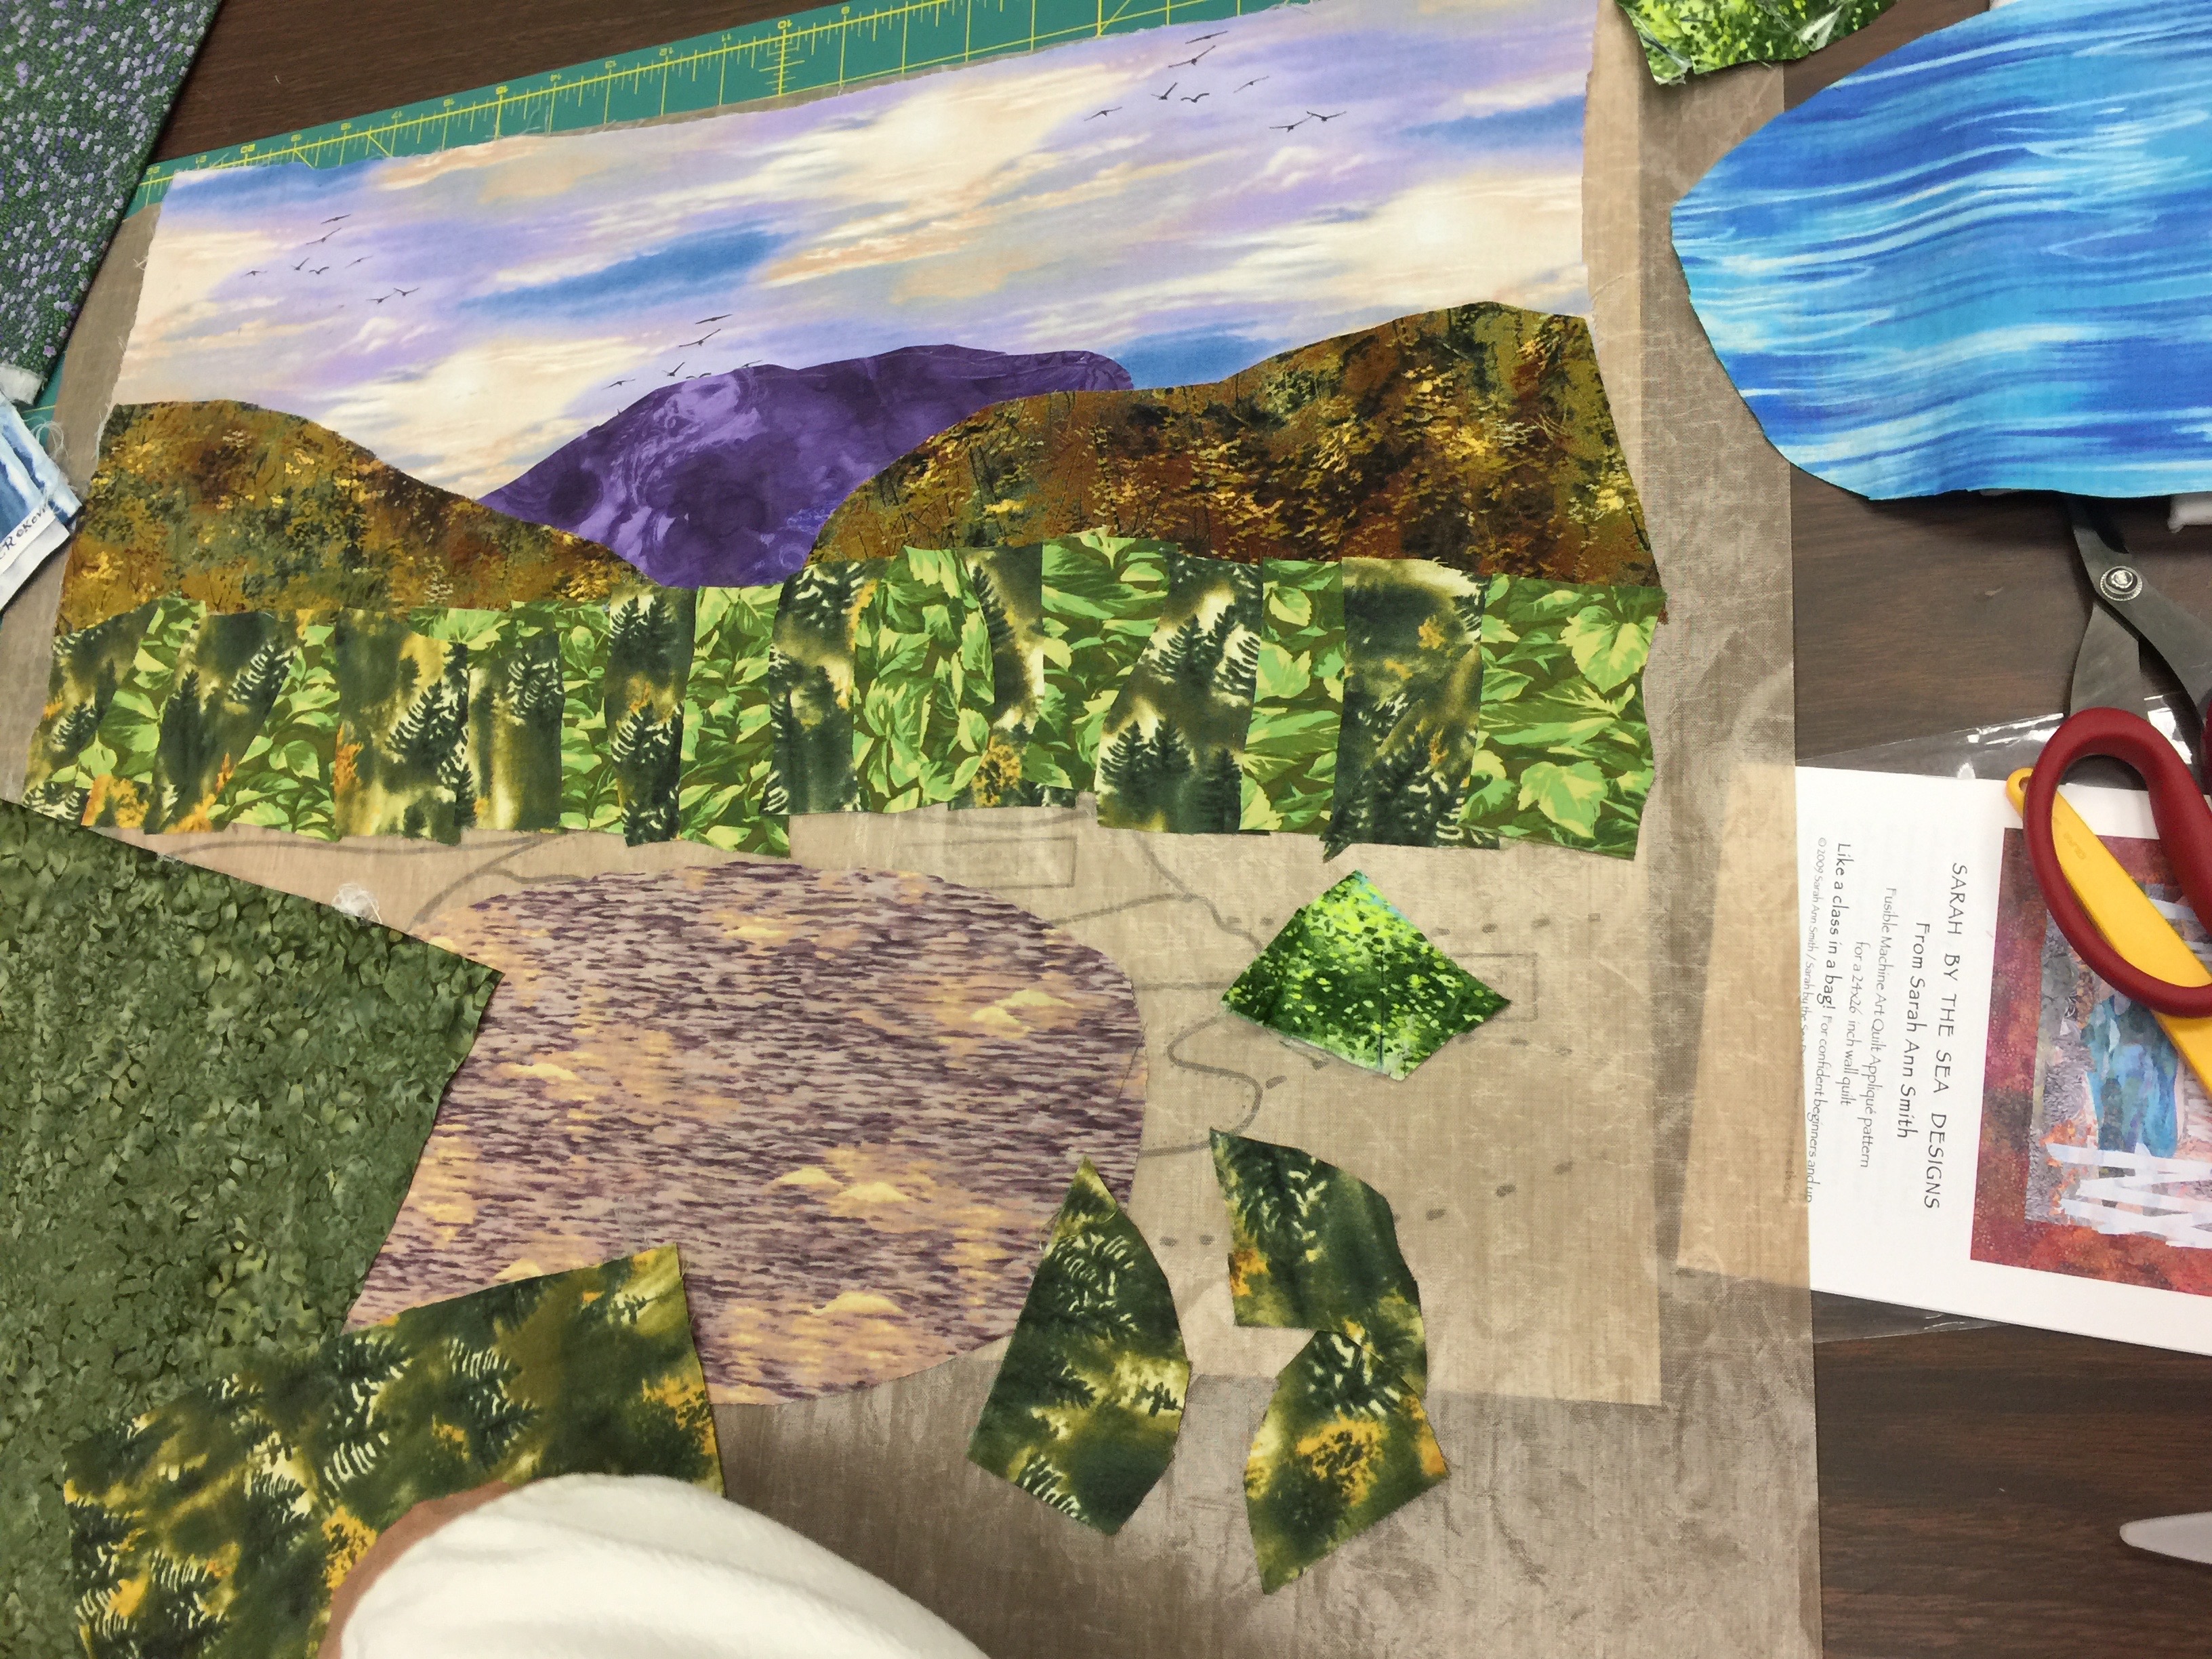
The brilliant students near her helped her trouble shoot with what fabric she had and they picked this one for the pond
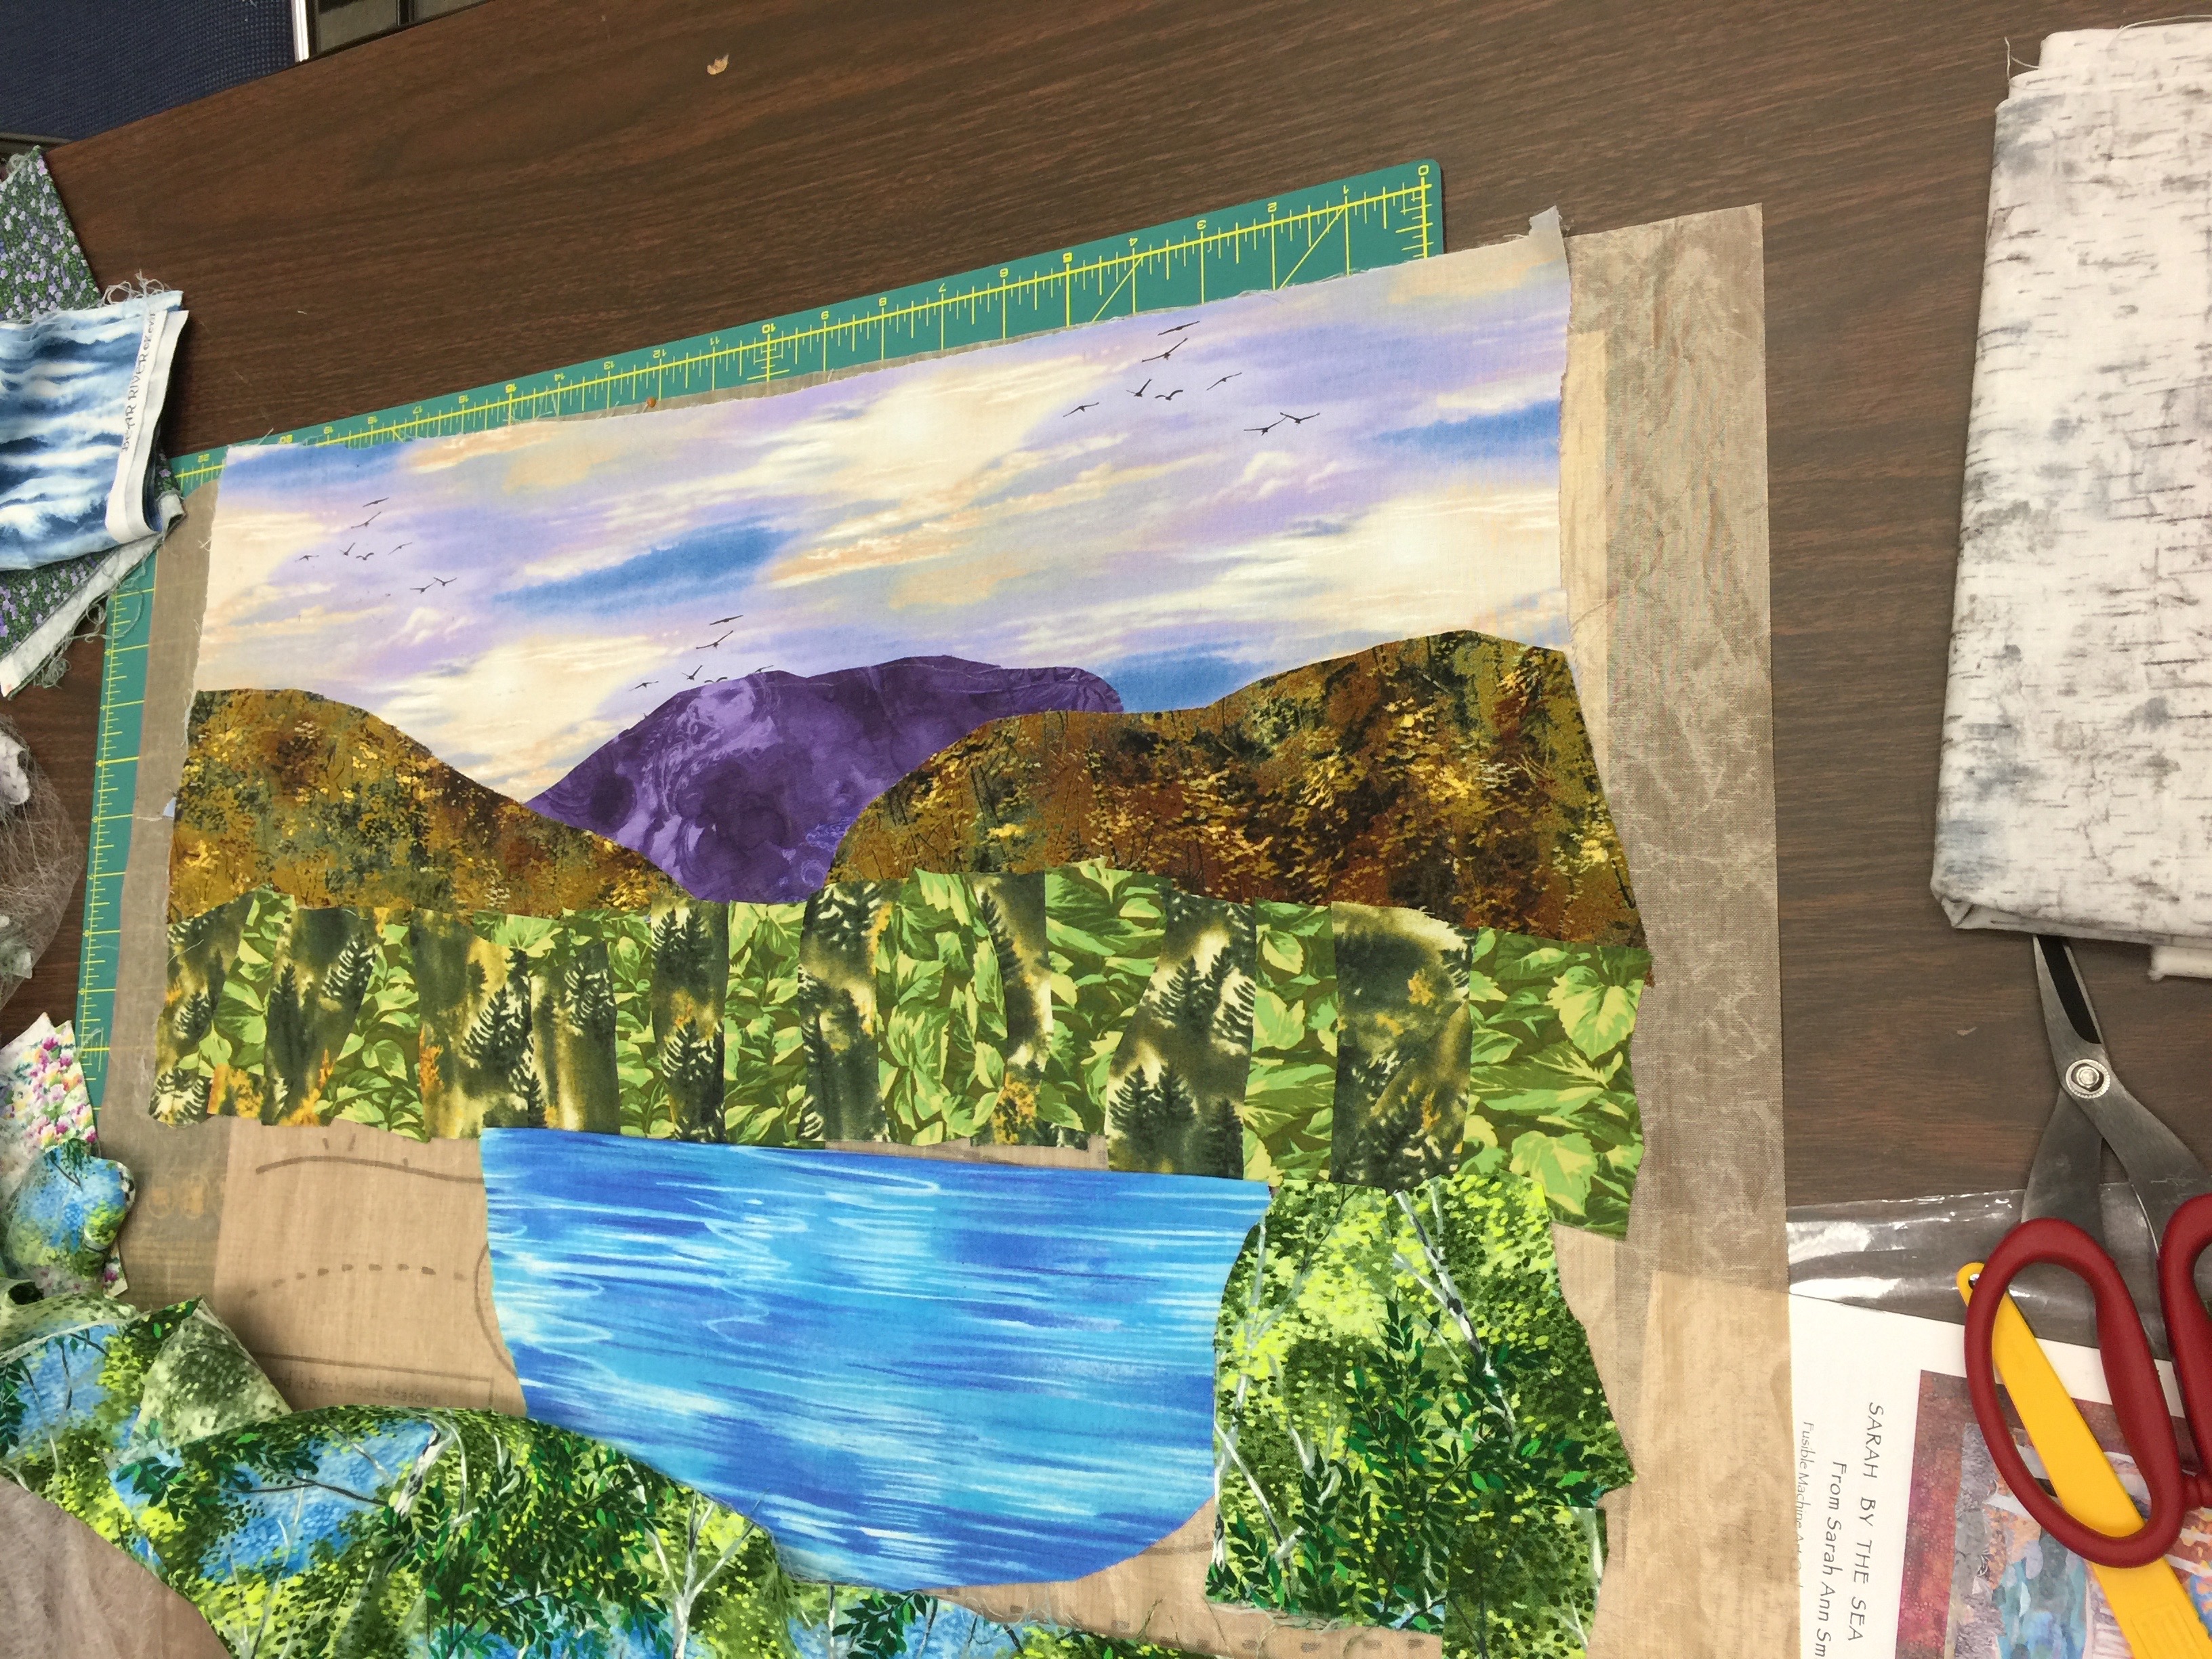
Once the ground/foliage near the pond was in, it worked so much better — ponds reflect the color in the sky so it fit perfectly. The blue was great as water, just not in this composition where it kinda screamed. Mo Bettah!
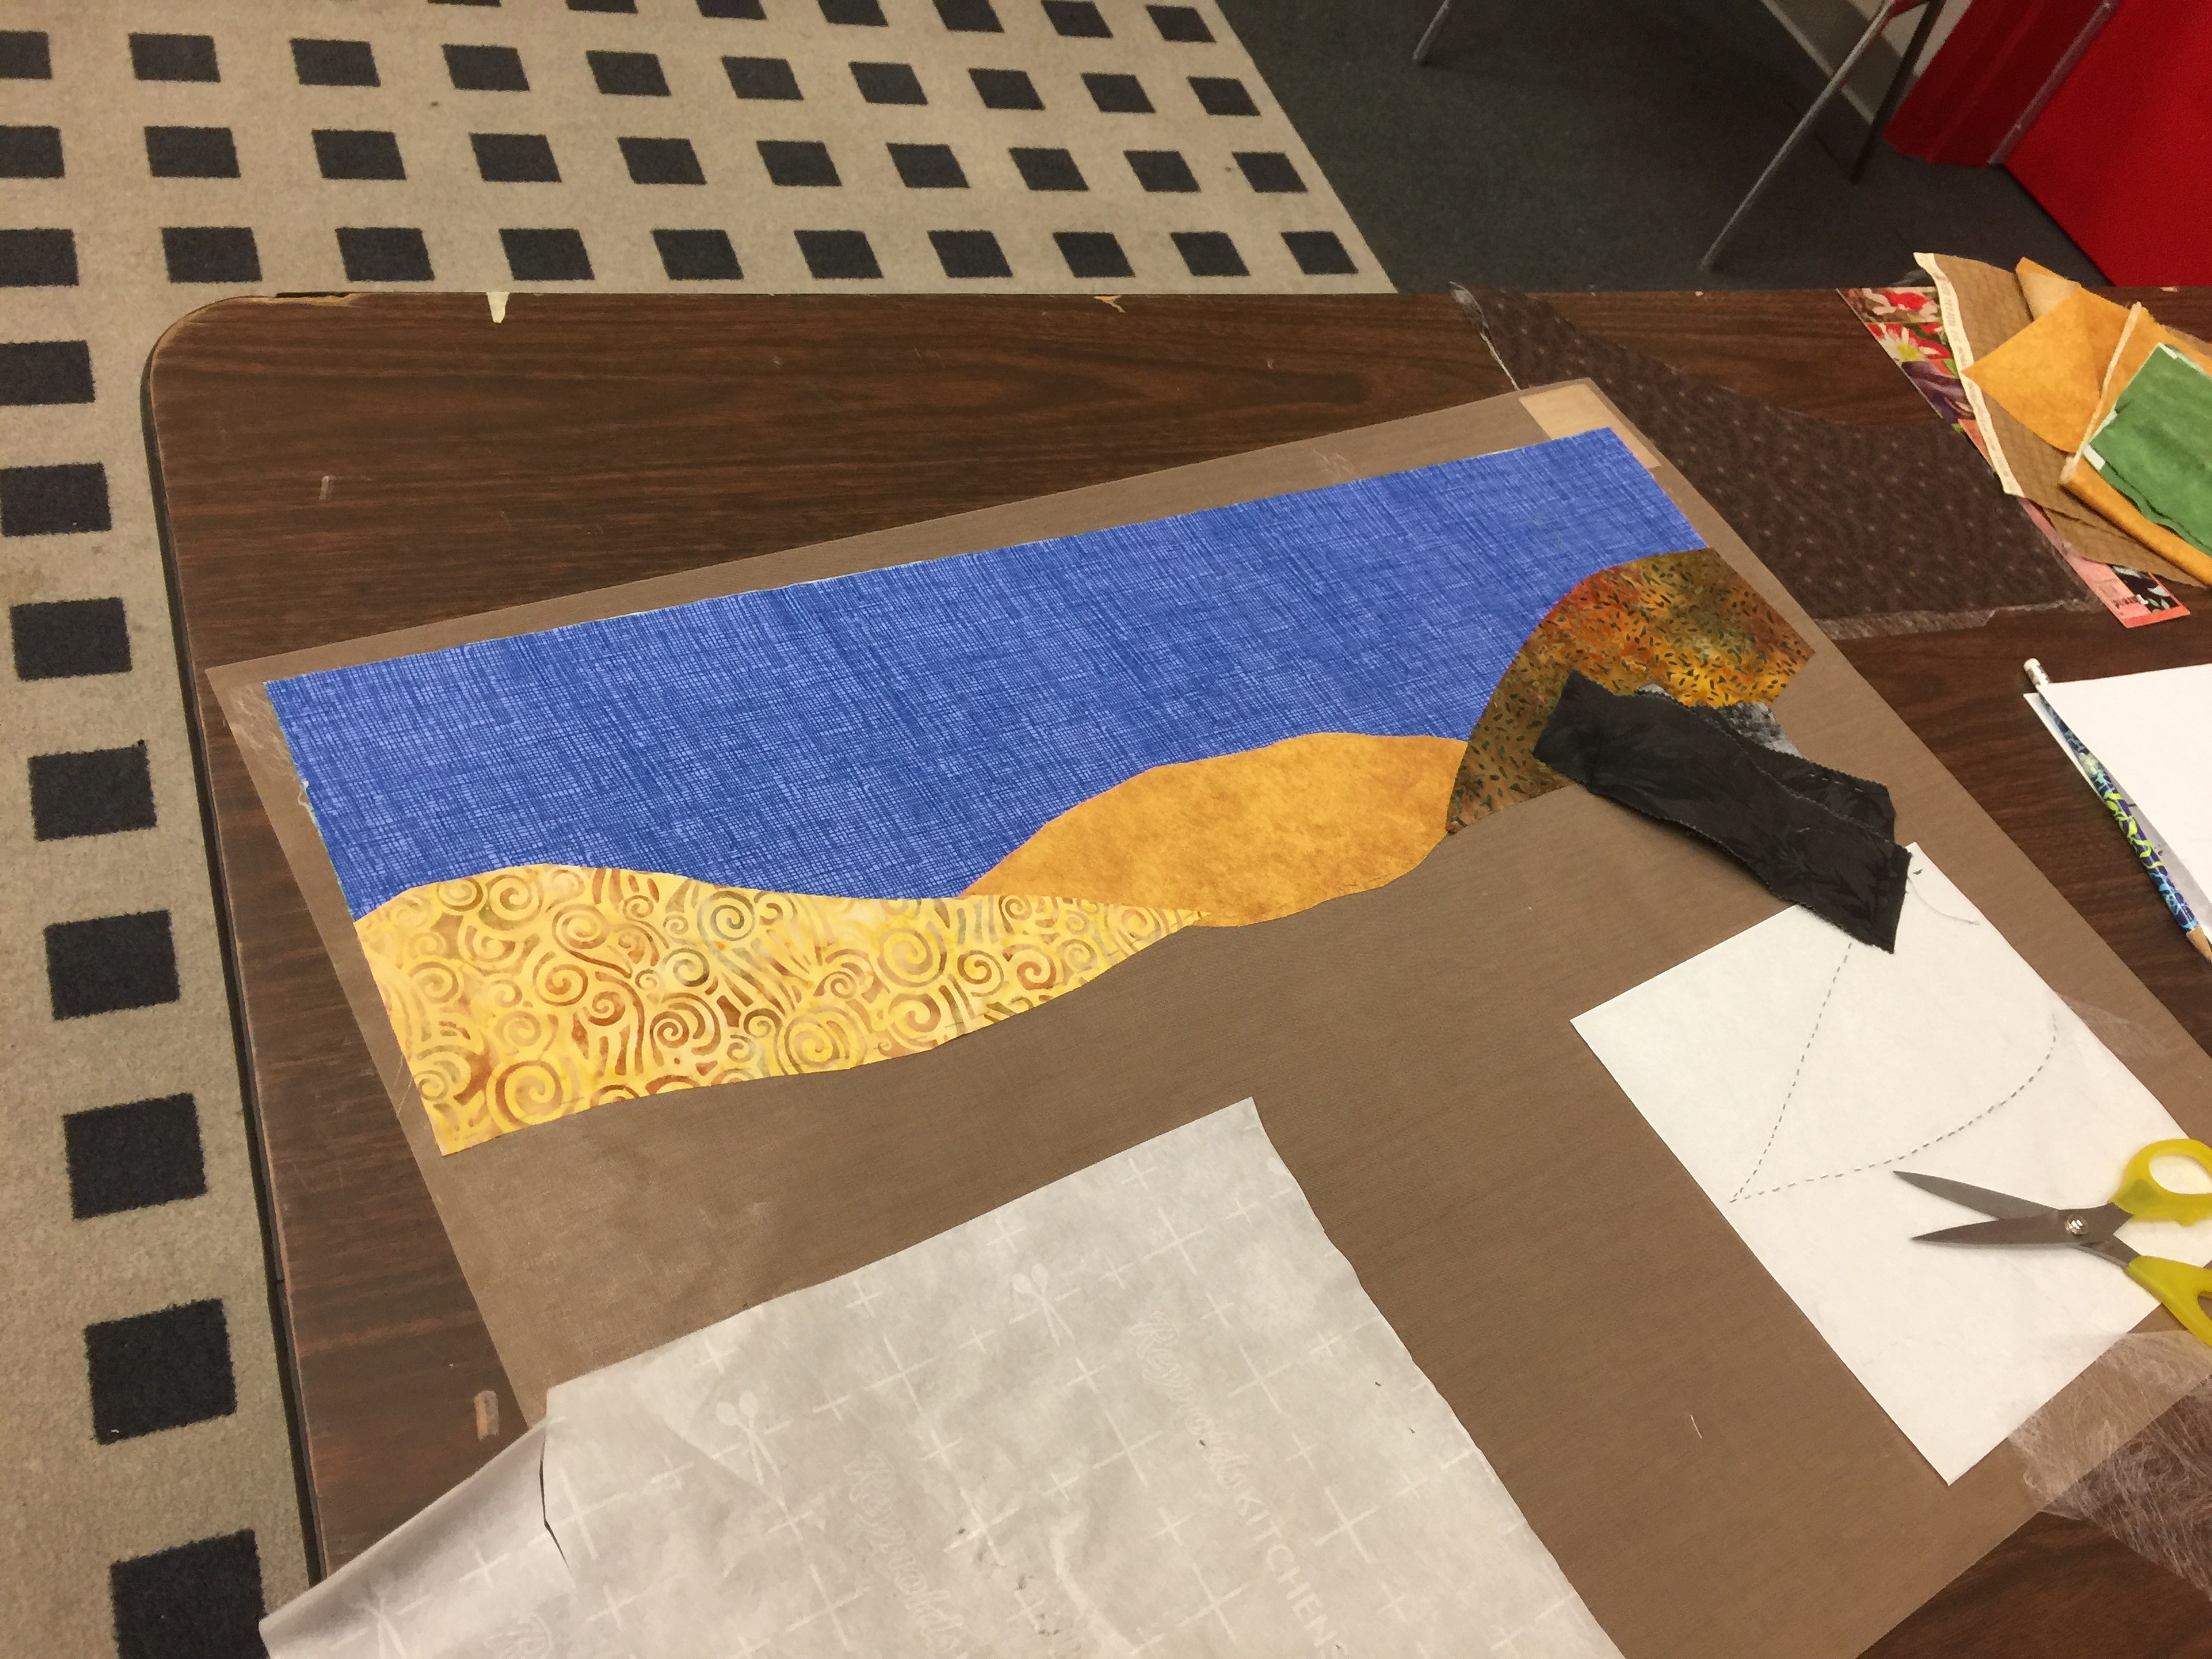
More great water…this student had a gentle, subdued palette that spoke to her–and amazing blue batik for the water
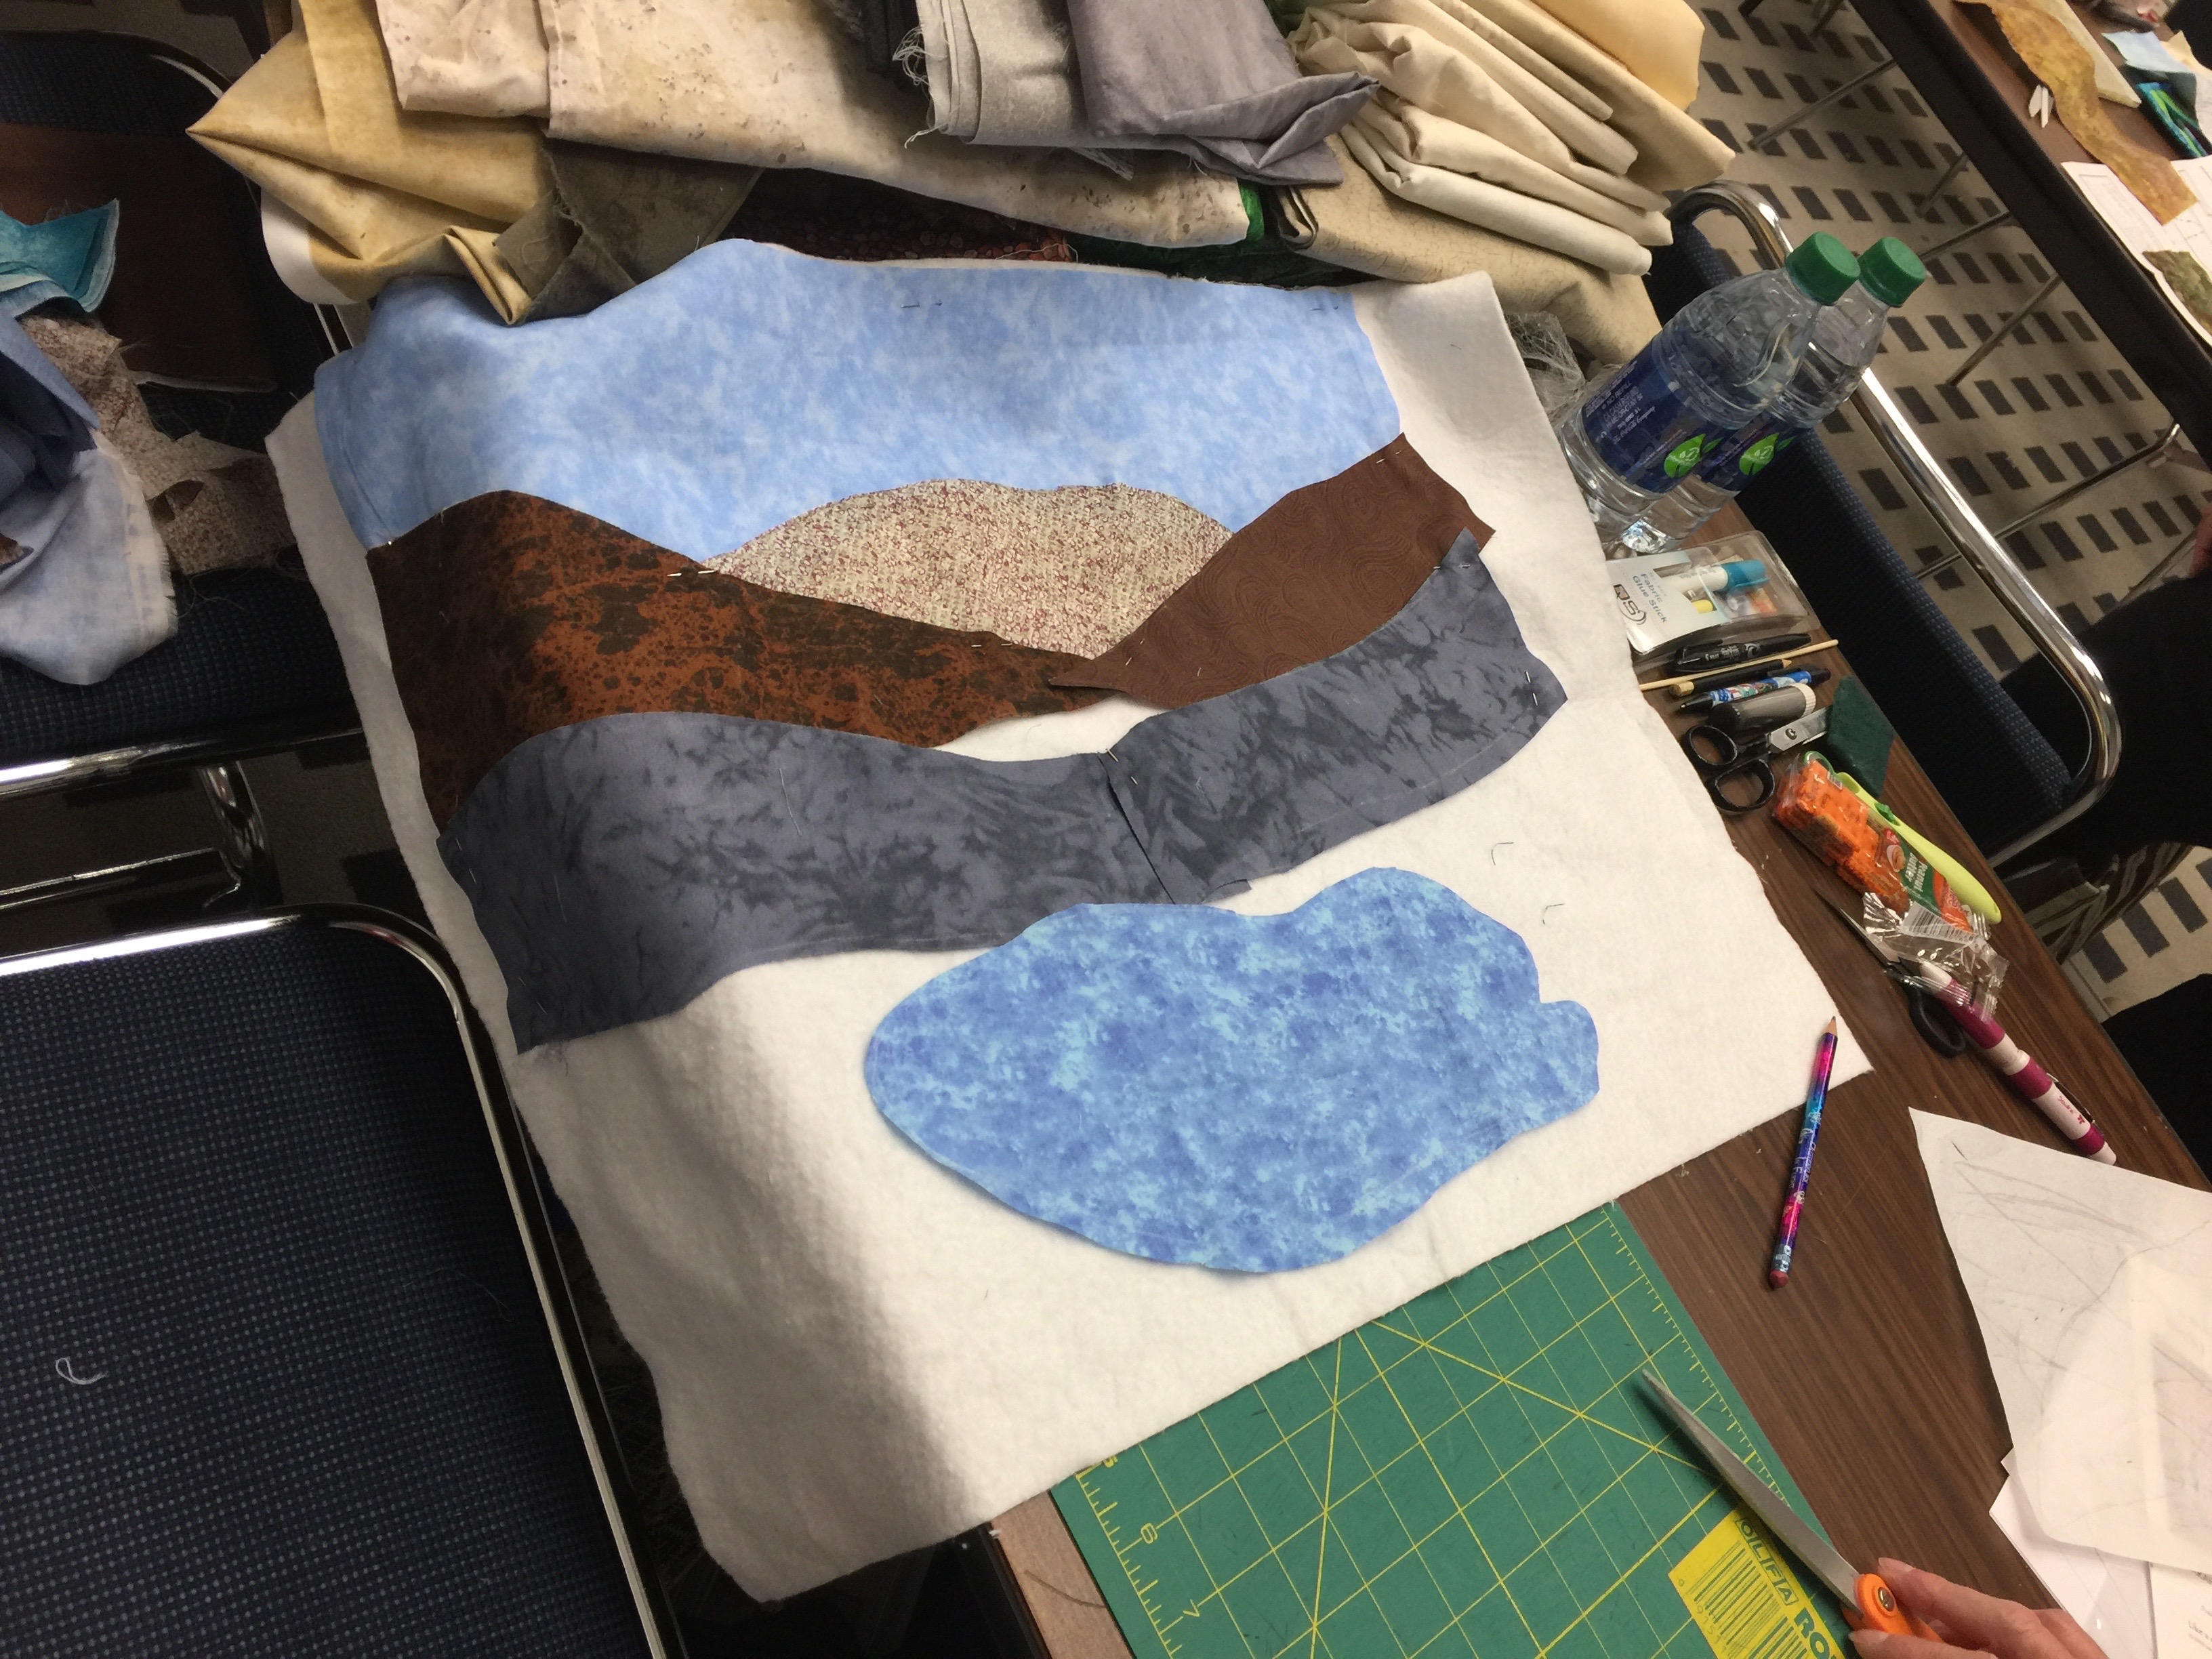
Another version!
And one more

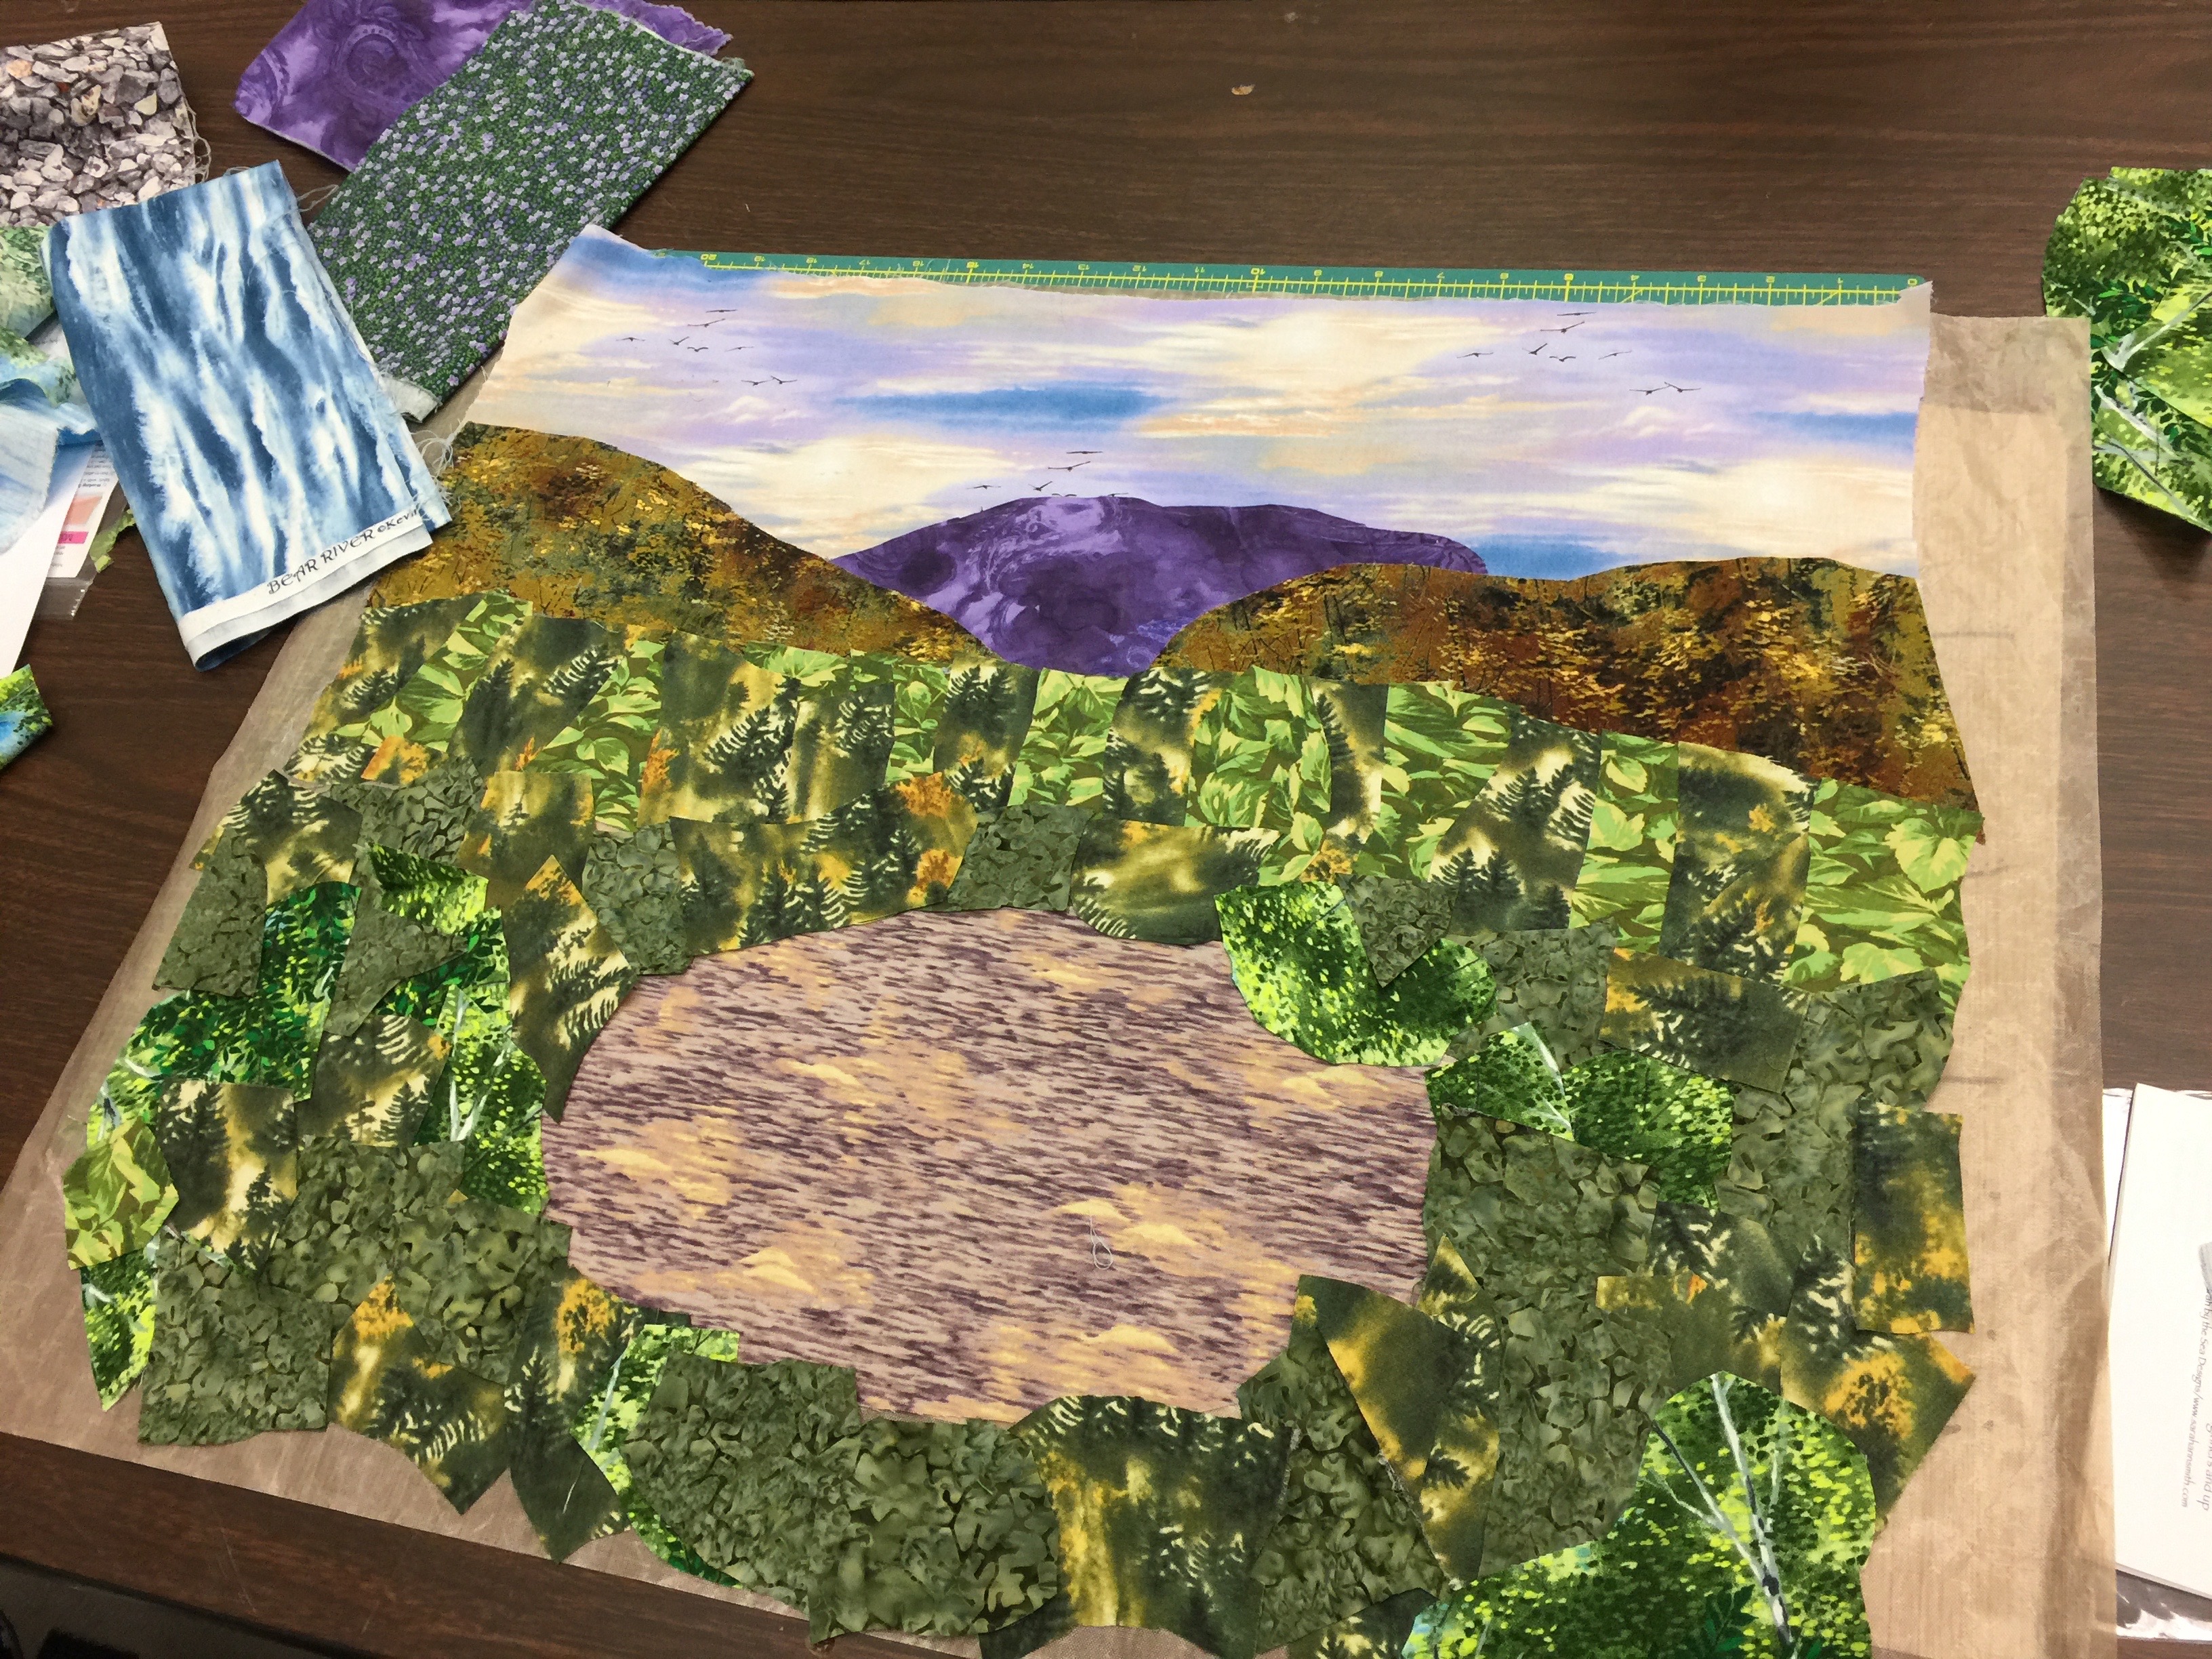
And towards the end of the day with more trees and ground blocked in
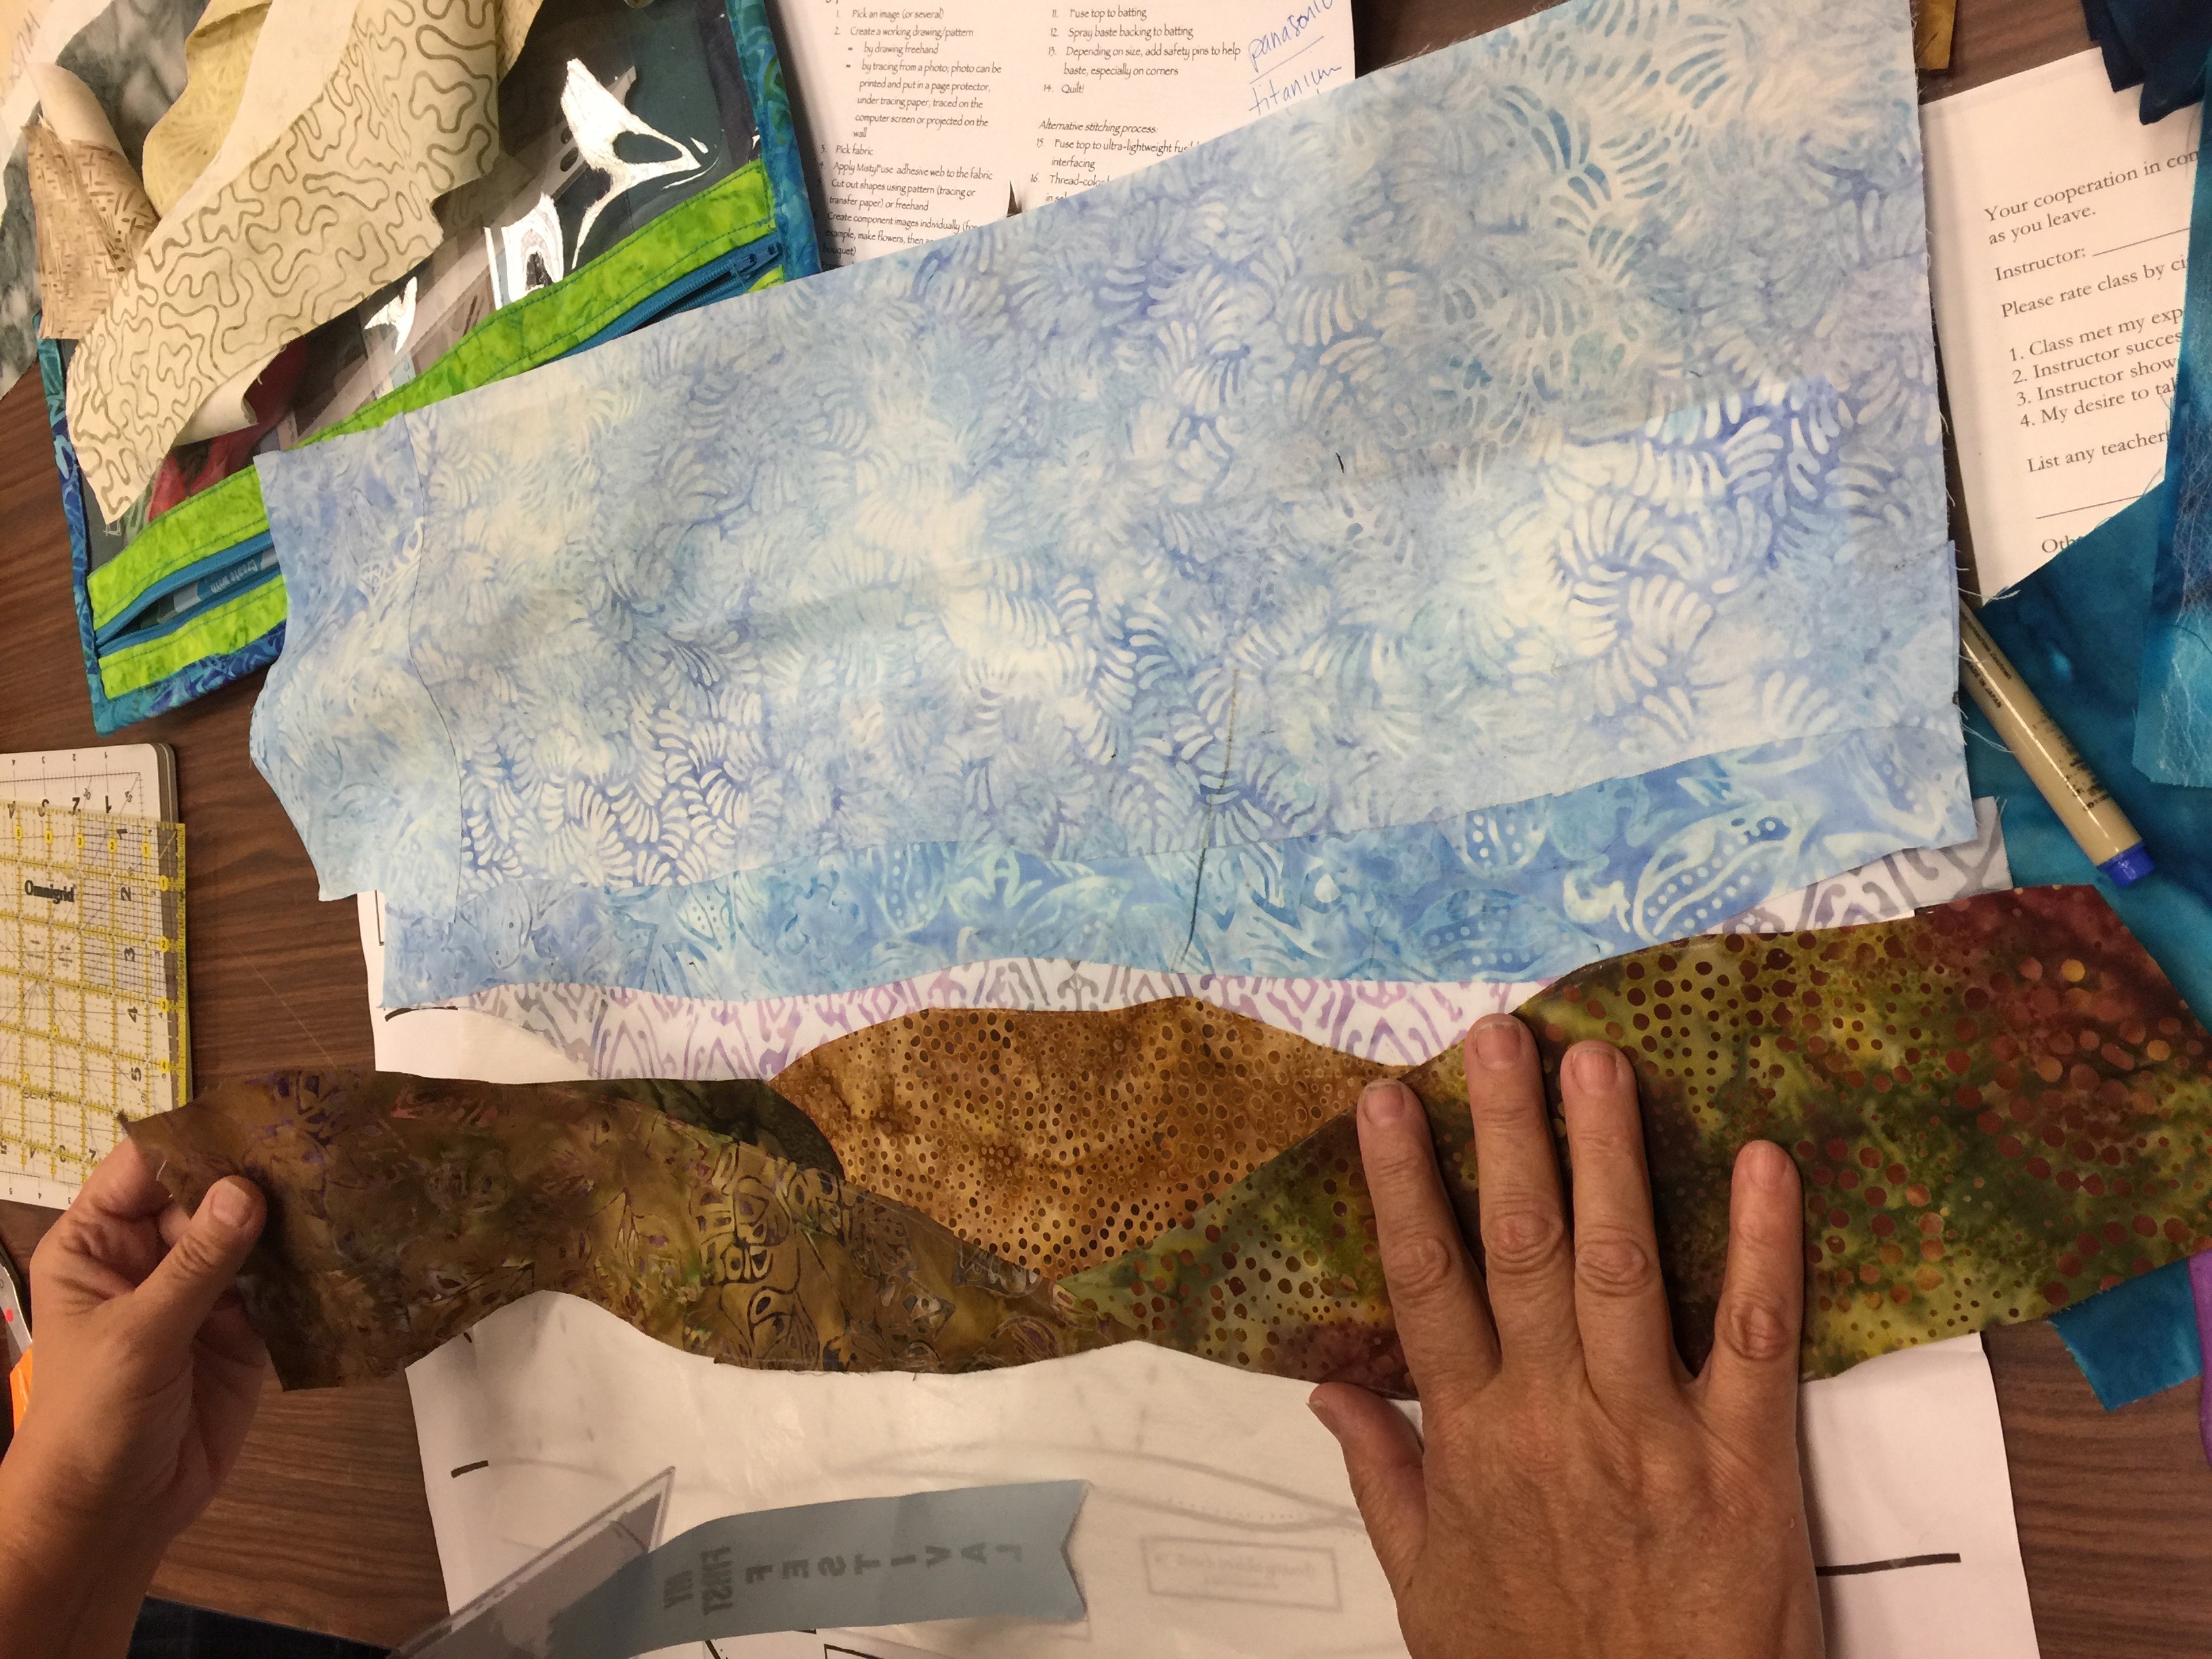
LOVED the fabrics for the sky!

Work in progress!
At some point during the day, friend Luana Rubin (half of the creative team with her hubby who founded eQuilter) popped in for a quick photo:
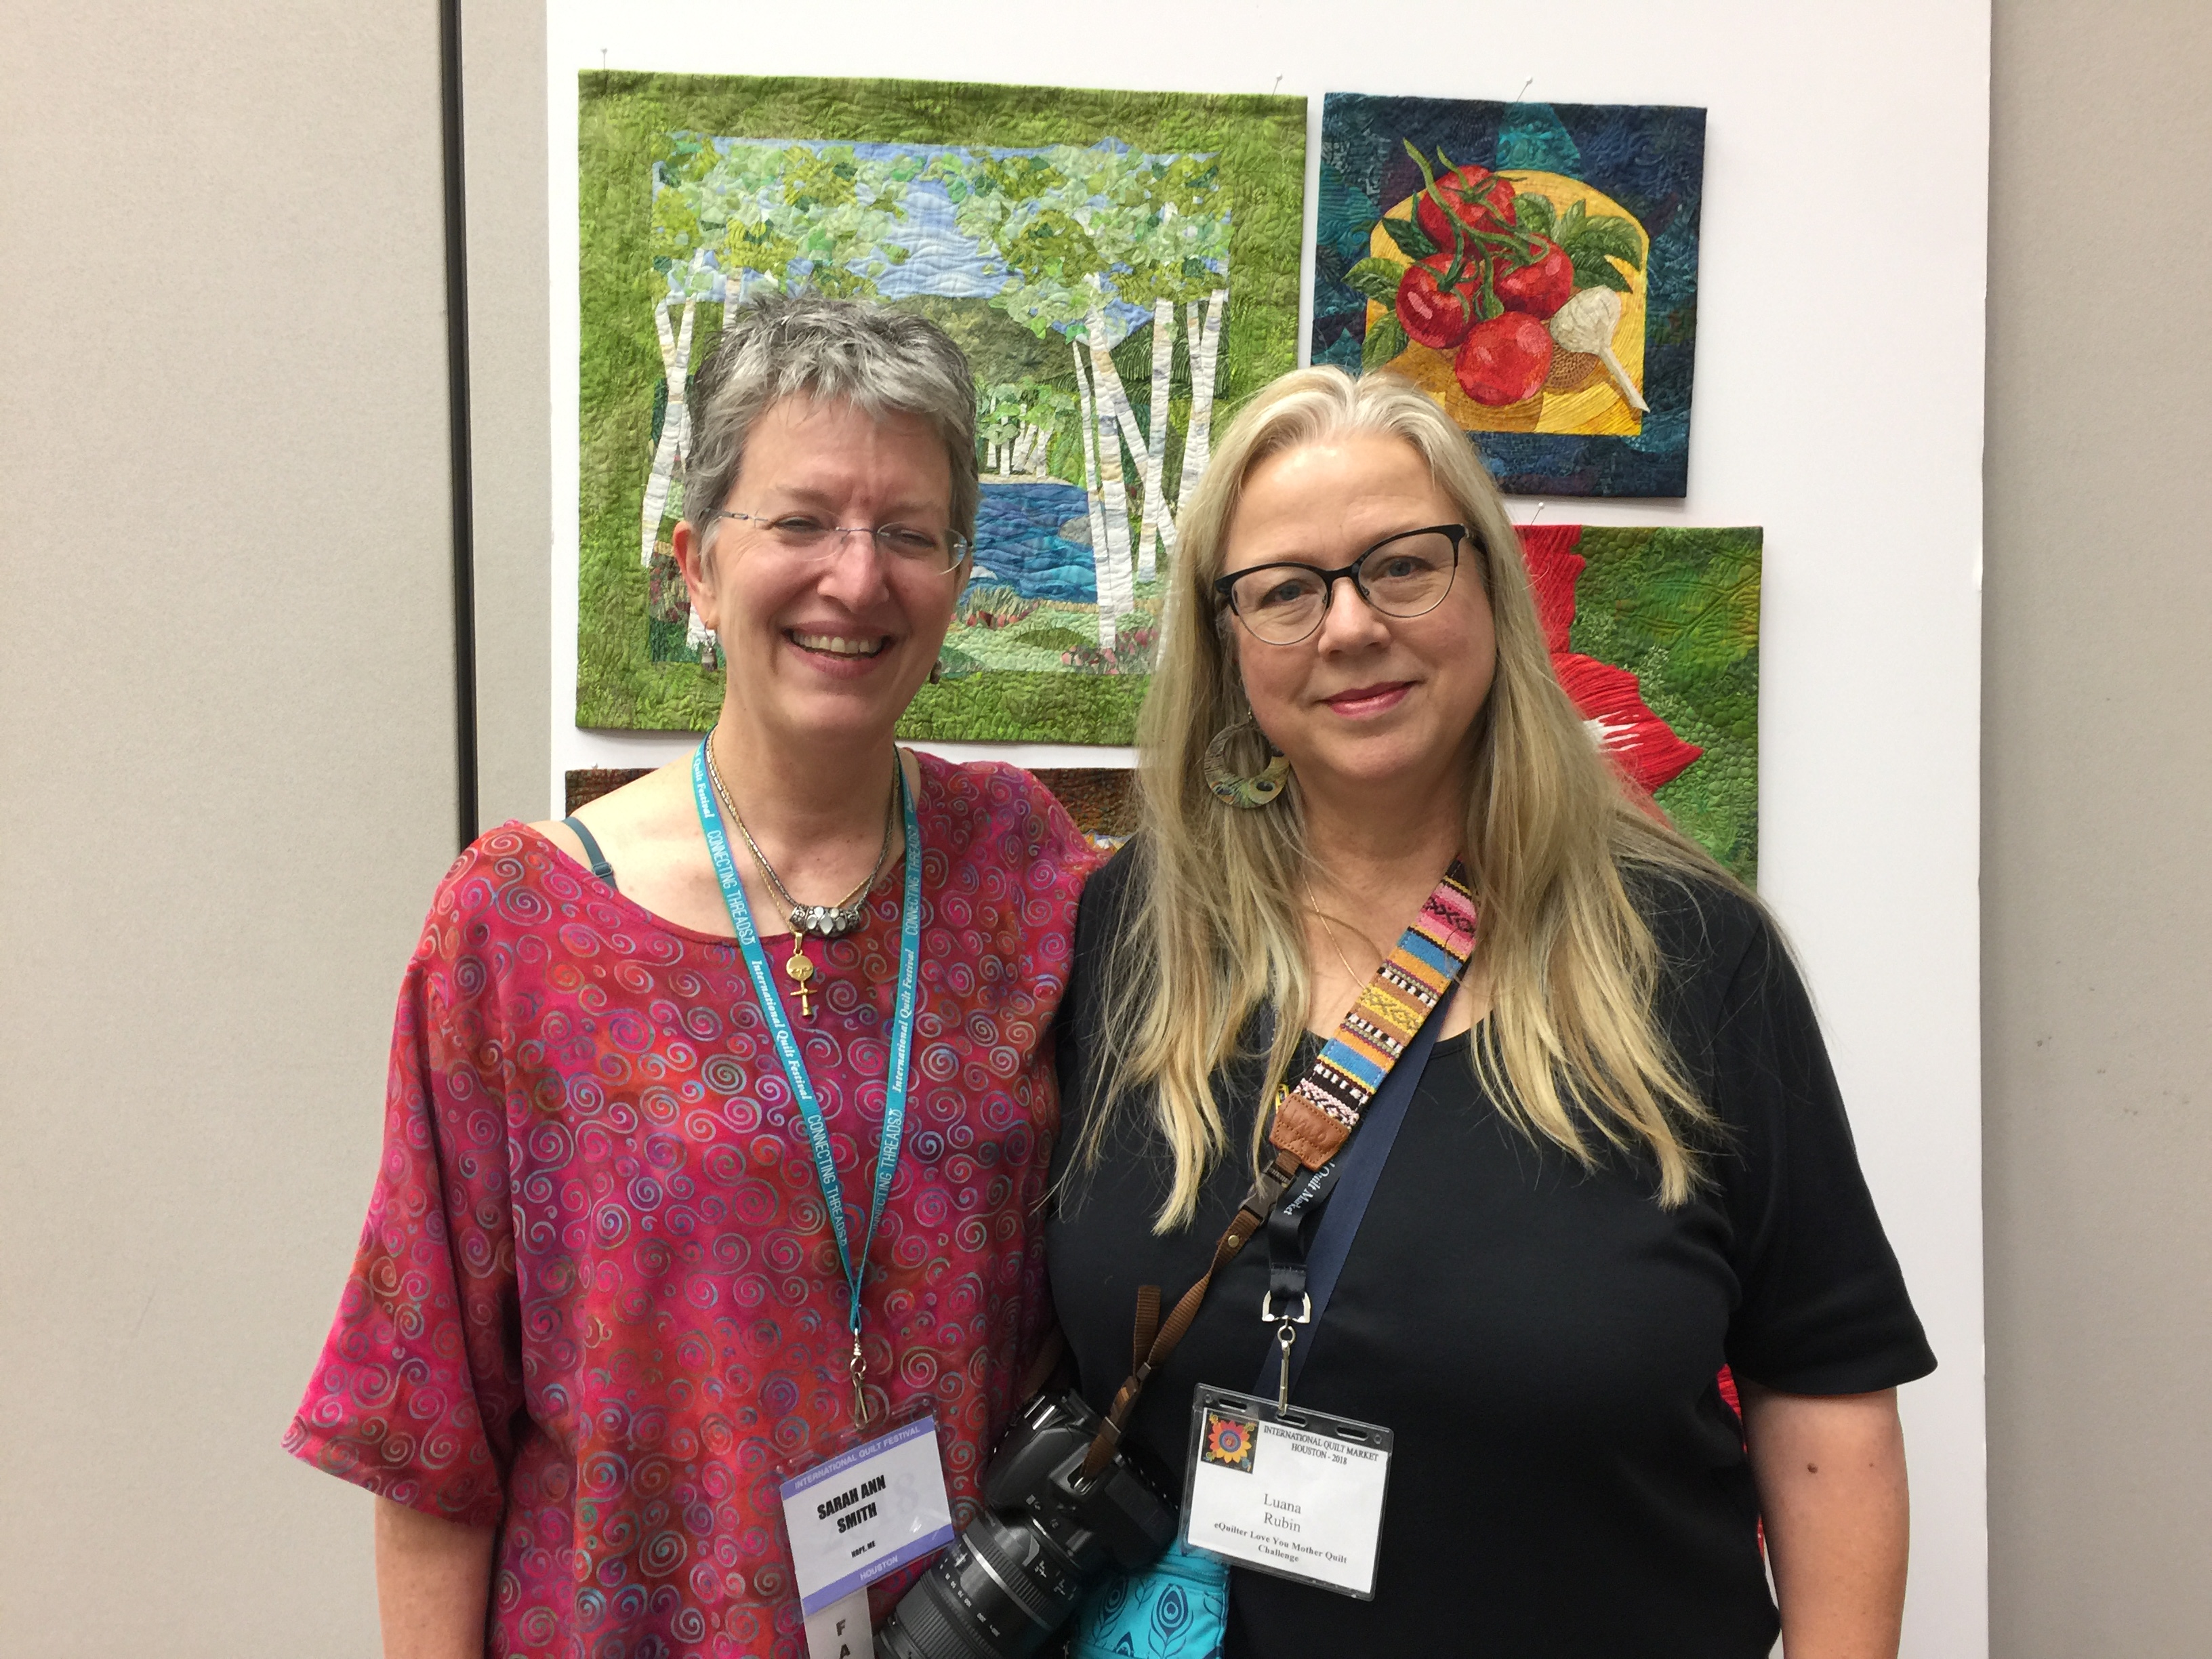
With Luana Rubin
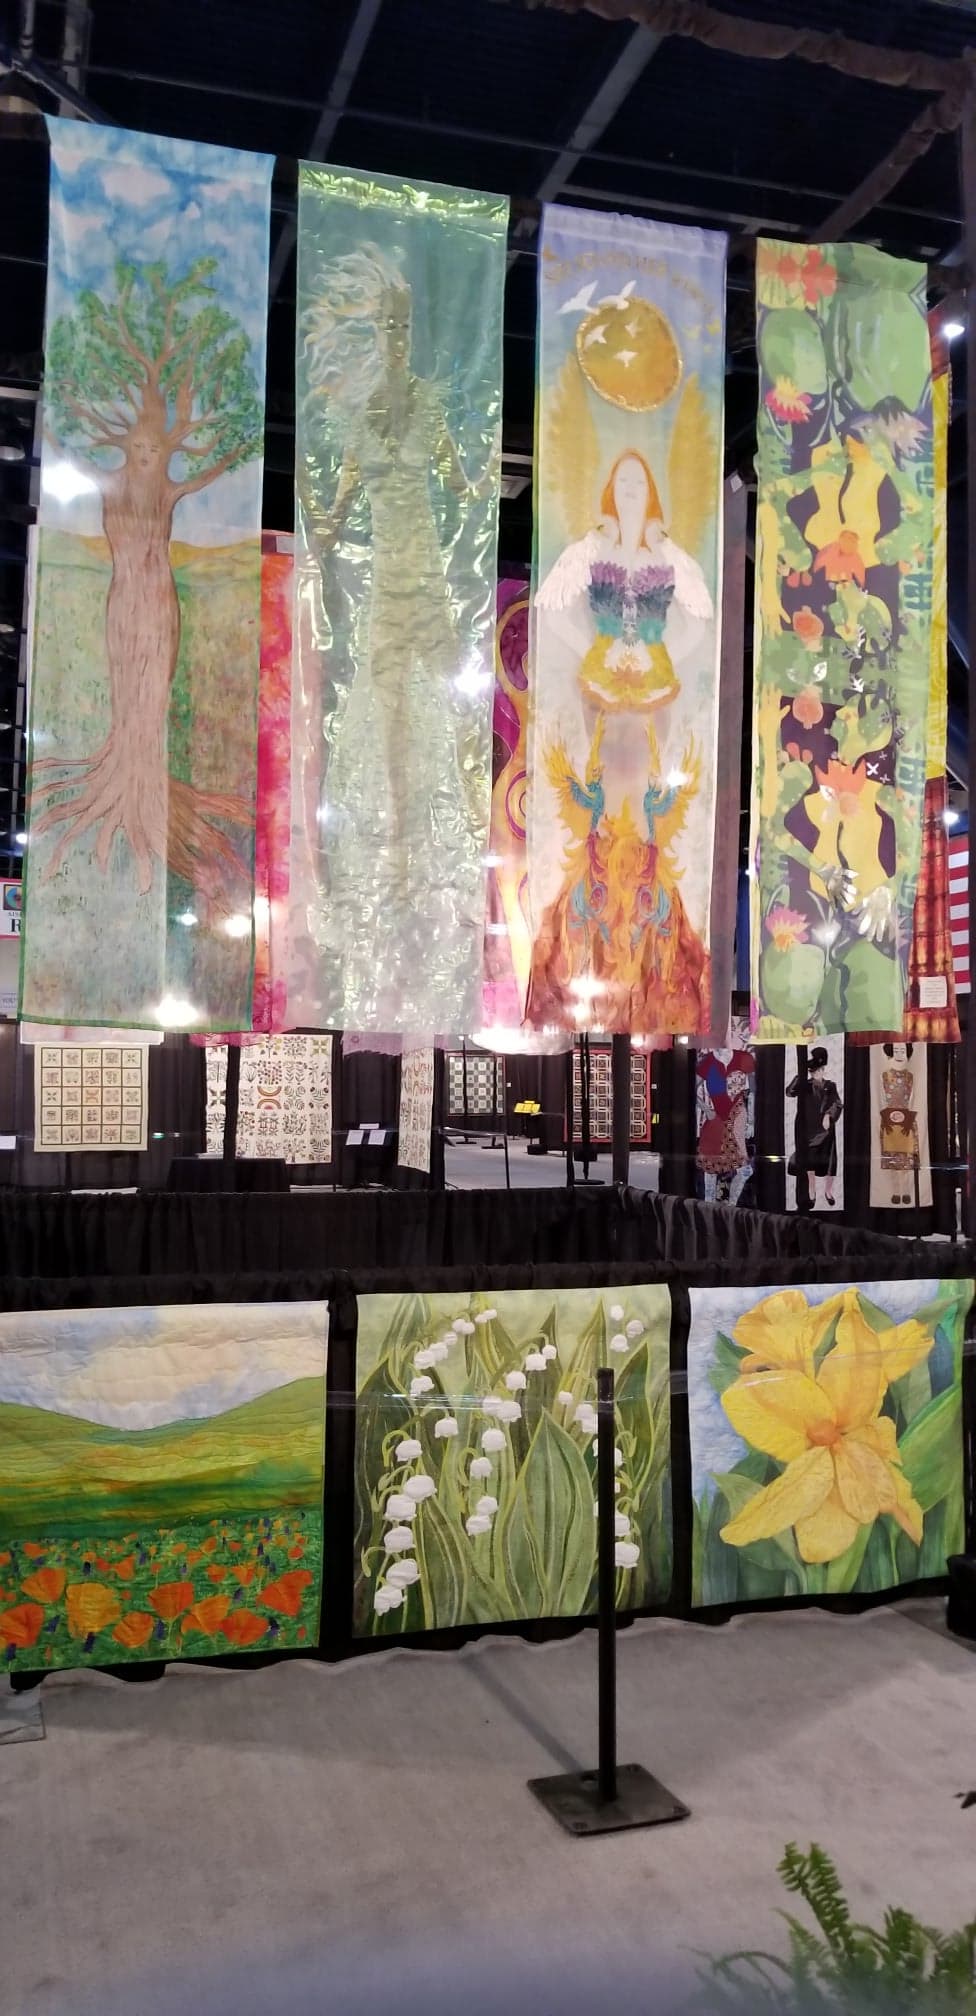
Then, it was a quick dash to pack up, haul the suitcase and stuff back to my room, then go to the Awards ceremony and cheer on the winners, especially my quilty friends!
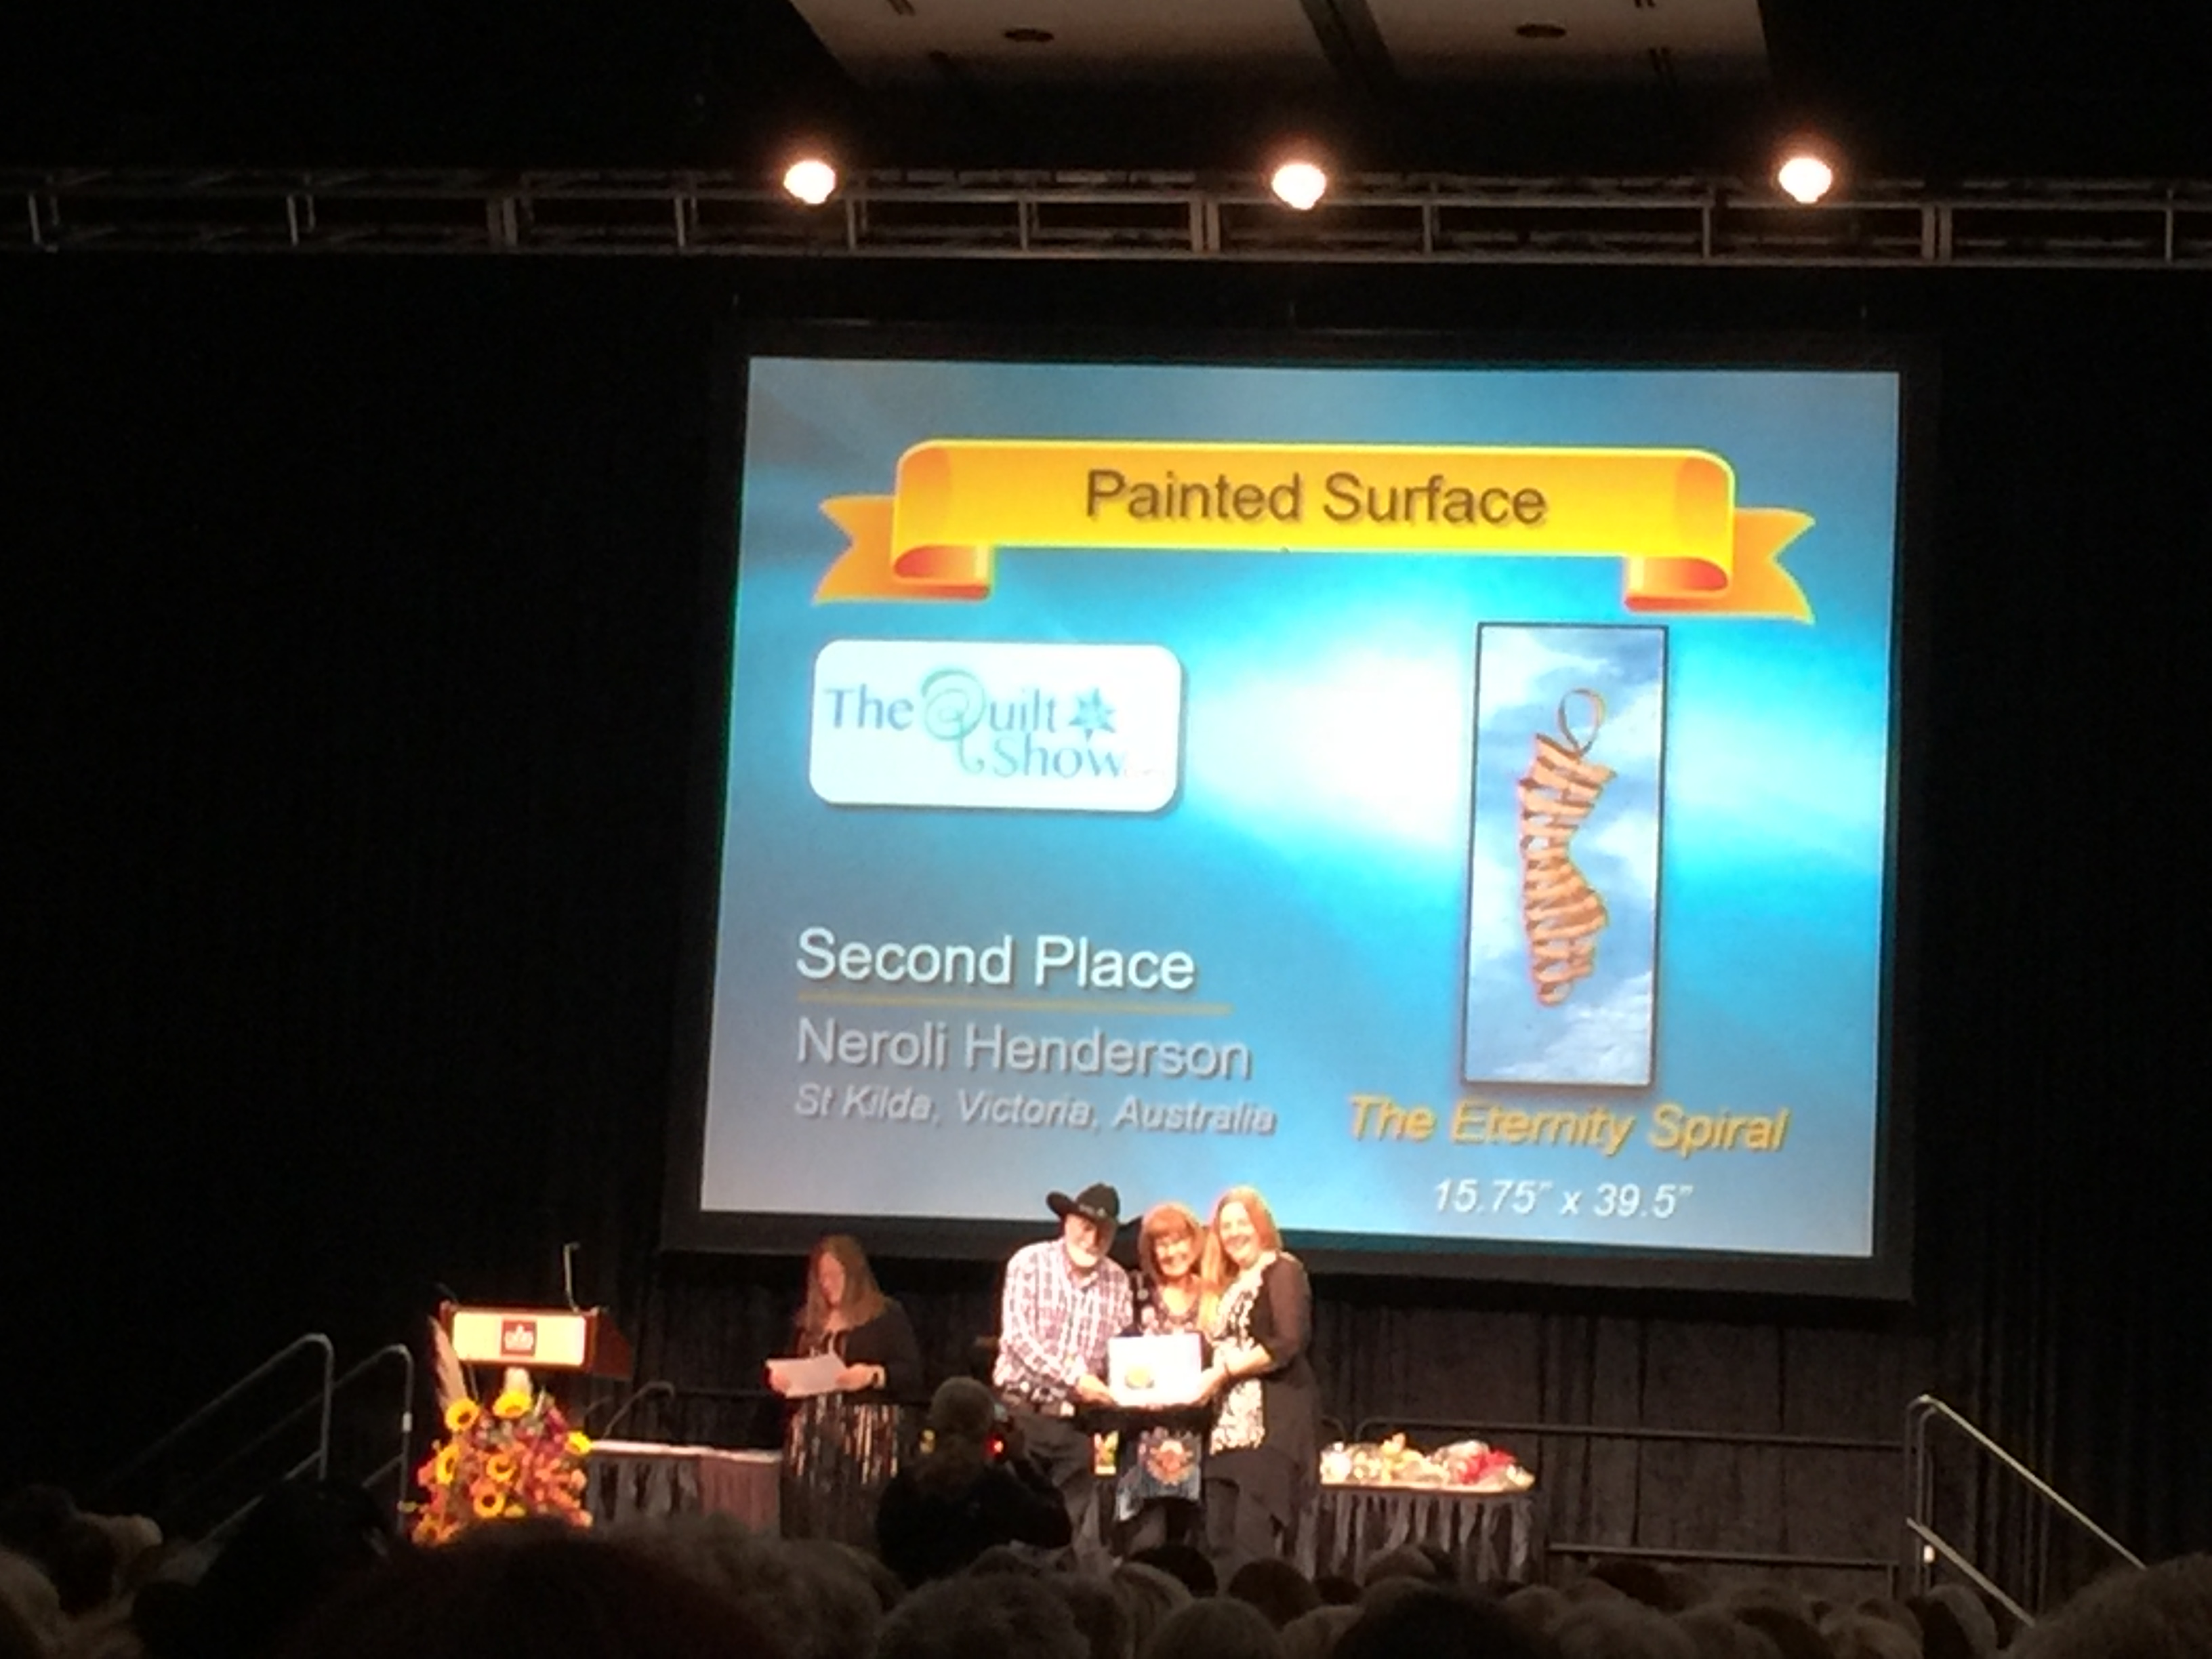
Neroli Henderson, The Eternity Spiral,
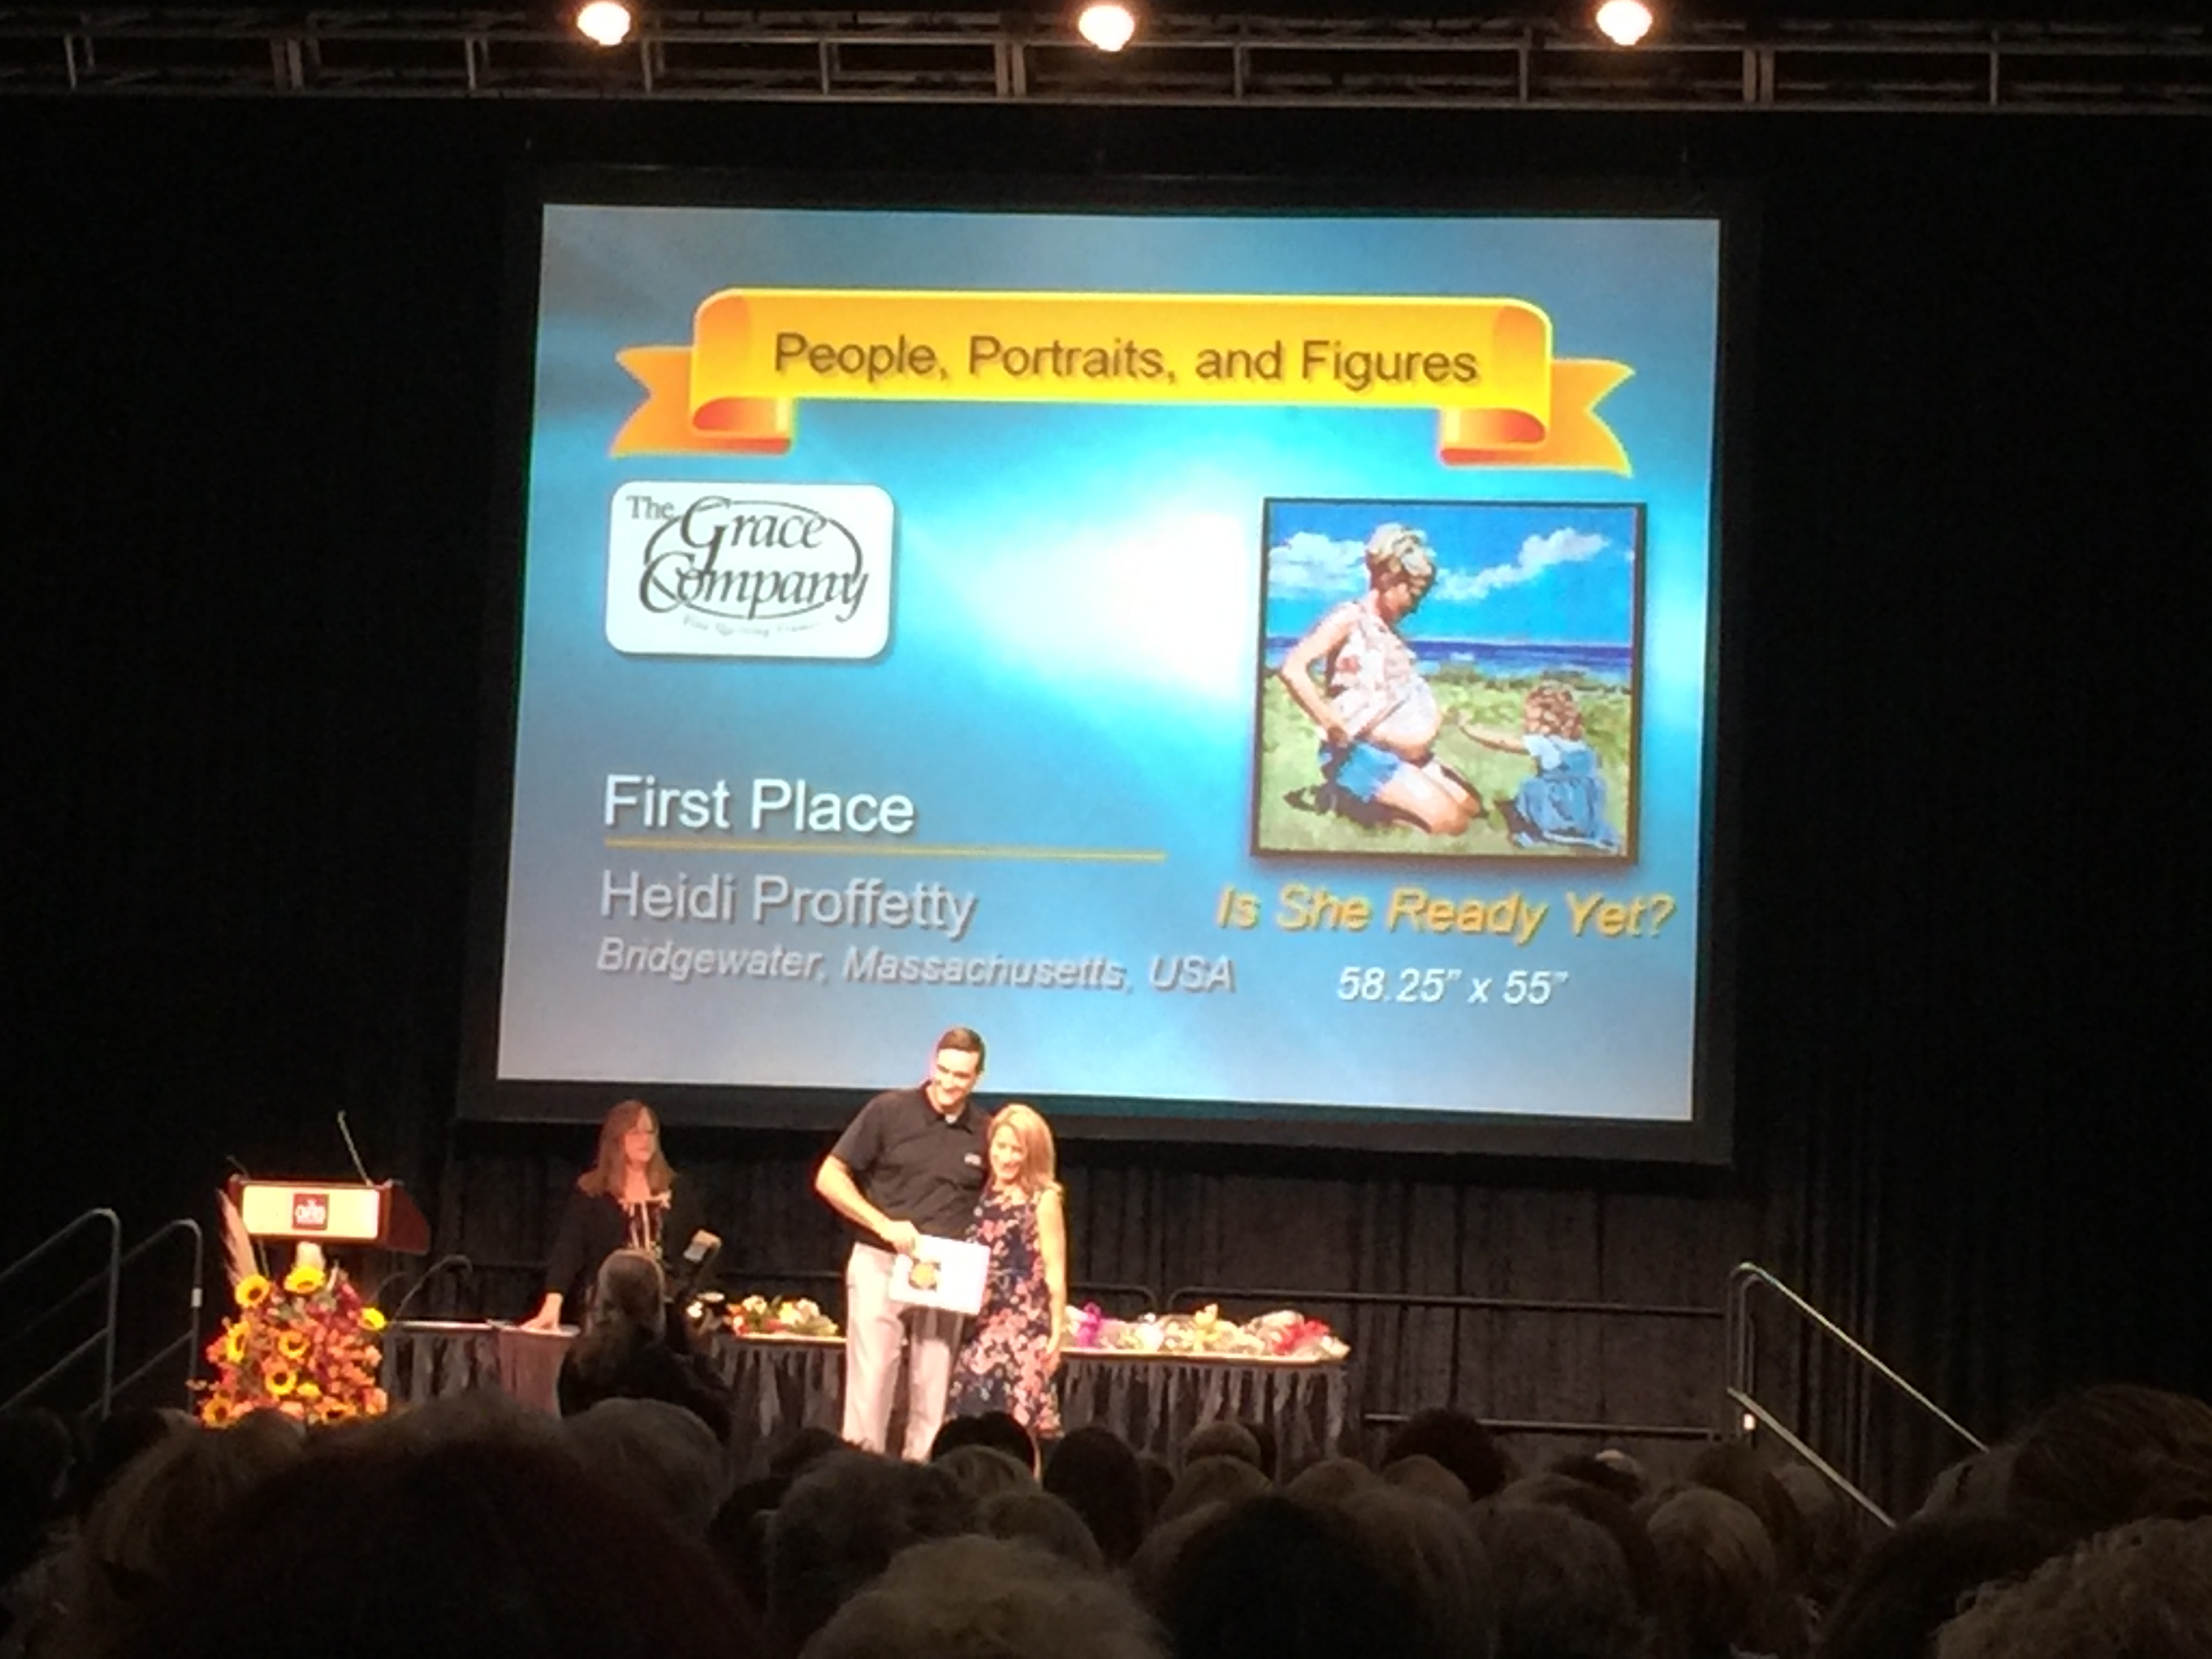
Heidi Profetty’s heart-warming mosaic quilt
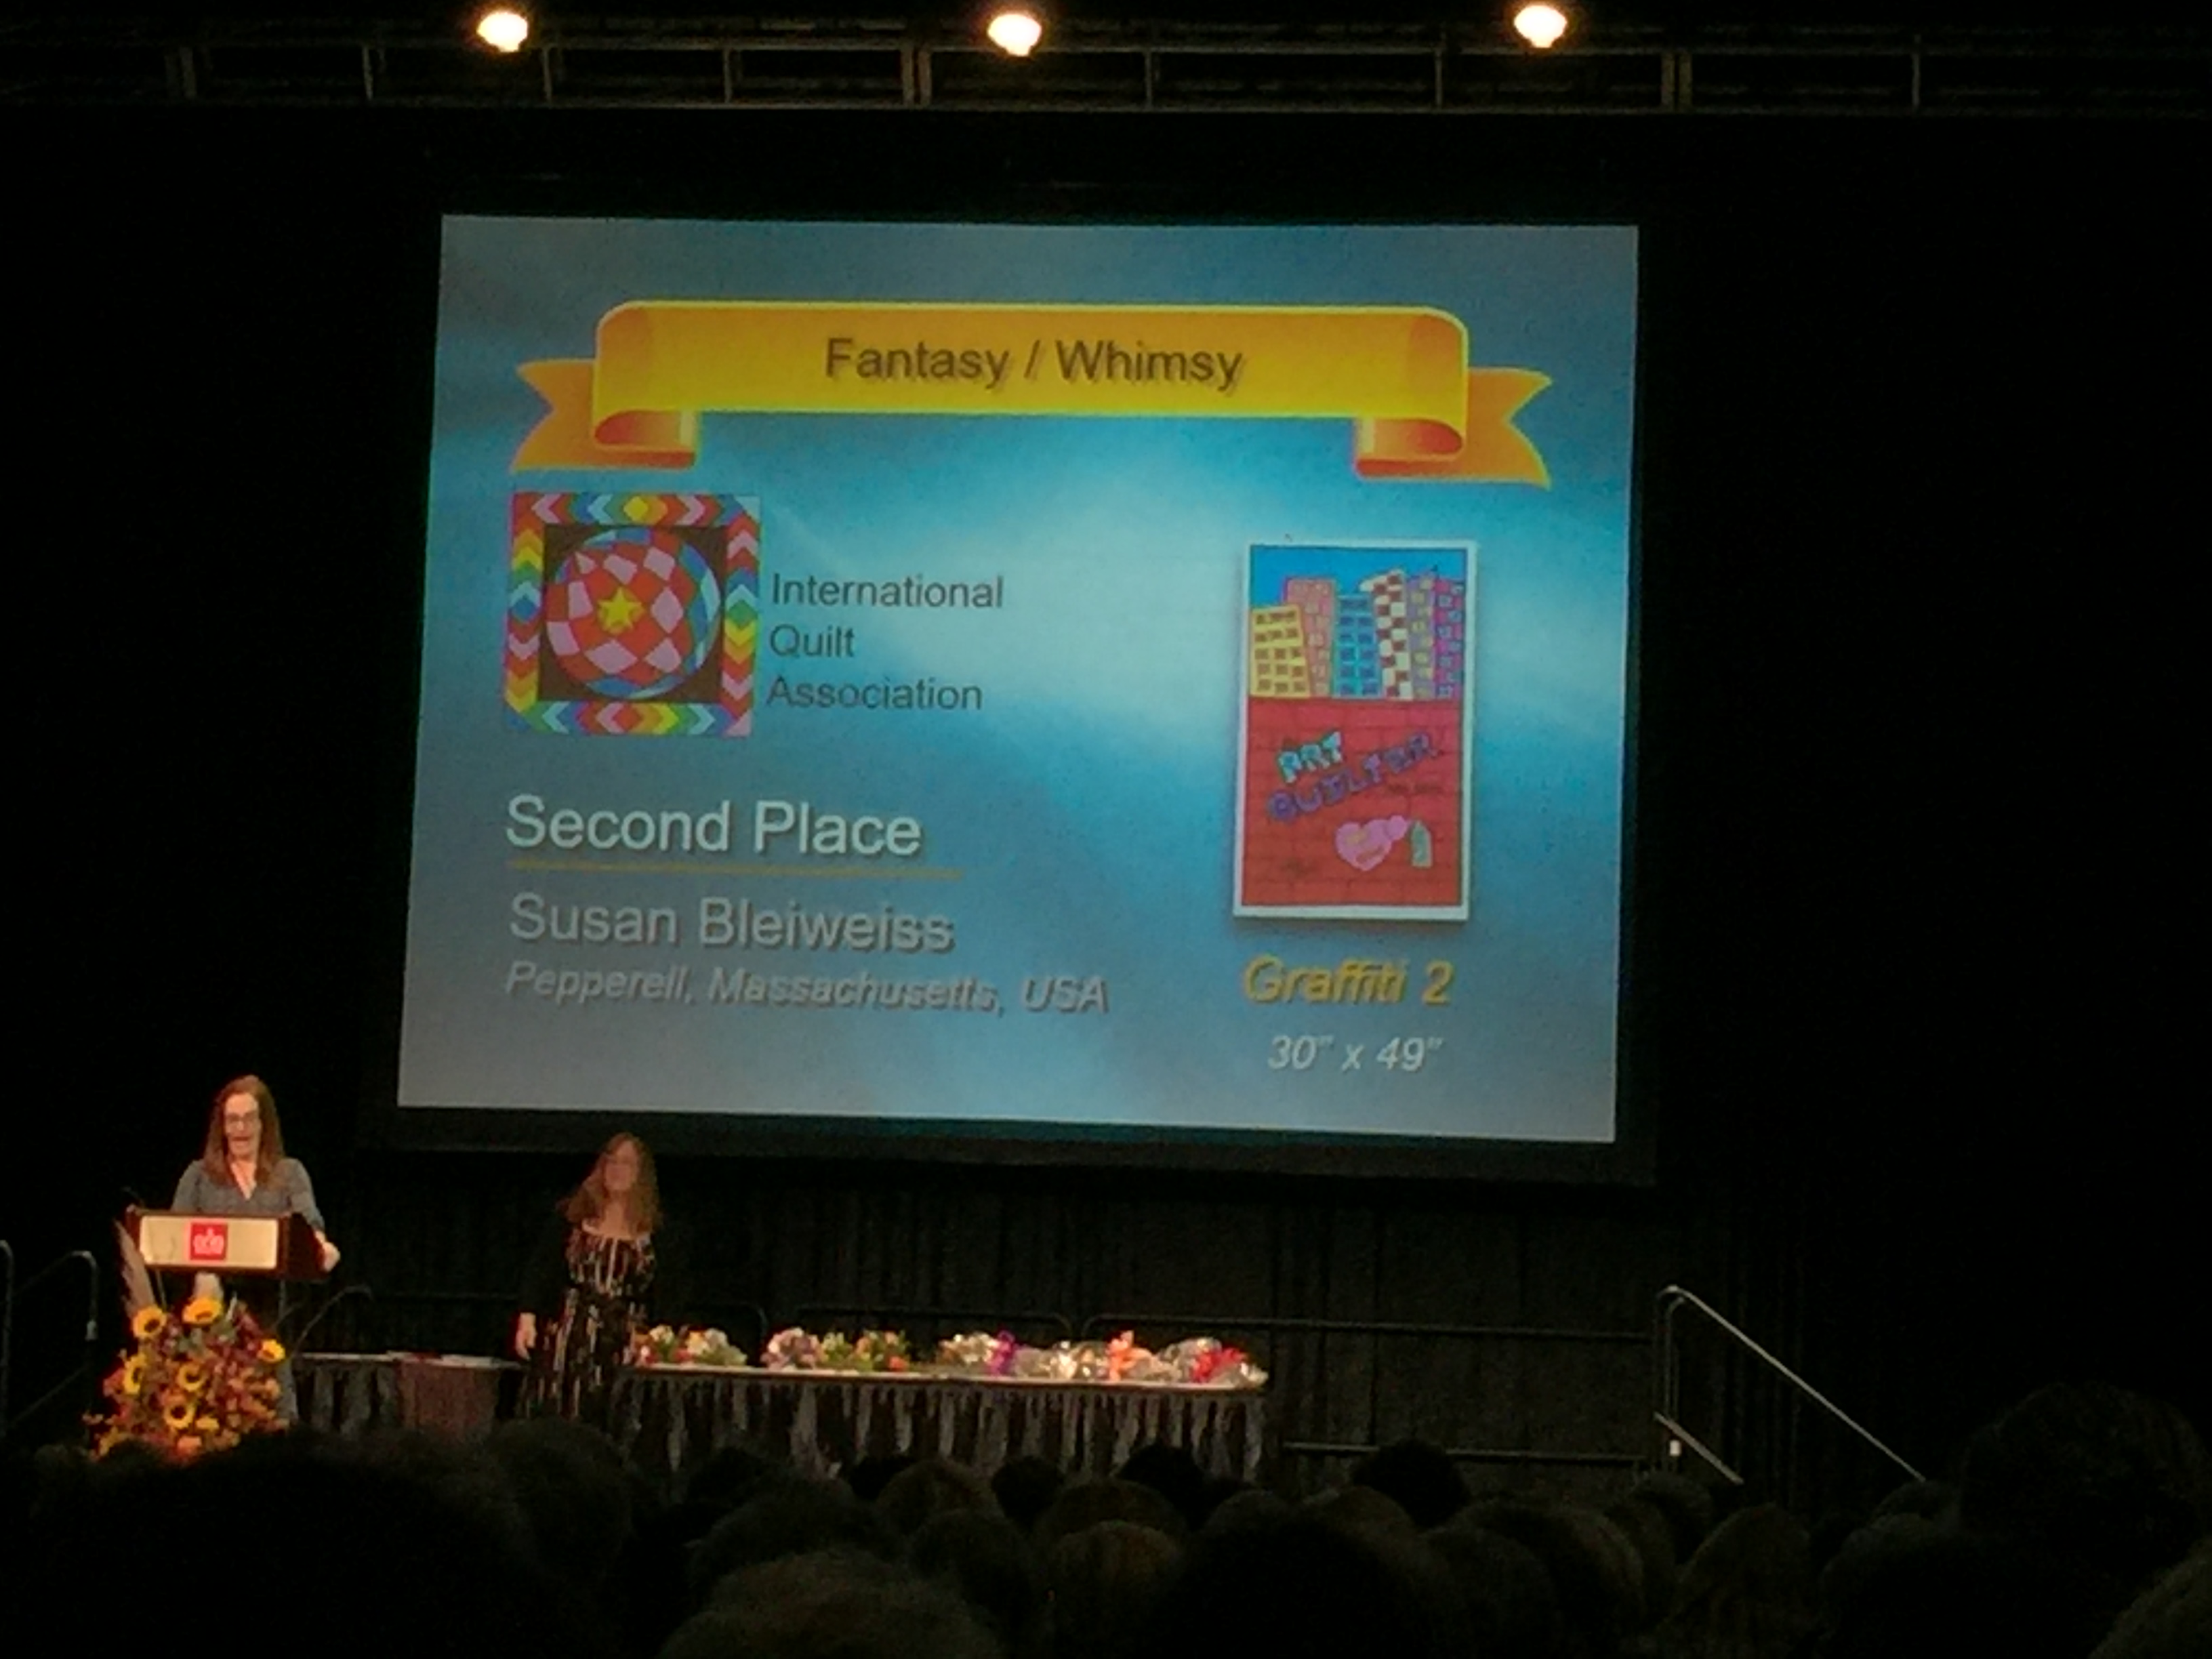
Sue Bleiweiss, Graffiti 2

Jenny Bowker’s moving and astounding work
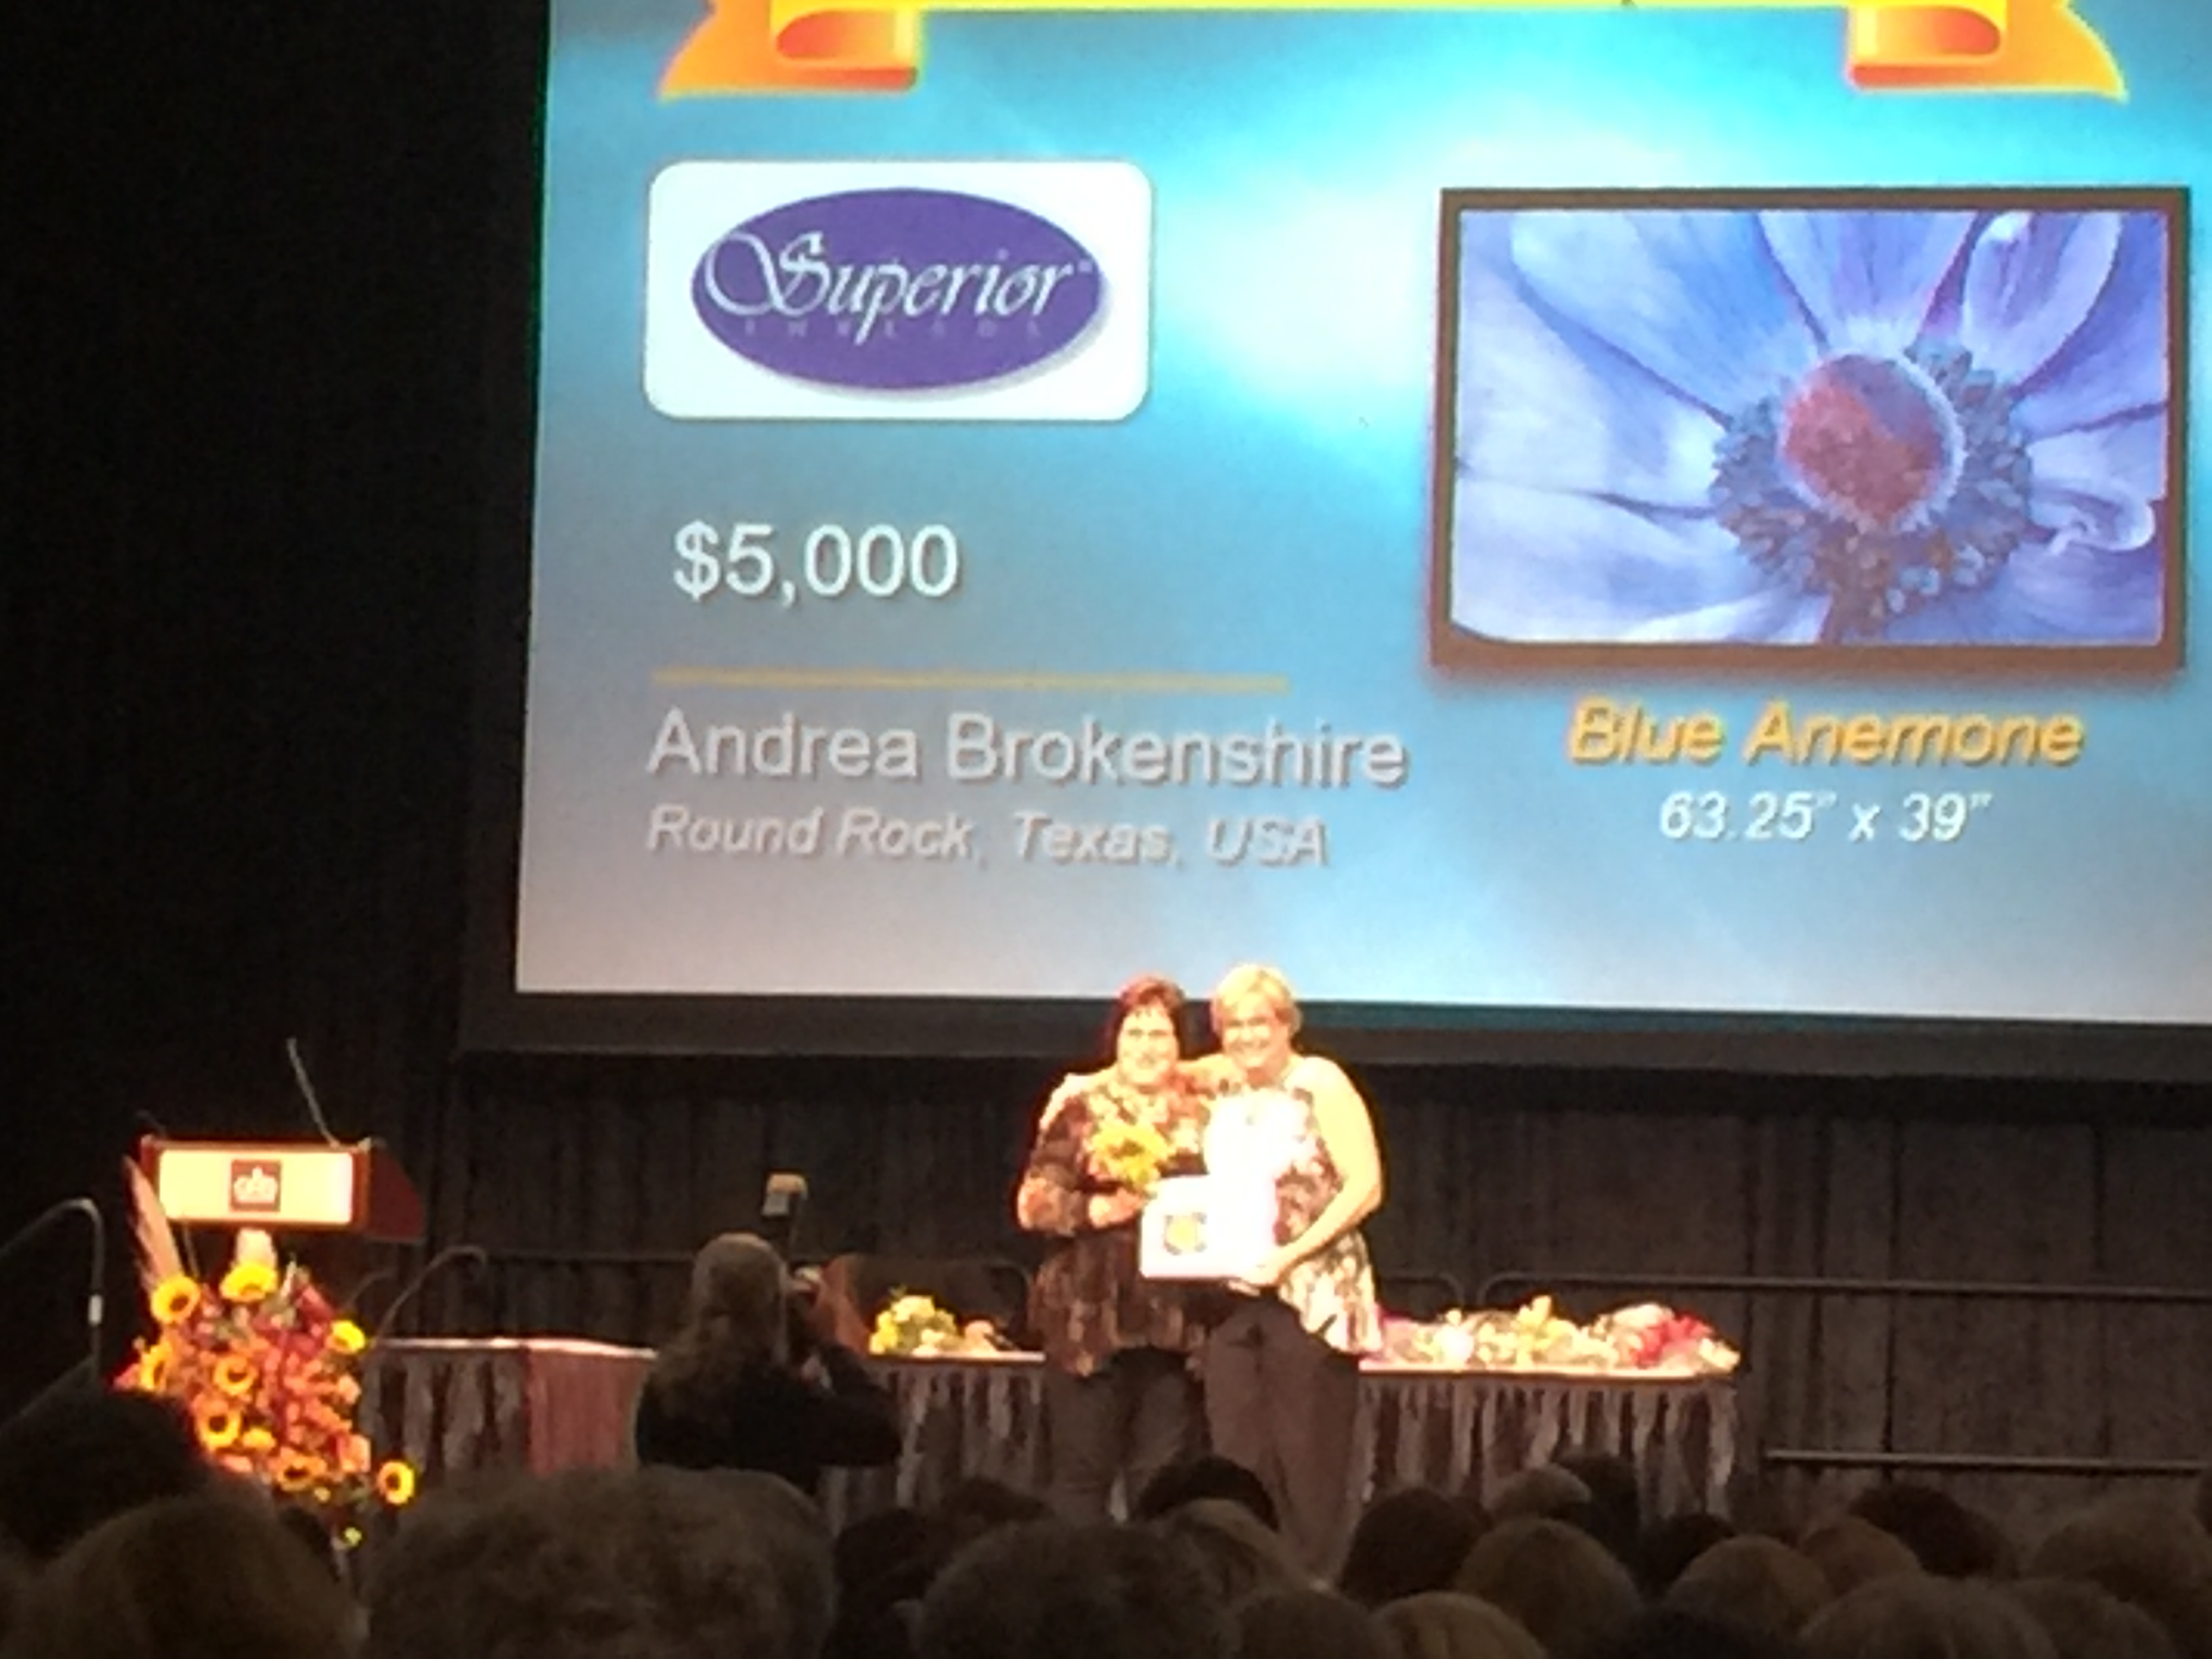
Andrea Brokenshire won one of the top eight awards and did what I’d do if I ever get so lucky–happy-danced her way up the stairs!
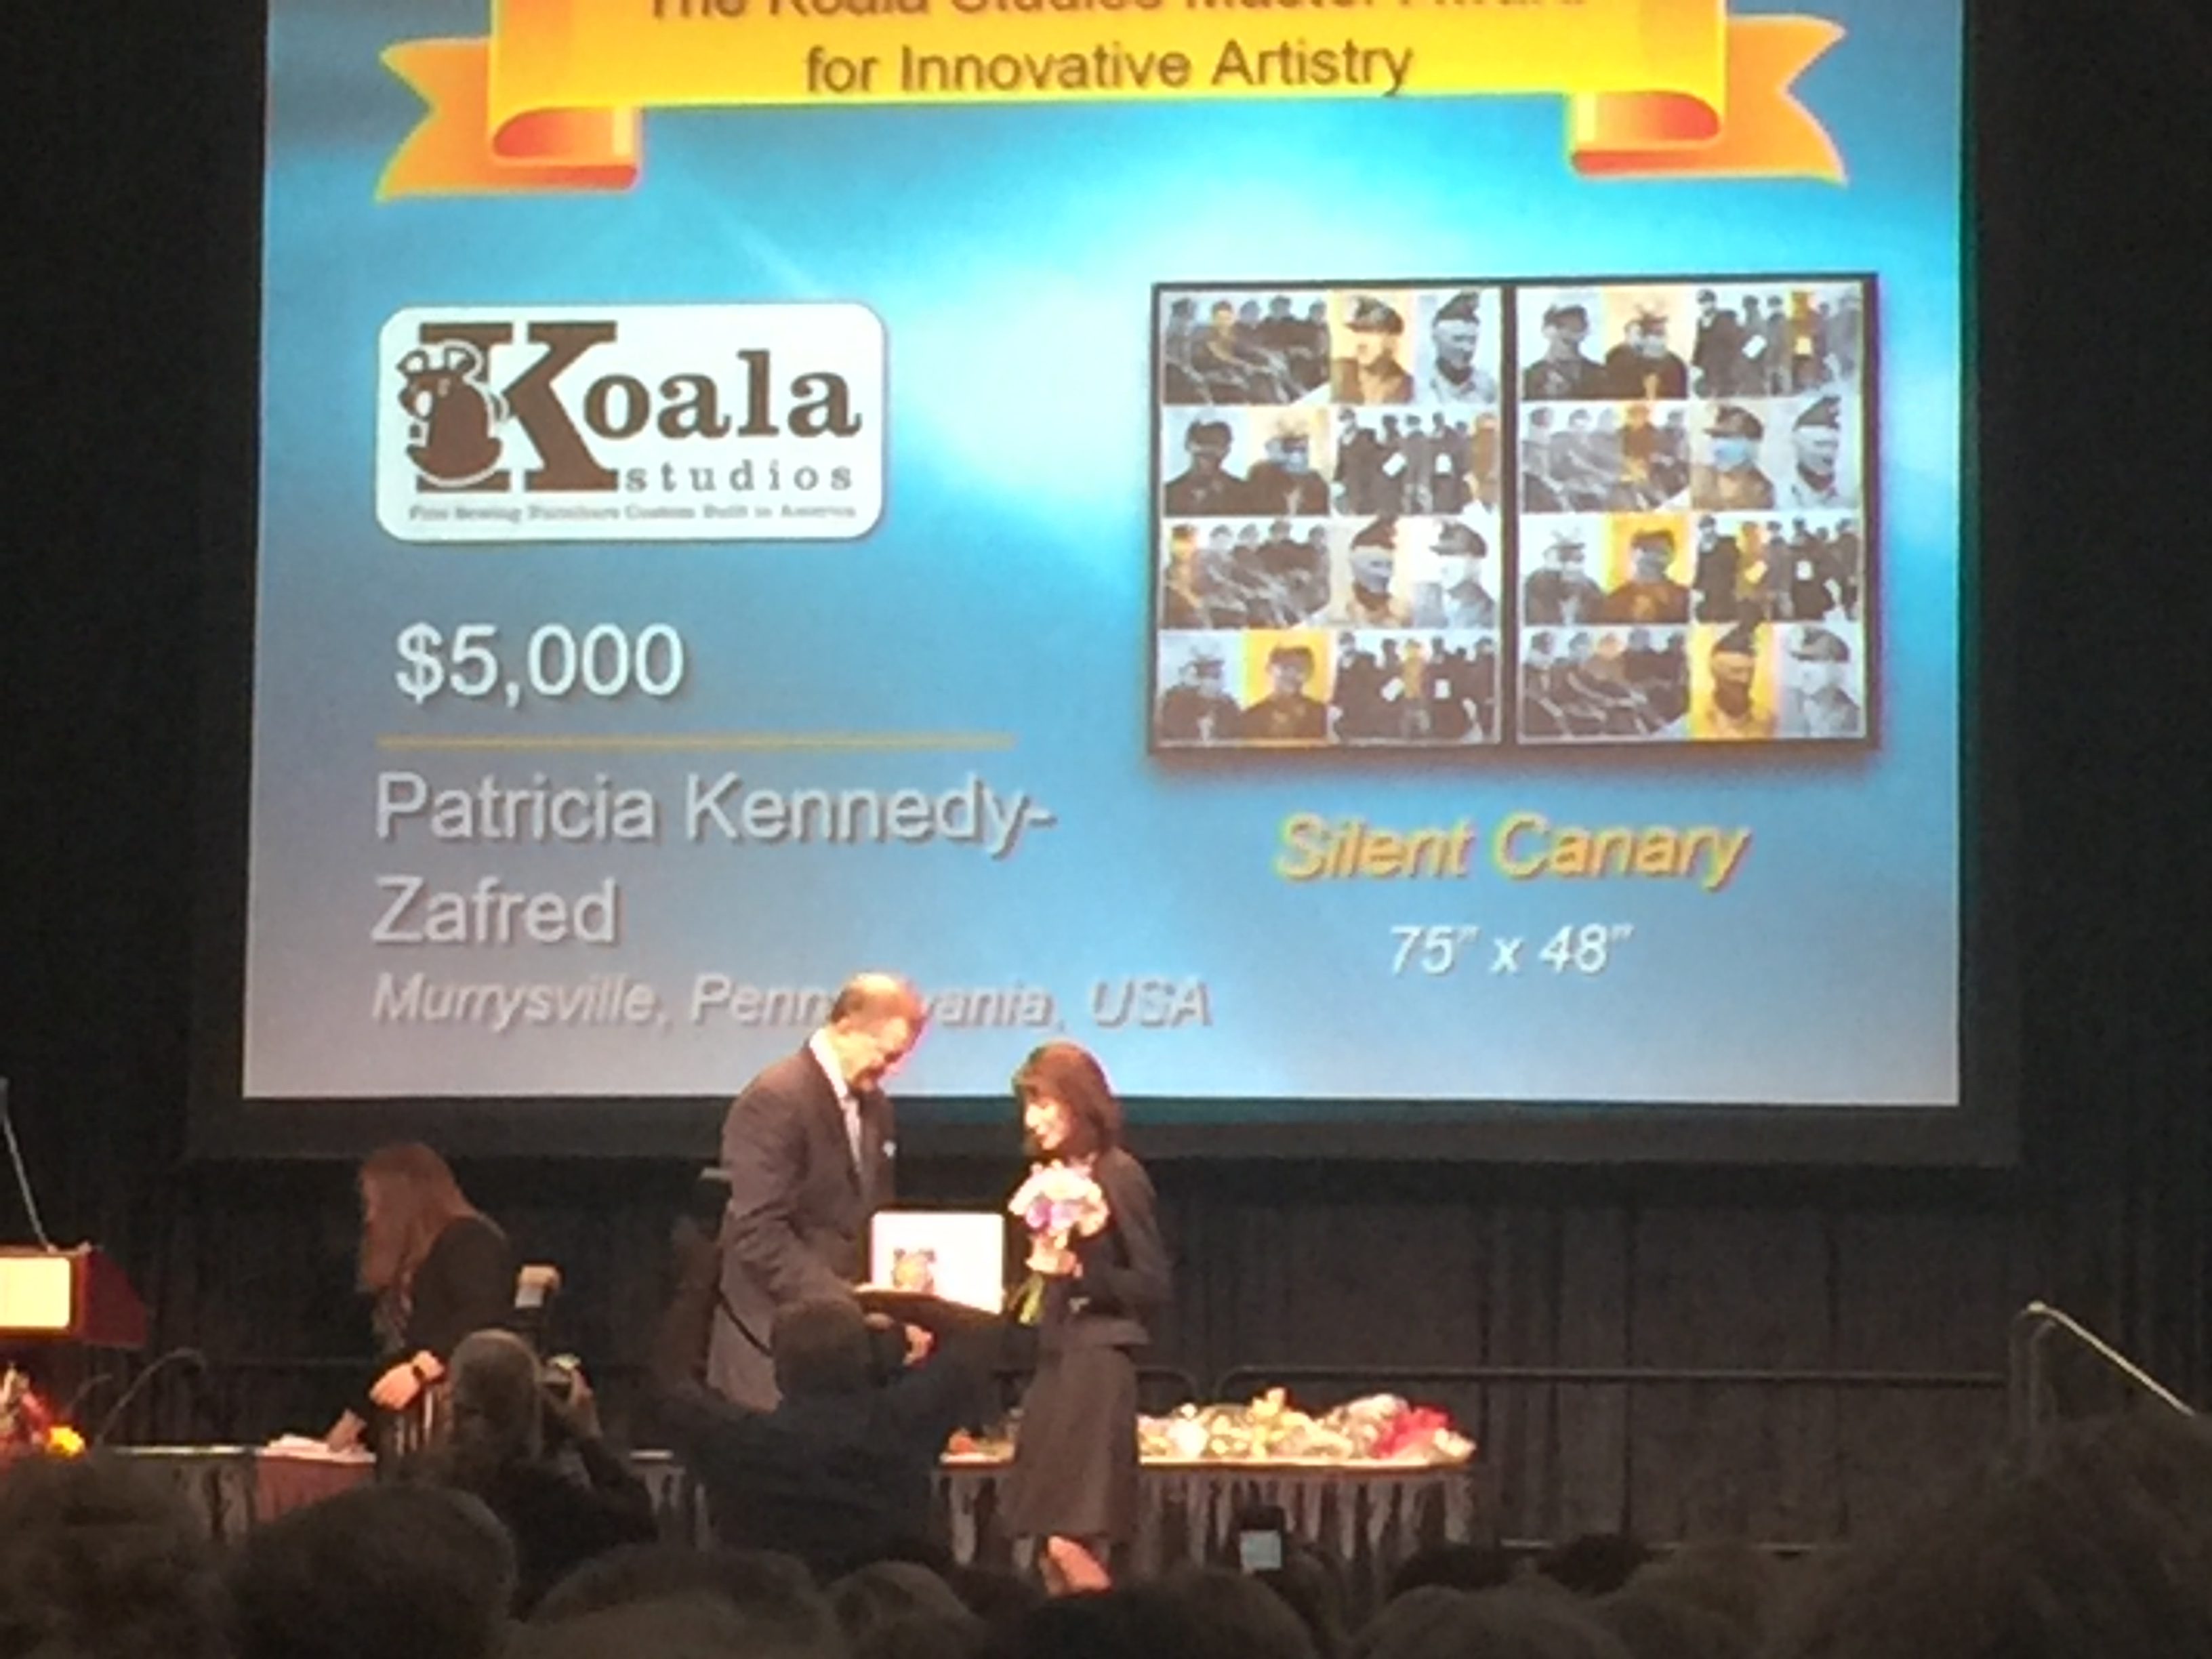
And Patty Kennedy-Zafred, SAQA member, blazing new ground for IQA with her Silent Canary
CONGRATS to everyone who entered, whether you got in or not…here’s to inspiring works!