Coming home to Maine
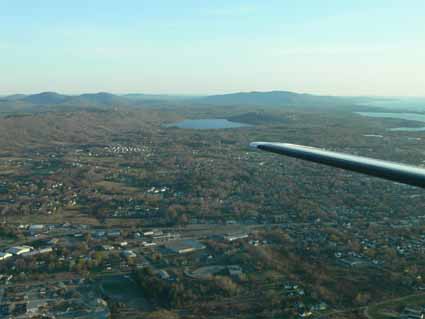
Tuesday, May 25th, 2010OK, so in the last post I showed you the outbound journey from Owl’s Head (a Head, by the way, is a peninsula) airport. It’s always fun to see the Camden Hills rise up in the distance…you know you’re almost home:

First, you can spot the runway as you approach. This is what it looks like when you come home in not-winter (otherwise it would be pitch dark), as viewed down the short “aisle” and through the cockpit window:

Next you see all the buildings that make up the airport including the private aviation side. I learned upon our return that sigh, sob, our ticky tacky little building will go the way of the Dodo bird this fall. They are building a new “terminal;” I will be sad to see our homely little old place gone, but I expect the folks who work there will be mighty glad to work in a building designed to BE an airport!

Then you spot the baggage return….this is from the runway side. Please notice that corrugated tin roof to the immediate left of the white building.

You exit the plane, and walk into the “terminal,” go out the front door and down the splintery wooden stairs (the ramp is currently out of service due to rot, at least it was being worked on when I got home) and turn left to access the baggage claim area.

Yes, that opening in the chain link fence is the spot. There is a locking gate on the back side to prevent deer, racoons, wandering pets, and other threats to national security from wandering onto the runway and getting access to one’s baggage. Here’s what it looks like from the front side–note the arrow on the right.

That arrow points to my favorite thing ever…our Baggage Claim sign:

Have I said recently, I LOVE MAINE!!!!!!!! Here is the loaded up baggage claim “carousel”:

Next, to the Long Term Parking. Short term parking are the 20 or so spots next to the double-wide. It costs a bit more… all of $4 per day (charged by how many nights you are there). You walk through the short term lot to the long term lot (which holds maybe 30 cars/trucks). The only hazard is stepping into a pothole in the dark. Cost: $3 a night. To pay, you go to your car and look at the windshield:

Yes, that card is your ticket to pay. They mark the day you arrive.

You have ten days to mail your check in for the correct amount. They actually neglected to put the card on my car for a week, so I paid them the extra 7 days anyway… The major drawback to this system is winter. The cards FREEZE to your windshield, and tend to disintegrate when you try to get them off. Many times, you can’t, so you go home in the snow with the wipers on, and with every pass they scrape and rub off another layer of the card. We make it work anyway. It’s nice to be from a small town!
And one last bit of beauty…can you see why I love coming home to here?


