email Youtube

Home
Galleries
Blog
Workshops & Calendar
Store
Resources
About
Contact

Author Archive

If you love quilted Feathers….

Saturday, July 3rd, 2010

Patsy Thompson is a quilter, author and DVD maven (with seemingly unlimited energy sources!) who loves quilted feathers…the more of them, the more intricate and hyperquilted, the better!  She recently shared her book Feather Adventures! with me:
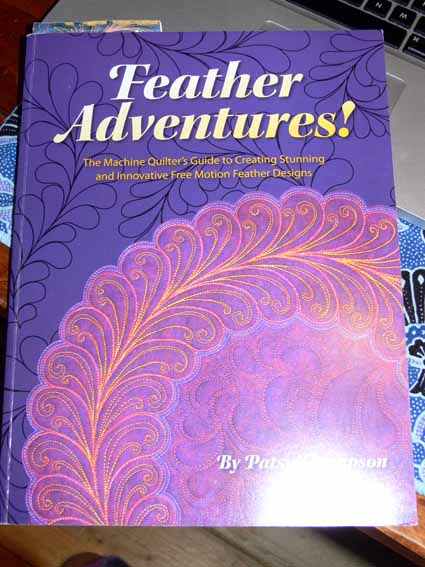
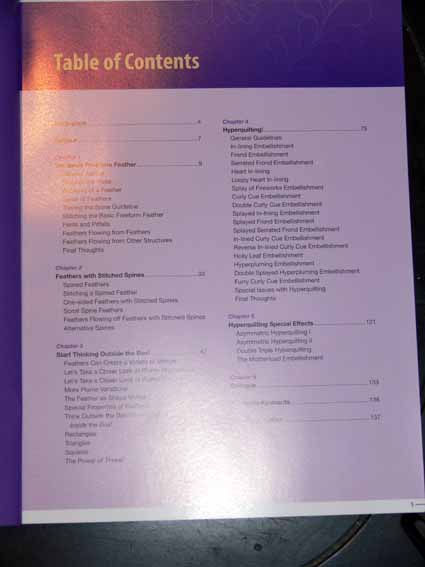
The book is aptly subtitled:  The Machine Quilter’s Guide to Creating Stunning and Innovative Free Motion Feather Designs, and tantalizingly adds “Volume One”  (that’s hidden in the glare of the camera flash…sorry ’bout that).     The information in this book is good for machine quilters using both home and longarm (on a track) quilters…it’s all about design and building or creating your colorful feathers.

The book is organized into the following chapters:

  1. The Basic Freeform Feather
  2. Feathers with Stitched Spines
  3. Start Thinking Outside the Box!
  4. Hyperquilting!
  5. Hyperquilting Special Effects
  6. Epilogue

Patsy proceeds from an intro-level feather to increasingly complex variations on the theme, guiding you one step at a time.  The designs at the back at first might appear to be overwhelmingly complex, but as you follow Patsy’s clearly laid out process, you can see that these seemingly-complicated designs are a fairly simple, straightforward process.   As I was flipping through the book when it arrived, I had my first “smack-self-upside-head” moment:  use a flexible ruler to create the spine, then flip it over to mirror image the design OR simple move the curved ruler to repeat the motif.  DUH!   Why didn’t I think of that?  Thank you, Patsy!  (Read more about how on pages 14-15.)

As you read and play around with designs through the chapters, you can see how Patsy has used different variations to come up with feathers that while structurally the same look quite different.   It is up to you to decide how much is just right for your quilt!
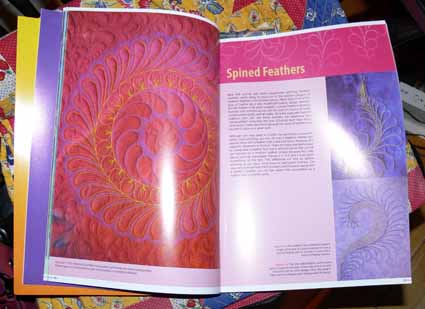
The Stitched Spines are some of my favorite variations…. I can see using these ideas as a jumping off point for using feathers creatively in my quilting.  Even though I tend to make pictorial art quilts, I’ve already begun incorporating traditional quilting motifs.  In the quilt of my son playing his guitar (final post with finished quilt here) , I used several large feathered vines to quilt the background, and think with the inspiration of Patsy’s variations, I’ll be using them even more.
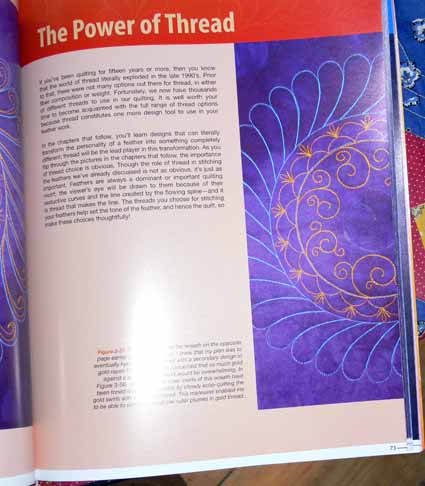
I really liked the curlicues in the photo above, too…. this particular wreath has traditional feathers on the outside, a decoratively stitched spine, and the curlicues on the inside…way cool!
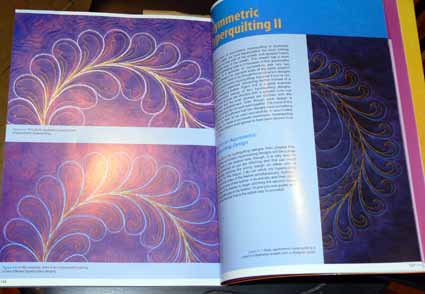
Then Patsy goes over the top with a term I think she coined, Hyperquilting!  Although this might be a bit too much on many quilts (and would get lost on print fabric!), it is sure a fun idea, and may spark new ideas in how to use thread in your quilting beyond just feathers (yes, Patsy….. we all love feathers, but there are other things too!).  The only thing I wish for is more photos (of course?  what quilter doesn’t want more pictures?), especially of the entire quilt pictures.  The detail shots are perfect for achieving the aim of this book:  to teach us how.  But I’d love to see some inset photos that show the entire quilt to the edges so we can get the overall picture.   I’ll look forward to future volumes!

The book is available in a number of places, including from Patsy, here.  While you’re visiting her site, check out her blog…she has LOTS of great information there, too!
Camden Summer, or Ducks Keep Out (please)!

Thursday, July 1st, 2010

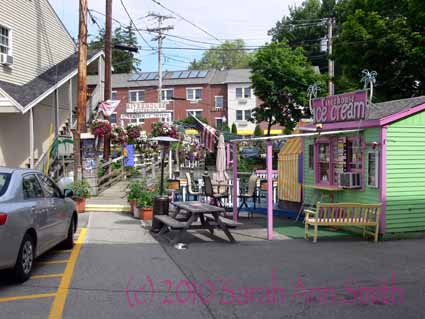
Have I said recently how much I love living in Camden, Maine?    It is a lovely, friendly town, and the locals know the back way from here to there (and where to find parking during peak tourist season).   That means we know about the back doors of some of the shops, like Rockport Blueprint, and the footbridge over the river.  There is a new ice cream stand in very bright colors near the bridge–I love walking on the bridge and over by RiverHouse hotel because the owner loves his gardens:

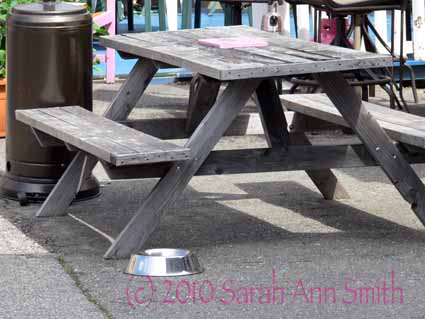
One of the picnic tables comes with a water dish for thirsty doggies who happen to be in town:

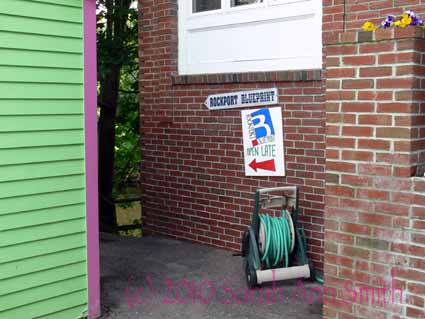
To get from the parking lot behind French and Brawn to the Library or the the front side of the shops on  Main Street, you can go over the footbridge or in the back door of Rockport Blueprint (our wonderful local art supply store), then out the front to Main Street.  Here is the sign next to the lime green ice cream stand:

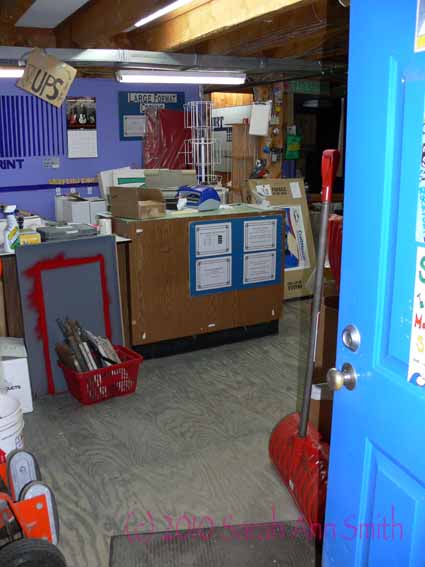
This is the back entrance…definitely a workroom, receiving area for shipments, etc.:

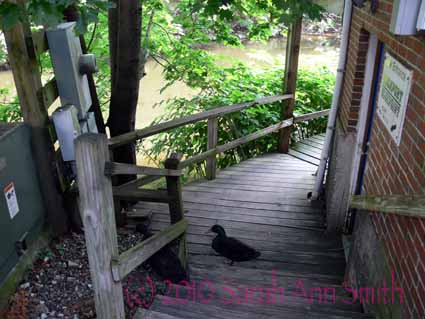
And here is what you frequently find in between the sign and the door,  at the bottom of the steps (which also runs around the side of Rockport Blueprint to the back door/kitchen entrance to Boynton McKay (deli, coffee shop, great salads, breakfast, sweet treats, coffee, homemade buttermilk donuts…..wonderful place!):  DUCKS.  The river runs under some of the buildings out to the falls and into the harbor, and the ducks like to hang out here because the tourists crossing the footbridge have a propensity to FEED the ducks.

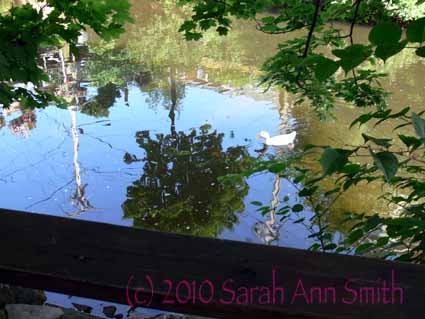
And the view from the deck/walkway to the river:

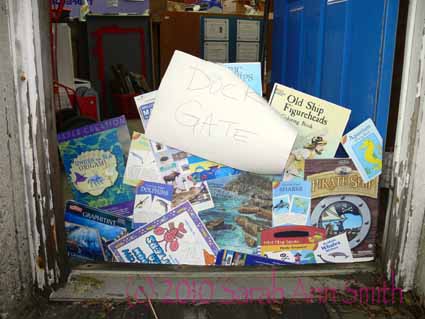
When the weather is warm, Rockport Blueprint likes to keep the back door open for the breezes (almost no place here has air conditioning…all but a few days a year we don’t need it!).  Here’s the solution to the duckies (in case you can’t read it in the photo, the paper says “Duck Gate”):

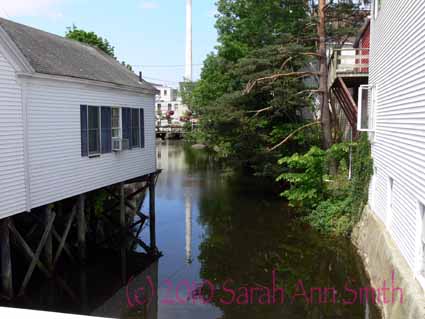
When you’re walking on Main Street, across from the park honoring the fallen of the Civil War, the Library and the grassy  park/hill overooking the harbor, this is the view up the river toward the footbridge–the tall chimney is from the now-offices-former-Knox Mill complex:

Yes, I love Camden!  Dog bowls and ducks…yeah!

Fabric Postcards

Monday, June 21st, 2010

A brief detour from the Arizona trip…..

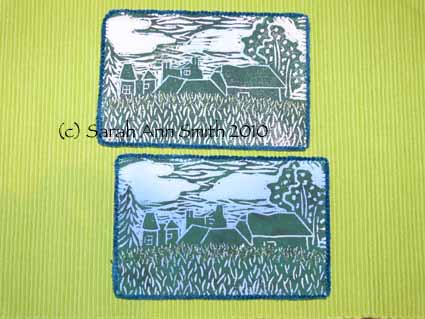
I’ve been a  part of Postmark’d Art’s last two swaps.  This time, I used one of the exercises from my Lino-Cutting class (blogged about in January and February).   I rooted through about (no kidding) 20 years of old photos to find this one of a farm in southern England, which I snapped in about 1984.   It was funny, I thought I used to be a good photographer, taking good and artsy shots.  Hmmm.  Not so much.  Some were good, but most were….ummm…boring!   It appears I have trained my eye for composition somewhat in the intervening decades!   Anyway, this one was good, so I used it to cut a lino-block.

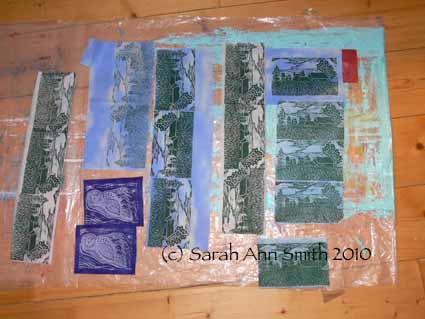
Here are the assorted prints drying on the floor:

Some blurred a bit, and will be cut up, tossed, or printed over.  Others turned out great!  I used three fabrics:  a pale baby blue fossil fern (the one that looks grayish), a commercial sky print (the bright one), and a blue fabric I painted and fiddled with (and used some for the mermaid I blogged about recently).  There are also two guardian Owls for a friend whose husband passed away recently.  Owl’s are a favorite of hers (I carved the block during the class with her in mind!), and decided that she and Lou needed a guardian Angel Owl.

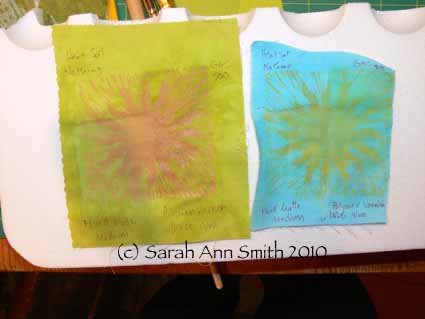
One difficulty I have had with the class, is that the teacher–Dijanne–is from Europe and Australia, and not so familiar with US brands.  The Speedball water-based printing ink that I find makes the best prints is, shriek!, not wash-fast!!!!!   So I have begun doing some testing.  Here I took prints (heat set with the iron and not) of a sun, then treated each with various things like soft gel medium, a varnish for textiles, GAC 900 (a compound for using paints on textiles), and nothing. I also want to run another test where I treat the fabric FIRST, then apply the Speedball ink.   I don’t like how on a couple of these the color of the fabric changes so much (not to mention how stiff it got)!  I also have tried using Krylon Spray Fixative, an archivally safe spray fixative; it is often used on top of pastels so they don’t smudge.   Anyway…here’s a picture of the test, in progress.  I next need to soak these and see what happens.  Stay tuned!!

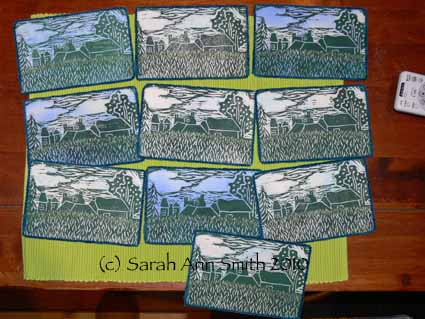
And here’s a shot of all the postcards in the swap:

Machine Applique in San Manuel, Arizona

Friday, June 18th, 2010

At long, LONG last, I am able to share the fun time I had teaching for the Arizona Quilt Guild in mid-April.   As a matter of fact, the day I took these photos was the day my old laptop gave its last blink and died!   I have to tell you it was SO MUCH FUN!

To back up a couple days, I flew in to Phoenix, and taught in the greater Phoenix area the first day, my Fine Finishes class.  Alas, I was SO busy, that I utterly forgot to take photos.  My host was also the program Chair, Tari H., who signed up for all three of my classes, which were scattered about the state. So, she ended up also being my driver!  We loaded up the back of her car with her machine, suitcase, and stuff (for all the classes) and then all of MY suitcases and stuff!   The second day of teaching was sponsored by the guild(s) (both with Copper in their names) in San Manuel, a former small copper-mining-town which is roughly in a line between Phoenix and Tucson to the southeast.

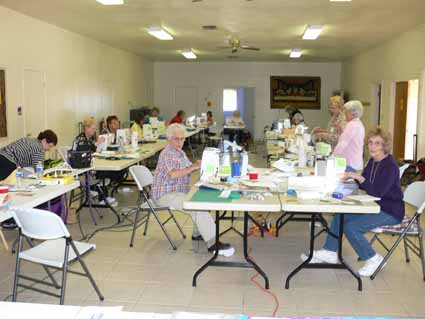
I have to tell you walking into the church hall felt like going home….. the folding tables, the happy ladies, the hum of sewing machines, potluck (YUM) for lunch….   it was such a wonderful day!    One of the best things about quilters is that they are friendly and welcoming, and it really did feel  like going home.

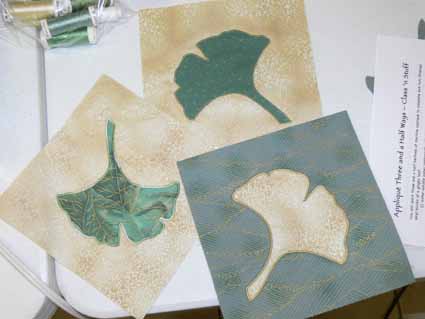
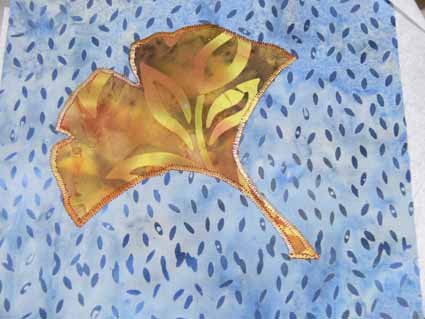
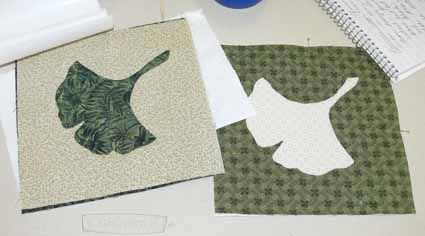
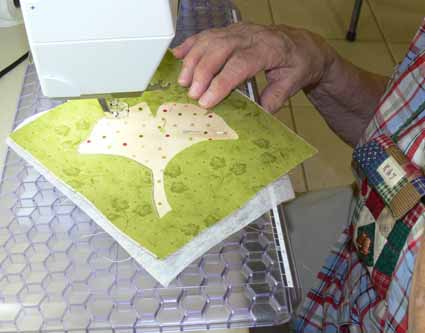
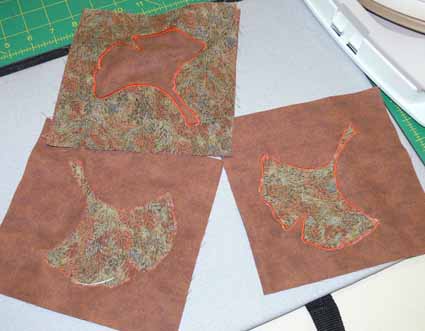
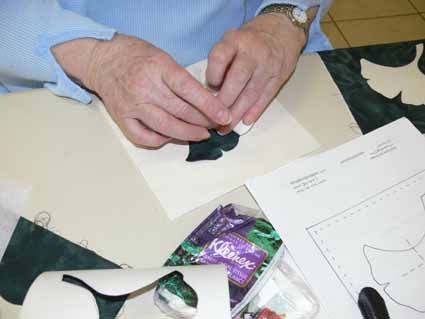
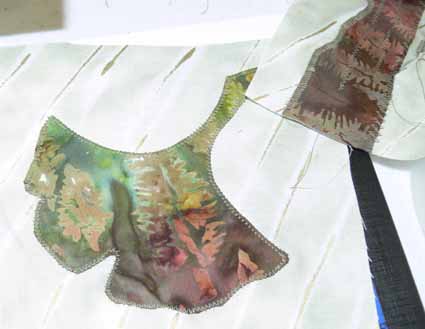
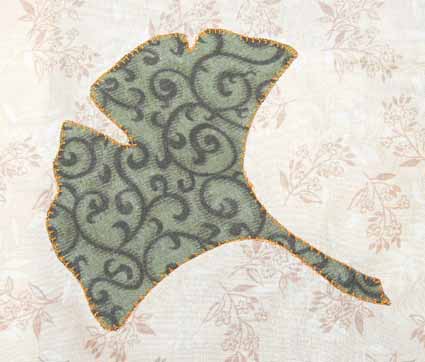
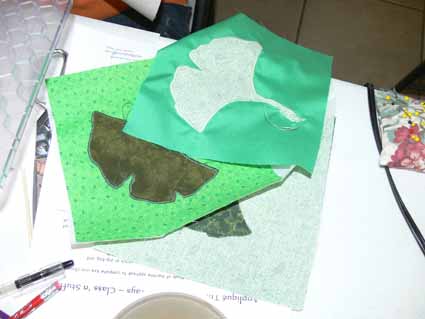
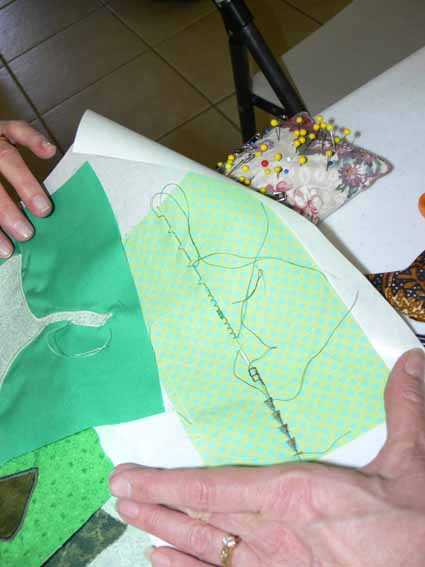
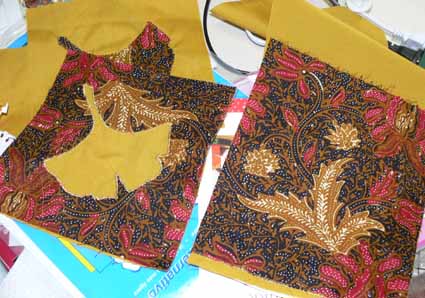
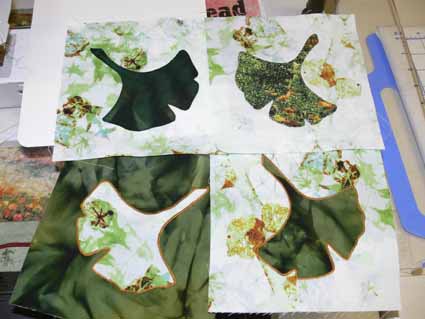
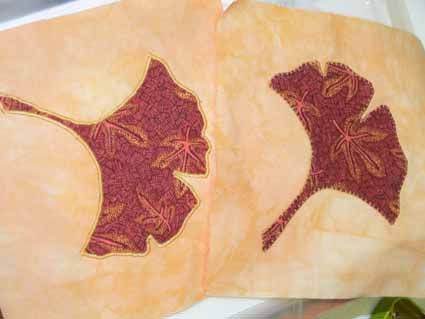
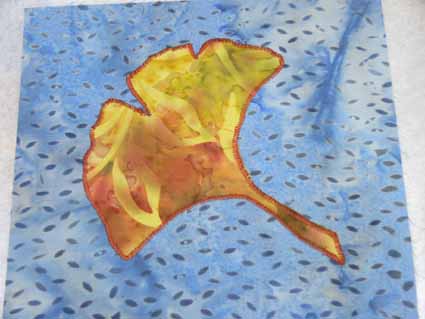
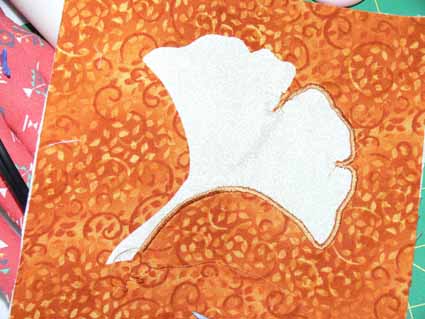
The class in San Manuel was my Applique three (and a half) ways class:  Turned edge (over freezer paper or water soluble paper), Turned edge over interfacing (left in), fusible, and (the half part) reverse applique for those three techniques.   I use a Gingko leaf because it has every shape you will encounter:   inside and outside curves, inside and outside points, and a straight line.  I’ll admit that skinny stem is challenging as are the skinny inside points, but I figure if students to something hard in class, they’ll be more likely to tackle it at home.  If we only do easy stuff, they might not!   Anyway, we had a GREAT assortment of fabrics and looks.

As you browse through the photos (sorry about the odd placement…there is only so much I can manage in the format!), notice the thread choices, how the stitch and thread selection change the appearance of the threads.  In the black Indonesian batik, the gold thread just sings!  In the last photo, notice how different the leaf looks on the stitched side compared to the not-yet-sewn side!  In the photo at the top of this blogpost, compare the look of the different appliques.   Trying out different techniques an threads and stitches will help you decide which combination gives you the look YOU want!   And also notice in a few shots how the students have tested out stitches on scraps.  Don’t imagine what the thread and stitch would look like–try it out!

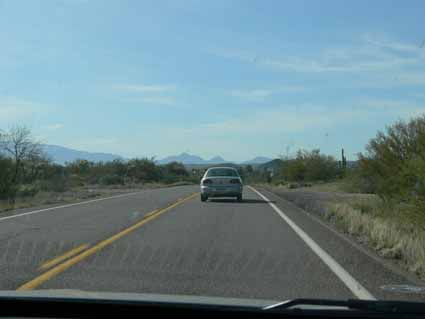
That evening we had a looooonnnnggggg drive (poor Tari!   drive 90 minutes to San Manuel in the morning, all day class, then about 5 hours back past Phoenix and up to Flagstaff for Friday’s class and Saturday’s lecture at the semi-annual guild meeting).  However, we did drive through quintessential southern Arizona territory and what was effectively a sajuaro cactus forest.  Because it was late, we were both tired, and had a long trip, I didn’t ask Tari to stop so I could snap pics, so this will have to do:

MANY thanks to the ladies of San Manuel for such a great day, and especially to Tari for being such a trooper and shuttling me across the state from south to north!  Coming soon:  Fussy threads and Flagstaff!

A Mermaid for a cause….

Tuesday, June 15th, 2010

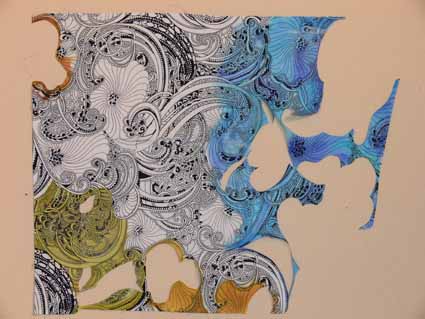
This year my local quilt chapter, the Coastal Quilters (part of the state guild, the Pine Tree Quilt Guild) decided to change our annual challenge (now in its third year) from 10×10 inches to 12 inches wide by 9 inches tall.  The reason?  So that after the challenge participants can, if they wish, donate their quilt to Ami Simm’s Alzheimer fundraiser.  The donations are auctioned and the proceeds go to benefit Alzheimer’s research.

In past years we were challenged to interpret a photo (Here–scroll about halfway down to see the ropes and buoys quilts and here for my buoys quiltlet) or use a little bit of EVERYthing in a grab bag (Here and here).  This year, we each received a fat quarter of a black and white print:

Obviously, this is AFTER I got to it with the fabric paint and scissors….ahem.

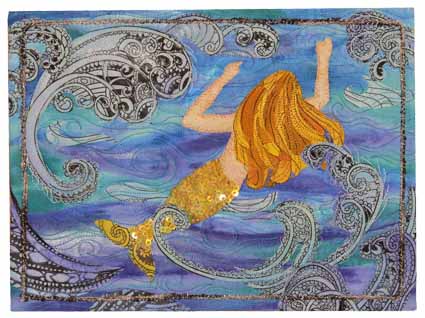
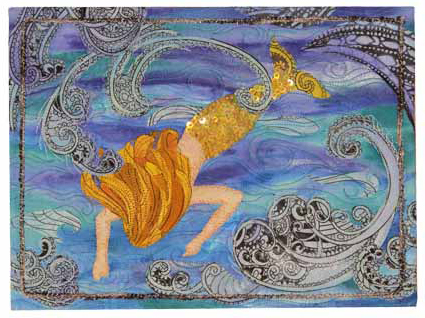
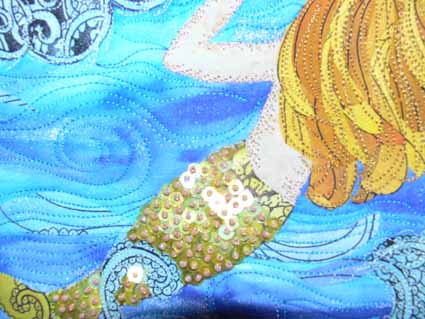
Once the challenge debuts at Maine Quilts (in Augusta, Maine, last weekend in July), I’ll share the others’ pieces, but for now you can see how I painted the fabric (above) and  used it.  My quilt consists of white fabric (painted blues), the challenge fabric (painted blues, green, and blond-brown hair colors), beads and sequins (mermaid’s tail) and yarn (couched to the top to “frame” the piece).  Actually, this piece shows her swimming UP; when our guild president held up the quilts, she held the mermaid with her swimming down (second photo) and I think I actually prefer that way!  What do you think?

And swimming down:

And a close-up of the tail:

It was fun to do.  Although Mama doesn’t have Alzheimer’s (that we know of ), she does have deepening dementia.  She can’t remember how to work the remote for the TV, and sometimes when she can figure out the phone she’ll call and say “Sarah, this is your sister.”  I think I shall donate my mermaid to Ami’s fundraiser…I’ll let you know more when I get it sent off and donated.