email Youtube

Home
Galleries
Blog
Workshops & Calendar
Store
Resources
About
Contact

Author Archive

Home*Hope*Home, Part 1

Thursday, February 17th, 2011

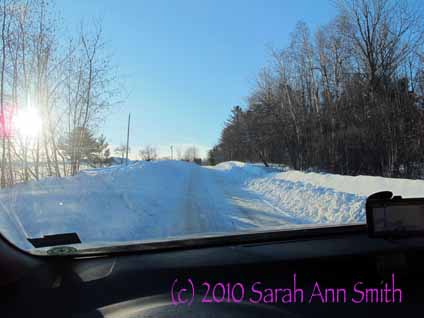
Going up the driveway (first hill very icy and slick!) toward the morning sun; house faces north...

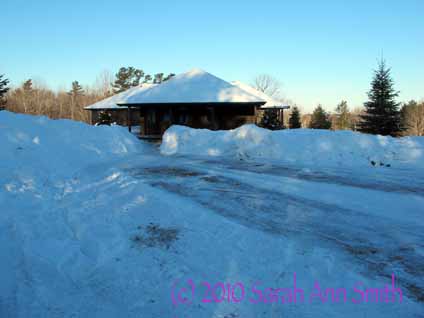
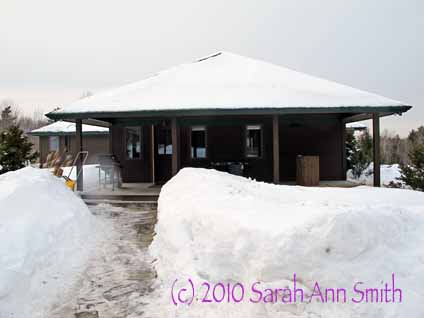
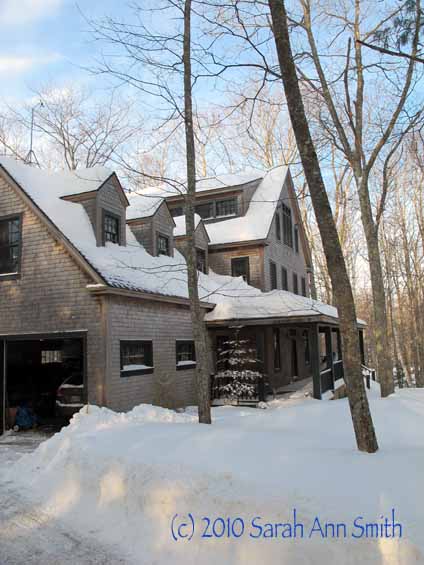
We are here at last!  I took this shots as I drove up the loooonnngggg driveway on Friday morning, which would be our first night in the house.  Here’s the house, a view from the driveway to the view (north) and the hill behind (south), and a closer look at the entry porch:

There is more snow than Camden, but those big hummocks are plow piles!

you enter the house from the porch by the entry hall and kitchen (on the right)

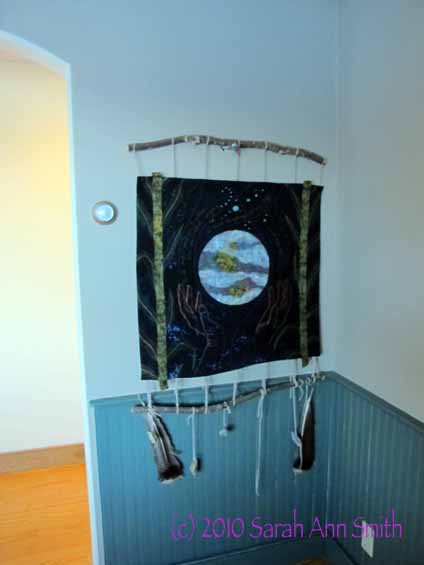
I had my car packed to the rafters with assorted stuff, but decided I really should carry a quilt in as the first thing in the house:

I had cleaning supplies with me, buit didn't want the first stuff in the house to be drudgery, so I grabbed this quilt from the top of the pile in the back of my car and just popped it up on an available support in the dining room (which *will* be painted a different color!)

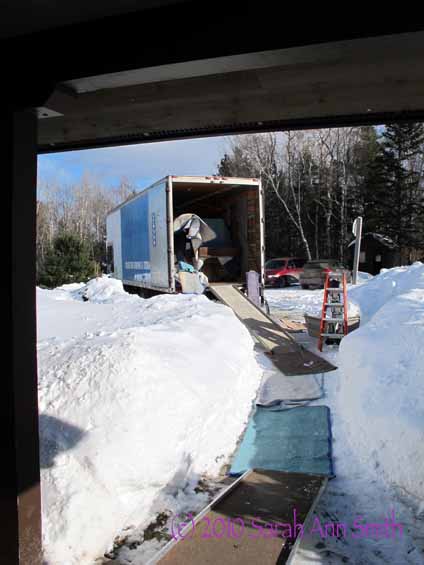
The moving van

The drive was icy, so the movers put down old pads to make the trip into the house safer

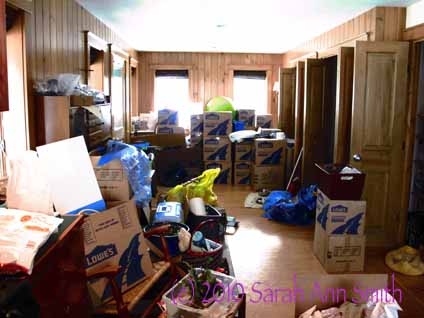
left at about 3:15 Friday, February 11th, and we have unpacked like dervishes since.  At least in the kitchen it is looking like we have made some headway!  Here is a “before” of the entry and kitchen:

Heaps and piles everywhere. There are still some, but smaller after five days of unpacking....and different stuff!

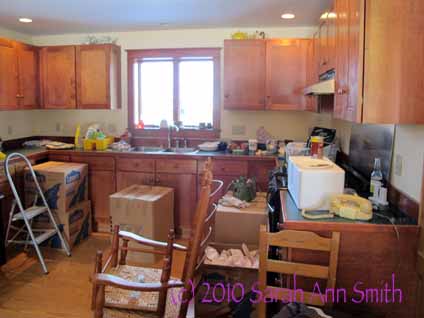
And the other end of the room, the kitchen

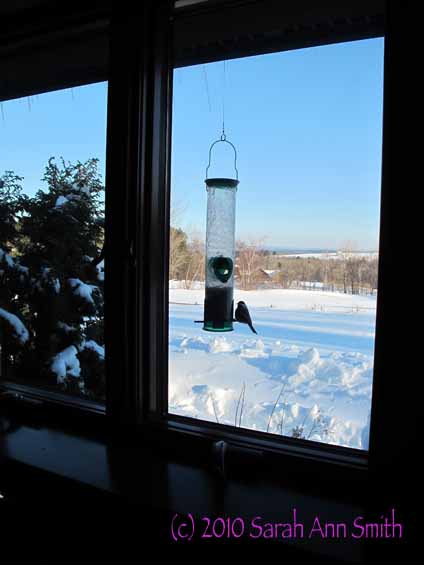
And birdies!

The chickadees were voracious! Have bought seed!

More pictures soon…..

The big snow

Friday, February 11th, 2011

Before I got mired in the packing, I took some pictures of the big snow…they were lovely enough I thought I should still share even though it was a week or more ago…time has run into a big blur this month!

Here’s the view of the front porch–the snow piles up in the corner next to Joshua’s window, and it has never been this deep–the window was half covered!

I don't think we've ever had this much snow on the roof--we've had deeper snows, but the winds have blown it off the roof.

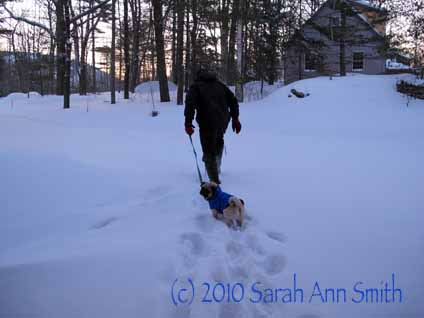
Then there are morning walkies:

The pugWonderfulness LOVES rabbiting through the snow!

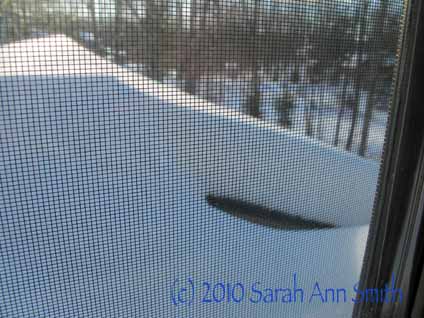
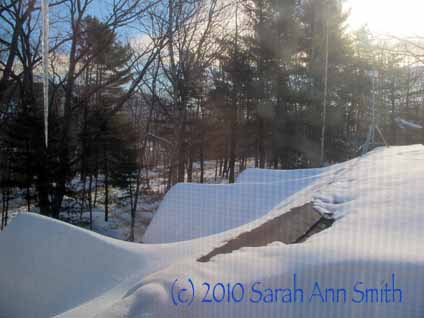
I was so glad we got a deep snow, as I had never taken a photo of one of my favorite views in this house..out the window at the third floor landing, looking out over the garage roof (which has my studio on the 2nd floor).  It is a quick and easy way to see how much snow we got…in this case, a lot!

Looking out the 3rd floor window...see that sliver of dark, that's the roof over my studio with about 12+ inches of snow!

And here’s the view to the other side:

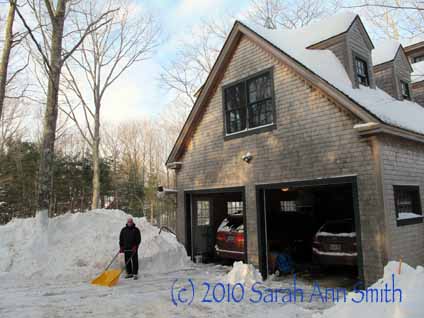
There are three small gables facing the street and the sunrise

Paul had to scrape up extra bits so he could back out of the garage. The plow pile at the end of the drive is as high as the garage doors!

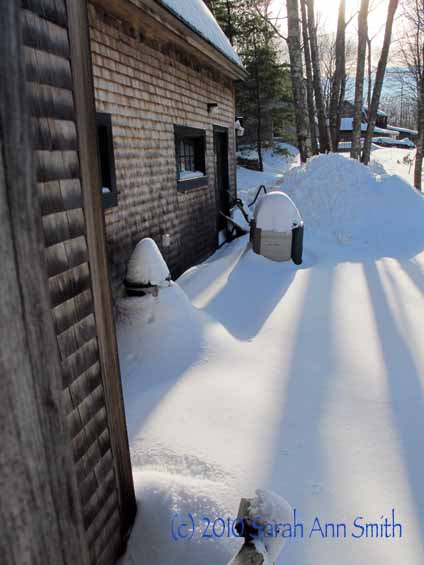
I love the coneheads on the propane tank (left) and doghouse (right)...and the mound in the back is that snowplow mountain! Eli and a friend sledded off of it down into the back yard

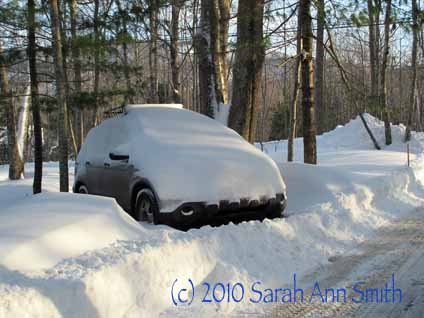
The new owners of our house (we were renting back for a few weeks) parked their car here while they returned to pack up their old house. Their car has a thick blanket!

I love Maine so much—our new house has great views, and I can’t wait to sit, snug and warm, in the living room and watch the storms blow in and the snow swirl around!

Moving, Day 1

Tuesday, February 8th, 2011

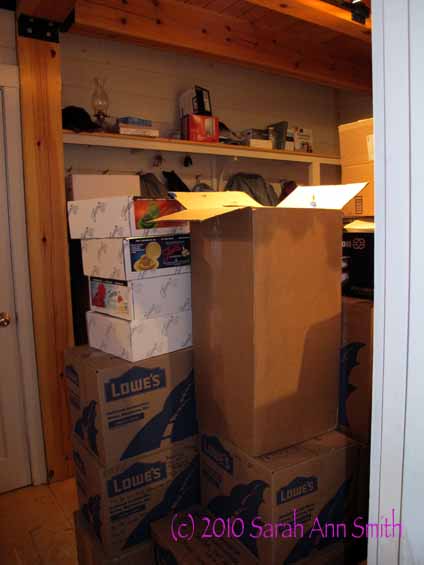
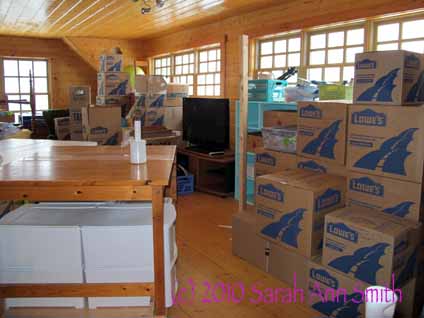
The moving van arrived this morning, and we were pretty much ready!   This is what our back entry hall looked like at 8 a.m. this morning:

As you come in the back door...a wall of boxes

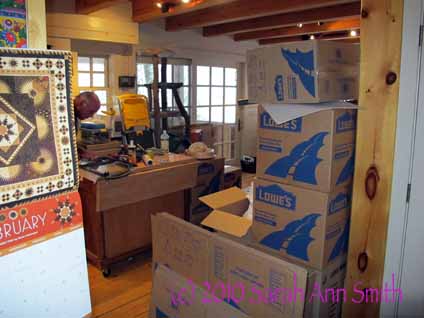
And then you turn left:

Looking into the kitchen, aka chaos zone

That’s dear hubby’s noggin on the left–he’s cleaning the woodstove doors to lay a nice fire for the new owners.  Good hubby!

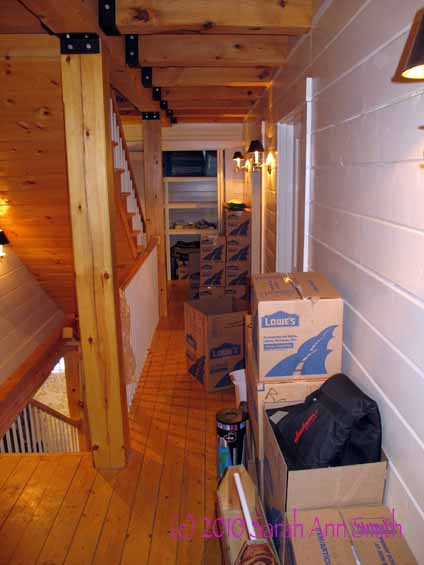
The hallway:

The upstairs hall

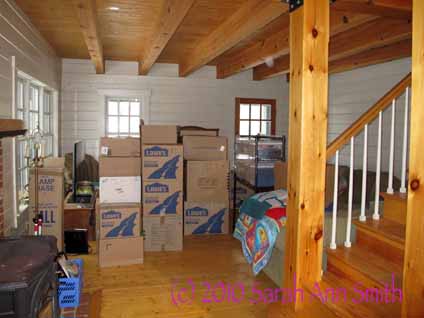
Then they moved boxes into the living room to shuttle them out to the truck:

The used the living room as a staging zone...fortunately it is cleared out tonight as there is nowhere else in the house to sit!

Here’s what my studio looked like in the morning:

My studio, after the packing, before the moving

By the 4 pm, it looked like this:

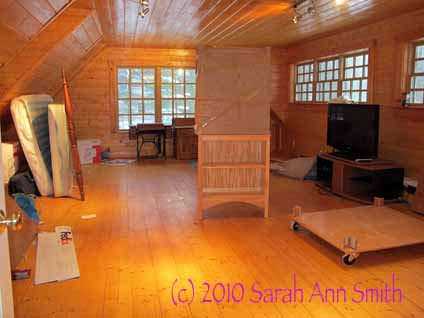
My studio, by the end of the day....seems so much larger without all my STUFF!

And the end of the day:

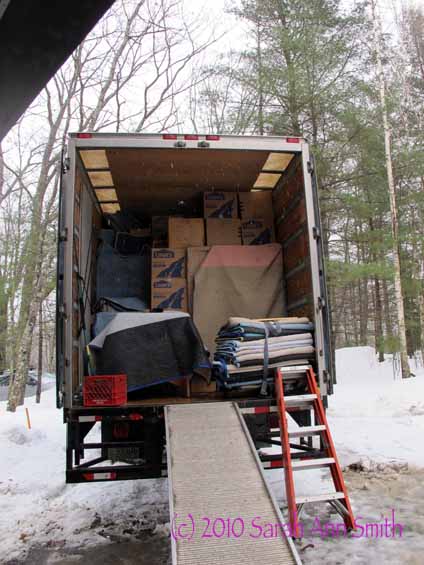
The truck toward the end of day 1

It is SUCH a relief to be at this stage….by Friday we will be asleep in Hope, Maine!  And we’re eating carry-out this week <grin>!

A Lino-cut demo for Coastal Quilters

Monday, January 31st, 2011

Last year I was the lucky recipient of a $50 scholarship from Coastal Quilters to take a class; they can be in person or online, and must somehow relate to your quilting.  If one wanted to take a class in photoshop, for example, to learn about manipulating photos and printing them on fabric, that would qualify!  Well, I had signed up for two online classes:  lino-cutting and the workhorse sketchbook/journal.   I used my scholarship to defray part of the $60 fee for each of the classes.  In return, scholarship recipients share what they learn with the group.  We don’t give away the teacher’s entire class, but share enough to whet the appetite to learn  more, I hope!

I did a fairly long program about lino-cutting, including explaining the tools, the materials, where to order them (you can buy some at the local art supply store which is awesome, but the linoleum I prefer we have to order from away).

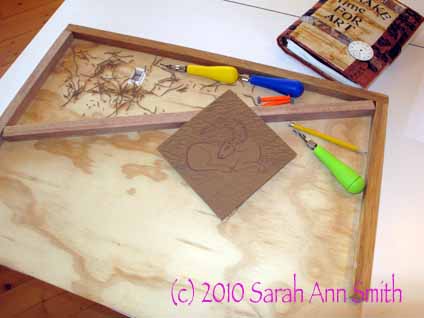
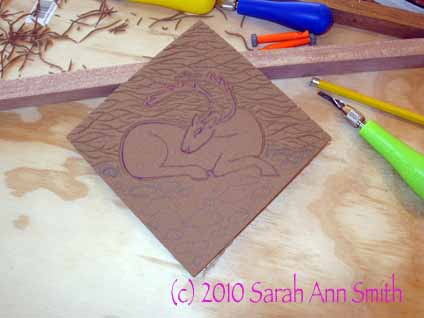
My cutting board/jig, with a new block in progress and the carving tools. Of course I had to buy the pretty bright colorful ones!

I got the idea for this block while working on my ornament gifts for my Frayed Edges friends this past Christmas.  I realized there was NO way I was going to carve the block, print the fabrics, and make ornaments in time, so I set aside the idea for future reference.  But I did decide to work on the design and make the block as a demo of the process for Coastal Quilters.

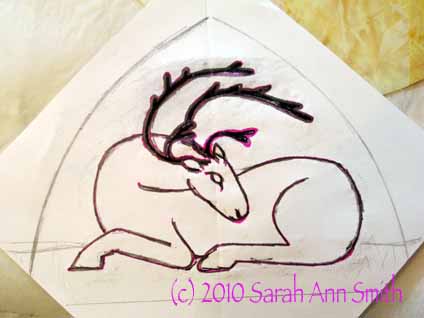
I went to some of my reference books and Google Images for pictures of reindeer.  I ended up with a composite image of a caribou resting:

I liked the arched-top shape for an ornament; I think I can make these similar to a fabric postcard using Peltex as the stiffener inside.

To make carving the block easier and make the block more versatile, I chose to use a 6 inch square of linoleum carved on point:

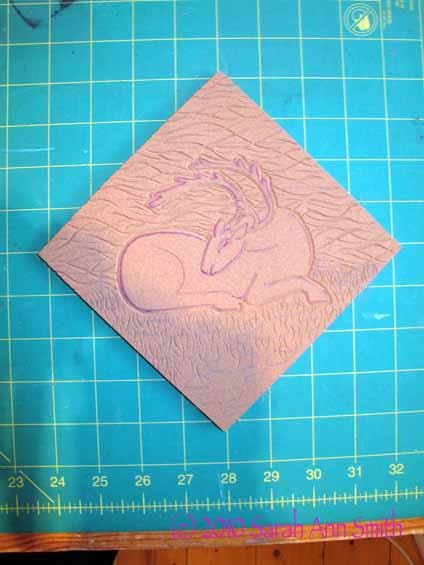
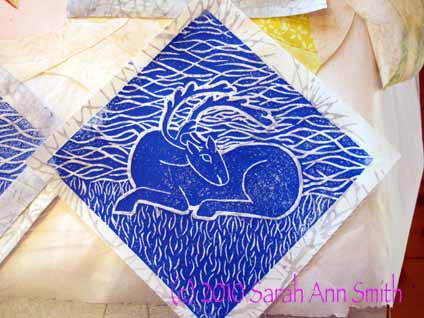
The recumbent stag is carved, as is the sky, but not the ground

Originally I thought I’d carve some rocks in the ground, but eventually decided that grass was a better choice.

Nearly all carved...I saved some of the grass so I could actually finish the carving during the presentation

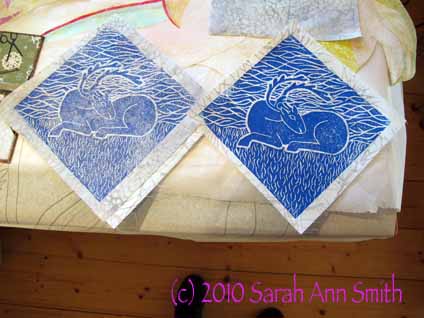
I made the first test-prints during the demonstration.  As you can see, the first print came out OK, but a bit light (on the left).  Figuring out how much ink is enough without getting goopy is a trial and error effort.  You just have to accept that you may have a few duds.  I added more ink (think consistency of toothpaste) and got the second, better print (on the right).

first and second prints, done on a pale gray (think snowy) batik

Here’s a close-up version of the stag/caribou.  I can leave these prints as is or cut them down into the curved-top shape from the original sketch:

The better of the two prints

I pretty happy with this one, tho I didn’t get the lines on the face quite right.  Hope you’ve enjoyed the process, cheers, Sarah

Quilting amidst chaos

Friday, January 28th, 2011

So what was I doing, before the packing cyclone hit my studio?

I decided that if I didn’t make this piece right away, which is due for a juried invitational in mid-March, I would (a) explode with frustration and (b) it would  not get made.  The closing date for buying our new house is February 9th.  We are packing up pretty much EVERYTHING ourselves, so that is several weeks of work with all the c-r-a-junk (as my dear old Dad used to say) that is in this house.  The basement is downright SCARY. So I needed to move quickly, fuse-applique and quilt, or the piece wouldn’t get done before I absolutely HAD to start packing.

Since I am not allowed to share the finished piece, I thought I’d show you the drawing, blurred in the middle.  The finished quilt will be 36 inches wide by 48 inches tall, pretty good sized, with the theme The Spaces Between.  An e-mail conversation with one of the curators, in which she said “YOU are the one in between” (as in caught between the demands of being a daughter (mom has dementia so I do all her billpaying etc), a mom (obvious), wife, quilter, teacher, etc….).  BINGO!  Picture in my head instantaneously….

I decided to use only “color”—no beige, brown, black or white in this entire quilt.  I had, this past summer, had a seriously wonderful visa accident at Batiks Etcetera and Sew What Fabrics in Wytheville, Virginia.  They have awesome customer service–I first ran into them when teaching at Paducah in 2008.  If you want yardage of something in their boxes of half-yard or fat-quarter cuts, they take that sample back to the store and within 24 hours I think of returning from a show, the orders are starting to be shipped.   They have an entire room  packed three shelves high which means they have a good range of the hardest to find batiks, the light lights and deep darks.  So I spent nearly half a day’s wages there filling big  gaps in my stash.  I have never spent that much money on fabric in one go ever, but it was worth it.  They also…yeah!….(I am not responsible for Visa moments that you might have….) are online at www.batiks.com (easy to remember, eh?).

So I raided my supplemented stash and came up with this for the quilt:

lights/warms on the right, darks/cools and a few others on the left

Here’s another shot:

Aren't those gorgeous? And see all those pale-pales at the top--those came from Batiks Etcetera

And the to-be-used-later batiks in the darks:

Yummmm.....

I ended up not using as many of these as I anticipated.  The background changed from busy to simple because the focal point of the quilt kind of insisted on it…

It was fun playing with all that color in mid-winter!