email Youtube

Home
Galleries
Blog
Workshops & Calendar
Store
Resources
About
Contact

Author Archive

The State of the Studio, a display wall

Saturday, April 30th, 2011

When I moved out of the old house, I removed the design wall from my old studio.  Since the corners were cut off the 2-feet wide rigid foam insulation, they couldn’t be re-used well in the new studio as the new design wall.  BUT, as I was hanging some artwork, I decided a ginormous “bulletin board” would be just the thing to display smaller pieces by sons, friends, inspiration, and so on.
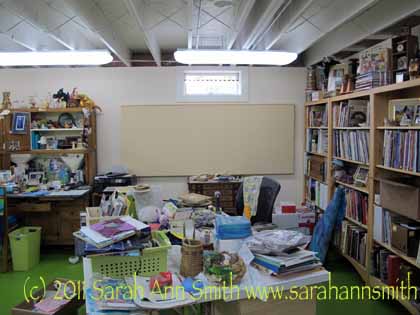
The display wall installed, but without stuff...yet.....
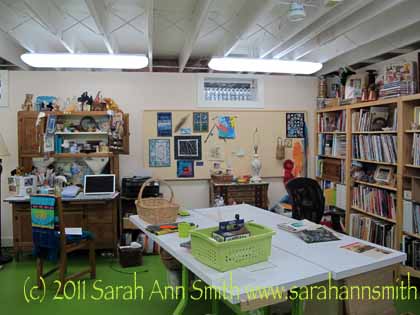
With stuff...quilts and art on the left are by Betty Johnson, Jacquie Scuitto, my son Eli, some calligraphy from Lunnette (a christmas card) and a fabric postcard of hers, and on the right a photo that was on display at IQA-Houston, a leftover Koi from that quilt that will be made into something eventually, my very first (but I hope not my last) Houston ribbon, and a basket

Here’s how I did it, so you can try also.

  1. I took the largest piece of rigid foam insulation which was 2 feet wide by 91 inches long as my “big piece.”
  2. The second piece, with a corner cut off, would yield another 91 inch piece that was 12 inches wide.  I  cut the pink 2″ thick insulation with a new blade in the box cutter (extended to a scary distance) and managed to get a nice clean edge.
  3. I used clear packing tape on both sides at the join so it wouldn’t buckle, then wrapped the flannel from the previous design wall (a sheet from Lands End) around the 36×91 inch piece (that’s just under one metre tall by about 2.5 metres long for my metric readers).
  4. Next, I used “L” shaped brackets spaced about every 20 inches so there were 5 brackets on the bottom edge.  I bought some wood lattice (a thin strip of wood about 3/8″ thick by 91 inches long) which I screwed with very short screws to the brackets.  This gave me a long, flat, firm bottom edge on which to rest the display wall.
  5. Placing the display wall on the strip, I marked the top edge just about above the five “L” brackets on the bottom.  I added another five brackets to the top edge, moving them down about 1/16″ or 1-2mm. below the marked top edge.   This way I can just slightly squish the rigid insulation and it is held in place by friction…no need to use glue or otherwise muck up the wall (well, any more than putting the screws in).

I made a smaller “bulletin board” with a 24×24 piece of insulation leftover from another project and covered it with this beautiful fabric.  It’s by the door the center part of the basement (which WILL get a different color of paint…sky blue, with green on the floor….but not soon….maybe in August or September after the year’s travel teaching is mostly done). I had to underline this one with batting because the pink insulation changed the color of the fabric–an effect I did not want.
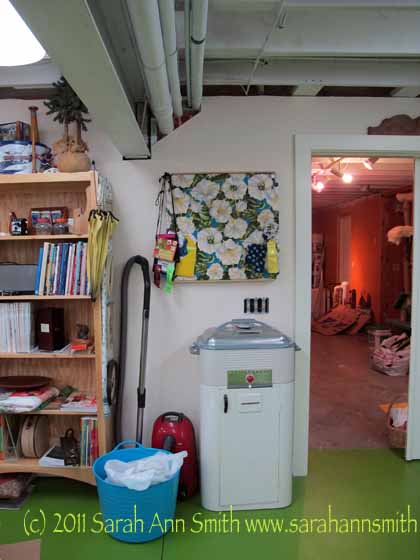
The bulleting board next to the door is made the same way as the large wall, but I added batting because the pink of the insulation distorted the crisp white in the flowers, so I added batting to prevent that.

And when the closet is done, that vacuum had better fit inside!  Don’t like the look!   The blue bucket is my large new garbage can…5.99 from Target!  I think it was intended as a beach tote or bucket for filling with ice and sodas in summer.  Nope.  With the flexible shape and two handles it’ll be easy to tote upstairs to the outside garbage can. That’s it for now!
The State of the Studio, more on the floor

Wednesday, April 27th, 2011

Hoooray…the floor is done Done DONE!  And here’s the last bits and pics….

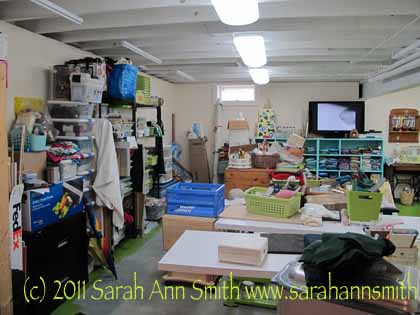
This is how it looked the last time I shared...cluttered!

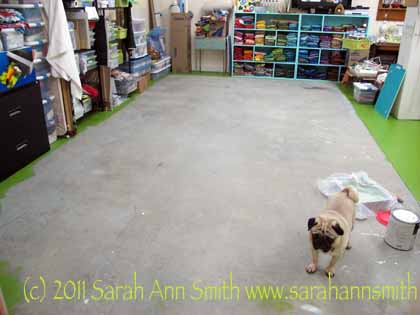
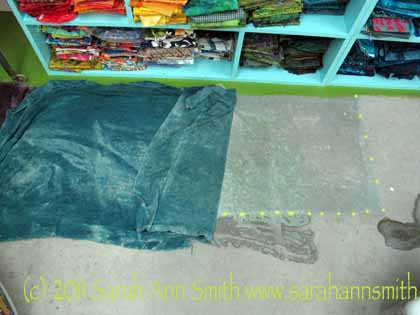
Then I moved all the “stuff” to the already-painted half of the room and proceeded to get rid of the old washing-off dark greenish paint (latex?).

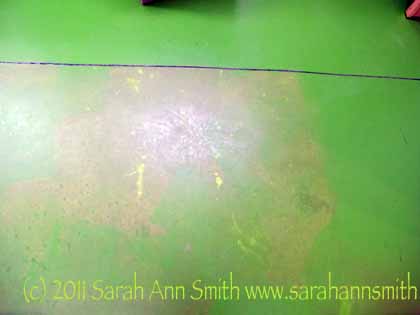
I've folded back the damp towel. You can see the damp spot on the cement and outlined in bright green Photoshop dots the old icky paint than needed to be removed. This was all over the second half of the room. I am glad that is done...my bones ached after sitting on that cold cement floor!

Here’s the floor with almost all of the paint removed.

As you can see my helper is inspecting my work in the foreground....

The remaining bits refused to come up, so the floor will have a slightly “leopard spot” look when done.  Oh well.  Nothing much to be done–do NOT want to rent an industrial sander and create a dust mess just to remove them.

And compare the 3-coats on the top of the photo (the first part of the floor completed) and the single coat on the bare floor on the second half:

The top and right of the floor are done with 3 coats. The left side shows what it looks like with just one coat. Had two more to do after this picture was taken.

In progress….

In progress

DONE!!!!!!!

The second half of the room painted....floors done!

Well…the floors are done.  There was still more work…design walls, display space, closet doors (in a couple of weeks)…..stay tuned!


Bayberry Quilters, Cape Cod, Massachusetts

Monday, April 25th, 2011

I LOVE teaching jobs that are close enough to reach by car in a day, and this trip was just a blast!  Life has been a bit hectic–we are still settling in to the new house and I am working on my studio so this was a few weeks ago in Late March.  As usual, I was so busy teaching that I didn’t take too many pictures (sigh).

A while back the Bayberry Quilters of Cape Cod invited me to give two lectures and two workshops!  What fun!  I drove down on a Tuesday (when we got another  dump of snow…why it couldn’t have done that on Monday or Wednesday I do not know!) and gave my first lecture (The Decorated Quilt)  that evening, then another (the journal quilts)  the following morning.  After the lecture, we had lunch at a FABULOUS little restaurant, Morrell’s Restaurant and Catering (in South Dennis); I had Shepherd’s pie that was so good I went back for dinner a couple nights later!

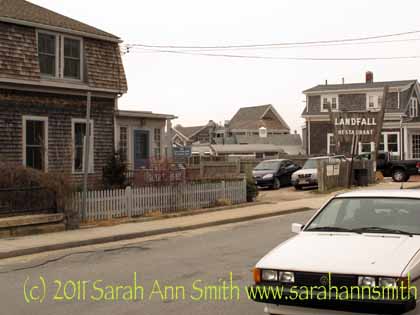
A Woods Hole back street with the typical weathered shingles and white trim

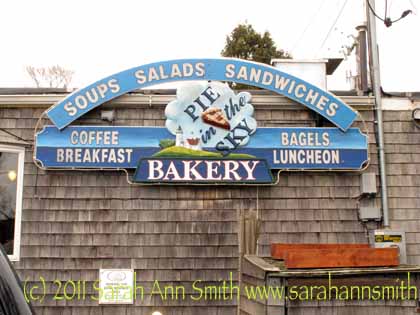
On Wednesday afternoon I was off, so I drove to Woods Hole in hopes of seeing some of the Oceanographic institute (Eli is really interested in Marine biology and oceanography) but pretty much everything that is usually open to the public was closed for winter.  It was still a lovely drive–very (well duh!) Cape Cod-ish! For the ride back I stopped here to get a cookie and latte…loved the name:

Pie in the Sky bakery

On Thursday I taught Balinese Garden, which is a pattern of mine (here) so this is –unusual for me–a project class whose goal is to familiarize quilters with the decorative stitches on their machines and some decorative threads (the fiddly ones!).  Here is my table runner take on the pattern:

The table runner I made from my pattern (still not quilted...sigh...time, I need time....)

I strongly encourage quilters to do their own thing, and this group did!  Some stayed fairly close to the pattern, others completely changed the set-up and two more totally did their own thing using their ideas for a quilt (one was jellyfish, another an Asian-inspired pond scene).  I totally loved it!

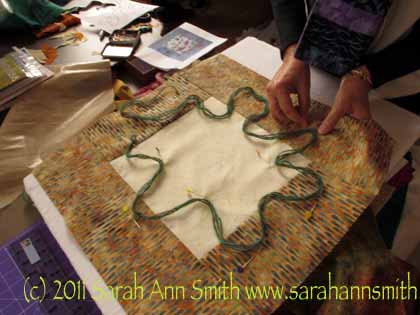
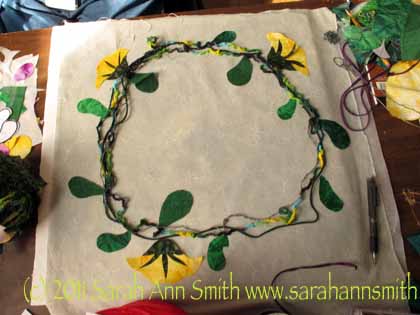
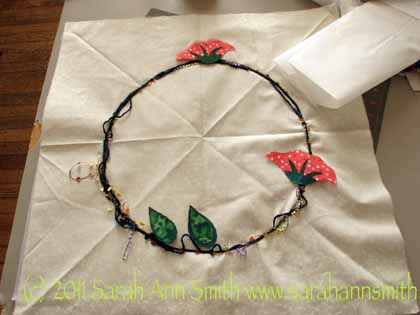
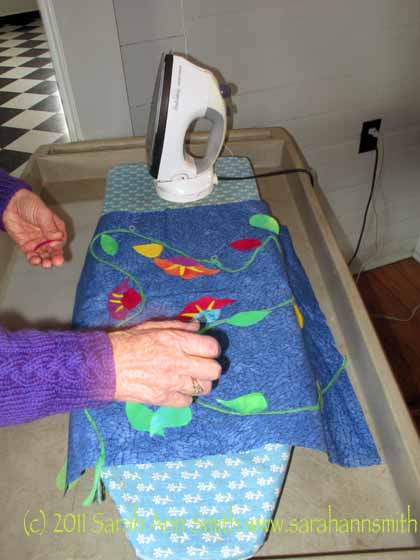
Laying out the "vine" on the background

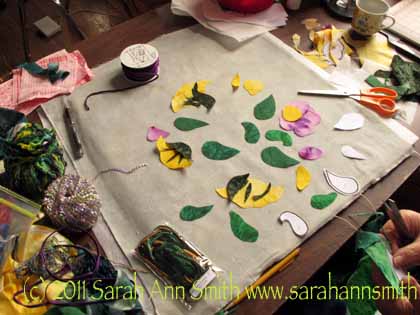
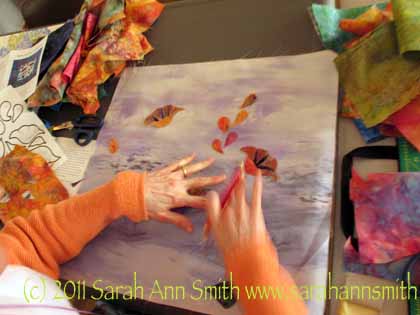
Cutting leaves, buds and flowers

Using a more traditional wreath setting for the multi-yarn vine--so springy and cheerful!

A more traditional and lovely take on the pattern--she used a lovely echo method of outlining the main flowers

This student used a landscape printed fabric with a beach, shore and ocean as her background, and it is lovely!

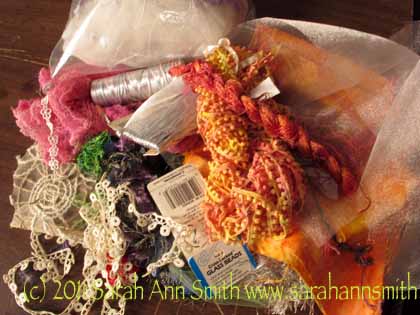
One delectable stash for using to decorate the quilt and make the vine

Another version, closer to the pattern

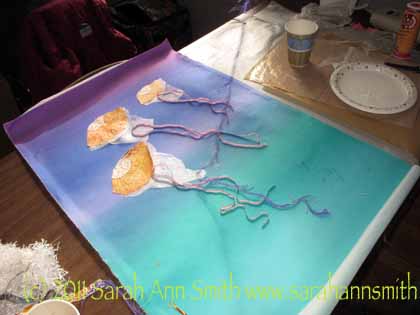
Jellyfish...same techniques totally different subject--yeah!

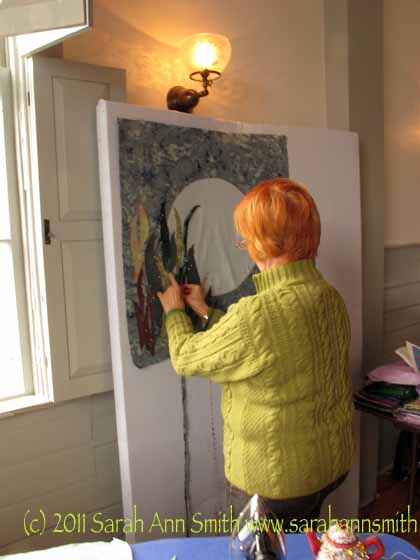
Another student wanted to use some Asian-inspired fabrics and do a moon / pond scene. She adapted my techniques to her design--way cool!

On Friday, I taught a favorite class to teach:  Quilting Design.  We had a grand time, I showed the ladies that they can indeed draw (!), and learned some easy-peasy ways to draft what might seem (but aren’t) complicated patterns.  In the afternoon we used the quilt tops they brought to brainstorm quilting designs, talking about hand versus machine, easy versus complicated, and so on.  That was SO MUCH FUN, but alas I was busy crawling on the floor showing how to use the clear overlay sheet to test-drive ideas and didn’t take any photos!  I really love teaching this class because students always walk away enthused and energized and realizing they can do their own designs.  Alas, it is rarely booked, and would be even better as a 1 1/2 or 2 day workshop.  So if anyone out there wants FUN…book this one!  It looks like I’ll be able to teach it as a 1 1/2 day workshop at Vermont Quilt Festival in 2012…hope to see you there!

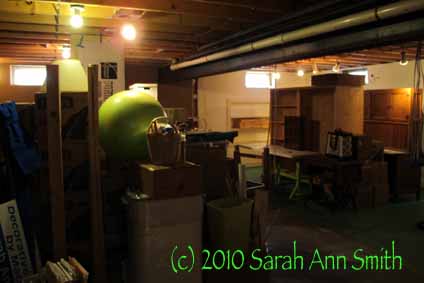
The state of the studio, late March

Friday, April 22nd, 2011

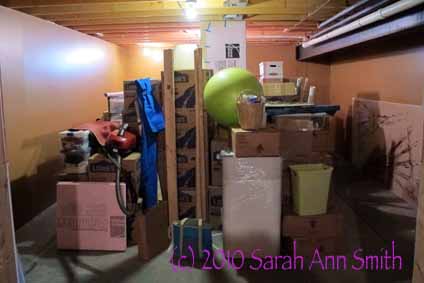
Remember this grim view of my new studio, upon moving in to the new house?

In the beginning, it was dark and yucky. At least the wall separating the (!!!! in a basement?) dark brown room from the white room is down in this photo.

It was at least an improvement from this, before the wall went down:

My studio. Ahem. Clearly, this is the "before" picture. The camera flash makes the room appear much brighter than it actually was. Erg.

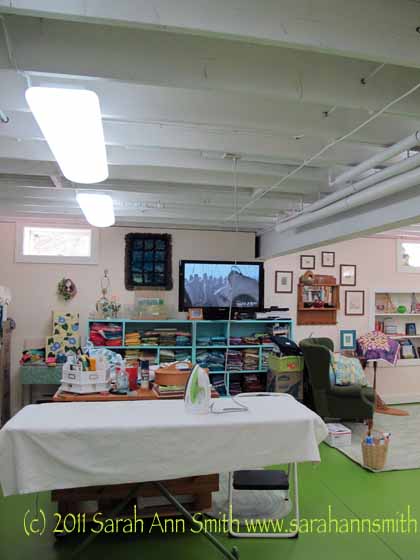
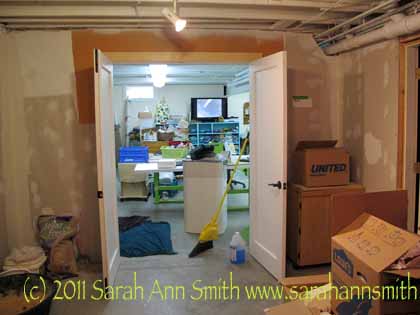
By late March, things were improving.  The wall was down, the lights were IN…nine 2-bulb fixtures with maximum lumens (the amount of light—-aging eyes  always want MORE) with daylight colored bulbs.

French doors went in... this is before they were painted so the primer is covering up the plastic that is covering up the glass in the center of the doors. Not only do the doors keep the cats for shedding and urping on stuff -- and the dog from leaving "presents"--but closing the doors helps funnel the heat from the woodstove in the center of the basement up the stairs to the main part of the house.

Those towels you see are wet — to help lift the HORRID paint on the old floors.  I think the previous owners used some leftover wall latex on the floor, and clearly you needed a different paint formula for it to adhere to the floor.  If you got water on it, it turned to paint-mush-muck-mud-soup.  Mostly.  Then there were the stuck on bits that would mostly (but not all) come up if you got down on your knees (on the COLD cement floor) and scraped with a metal flat-edged scraper.  Oh whee.  Having fun are we?

This is painting the part of the room that had been white and was the previous owner's son's painting studio. WIth that jade/aqua on the floor--with many assorted drips and drops of other colors of unkown paints..

And painted:

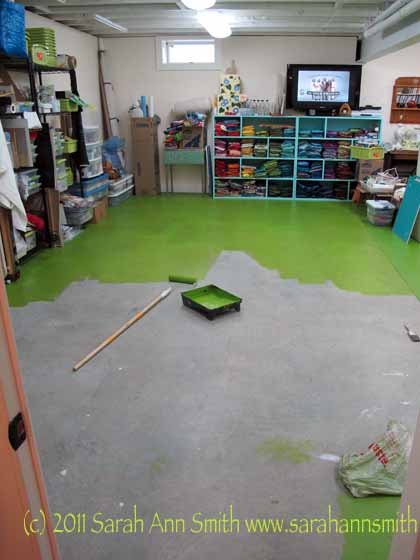
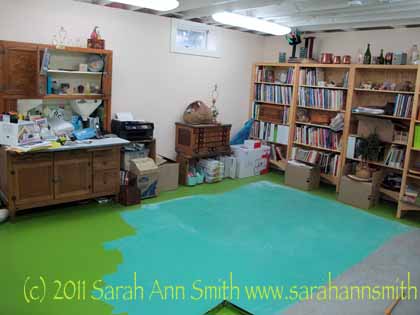
one half done....waiting for the paint to cure up hard so I can move the furniture to the other side and paint the second half.

You’ll notice the number of boxes is down, the amount of stuff hither and yon is up……

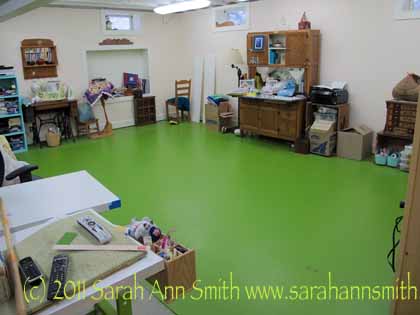
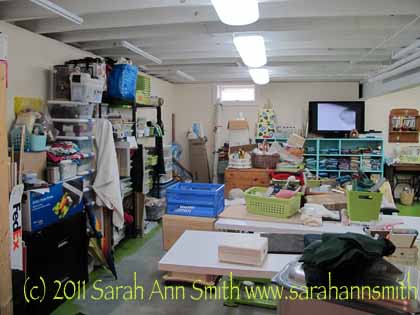
The other half of the room while the first half is painted. That wall on the left will end up being a closet. We will have hanging doors upholstered into design walls to cover up all that visual clutter. And notice...the TV works--the DirecTV is hooked up!


A Moment of Beauty (well, several), mid-April 2011

Wednesday, April 20th, 2011

THIS is why you always want to schlep a camera with you….. was heading from Hope to Camden to pick up the teenager at his girlfriend’s.  This is what I saw as I went down the driveway:

And this slightly zoomed view:

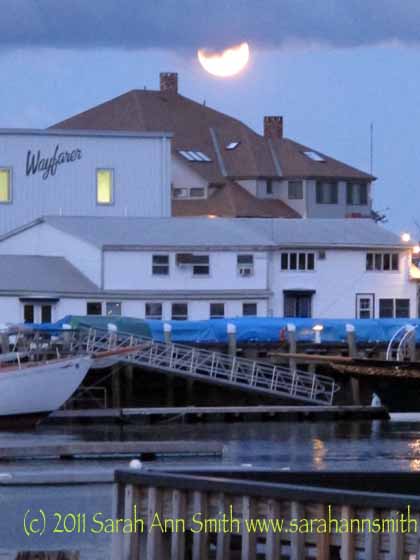
Then, as I went down the last hill on Route 105 into Camden, the most enormous moon I’ve ever seen (even larger than that huge one a month or two ago) loomed up over a rooftop.  I promptly called the teen and said I would be a couple minutes late, I needed to drive down to the harbor and take some pics….here’s the best of the bunch:

And going back UP the driveway at home, this breathtaking moon and clouds!  Be still my beating heart!  How did I get to be so lucky as to live here?