email Youtube

Home
Galleries
Blog
Workshops & Calendar
Store
Resources
About
Contact

Author Archive

Coming Home

Saturday, August 11th, 2012

We got home two days ago from a lovely trip to Florida.  While away I was able to post a few pics to Facebook, but I’ll make up for that here soon!  Just wanted to check in and let you know I’ve got lots coming–I just need to nail my seat to the chair and process photos and blog about it!  One of the nicest things about coming home is seeing the Camden Hills — once you spot them, you know you’re almost there!   Florida was hot and humid, and we were looking forward to a respite here in Maine.  The temps have been about 20 degrees cooler (in the 70s not 90+) but it has been mighty humid–the weather should change (PHEW) tomorrow!

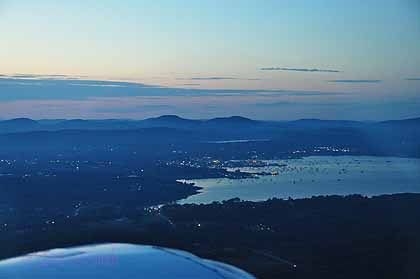
This was my first flight coming in at dusk, with the lights of the coast visible. The town you see in the mid-ground is Rockland, a dozen miles or so south of our home. The Camden Hills are in the distance, and Camden town itself if off to the right of the photo. BEAUTIFUL!

One of the reasons I love flying in is seeing the familiar places from a bird’s-eye perspective.  And flying in at sunset gives you great pics of the sky…..

And as always, there is quilting inspiration.  As I was lolling in bed this morning, I was thinking about a quilt I want to make–something Quilt Modern-ish:  equilateral triangles in blues and aquas and spring greens, and how I would quilt it (bed size this one will be!).  I want the quilting to be easy and approachable (thinking ahead to a book on quilting design) for the beginner or the advanced-but-busy quilter, and was thinking about the patterns of the currents on the surface of the ocean:

Looking southwest over the peninsulas of mid-coast Maine as we approached Owl’s Head / Rockland airport at sunset.

Now I need to go get some exercise, run some errands, then get home before the next downpour adds to the already 100-percent humidity outside!

Sketching the urchin

Sunday, August 5th, 2012

Finished (sort of) sketch–it looks a tad plain.  I think some understated/subtle journaling or words would help this page.

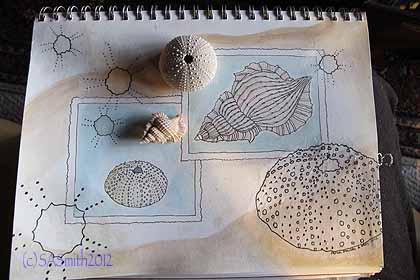
Remember about a thousand years ago I took an online sketching class with Jane LaFazio at Joggles.com?  Well, I’m getting back to posting some of the exercises.   This was the sketching from Life class…. despite living near the sea or ocean for a goodly part of my life, I had few seashell type things.   The spiral conch-type shell is quite small and actually came out of a scent-thingy ordered from somewhere, but the sea urchin shell we collected in Friday Harbor, Washington, where we lived before moving to Maine in 2004.

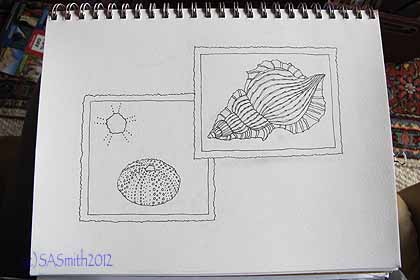
Here’s the sketch of the shell and original sea urchin:

The inked sketch. Miraculously, I remembered to take photocopies before adding watercolor.

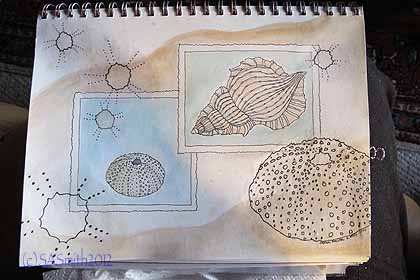
I liked making each item look as if it were an old-timey photo with those deckle-edges that I love.  I then enlarged the inked sketch and traced onto tissue paper (a technique learned from Jane in an earlier online class).  I painted the page–I wanted it to look like the white foamy froth of the waves on the beach, but lacking such a photo and the skill to manage froth in watercolor, I just went for sand and curving edges….    Then I adhered the tissue to the page using Gel Medium (Matte) to blue it down…the tissue just disappears.  In this last photo, you can see the shell and sea urchin.  I loved the 5-sections on the urchin and how the dots repeat and echo in rhythmical patterns.

With the actual shell (small!) and sea urchin on the page

A bit more from Think Silk!

Tuesday, July 31st, 2012

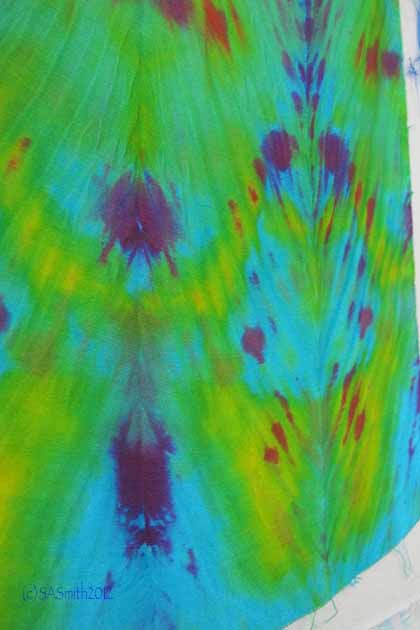
I had a few extra bits that I dyed at Think Silk, but that needed wash-out and ironing at home, so here they are:


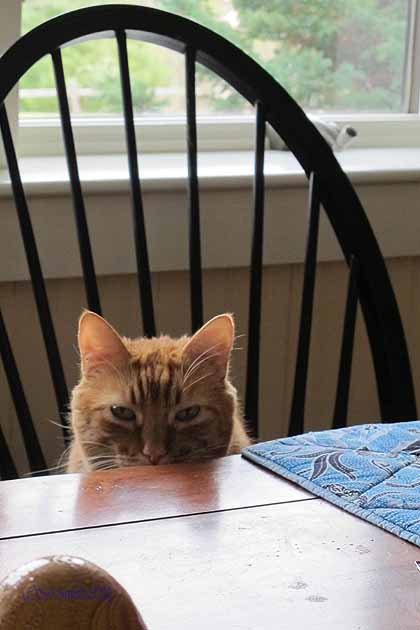
OK…so Tyger isn’t really part of the class, but this was too cute not to share. Of course, I could say that his coat is a perfect inspiration for some shibori!  He was watching me as I was petting the samples…..

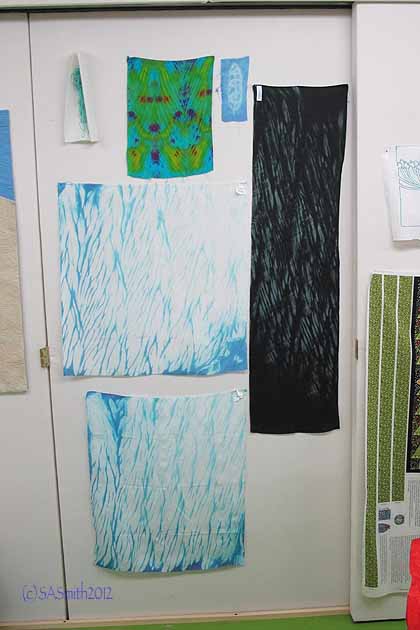
Two pieces of blue shibori, one that began wet, one that began dry. Don’t actually see much difference in these, tho there can be. These were wrapped too tightly for me…too much white. So I shall re-do, perhaps wrapping in the other direction, and overdye with a different blue. The piece on the right is that black. Too bad it was black. May be too dark to overdye, and I dislike discharge. Erk.

Silk noil is a fairly heavy cloth, about like Kona cotton, maybe a bit heavier. This was a stitched / gathered resist. Again, more white than I like. Overdye is my new middle name!

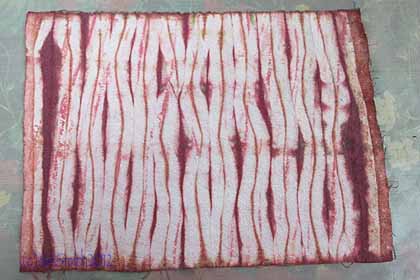
This is why it is good to practice on small pieces of cloth. Love the colors; love the chevron pleating/patterning. Hate the blotchiness. Can you say overdye? Or cut up into small bits!

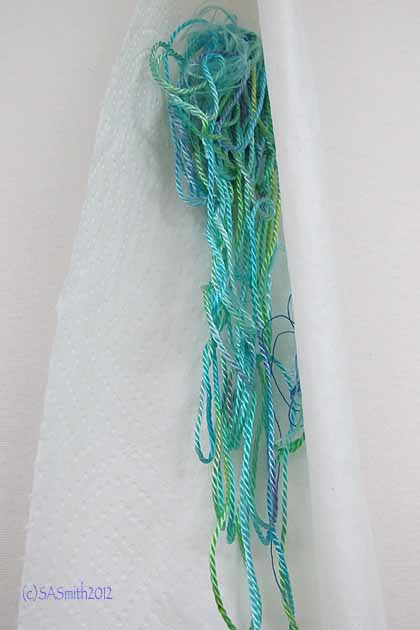
Cotton (?) cord…LOVE these colors! It was the cord I used to tie the previous sample. Use EVERYthing!  I think this is synthetic cord, actually, but it took the color because we used an acid bath method…. nifty!

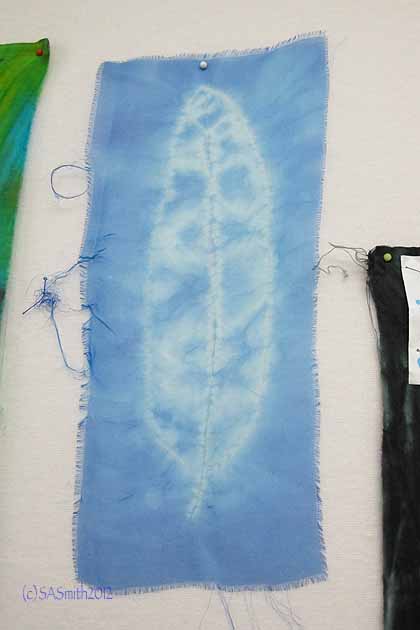
My favorite piece of the whole thing: silk organza, stitched in a leaf shape to create a tight resist, then dyed. I can see small pieces like this with either stitched or soy wax resist working their way into my quilts! This one is small, maybe 4 x 7 inches total.


Think Silk!

Saturday, July 28th, 2012

Back in April, which now seems like years ago, I FINALLY got to take a class I’ve wanted to take for several years now:  Carol Soderlund‘s dyeing silk class.  Any time she has been teaching within driving distance of Maine, I’ve been booked to teach elsewhere.  So even though this class required me to get home from teaching in Arkansas on Friday then get back in the car and head South on Monday, I jumped at the chance!

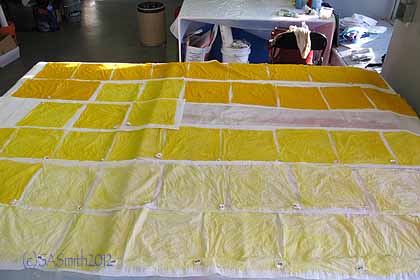
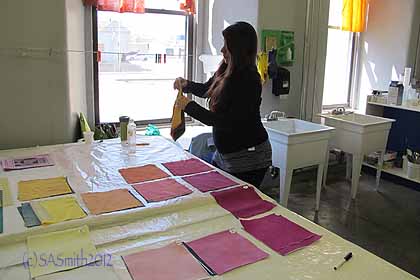
Round 1, dyeing silk yellow

As always with Carol’s classes, it was fun, packed with learning, tiring, and did I say fun?

First round of overdyeing

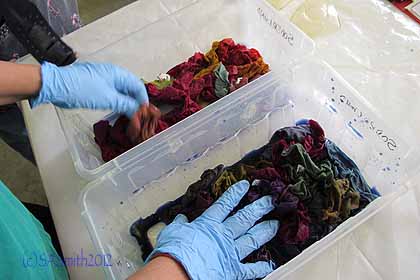
Mooshing. That’s a technical term! In this case, mooshing in the blue dye….the third round!  And even WET the colors are heavenly

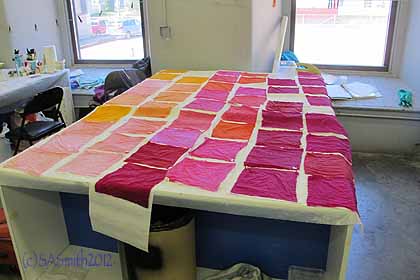
My dye partner stacking our colors

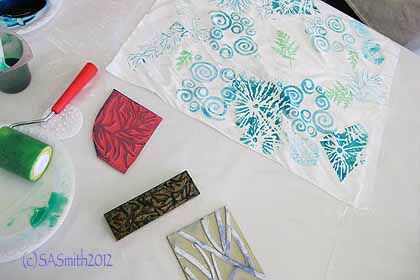
A classmate was experimenting with stamps and thickened dye

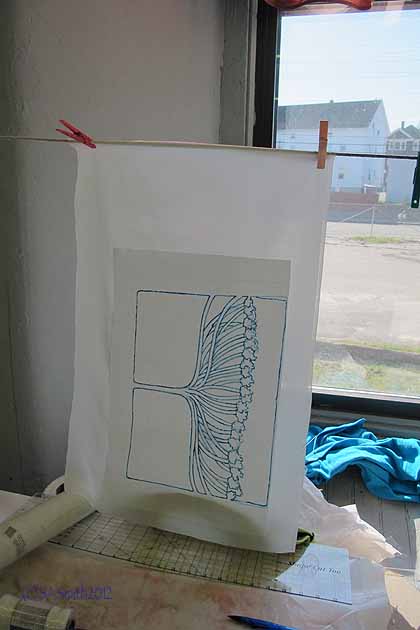
At Quilt Festival two years ago, Melanie Testa demonstrated using an old-fashioned ruling pen (like for drafting plans in art school) with thickened dye. I tried it, and you can see a sideways of my Queen Anne’s lace. I “inked” the outlines with dye, then will overdye and color later….maybe later this summer?

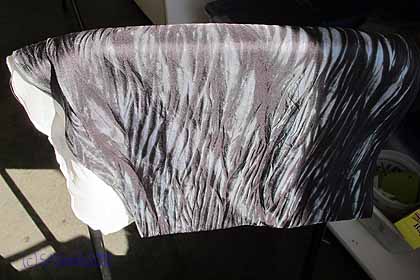
We also got to try some shibori, alas with black. I’m not wild about the color, but maybe I’ll overdye with some blue and get a nice water fabric out of this… I do like the texture, just not the color. Bleah.

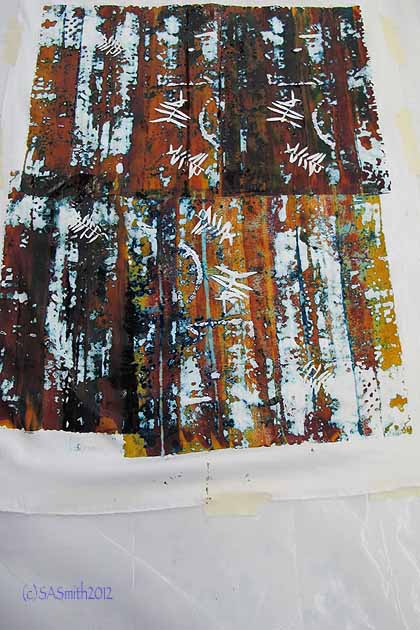
We also got to try some deconstructed screen printing. A neighbor did this one… she definitely had the best colors and results… I’m not much for “surface design” stuff, but this was a great cloth!

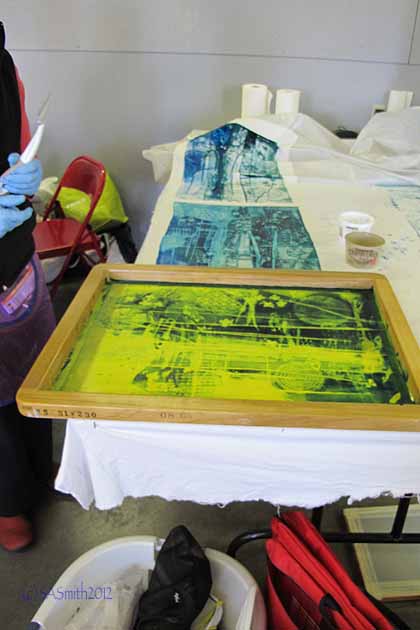
Another really good desconstructed screen print. I lust after that huge screen!

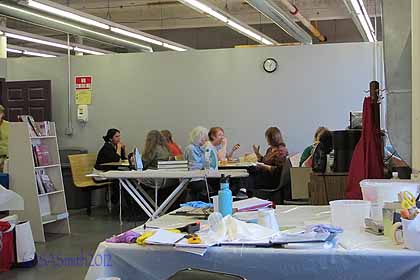
Lunch at the back of the classroom. ProChem brings in lunch–it is included in the class fee. We all sit together and pop up and down as need be to tend our fabric!

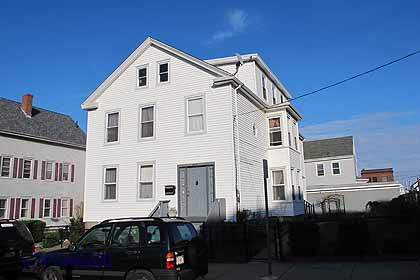
And one more time I went by 266 Third Street, Fall River, Mass., where my dad and his family lived in 1918! So glad it is still there. I may try to find where they lived in 1910 via the census and go find that house, too… my Aunt Mary lived in that house (on the first floor apartment) until she died in the 1970s!

As always, I had a great time, ate too much, and wish I had more time at home to dye fabric!  Maybe this winter?


It’s the Wild Maine Blueberry Harvest!

Thursday, July 26th, 2012

Yesterday I went to pick up our farm subscription (organic, locally grown vegetables) so took the back way around to our drive, and what should appear to my wondering eyes but:

The blueberry field at the end/corner of our road

I’d never before seen the commercial blueberry harvesters.  The old way is to use a “blueberry rake.”  Think of a dust pan, but above the flat base is a set of tines (line a fork) that “rake” the berries and pull the berries but not (in theory at least) the leaves into the pan.   Pan gets dumped into big plastic “flat.”  Well, now I know how the big guys do it….   the field above is about 1/4 mile from the bottom end of our driveway (that’s maybe 500 metres?).  There were several of the harvesters in the field…. here’s a closeup.  Looking carefully, I could see that there is a sweep of some sort on the far side, and the driver in the center was leaning over looking out the far side and down.

The arrows show the vacuum/rake/whatever it is on the left side of the harvester. There appear to be hoses going from next to the driver to the blue box thingie  at the rear left.  The yellow things are plastic bins into which the berries go.

This shot shows (on the right) where there is something on the far side that harvests the berries. On the left you can see a shiny silver metal chute. The berries roll down the chute/funnel into the yellow bin. From the looks of it, when one bin is full, the next one comes down, etc., until the driver has a full load.

Regular store-bought blueberries are big… like the tip of a finger big.  Wild Maine blueberries have SO MUCH more flavor…they are tiny, the size of what is sold as “Petite Green Peas” in the frozen section of the grocery.  I found a great recipe for muffins in Cook’s Illustrated a while ago, and Eli and I love them!  We add frozen raspberries, too!

Cool beans…or maybe I should say Cool Berries!