email Youtube

Home
Galleries
Blog
Workshops & Calendar
Store
Resources
About
Contact

Archive for the ‘Teaching / Classes’ Category

Jan Krentz Class, May 1, Augusta, Maine

Thursday, May 21st, 2009

Last April, when I was teaching in Paducah, I had the great good fortune to meet Jan Krentz (we shared a van ride, 2 hours each way, from the Nashville airport to Paducah, and ran into each other in the teachers’ boxes room…where all the shipped stuff resided).  She gave so many wonderful tips and tidbits on being a traveling teacher, that when she mentioned she was coming to Maine to teach, I decided then and there to sign up for her class.  If I want to do the best by my students, learning from one of the best in the industry is a good thing.

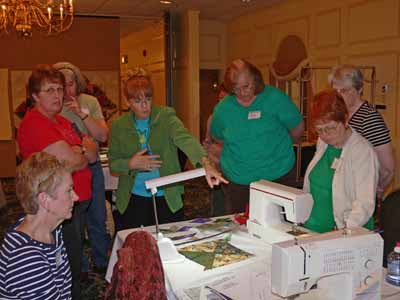
Maine’s Pine Tree Quilt Guild had scheduled Jan for two classes and one lecture.  I picked the one on Friday, when the kids were in school, besides it was closest to me in Augusta (and hour west of Camden).  It happened to be a Hunter’s Star workshop.  My education in good teaching began even before the class began:  Jan had set up her projector and laptop to run a short “slideshow” loop telling students what supplies they needed to have out and how best to set up for the morning.  Great idea! Here’s a picture of Jan 200905blogkrentz008
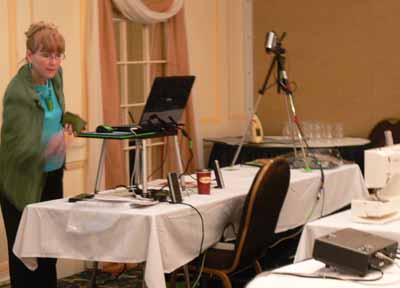
I particularly liked the little table she has, which means you don’t have to stoop to see the screen…it’s at lectern height.  The whole table packs down into a 3 pound unit about the size of a large laptop.  Cool.

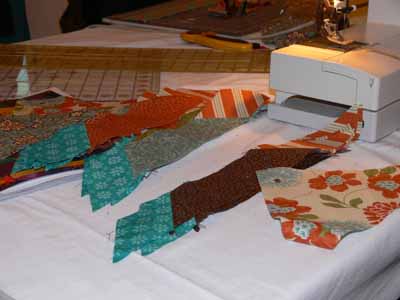
The class was a diverse lot… I knew only one person, Dot.  Here we are gathered around one person’s machine…. cool tip:  when you’ve done a ton of chain piecing, turn your machine sideways (or scooch around the end) to where the thread cutter is, then cut the chain apart lickety split on the thread cutter.  KEWL.

200905blogkrentz007

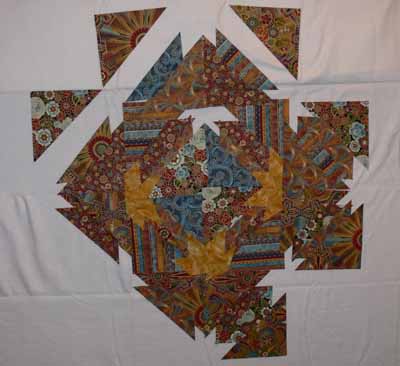
There were lots of great combinations of fabrics–some awesome Hoffman oriental prints:

200905blogkrentz005

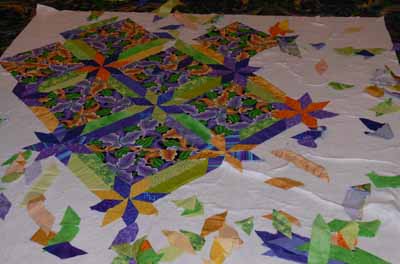
A dynamic combo based around a Jane Sassaman print:

200905blogkrentz001

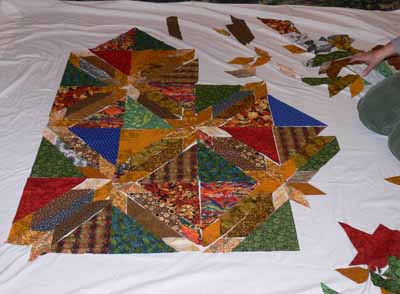
A wonderfully scrappy version:

200905blogkrentz004

My tablemate Mari’s selections to make a quilt for her “tween” granddaughter (not quite a teen, older than a little girl):

200905blogkrentz002

Of course, did I take a picture of my first mock-ups?  Nope.  I’ll do a second post with more on mine….

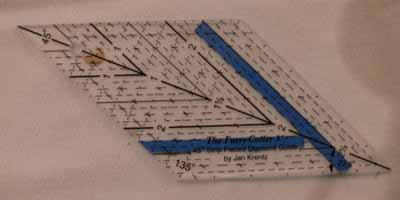
The tip of the day for me, and probably old hat for those of you who do more piecing than I do, was to (a) mark your rulers on the BOTTOM so as to avoid distortion from having your markings above the quilt (the thickness of the lucite in the rulers).  And even better…cut stacks of blue painters tape (about 4-6 layers), cut into narrow strips.  Stick these to the BOTTOM of your ruler at the appointed spot, and the ruler snugs up against your stack of fabrics to be rotary cut.  This ruler is one of Jan’s (she was out of stock but it was SO good I’ll have to add one to my collection…somehow hers was easier to use than the 45 degree diamonds that I currently have).  In this case, you cut your strips the width of your diamond, make the first 45 degree cut, then snug the blue painters tape up and zoom-zoom-zoom you can quickly and very accurately cut a bazillion diamonds.

200905blogkrentz006

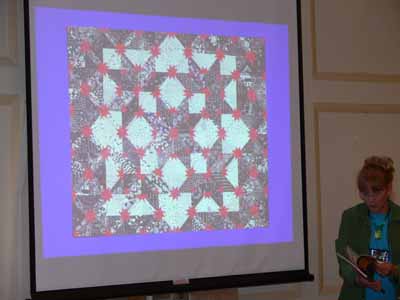
Jan also used the projector during class to show variations on the theme of Hunter’s Star quilts, and I particularly liked this one:

200905blogkrentz003

That’s it for now!
Champlain Valley Quilt Guild

Sunday, April 12th, 2009

200904blogvttrip001

How time flies when you are on the road and busy!   This week I had the great fortune to travel to the Burlington, Vermont, area thanks to the Champlain Valley Quilt Guild to give a lecture on Journal Quilts and Journals for Quilters, then my Fine Finishes class (all about bindings, alternative edge finishes, and display options for smaller quilts).   Alas, I was SO BUSY during the lecture and the class, that I TOTALLY forgot to take class pictures!  So if anyone from the guild has a few to lend me, please let me know!
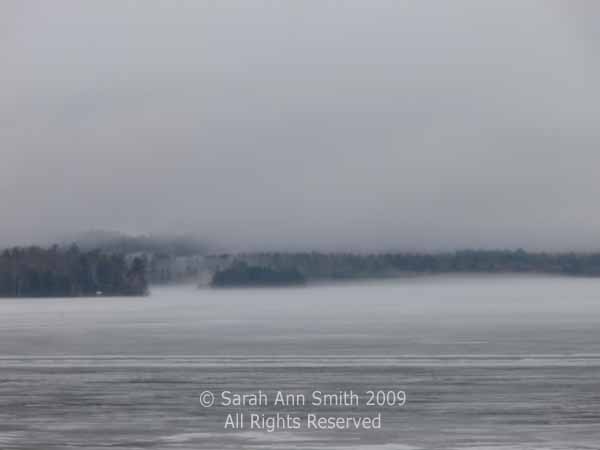
To get from Camden, Maine, to anywhere, requires a lot of 2-lane highways through beautiful, EMPTY space.   Basically, in New England, all (large-ish) roads lead to Boston.  That means anything that runs east-west is small, twisty-turny, and takes a long time.  Even though it was only 300-325 miles one-way, it took over seven hours (including pit stops).  Luckily, there were some gorgeous places en route. As I drove through the lakes district in sorta-south, western Maine, with the snow melting and the air warming,  I passed this beautiful view

200904blogvttrip009

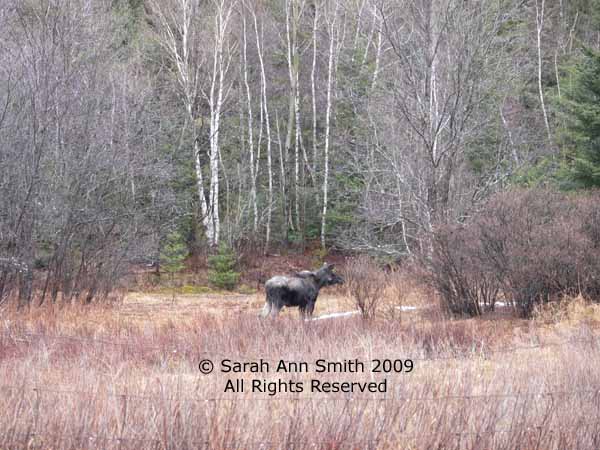
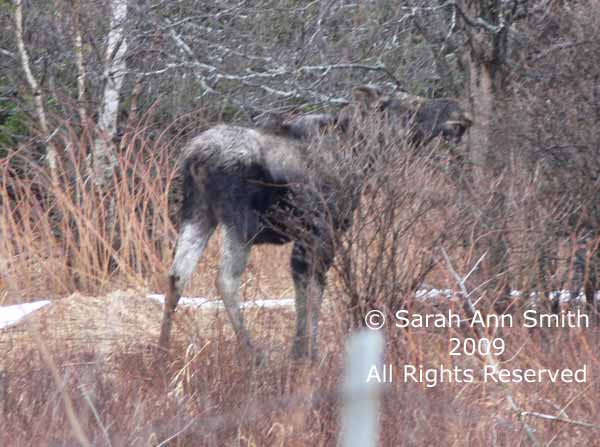
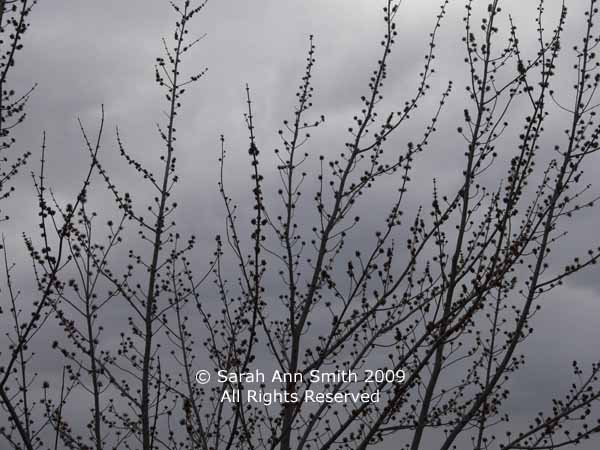
While at a rest stop in the White Mountains of New Hampshire, I was pulling back on to the road, looked to my right and immediately stepped on the brakes, grabbed the camera and lowered the window…. see the picture at the top, too!
200904blogvttrip007

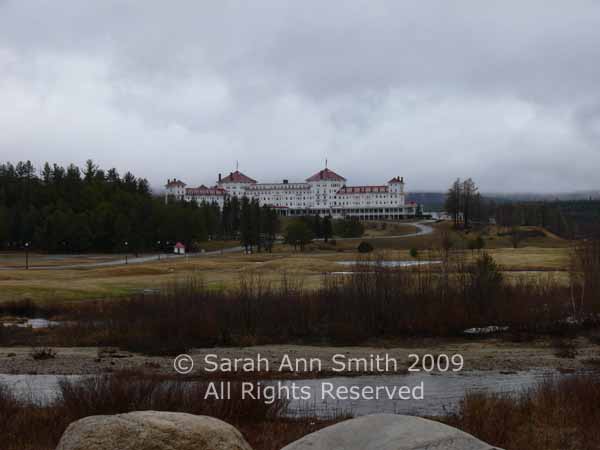
Then, around a bend, I came across the White Mountain Lodge, which looks as if it must have been built in the late 1800s…. isn’t this gorgeous?  And let me tell you, there isn’t much near it!

200904blogvttrip008

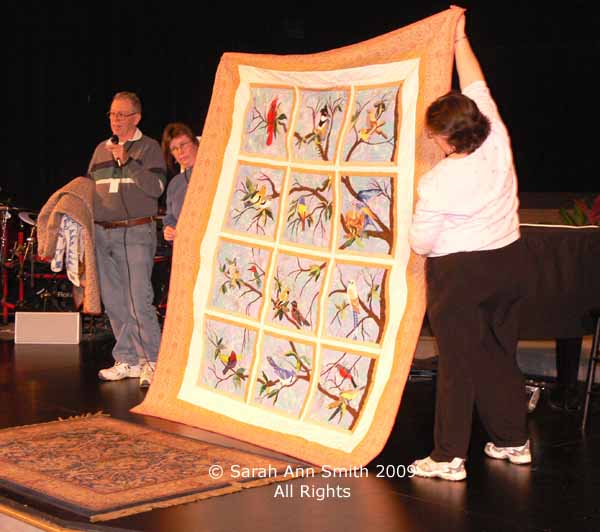
After my lecture on Tuesday evening, was show and tell.  At least I had the wit to snap a picture of Andre’s gorgeous bird quilt, made from a pattern by a designer from Texas.  LOVE IT!

200904blogvttrip006

My hostess in Vermont lives just across the road from Lake Champlain, and from their front rooms, you can see between the big homes across the street to the lake and the mountains in New York.  After class on Wednesday, while the lasagna heated up in the oven, Janet, Claire (the two co-program chairs) and Claire’s son Noah (look for his unbelievable miniature quilt at the upcoming Vermont Quilt Festival! It is amazing!) and I went for a lovely walk on a causeway out into the lake.  The day before I had thought, as I made my requisite donation to the local quilt shop (Yankee Pride, with a lovely and WAY too enticing selection of batiks), it occurred to me that one way to deal with beloved batiks that go out of print would be to make thermofax screens and print my own designs inspired by the batiks.  So I took some pictures of the ready-to-leaf-out treetops with that in mind:

200904blogvttrip005

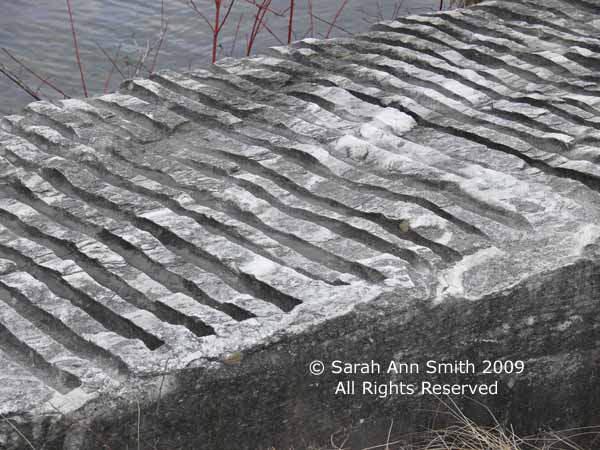
Plus, look at this COOL pattern in the granite….good quilt and screen and stamping inspiration:

200904blogvttrip004

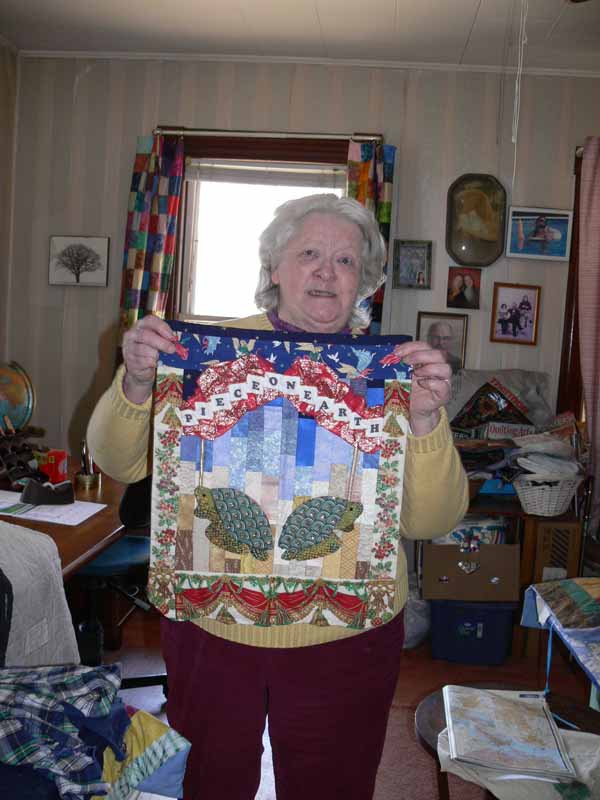
On the way home, I dipped south a ways to Springfield, VT, where my on-line friend Jacquie Scuitto lives.  Known on the quiltart list as the Quilt Muse for her poems on quilt and art and life, her home is about 2 hours south of Springfield but, thanks to those twisty-two-lane-roads, only added an hour to my trip home.  I got a tour of her home and quilts, met a few of her quilty friends, and was treated to a homemade corn chowder before starting my trip home.  Here’s a picture of Jacquie with her Second Day of Christmas (Two TURTLE doves) quilt,

200904blogvttrip003

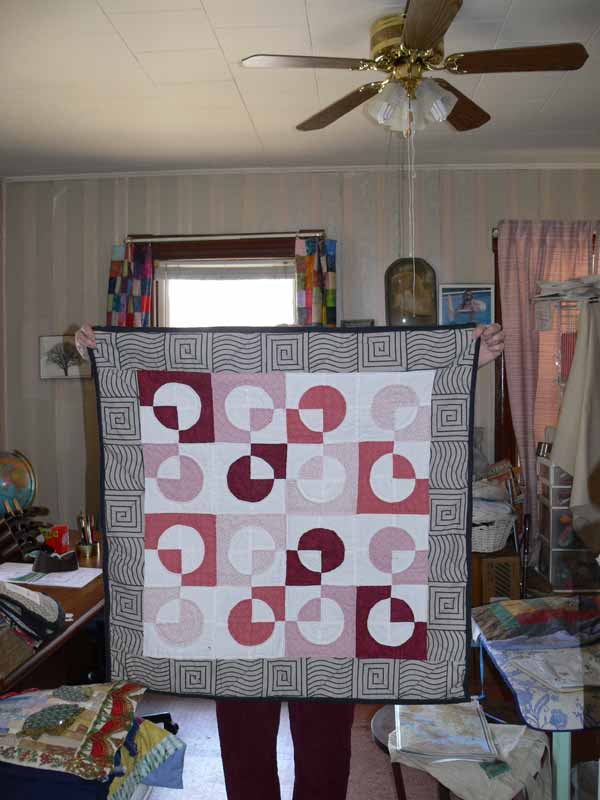
and another (with her hiding) behind this fun variation on the traditional Drunkard’s Path quilt… I love the setting:

200904blogvttrip002

Jacquie came to visit me a while back when she, hubby Lou and brother Don had come to Maine for a family get-together (blogged about it here), and I’ll get to see her again this summer when her daughter and two granddaughters visit from Germany and travel through Camden…yeah!

Sew Inspired, Simsbury, CT

Wednesday, April 1st, 2009

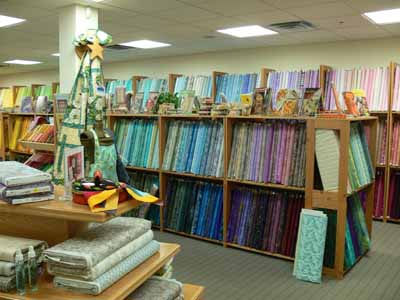
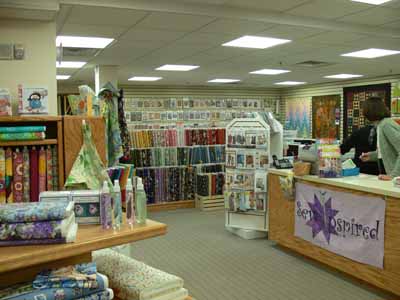
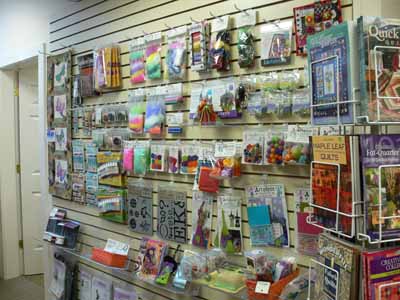
When I taught recently in Connecticut, my contact told me there was a great quilt shop…since I’m watching my pennies, I had thought I wouldn’t stop in so as to avoid temptation.  Hah!  And I’m so glad I did stop in…what a treasure of a shop!  Here’s a photo of what you see as you walk in the door of Sew Inspired!!!!

200903blogsewinspired008

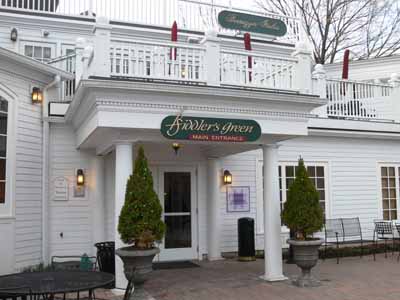
To backtrack a bit, the shop is located inside a small complex known as Fiddler’s Green, on the main drag in downtown Simsbury (well, I think it is the main drag!).  Here’s the entrance to the complex:

200903blogsewinspired002

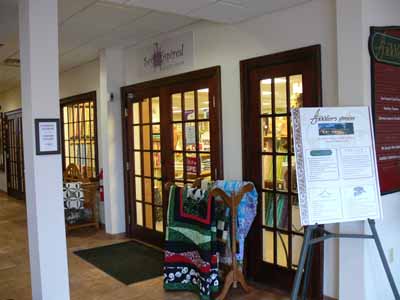
And the entrance to the store:

200903blogsewinspired009

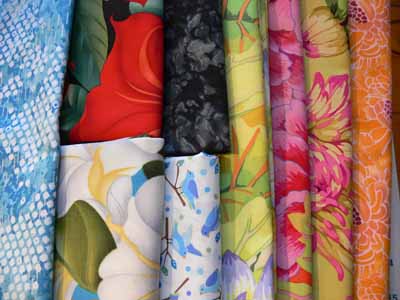
Once you get inside, it just gets better and better. The staff is friendly and helpful, and I had a great time talking to Viv  and Sandy.  Here is a close up of the glorious array of batiks:

200903blogsewinspired006

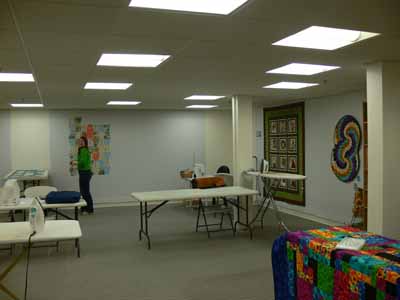
And over on the left are Amy Butler, Kaffe Fassetts, notions, patterns, friendly staff, great lighting… in the back is a class room to die for:  great and adjustable chairs, the best lighting I’ve ever seen overhead, a big window for real daylight and a view of what is going on outside….

200903blogsewinspired007
There is a good selection of notions and, better yet, art quilting supplies!

200903blogsewinspired005

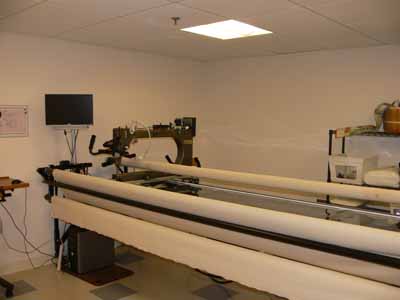
Then it continues, downstairs.  The shop opened 3 1/2 years ago in the lower level.  They’ve grown so much they expanded upstairs, and the lower area is now studio-for-rent space with 8×8 foot designs walls, a longarm (for rent also), a separate room for co-owner who does quilting-for-hire on her Gammill, and an office area.  They also have a die-cutting machine, again available for rent…..Can you say DREAM STORE?

The design wall area:

200903blogsewinspired004

The for-rent longarm:

200903blogsewinspired003

The store is also an authorized HandiQuilter dealer, and recently added a sit-down HQSixteen to the upstairs classroom….drool!

Clearly, I could not escape unscathed….here is my haul –and this was from two visits… I resisted the Goergia O’Keefe morning glory prints, an Alexander Henry that I lusted after when it was first printed 6 years ago… now that it is back out I had to indulge! Plus the three on the right are from Alewives Fabrics, in Damariscotta Mills, Maine (I’m teaching there in July, stopped to drop off patterns for sale, and had to add to the loot.)

200903blogsewinspired010

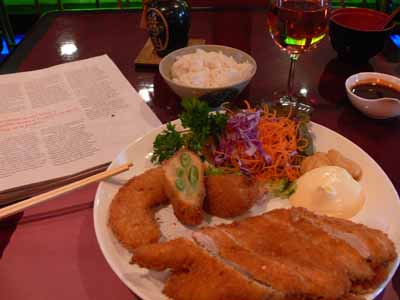
Finally, I took my aching, throbbing feet (this was after the night lecture and the full day teaching) next door to the Japanese restaurant which had impeccable service and my favorite, Chicken Katsu, for dinner:

200903blogsewinspired001

What more could you want…good fabric, good staff  (in both the store and the restaurant) and good food?  The store is just northwest of Hartford; if you’re anywhere in the vicinity, it is WELL worth a stop!

Postcards in Farmington Valley, CT

Sunday, March 22nd, 2009

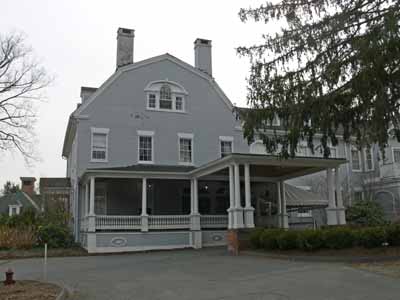
This past week I was invited to lecture and teach in Simsbury and Avon, Connecticut, for the Farmington Valley Quilt Guild.  It was so much fun, and quite a large guild, too!  On Wednesday evening I presented a lecture, The Decorated Quilt: Beads, Embellishments and other Treasures, at the Eno Memorial Hall in Simsbury.  There were easily over a hundred women there in the HUGE hall. I was lodged at the Simsbury 1820 house (guess when it was built):

The Simsbury 1820 House

The Simsbury 1820 House

I’ll do a couple more posts about the trip, including pictures of the town, windows, and other cool fodder for quilts and design ideas!

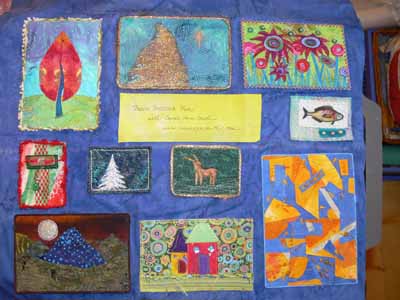
I had sent down some of my postcards (made by me and received by me) and ATCs to help advertise the class:

200903blogctpostcards011

The next day, at the beautiful, modern public library in Avon, CT, about twenty women joined my class on Fabric Postcards, which is a non-threatening introduction to art quilt techniques and making fabric postcards.

200903blogctpostcards009

I set up next to the only flat, blank wall so I could do something new to me:  using the videocamera and digital projector to project what I was de monstrating onto the wall behind me.  This way, EVERYone in the class had a view as if they were sitting next to me (or on my lap!).  It took some getting used to… I’d forget to make sure my hands were in the range of the lens, so they got good at reminding me LOL…thanks ladies!  I think this will work, and I definitely got better as the class went along.

Each student had a spot at their own table, but we set up a workstation area for paint and another two for ironing.  The class included my “chunk and jigsaw” fusible applique method and using angelina, so that took place at the ironing stations.  I also taught painting techniques using textile paints (Jacquard opaque, Setacolor transparent, and Lumiere metallics) using direct application, stencils, and printing (with mats, bubble wrap, stamps) and Shiva paintsticks  in both direct application and rubbings.

200903blogctpostcards007

The ladies were grand, I got to meet folks I’d only met before on line (hi Judy!  hi Vivika!), and learned from them…something that always happens when you teach!

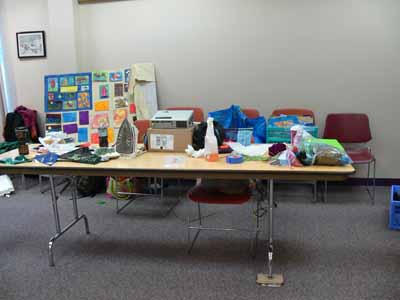
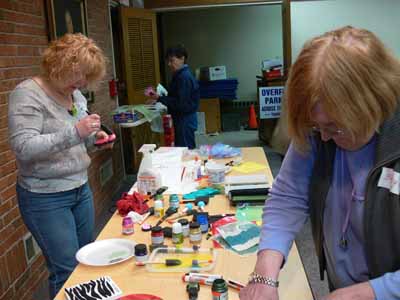
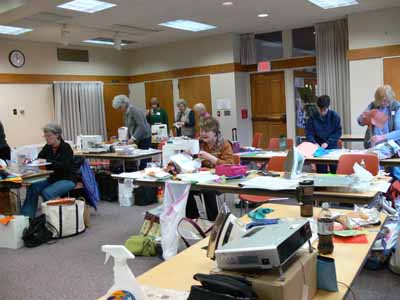
Here’s a view of the program room where our class took place:

200903blogctpostcards008

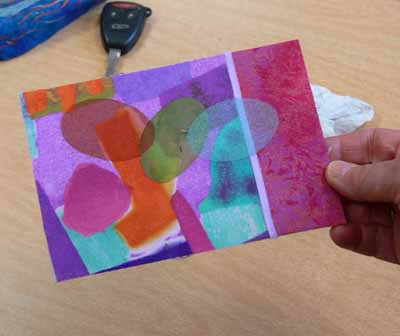
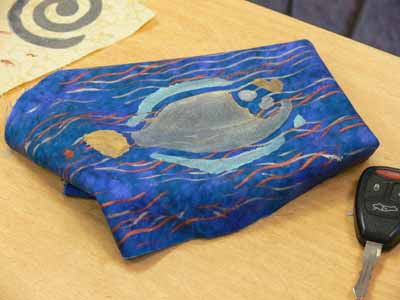
And here are a range of postcards–if yours is among them, drop me a comment and I’ll add your name to your card!

Easter eggs using sheer, fused fabrics

Easter eggs using sheer, fused fabrics--By Marie

and

Textile paints and Shiva Paintstiks

Textile paints and Shiva Paintstiks--by Diane

and

colorwash abstract under tulle

colorwash abstract under tulle--also by Karen

and

Her licence plate is "Outdoor"

Karin's license plate is "Outdoors"

and

An array by Betty

An array by Betty

and

I thoroughly enjoyed the trip, and hope the students learned and enjoyed too!  Thanks to Judy R., co-program chair, for finding and inviting me and doing all the work her position with the guild entails, and thanks to all the ladies who took their time and talent to come to my class.

Thanks Betty for filling me in on who did what!

Birch Pond Class

Monday, March 16th, 2009

200903blogbirchtreesclass001

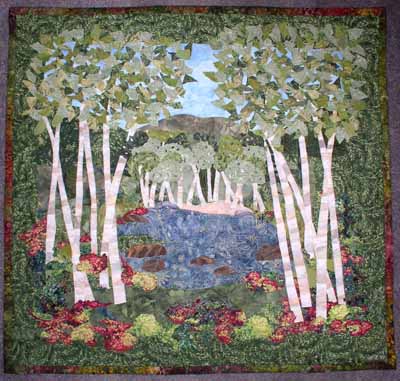
Today’s post is about a new pattern I’ve designed to help folks who want to start art quilting or for folks who are experienced art quilters but want an appealing yet fairly easy pattern.  The class to teach Birch Pond Seasons (when I get winter and spring made, I’ll have four views of the same pond across the four seasons) for the first time went swimmingly well as you’ll see by the photos!  The pattern itself will be available in about two months (guessing…have to send it away for printing the large sheet this time).

As you might guess by that rather extended absence from the blog, I’ve been busy! Between the first draft of my next article for Machine Quilting Unlimited magazine, getting together the stuff for taxes (not only ours but mom’s, too…bleah), attepting to get some sleep, going to wrestling meets, the usual family and household stuff, making a new small quilt for the article, and teaching, I’ve been rather behind the curve.  A while back, I got to teach my Birch Pond landscapes pattern for the first time at Maine-ly Sewing, and it was a gas!  I will definitely be polishing up the instructions, sending the pattern off for printing (it’s oversized, and copies at Staples are about 6 times more expensive than shipping it away and getting it professionally printed).

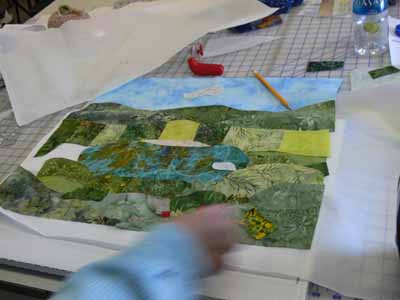
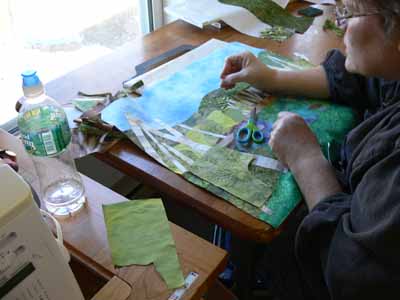
After showing the students how to fuse up fabric (both large chunks and smaller bits) they began composing their quilts.  The easiest way proved to be setting out the large pattern (the piece of paper is about 18×22), placing parchment paper on top of the pattern, then the pre-fused fabrics on top of the parchment.  Here you can see the pattern through the parchment on the lower half of this quilt.  This student did a fabulous job with her sky; she had one piece of fabric that was perfect, but WAY too narrow, so we cut, spliced and overlapped for it to look like a summer’s cloud-dotted sky.

Another student chose a dramatic lightning-streaked sky and dark mountains for her quilt:

200903blogbirchtreesclass009

200903blogbirchtreesclass012

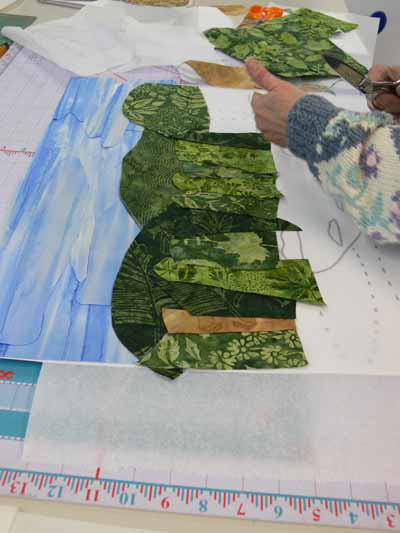
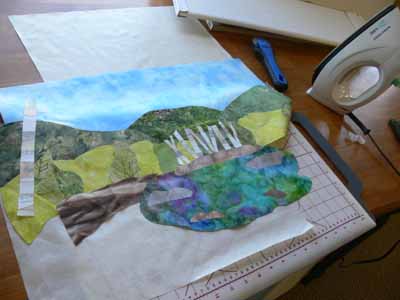
Working from farthest away (sky) to the front (foreground), we began with the sky, then the distant hills, then what I have called “the woods behind the pond.” You could cut a single swath of fabric to go across the entire quilt, but I think by cutting chunks and “piecing/fusing” a band, you get greater depth in the piece:

Creating the woods behind the pond

Creating the woods behind the pond

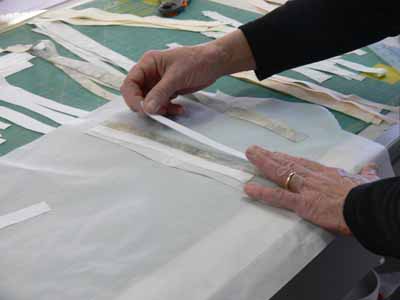
To make the tree trunks, we created “new fabric” by cutting strips of white, cream and gray, then cross-cutting into tree trunks:

Using strips to create new "fabric"

Using strips to create new "fabric"

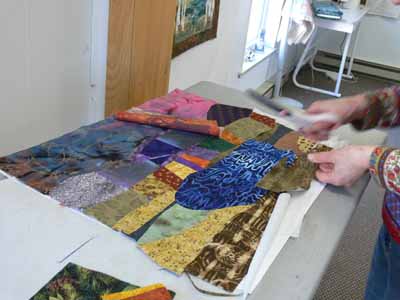
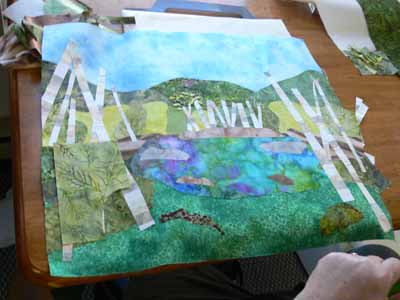
One student decided to go for wild and funky colors… I’d love to see how this one turns out after she adds the birch trees, foreground plants and quilting.  Here is her quilt at the adding the pond stage:

Adding the foreground in the wild and funky one

Adding the foreground in the wild and funky one

After the pond, we added the foreground and rocks:

Adding the foreground and rocks

Adding the foreground and rocks

Or, you could add the birch trees behind the pond first:

Adding the birch trees behind the pond

Adding the birch trees behind the pond

Two sisters took the class together, and decided to combine forces.  Rather than both of them working separately, they decided by late morning to create one quilt together and get it to nearly-done stage, then make another at home.  Here is one of them “building” the scene and adding the birch tree trunks first:

Building the scene

Building the scene

Finally, a nearly complete top (minus borders):

Birch trunks added...next, foliage!

Birch trunks added...next, foliage!

At the end of the day we discussed border selection, quilting designs (the ones on my quilts, which you can see here, are designed to be do-able by newbie machine quilters), and  using a facing to finish the edges.

And thanks to one student who went home and finished up, a finished student quilt…hoooray!  I REALLY like how she added red flowers going back to the sides of the pond…really helps lead the eye to the pond and the birch trees behind it:

Finished student quilt (thanks Martha!)

Finished student quilt (thanks Martha!)